
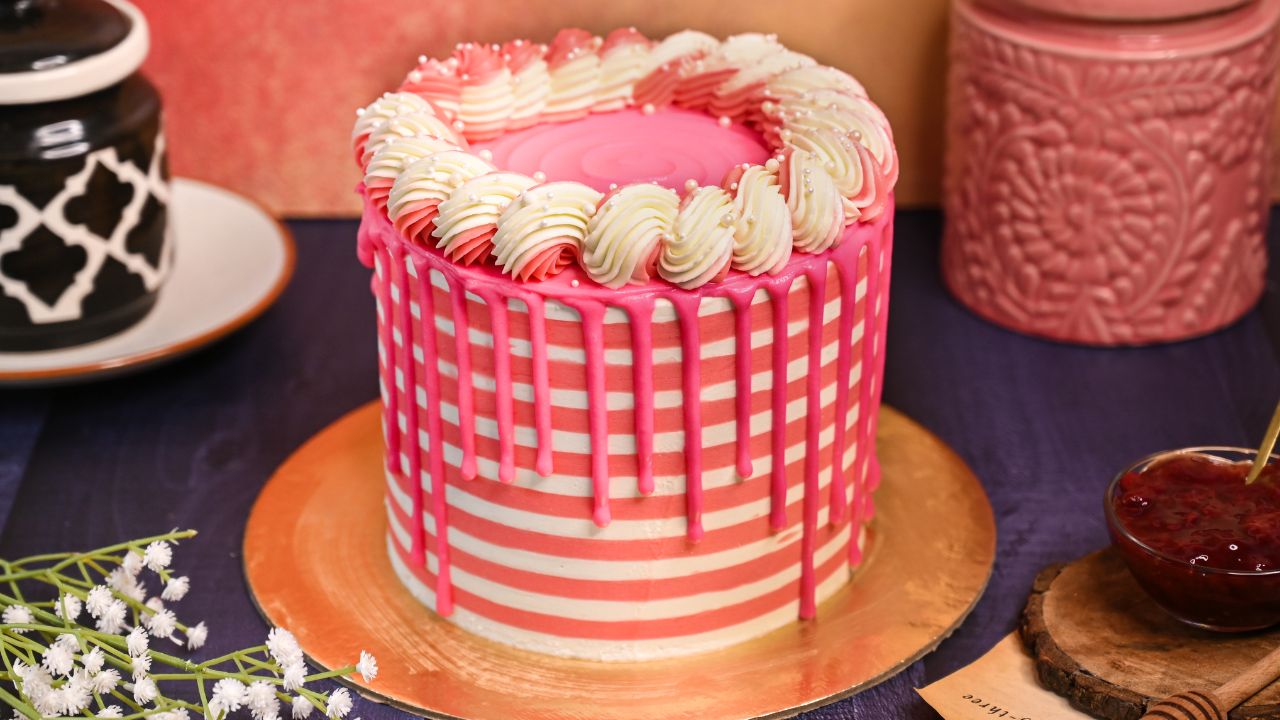
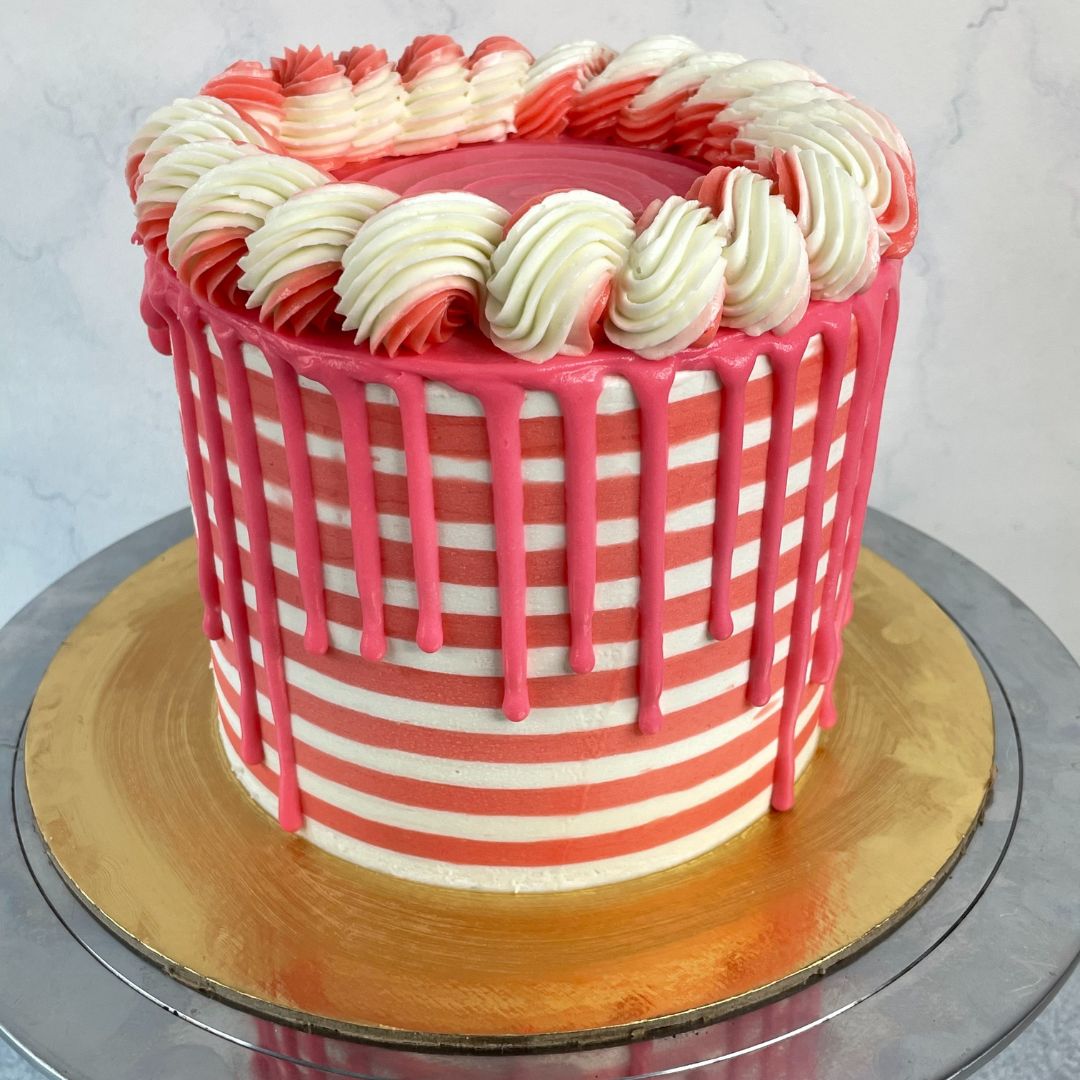
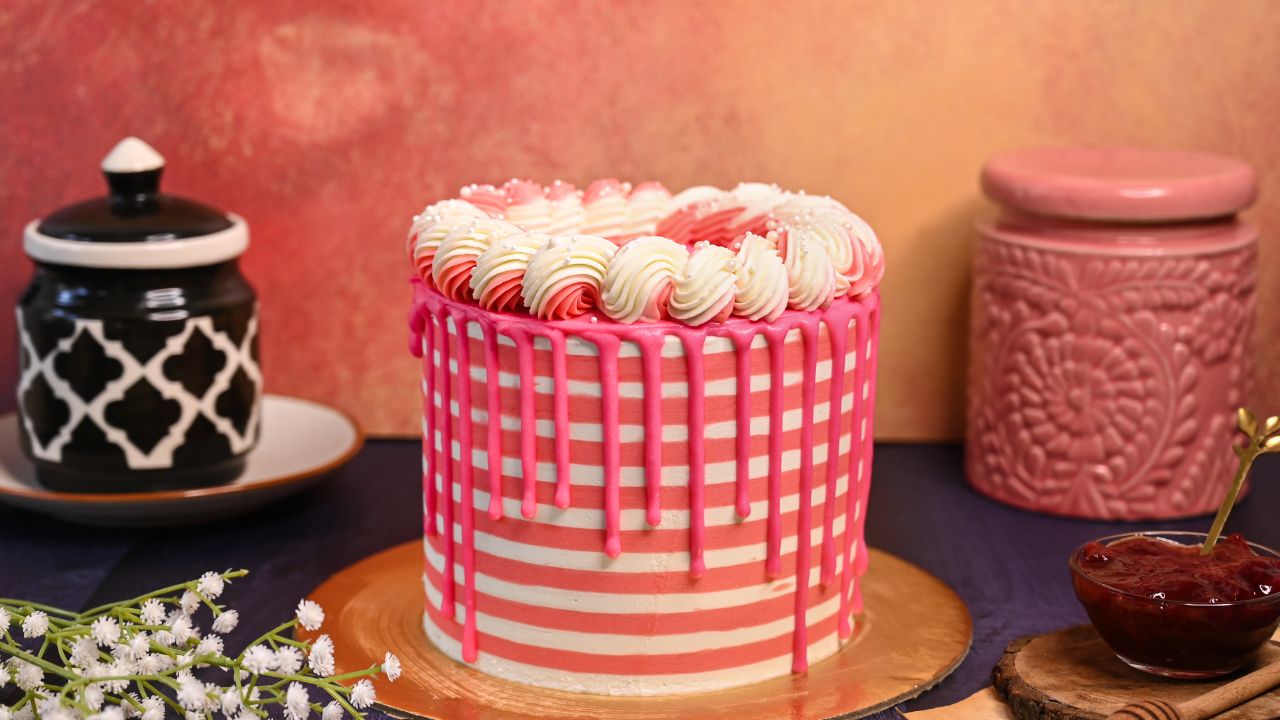
This is the best strawberry cake you will ever taste. It tastes insanely delicious, and its amazing texture is just out of the world. It not only tastes amazing but looks satisfying and eye-catching as well, with its two-colored buttercream and the most beautiful pink drip.
So, let me ask you a question. Do you like Strawberry Cake? I love strawberry cake, and if you are one of those people who do not like strawberry cakes, then you are missing out on one of the most delicious desserts out there. If you like Strawberry cake, then you are in for a treat!
Most of the Strawberry Cake in bakeries consists of a vanilla sponge with strawberry chunks mixed with the frosting and used as a filling.
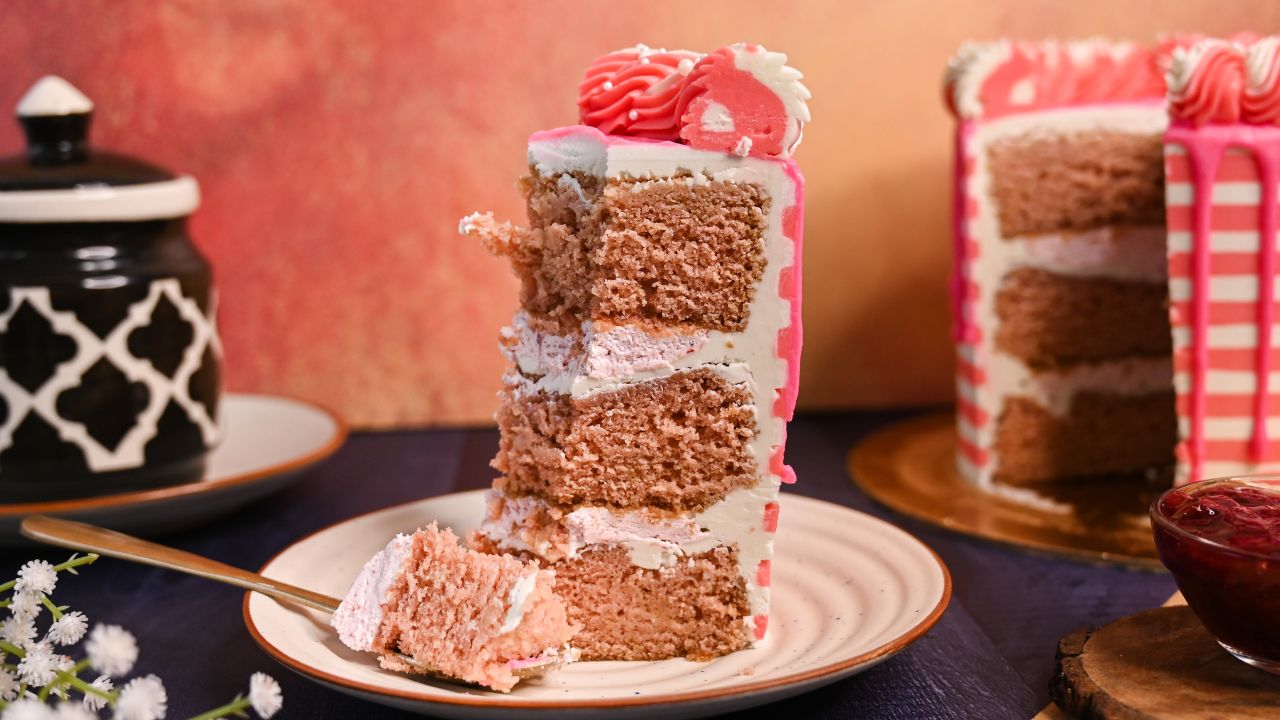
But this recipe for strawberry cake is made with strawberry sponge, strawberry filling, and American buttercream.
The texture of the sponge is moist, soft, and tender. With the combination of cloudy strawberry filling and buttercream, it creates a cake that melts in your mouth when you bite it, and you get a fruity strawberry flavor with each bite. Doesn’t it sound alluring?
So, through this blog post, I will tell you how to make the most delicious strawberry cake that you will ever taste.
Why You Will Love This Recipe?
- Flavor: This cake is bursting with strawberry flavor. It is packed with the naturally sweet and slightly tart flavor of strawberries.
- Texture: This strawberry cake is moist and tender and practically melts in your mouth. All the elements fit perfectly with each other, creating a strawberry cake with a beautiful melt in your texture.
- Homemade Goodness: Rather than having a store-bought strawberry cake, bake a strawberry cake from scratch with this amazing recipe. The ingredients that you use will ensure a high-quality cake and add to your enjoyment.
- Crowd pleaser: Whether it’s a birthday, small family gathering, or an engagement party, this cake is perfect for any occasion as this cake is a total crowd pleaser.
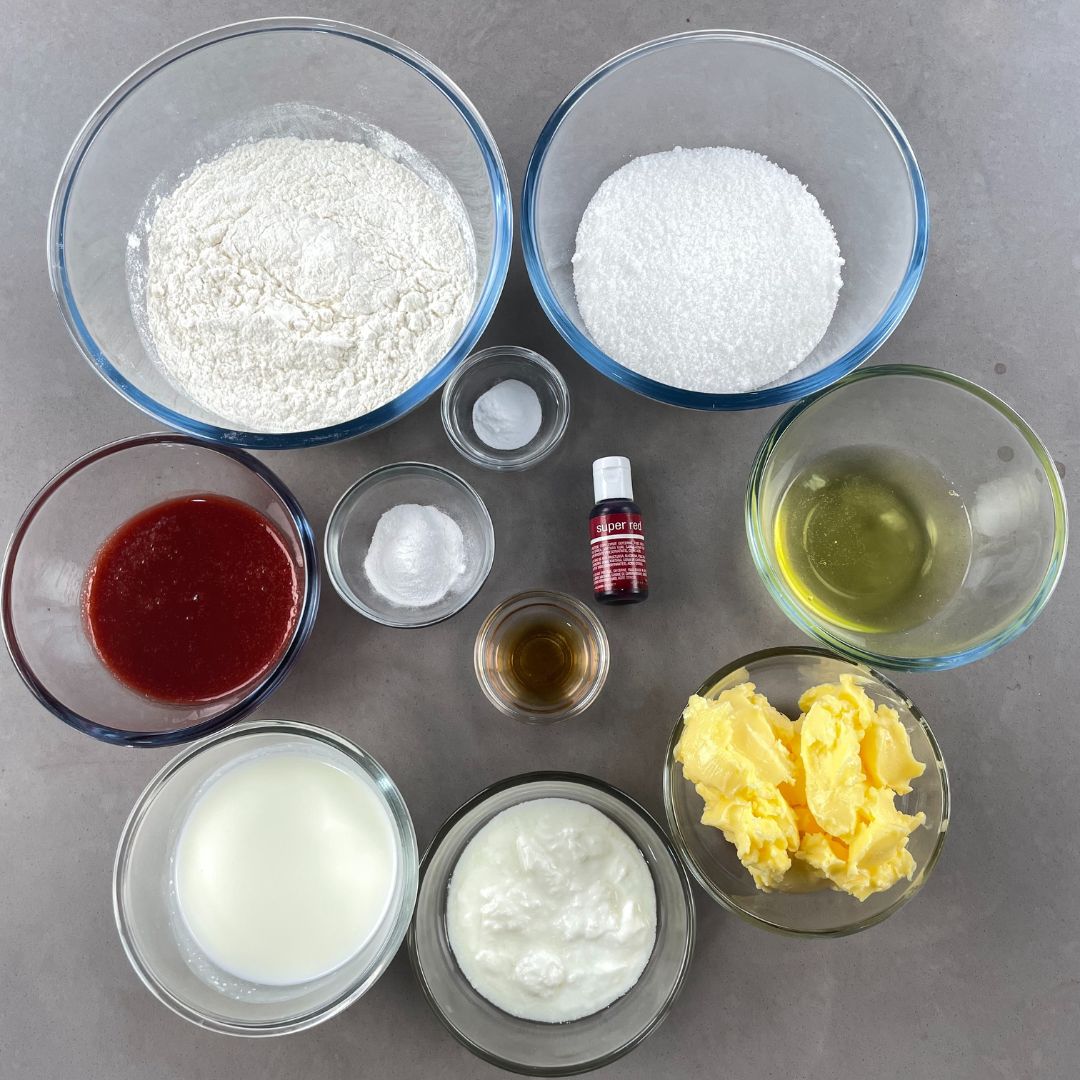
Important Ingredients Used In The Recipe
- Strawberry puree: It is the star ingredient of this recipe. The strawberry puree has been added to the sponge batter to give it a fresh strawberry flavor.
- Egg whites: Apart from acting as a binding agent, it helps in structure and adds moisture to the cake as well. It will also make the cake fluffier in texture.
- Curd: Curd tenderizes the crumbs, resulting in soft crumbs that make the cake delicate in texture.
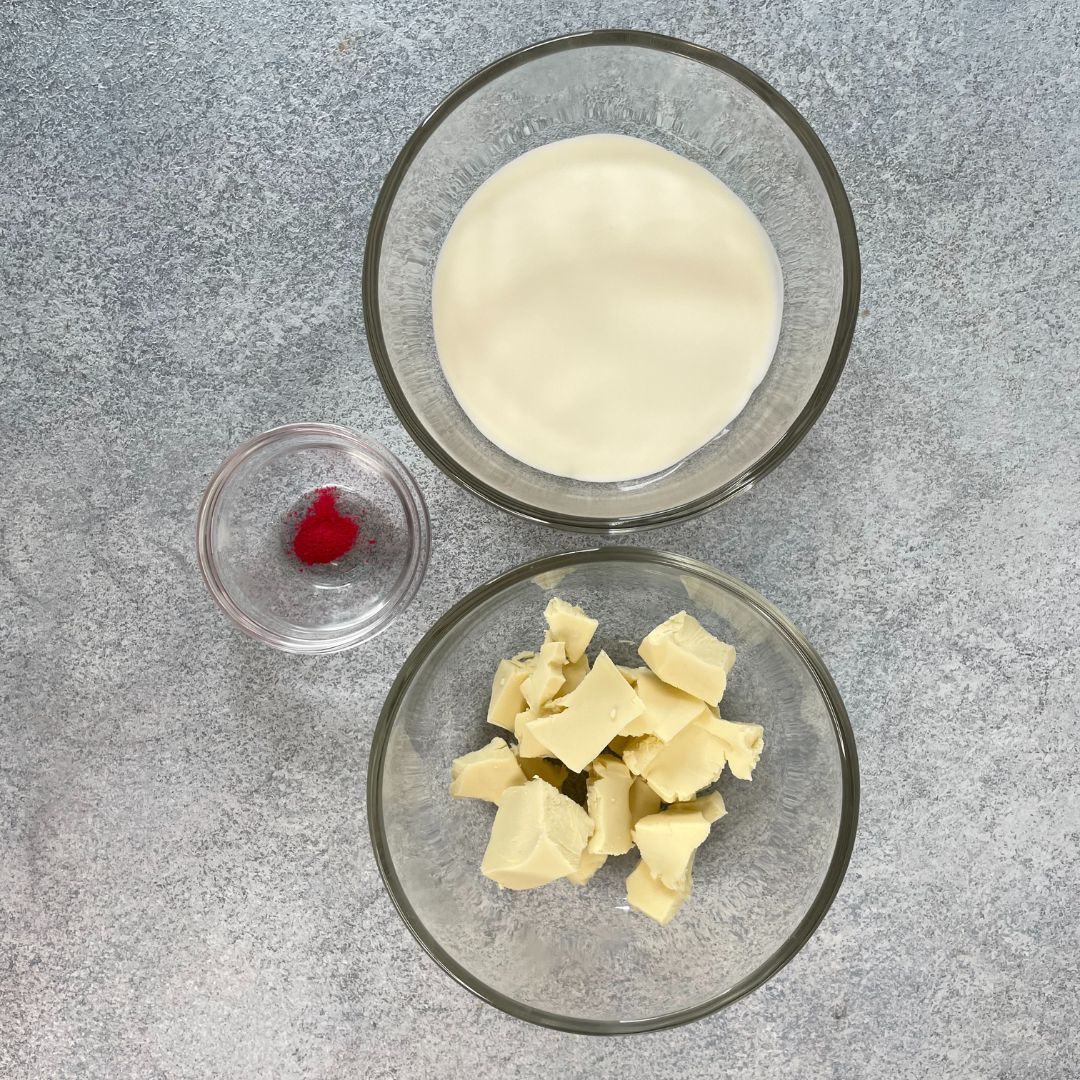
- Gel food color: I have used an edible red gel color to give the cake a pink hue that resembles the strawberry cake.
- Rising agent: As rising agents, both baking powder and baking soda have been used in this cake. It helps the cake to rise and makes the cake tender.
- Strawberry compote: Strawberry compote has been used to make the filling for this cake. It makes the filling full of strawberry flavor that compliments both the sponge and the American buttercream.
- Milk: Milk contributes to the cake’s texture and flavor. It helps to distribute the ingredients evenly while mixing. It has also been used to make American buttercream, as it makes the buttercream smooth and silky.
How To Make A Strawberry Cake?
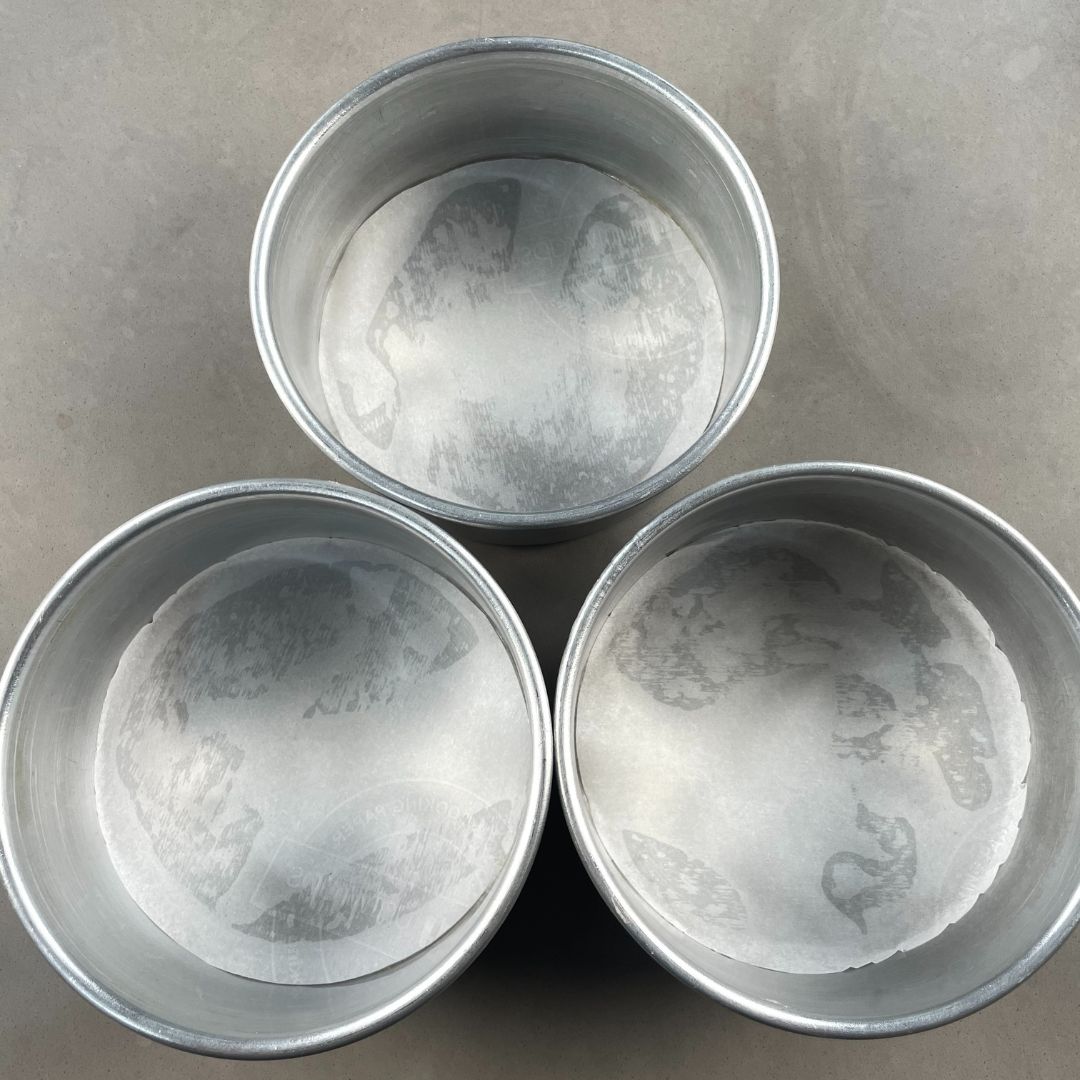
Preparations: Gather all the ingredients that are needed for the recipe. Weigh the ingredients through a kitchen weighing scale. Make sure that all the ingredients are at room temperature. Prepare three 6-inch round baking tins by greasing oil and placing butter paper at the bottom. Also, preheat your oven to 180° C or 350° F (OTG mode: lower rod + upper rod + fan) before starting the recipe.
For The Sponge
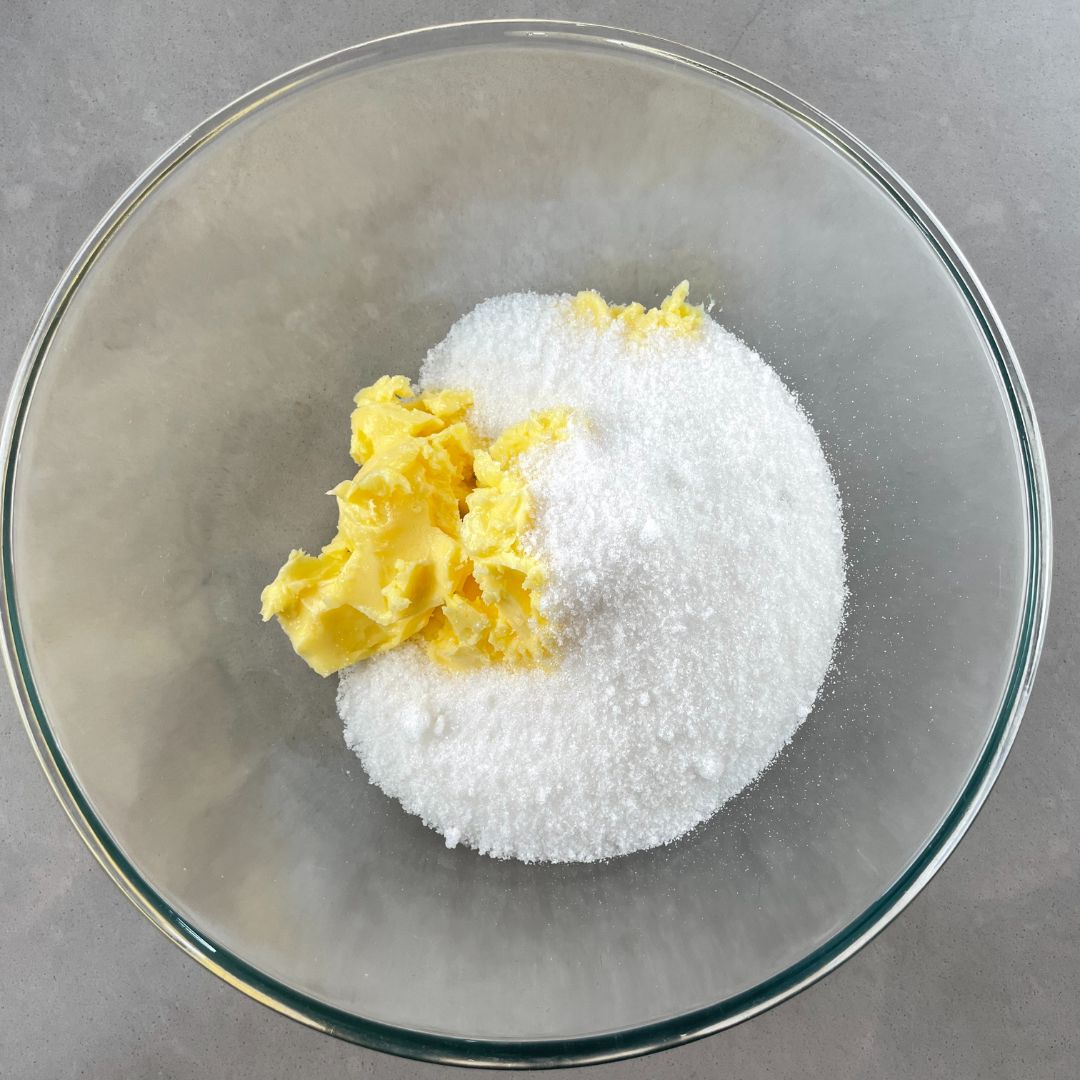
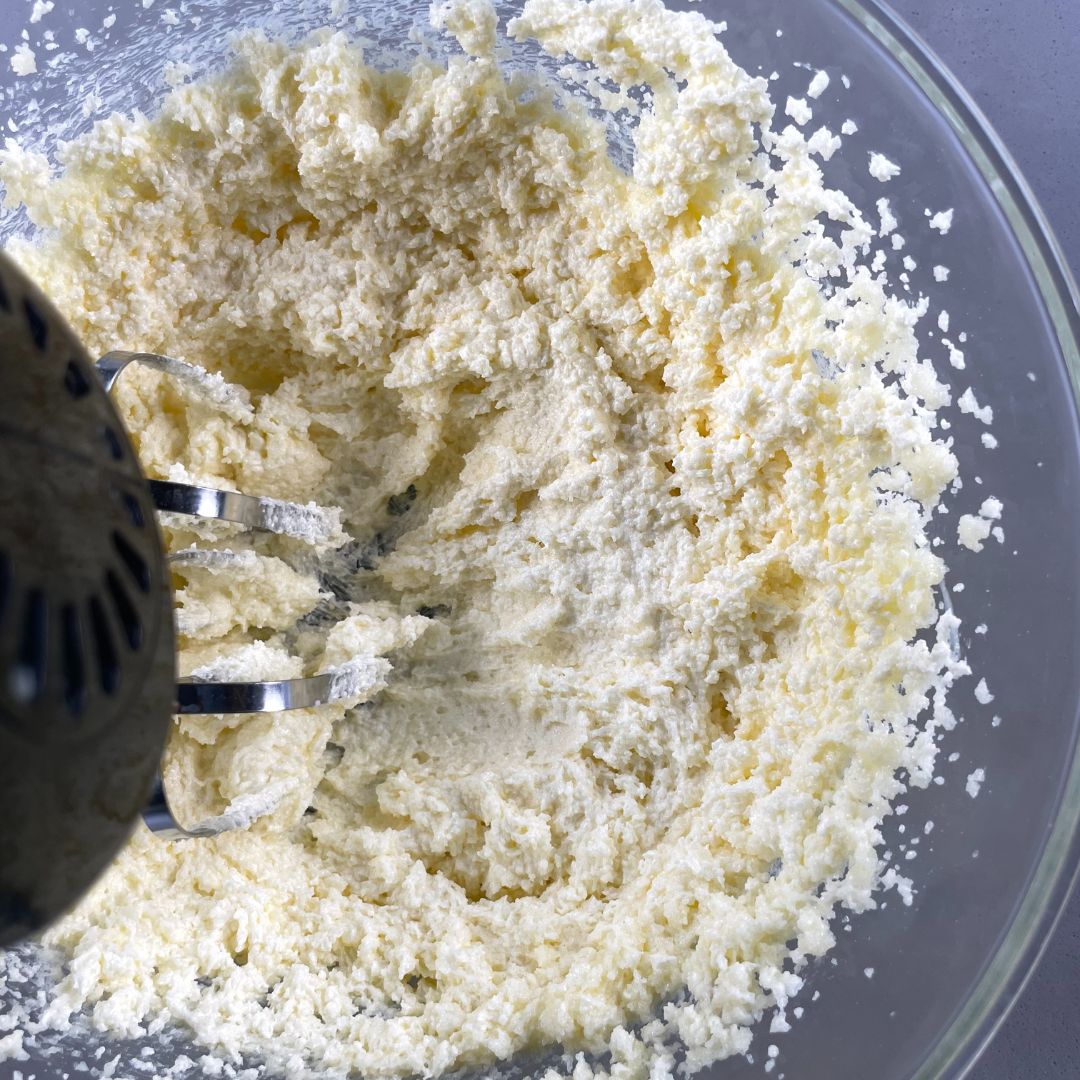
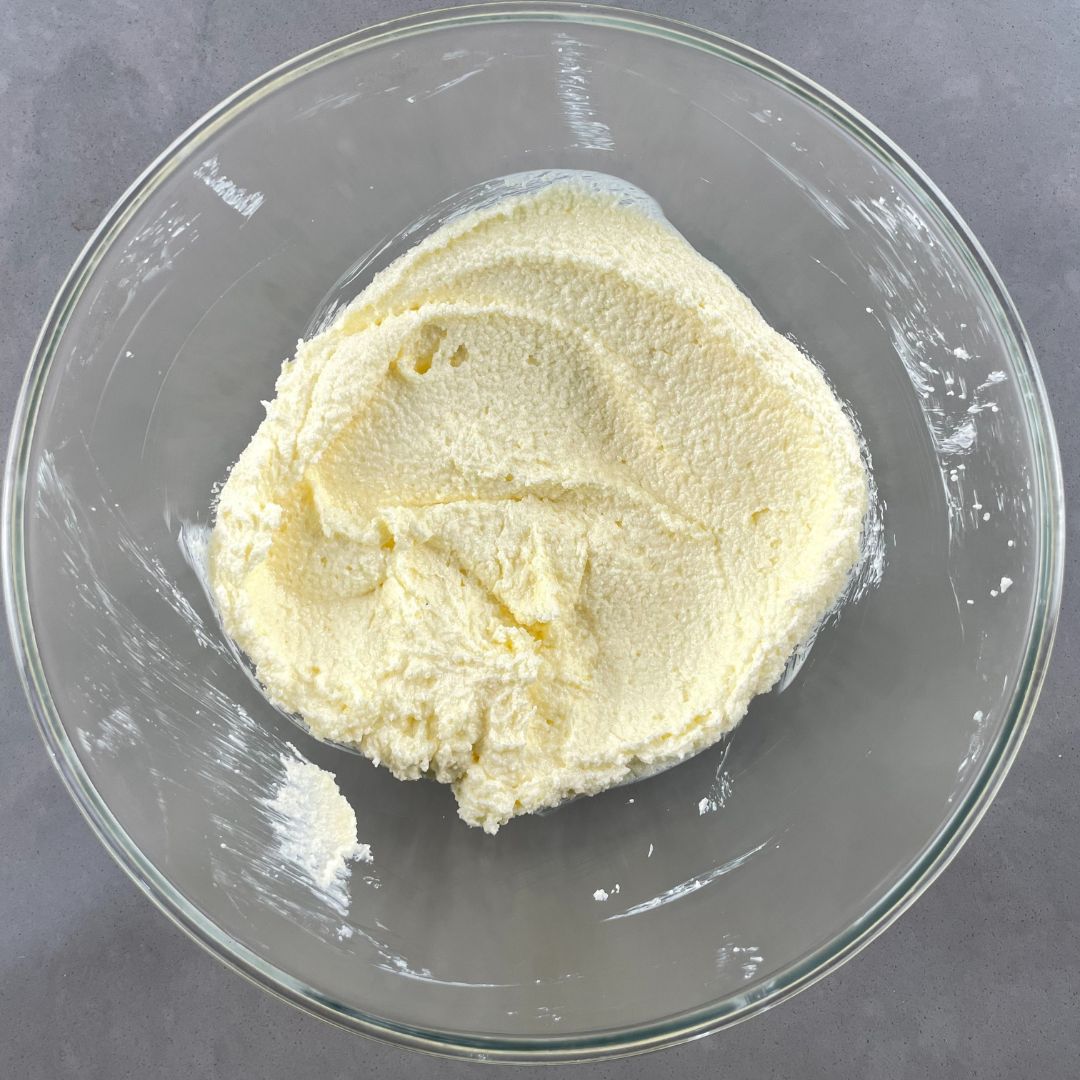
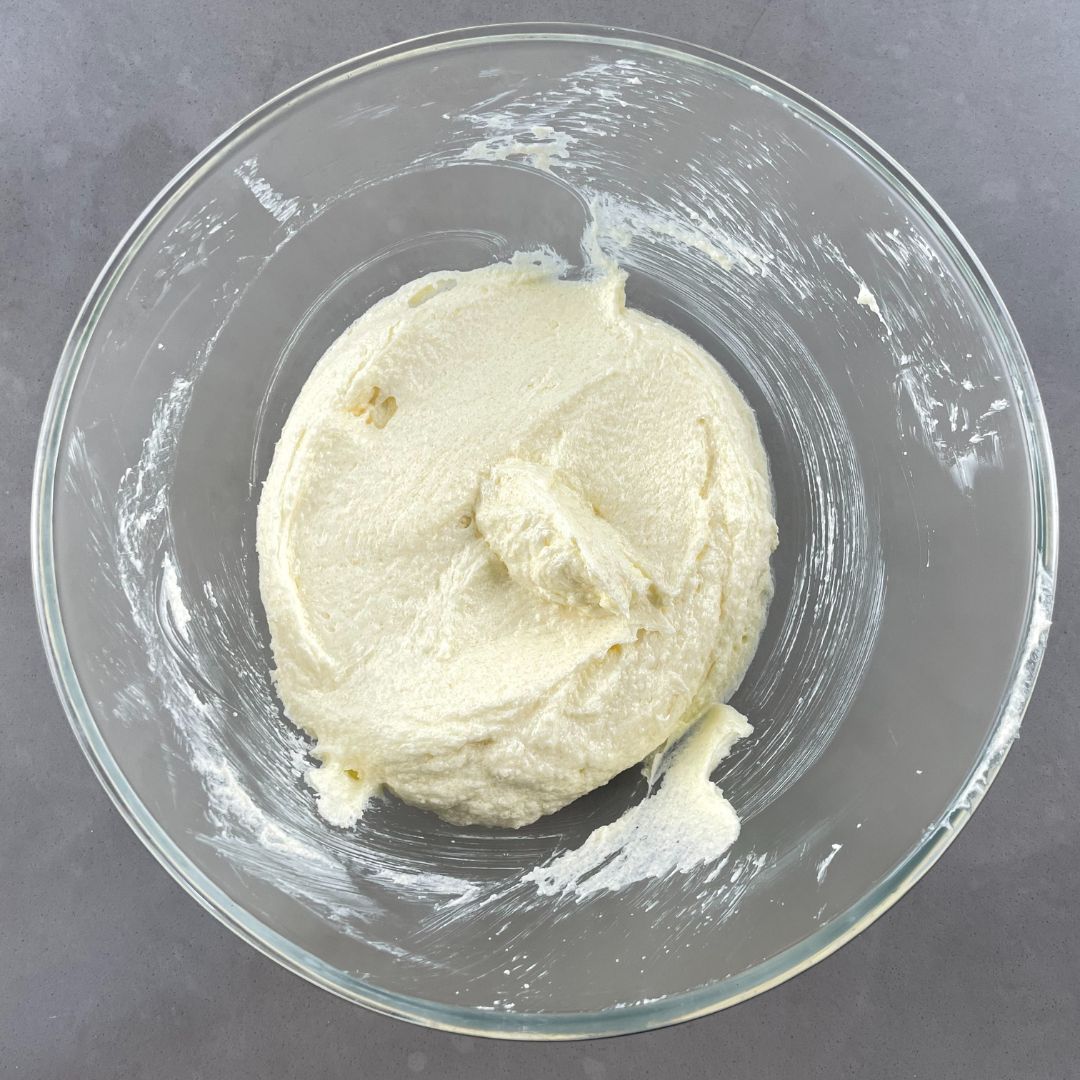
Cream butter and sugar: In a big bowl, cream salted butter and castor sugar with an electric hand beater until it’s pale and fluffy in texture. Make sure that the butter is at room temperature, as it will make the creaming process easier.
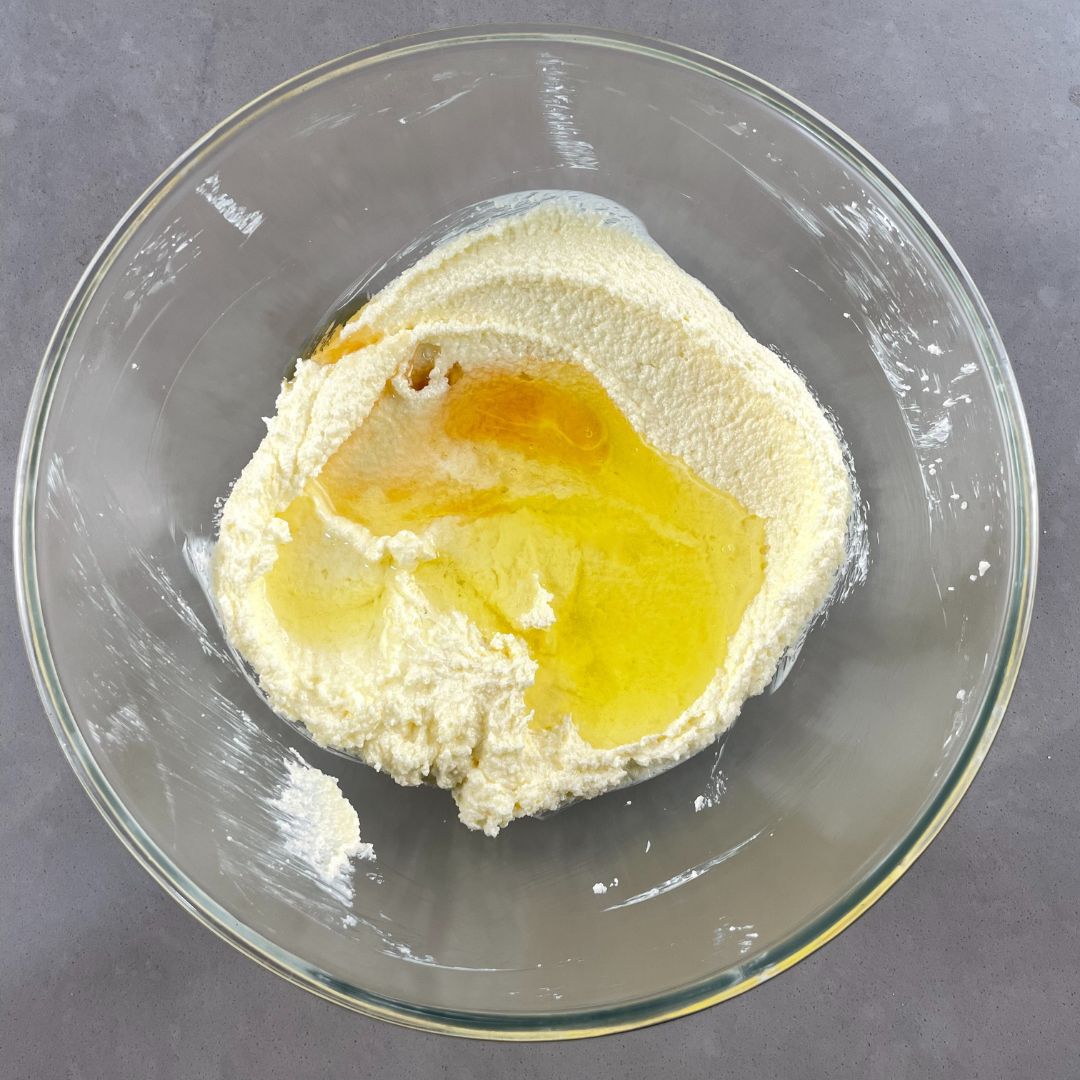
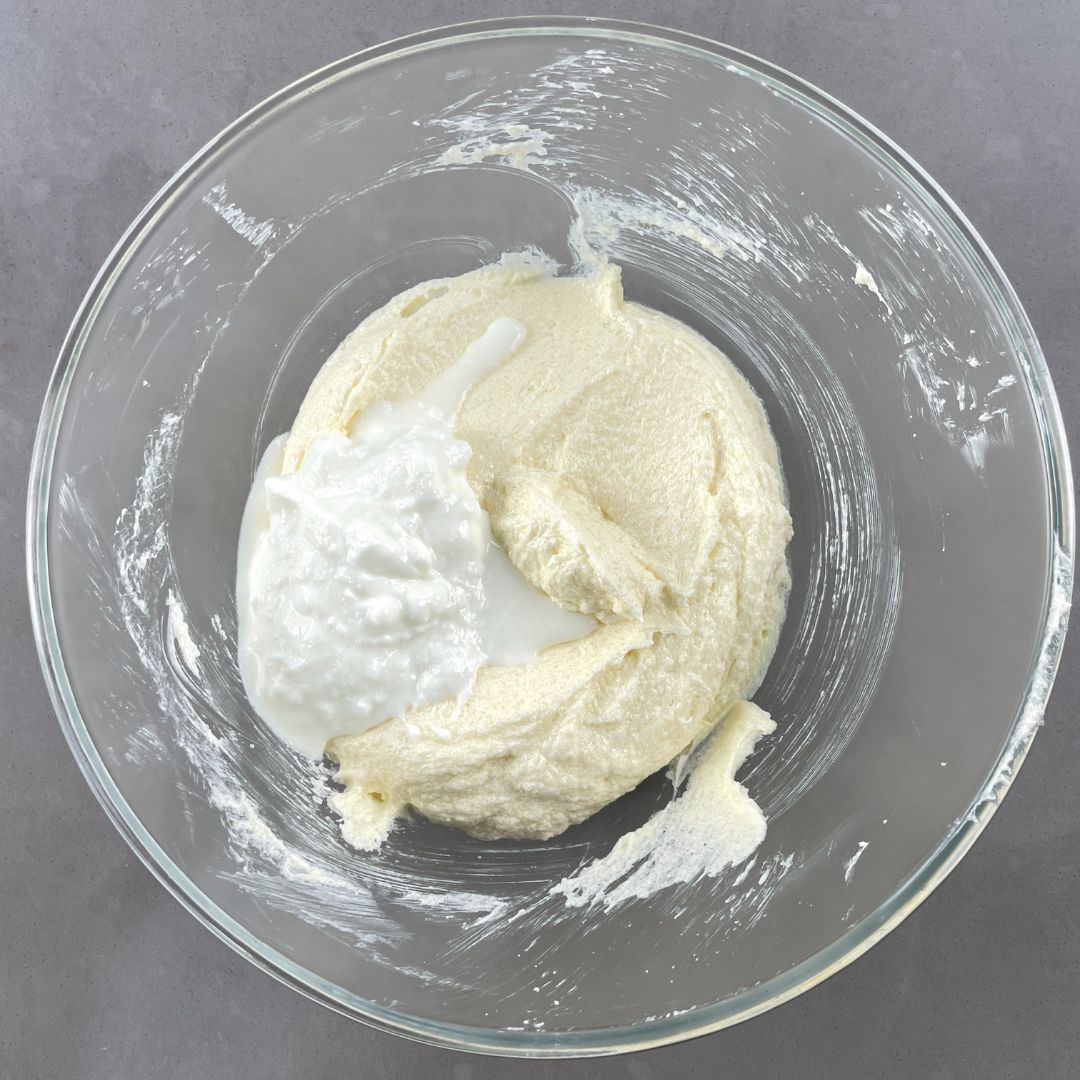
Add egg whites and curd: Once the butter and sugar have creamed perfectly, add in egg whites and vanilla essence, then mix properly. Once egg whites are thoroughly incorporated, add in curd, then combine again so that they are mixed properly.
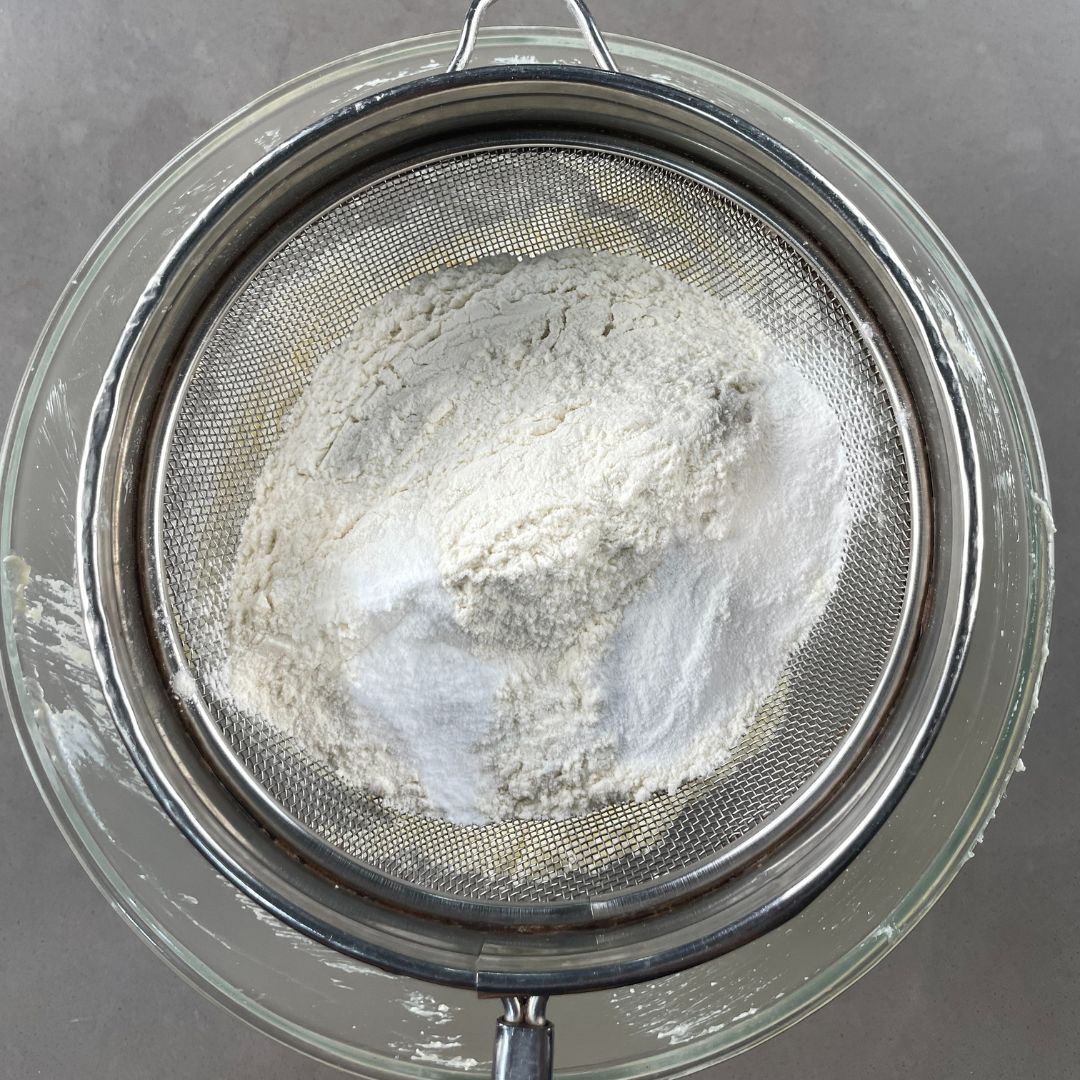
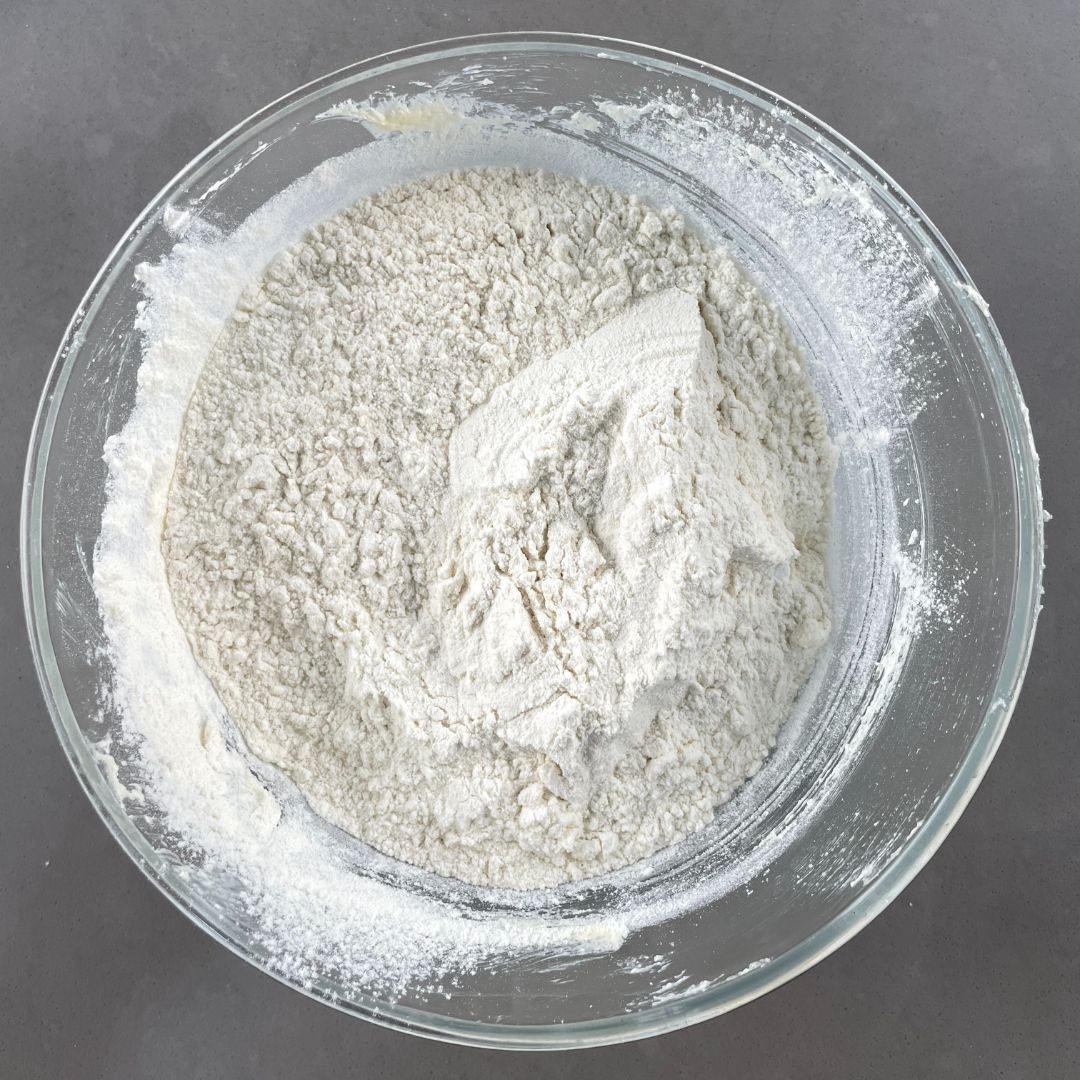
Sift dry ingredients: Now, in the same bowl, sift the dry ingredients, which are all-purpose flour, baking powder, and baking soda. Sifting will help us in getting a lump-free batter. Combine the dry ingredients by using cut and cut-and-fold method to avoid over-mixing
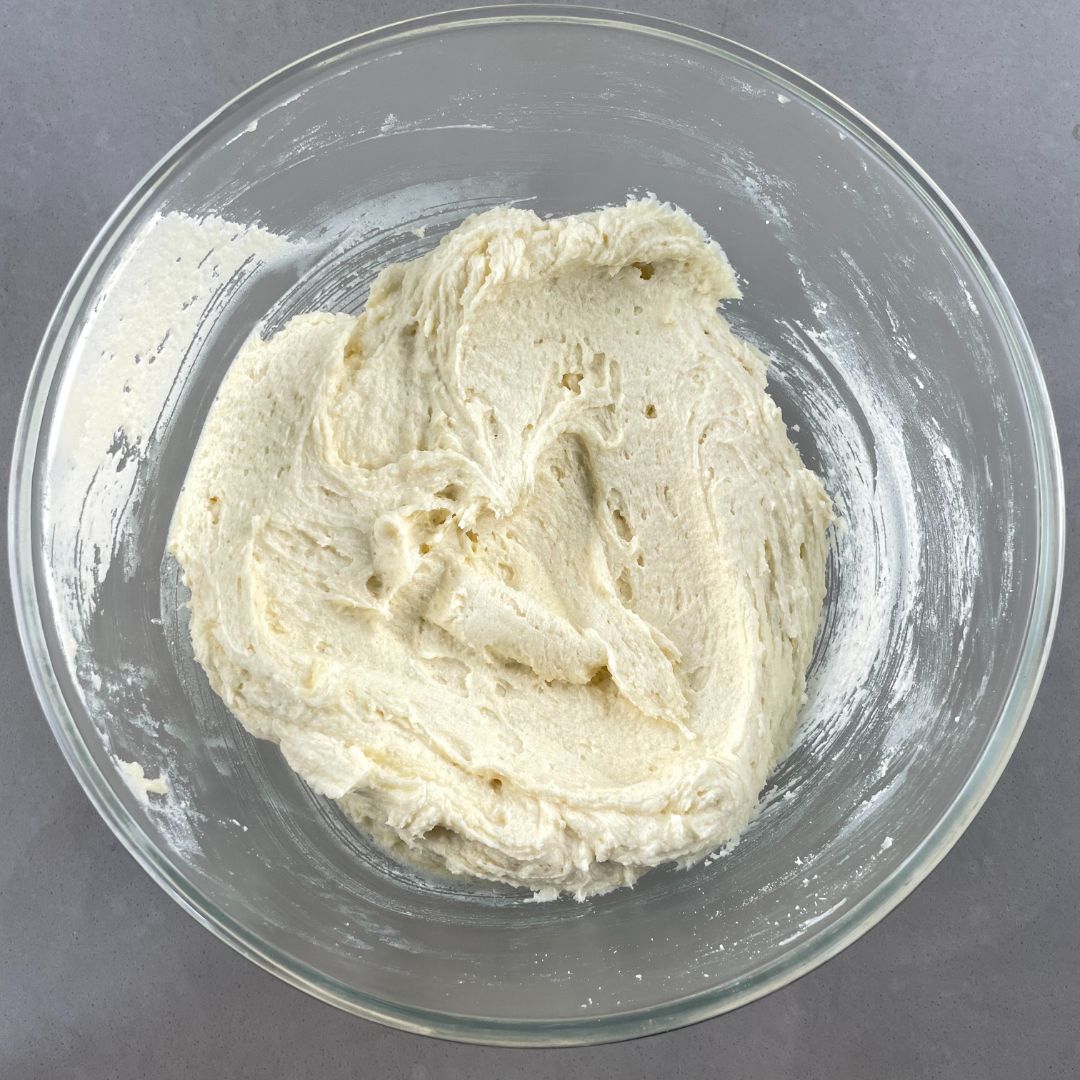
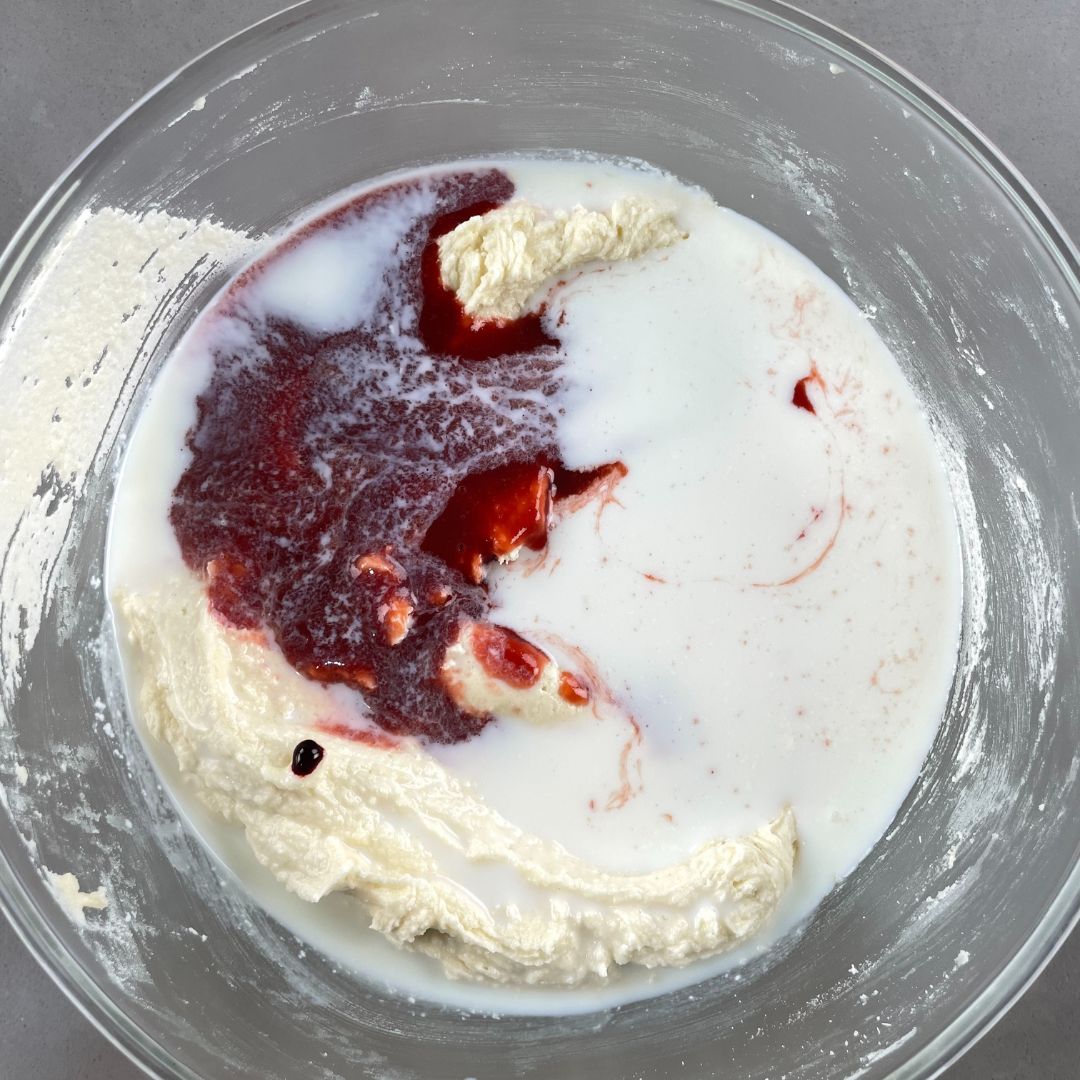
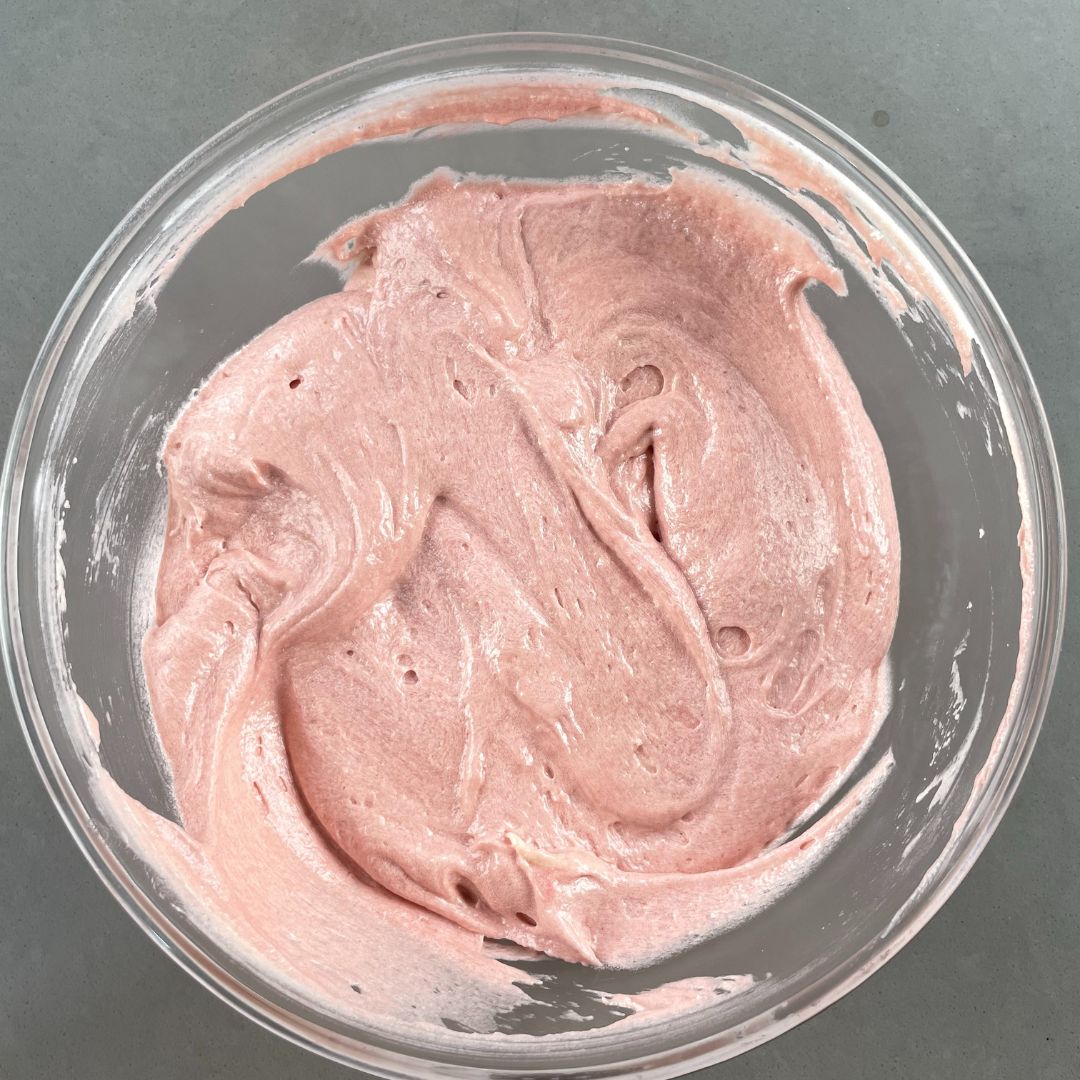
Make the batter: Once the dry ingredients are mixed, add in milk, strawberry puree, and edible red food gel color. Give the batter a final mix to combine everything properly.
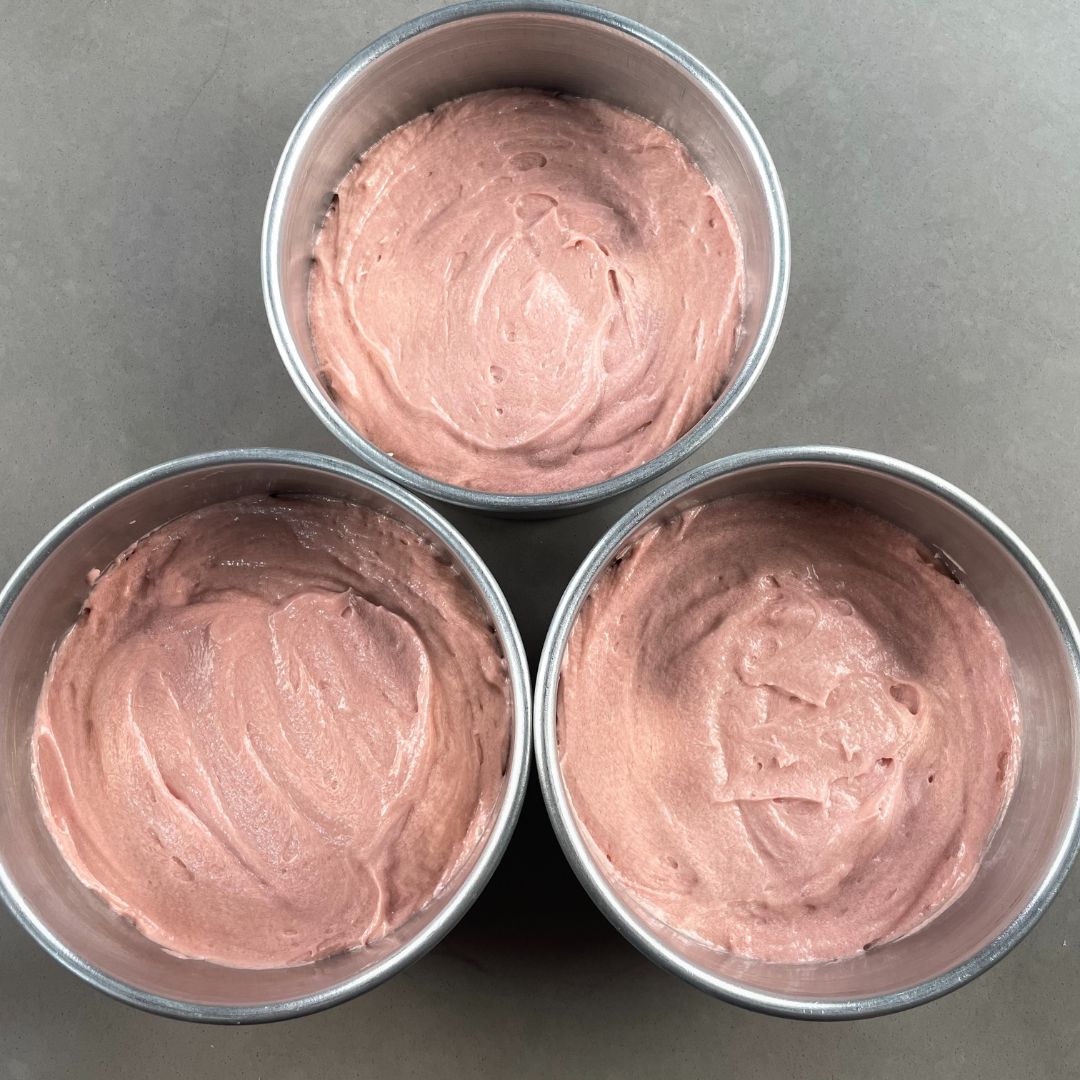
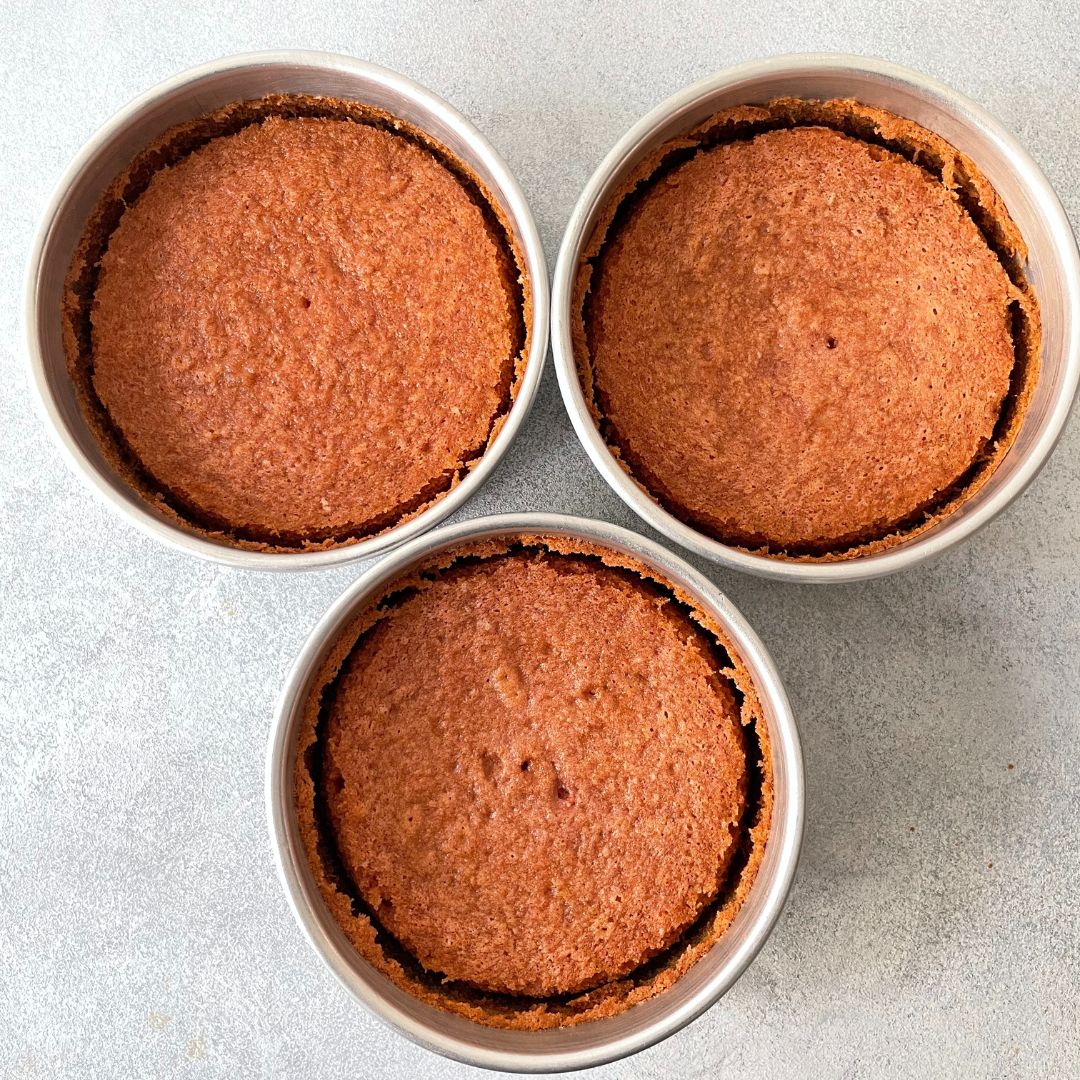
Bake: After the batter is made, pour it into the three baking tins equally. Use a weighing scale so that each tin has the same amount of batter. Bake them at 180° C or 350° F (OTG mode: lower rod mode only) for 30 – 35 minutes or until the toothpick inserted in the middle comes out clean with a few dry crumbs sticking to it.
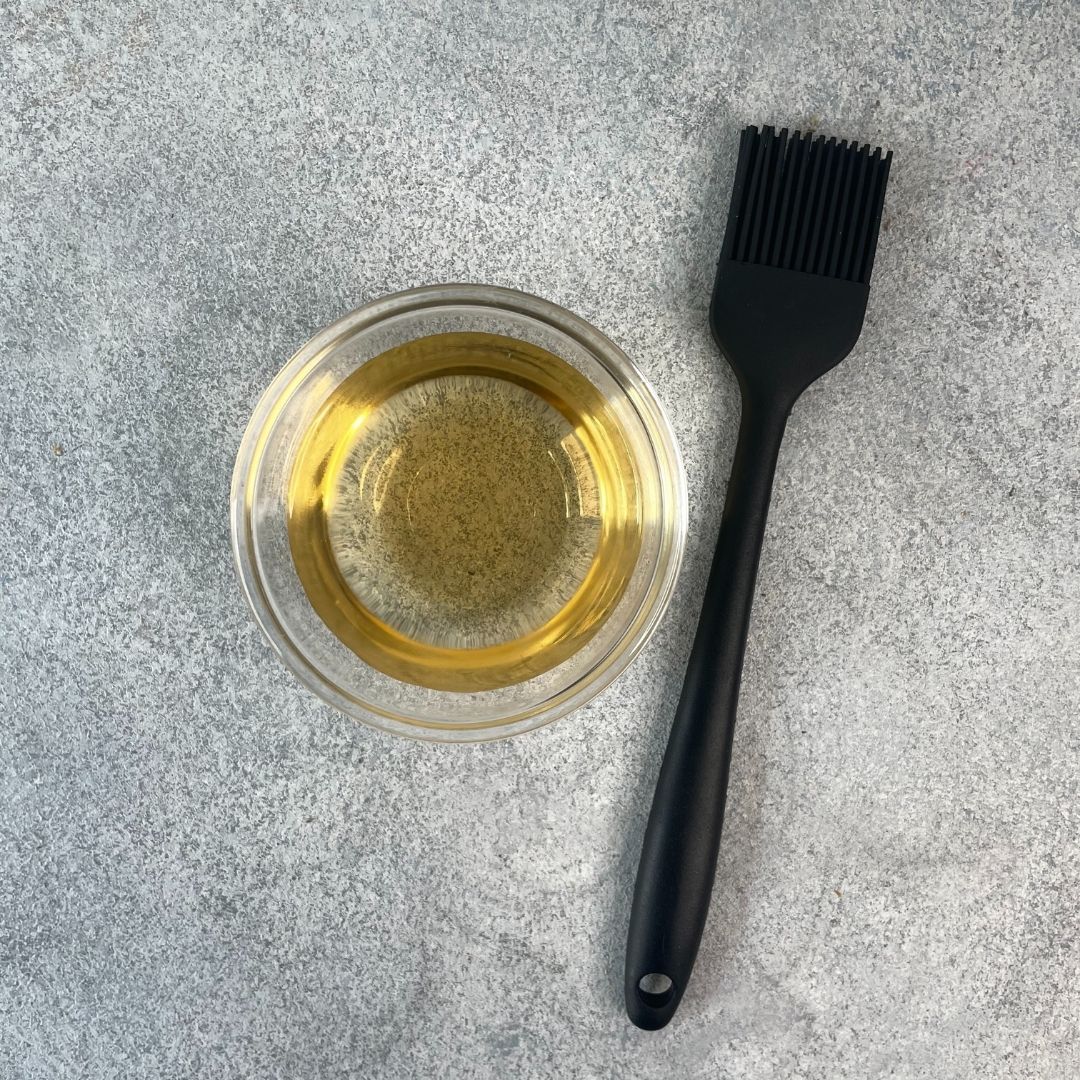
For The Soaking Syrup
Make the soaking syrup by simply mixing water and vanilla essence together. Then, keep it aside for the assembly of the cake.
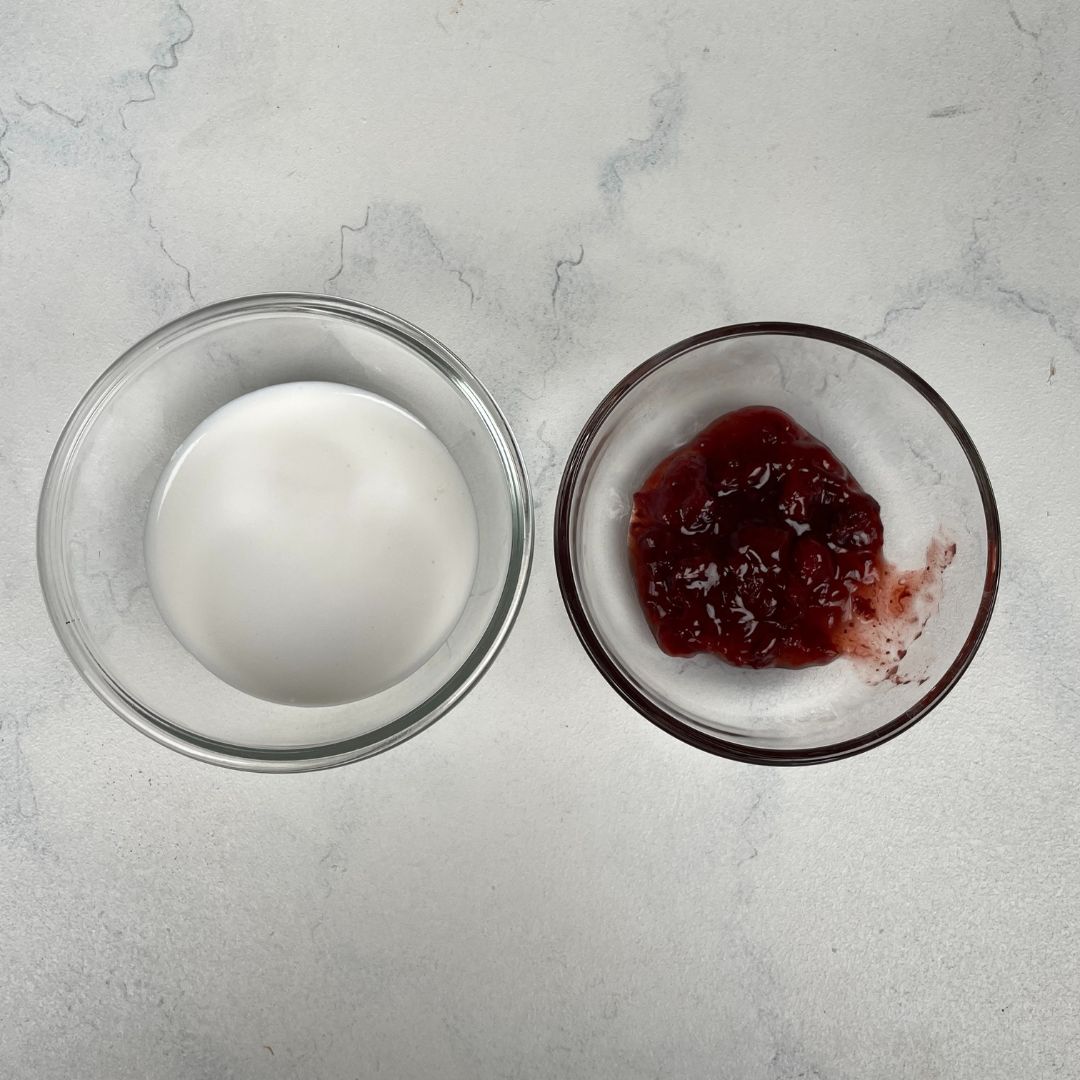
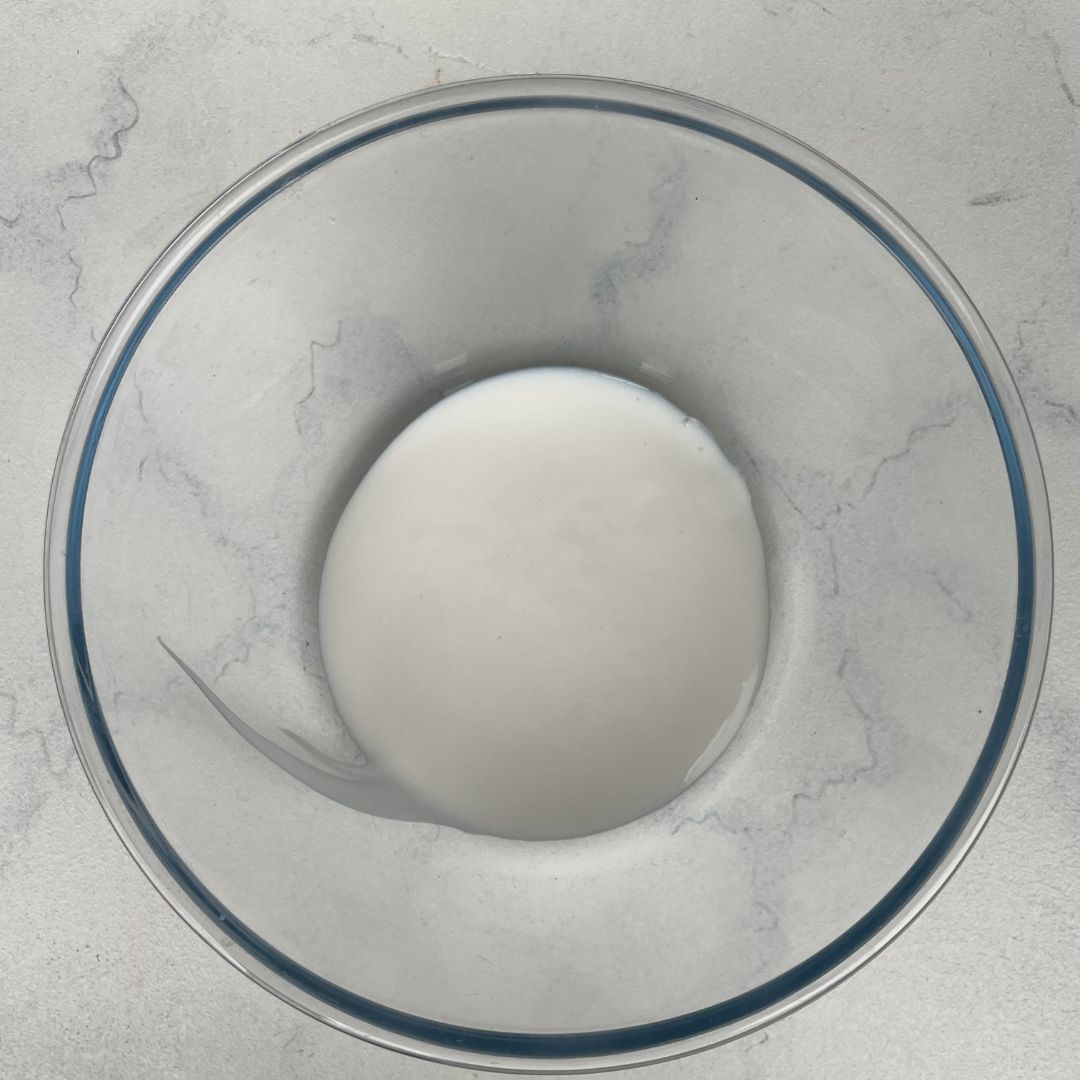
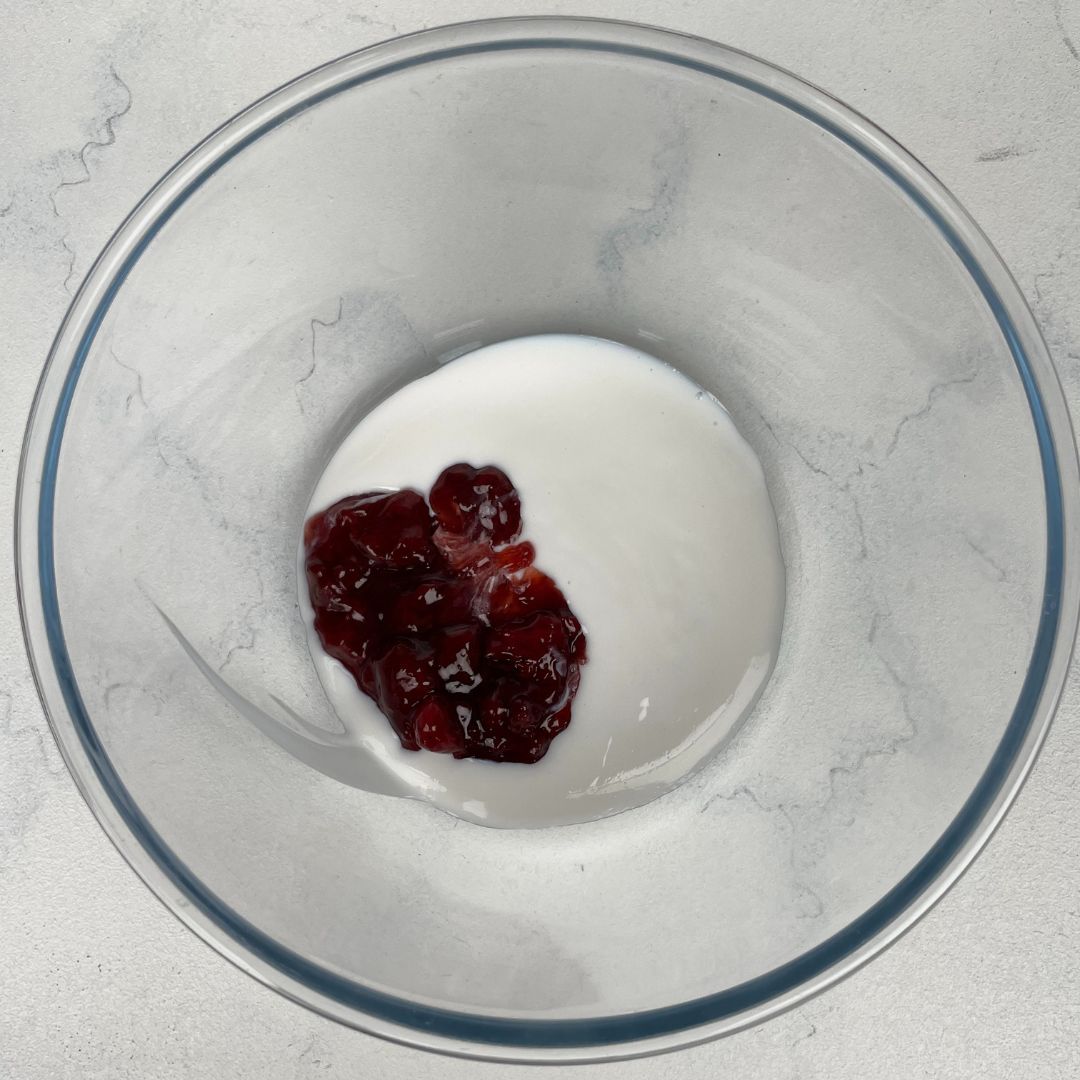
For The Strawberry Filling
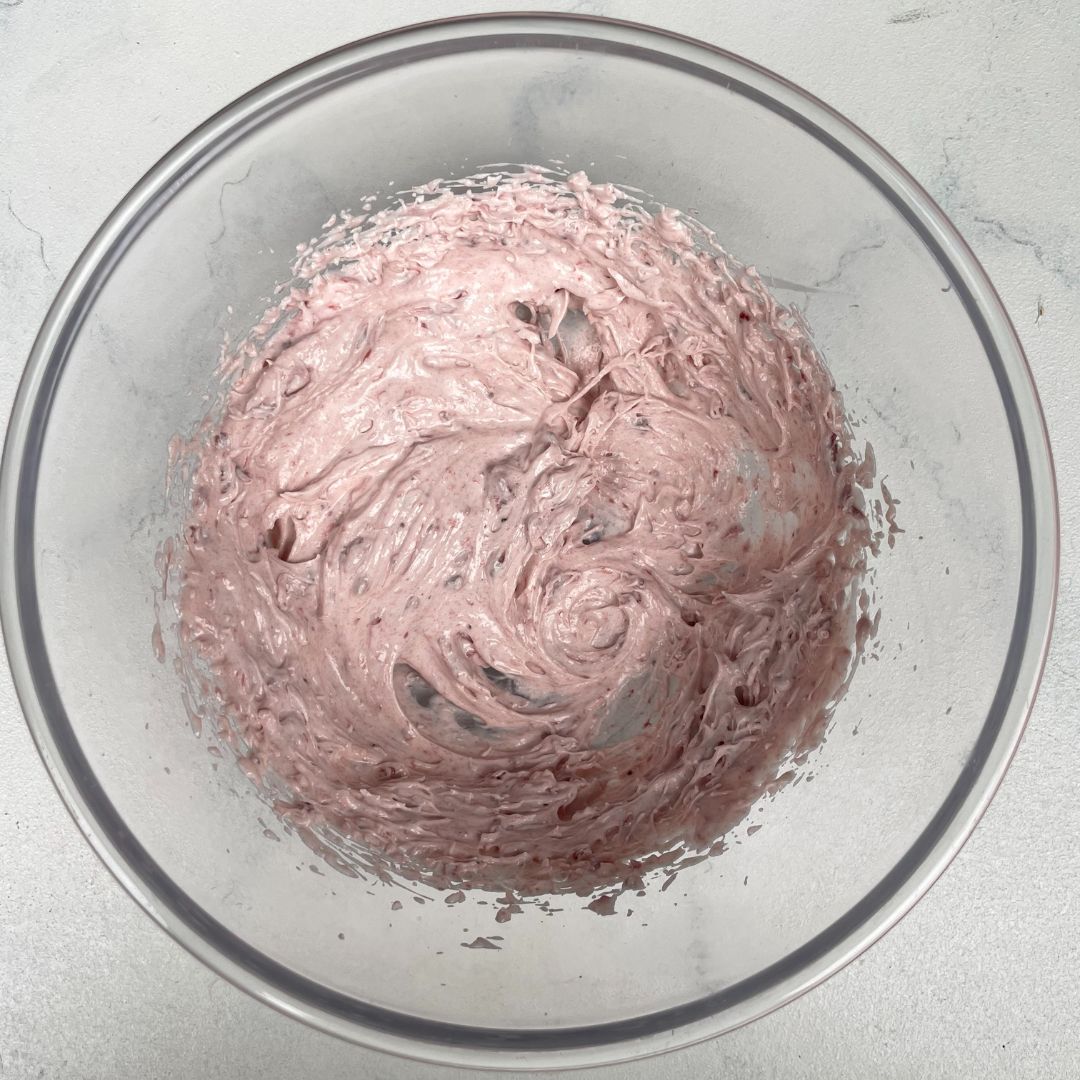
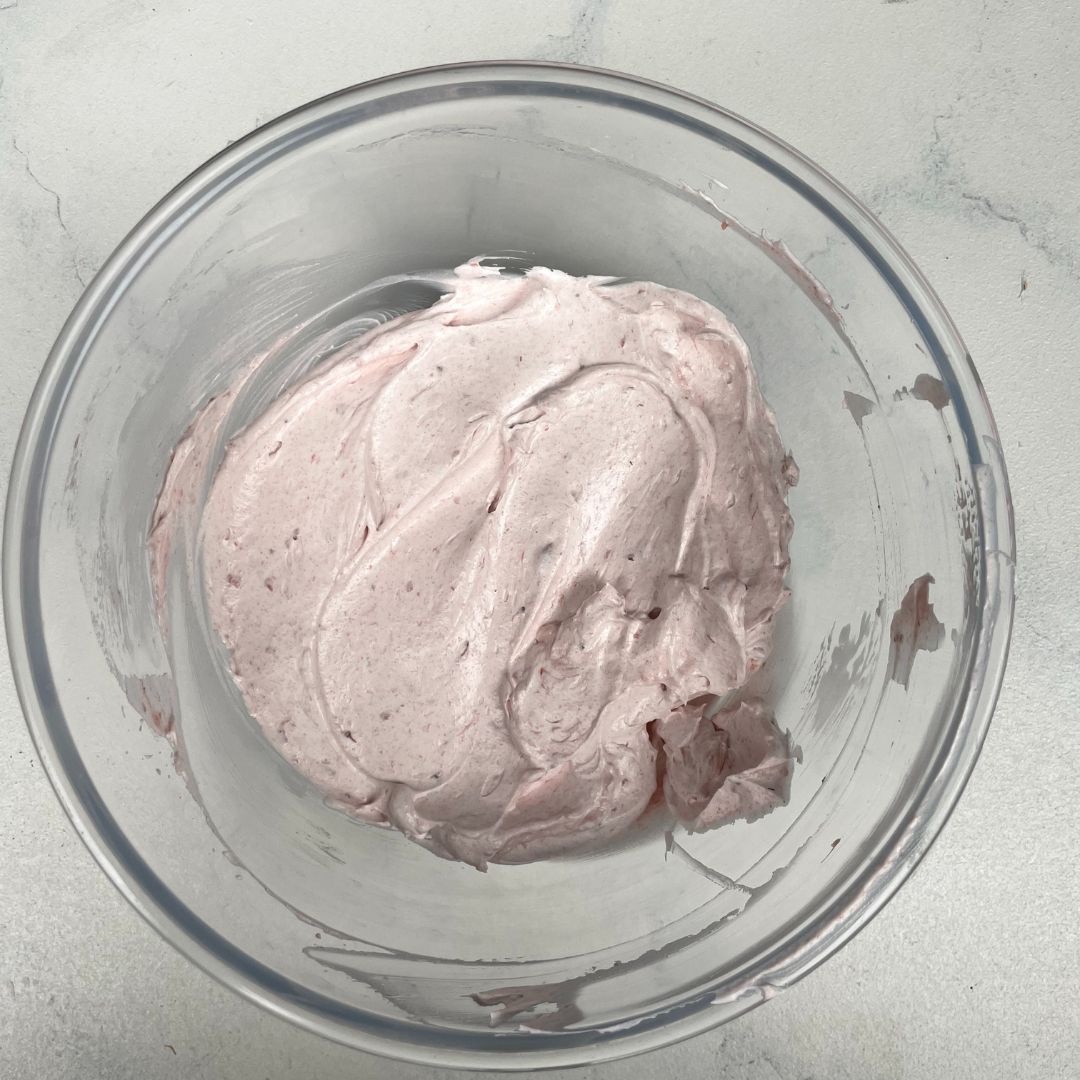
To make the strawberry filling, add the strawberry compote to the sweetened whipping cream and beat them using an electric hand beater until they are fully incorporated and have soft peaks. Transfer it to a piping bag, then keep it aside for the assembly.
For The American Buttercream
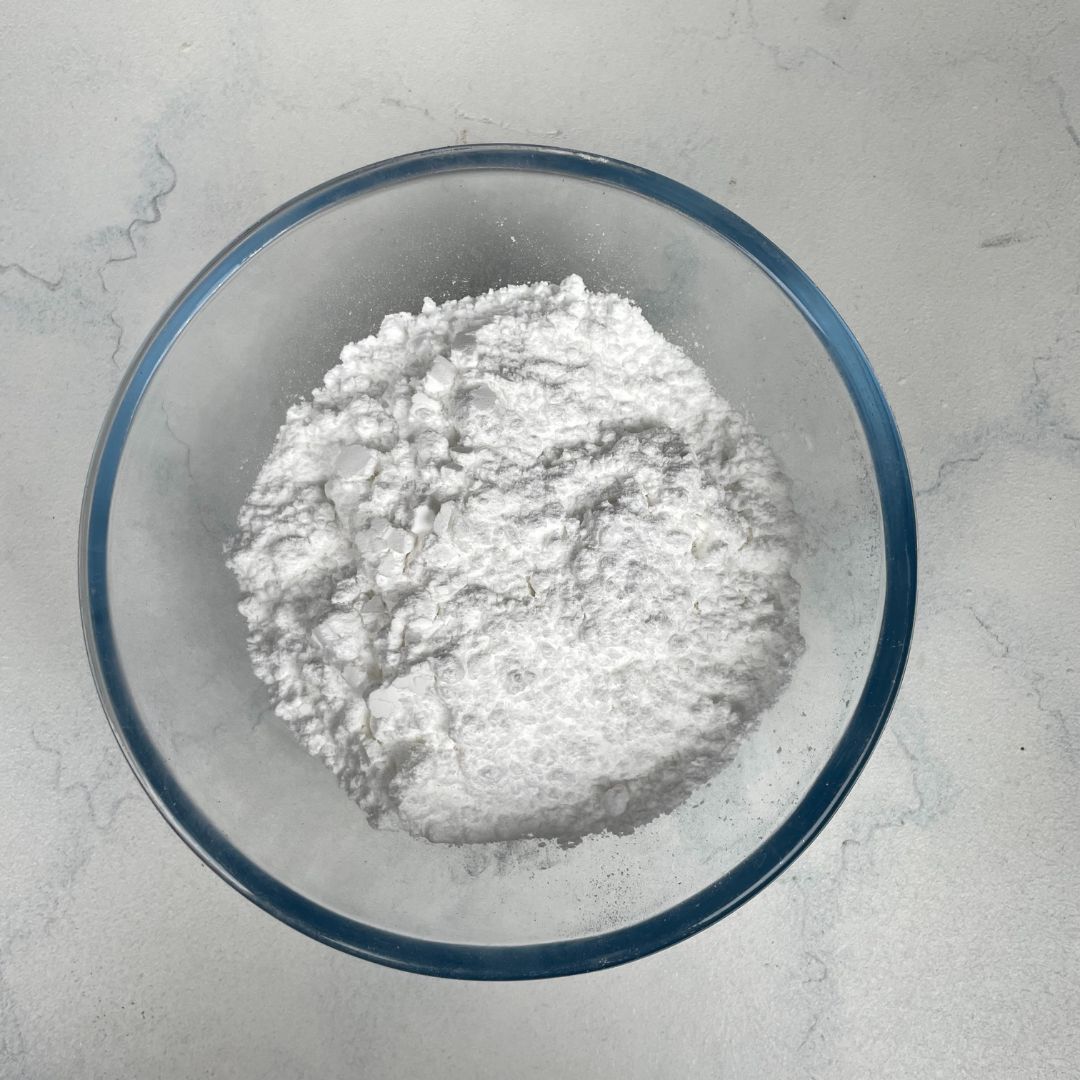
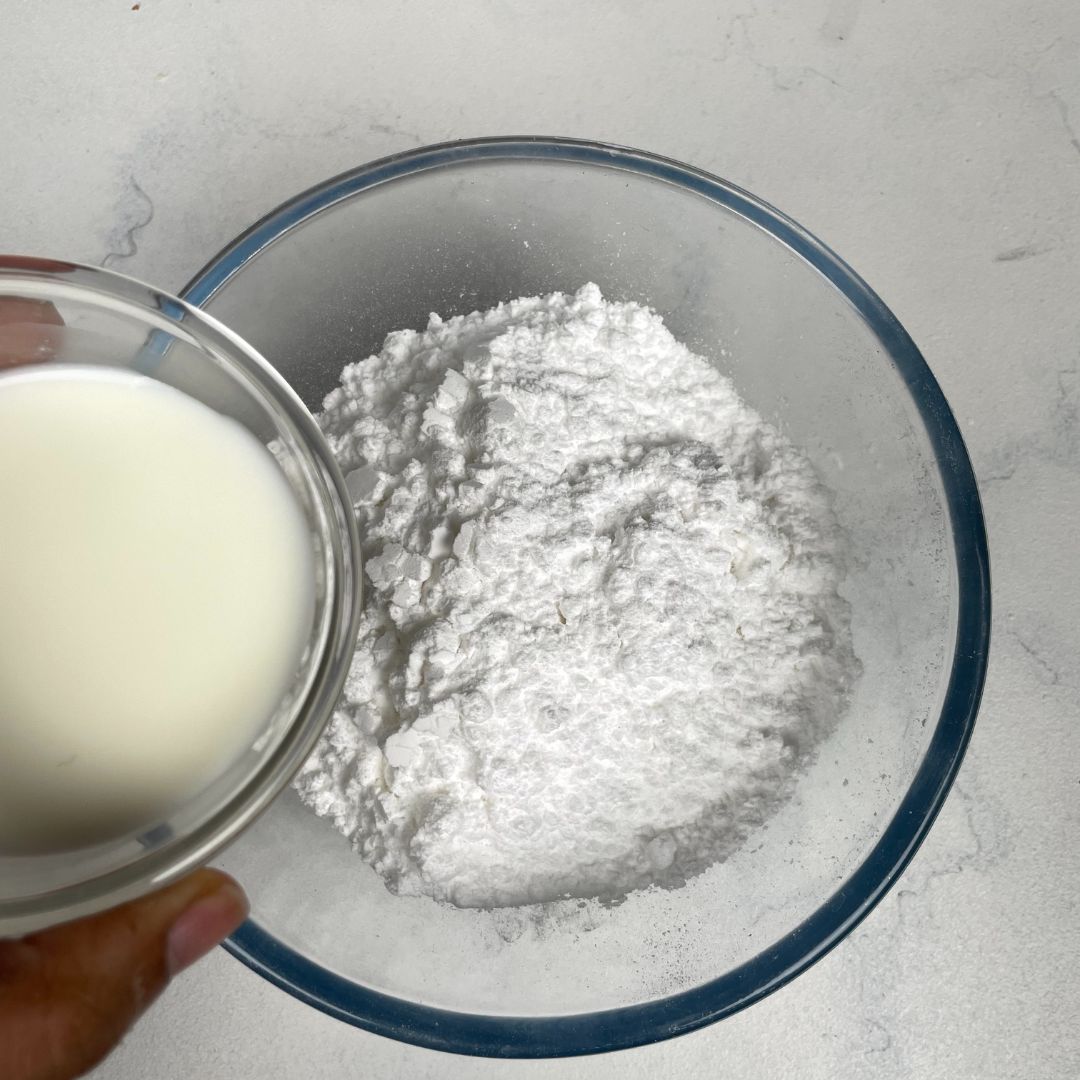
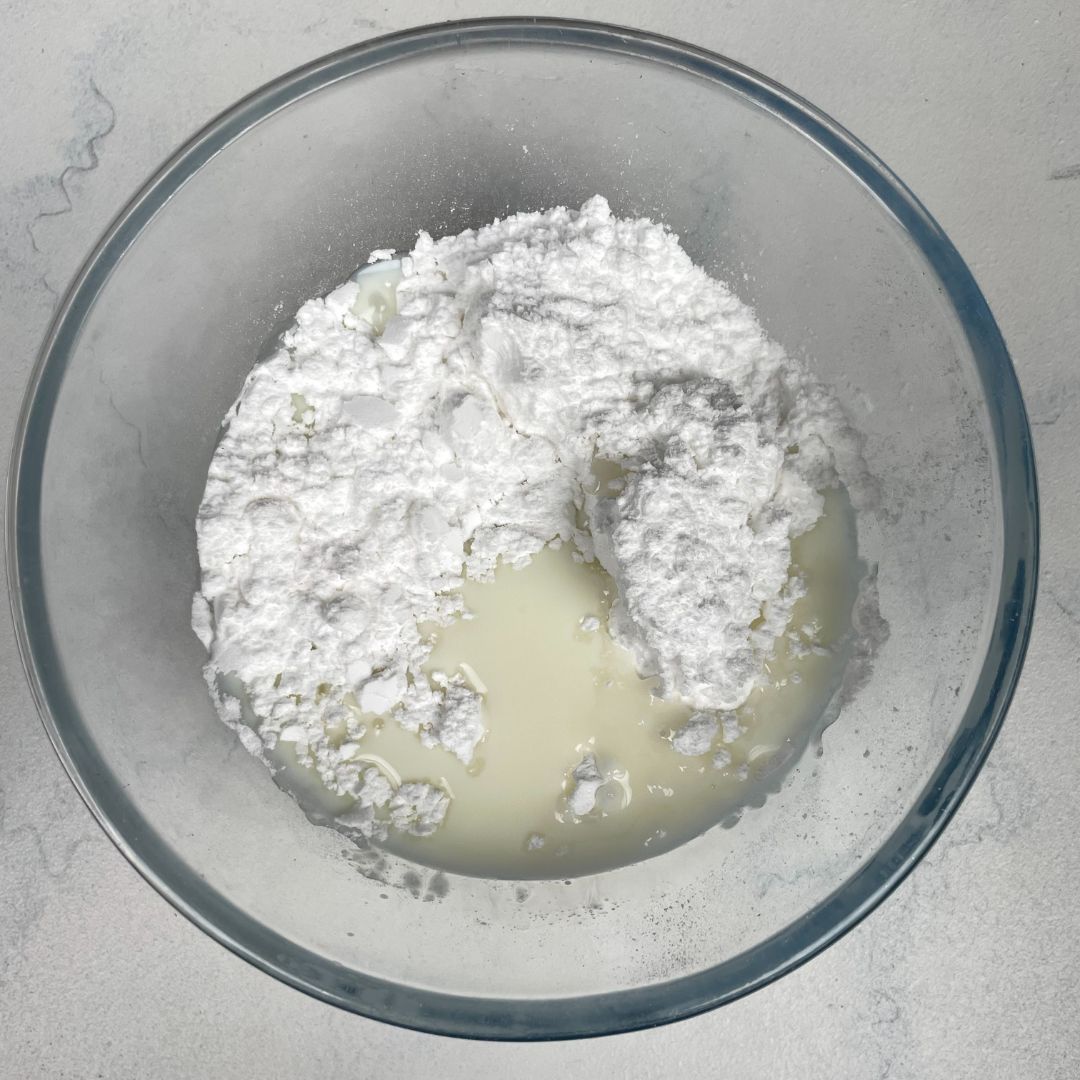
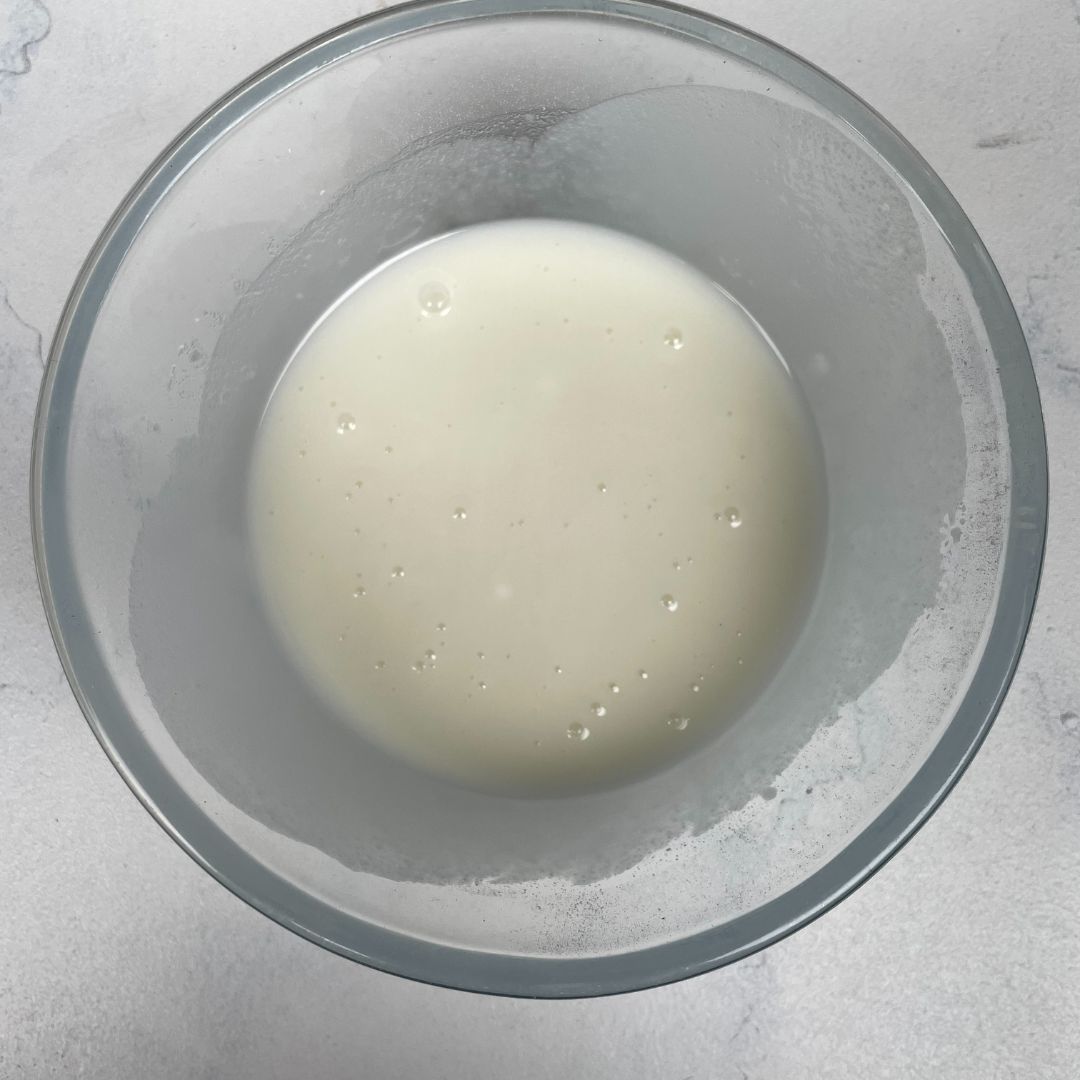
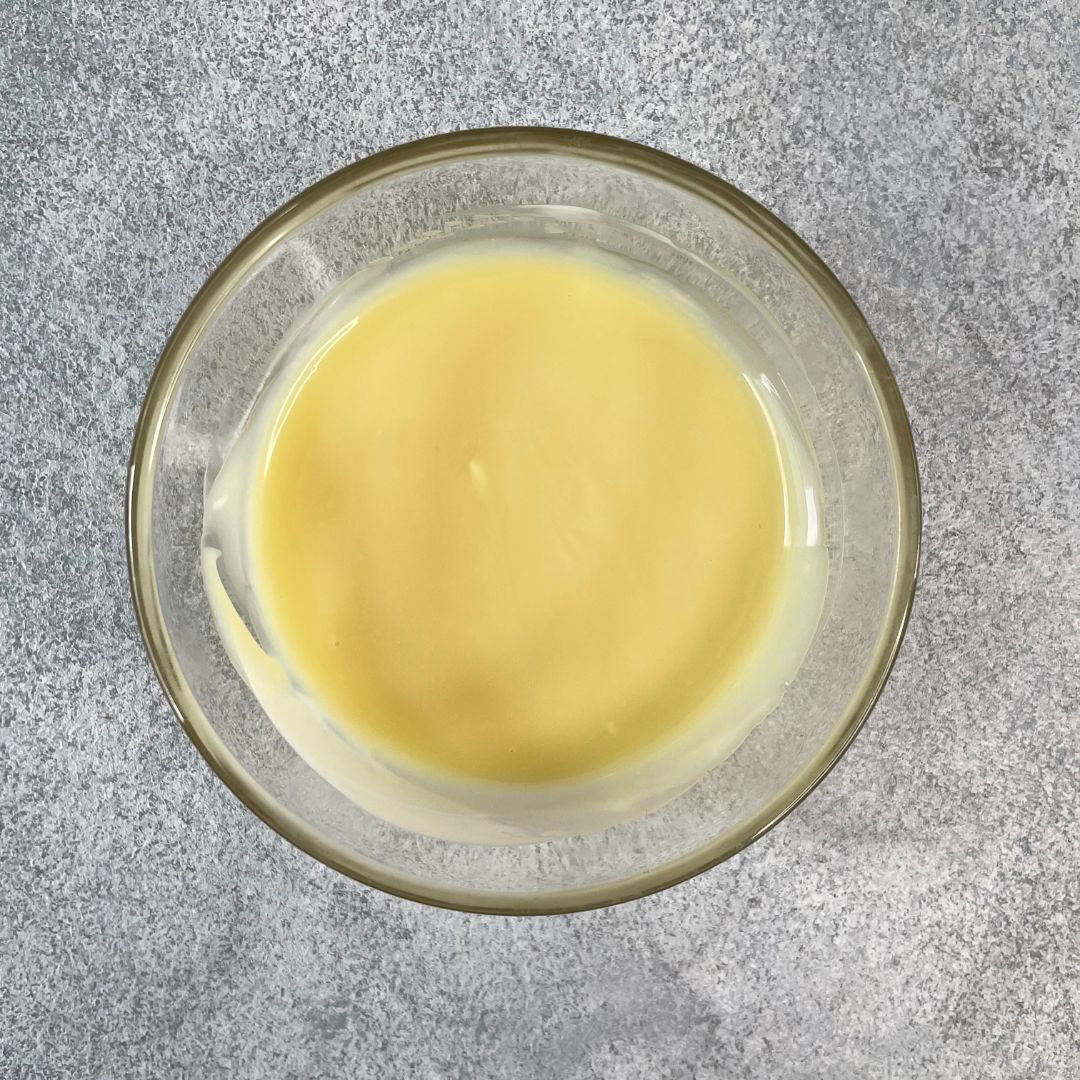
Mix milk and icing sugar: For the buttercream, add milk to the icing sugar and give it a mix; keep it aside for further use. Make sure that the icing sugar is sifted to avoid lumps in the buttercream.

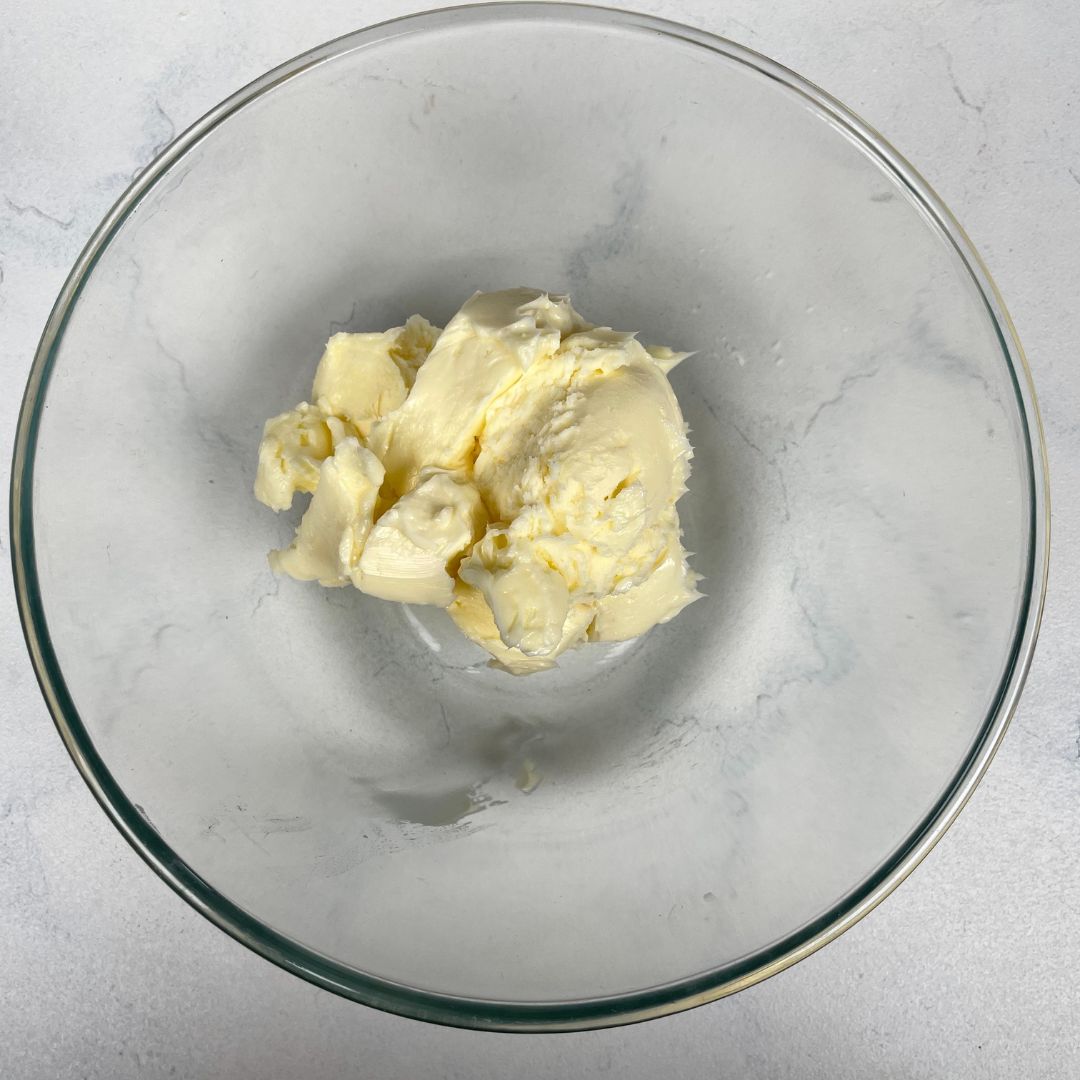
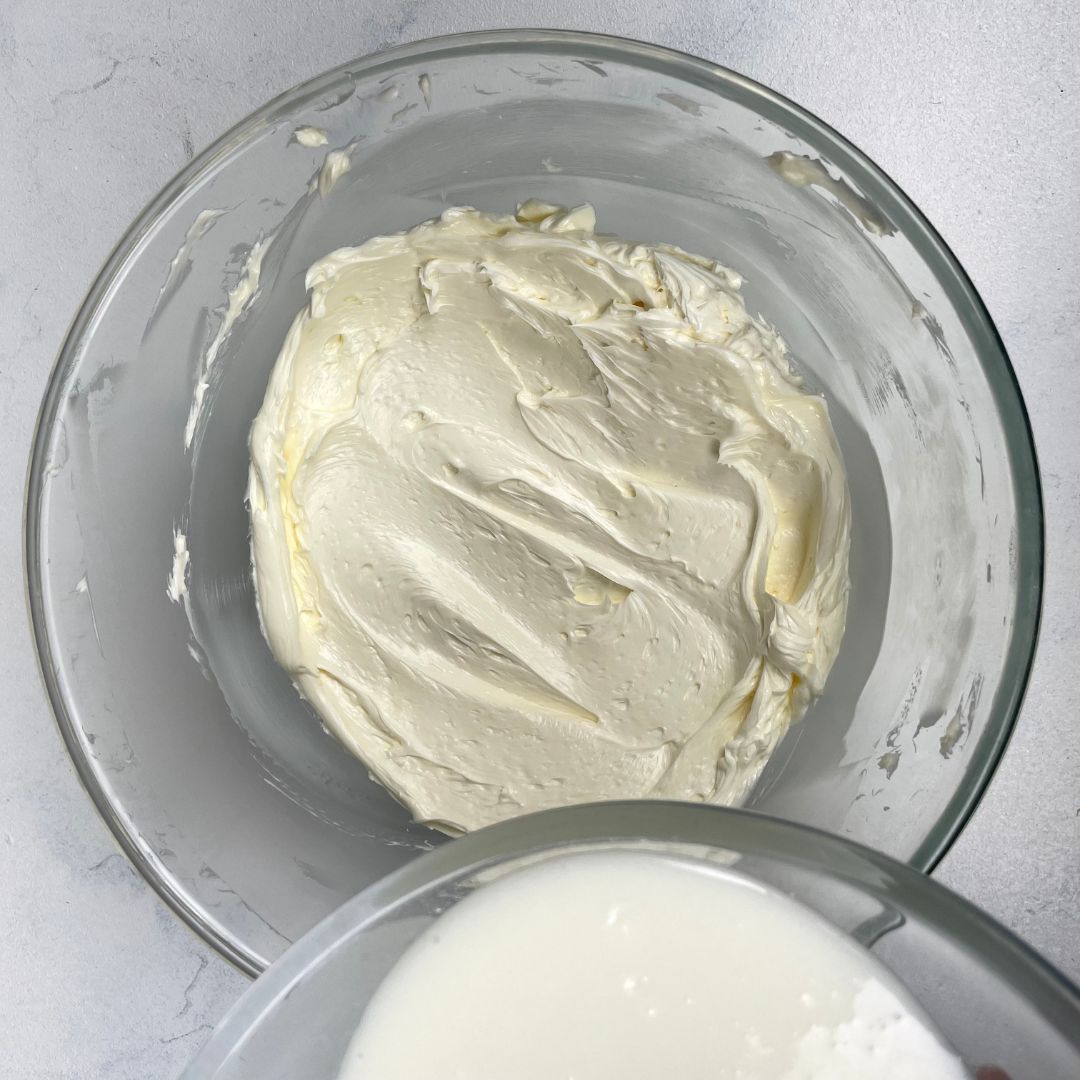
Beat butter: In a large bowl, beat unsalted butter with an electric hand beater until it’s fluffy in texture. Make sure that the butter is at room temperature and not cold or too soft. To achieve fluffier buttercream, beat them for a longer time.
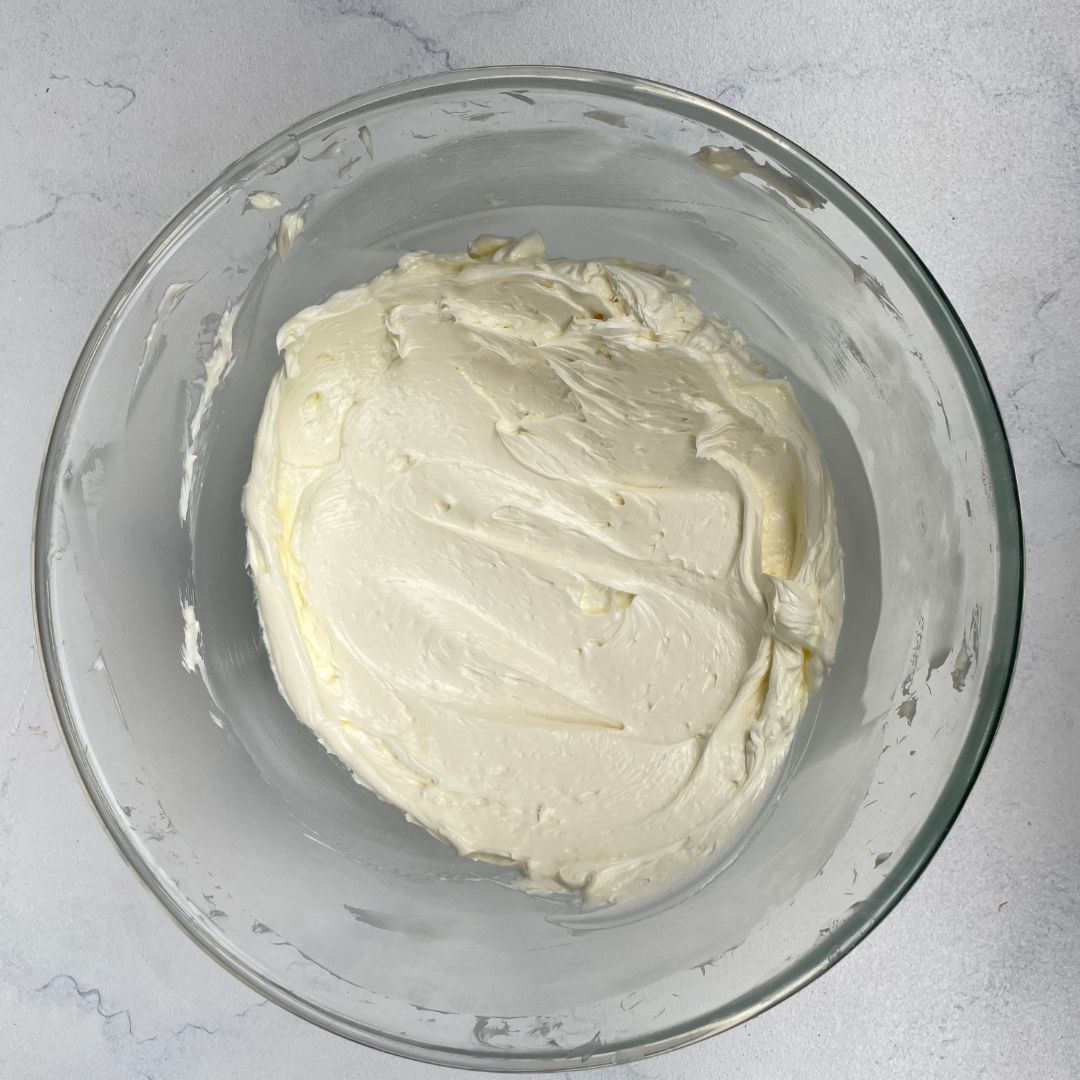
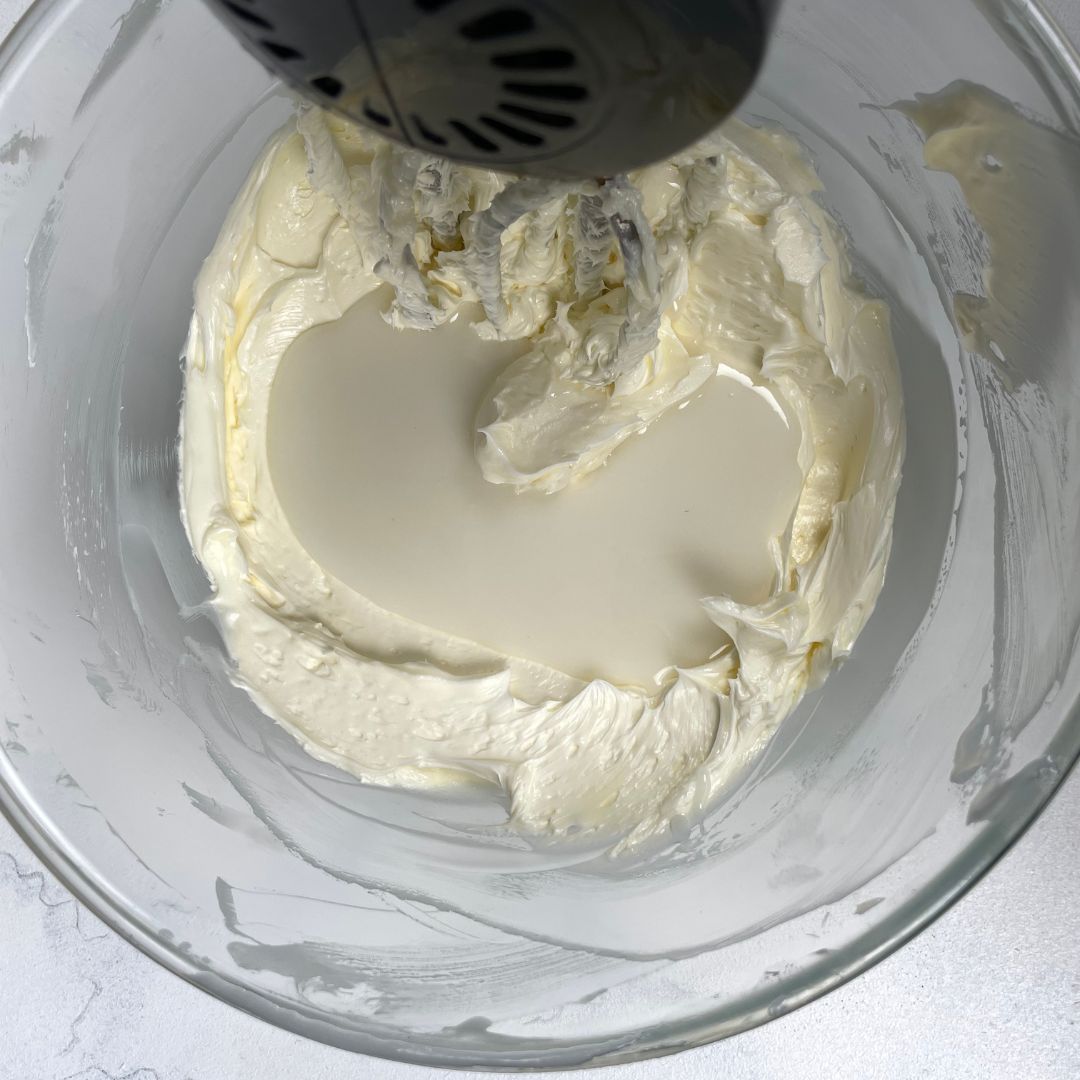
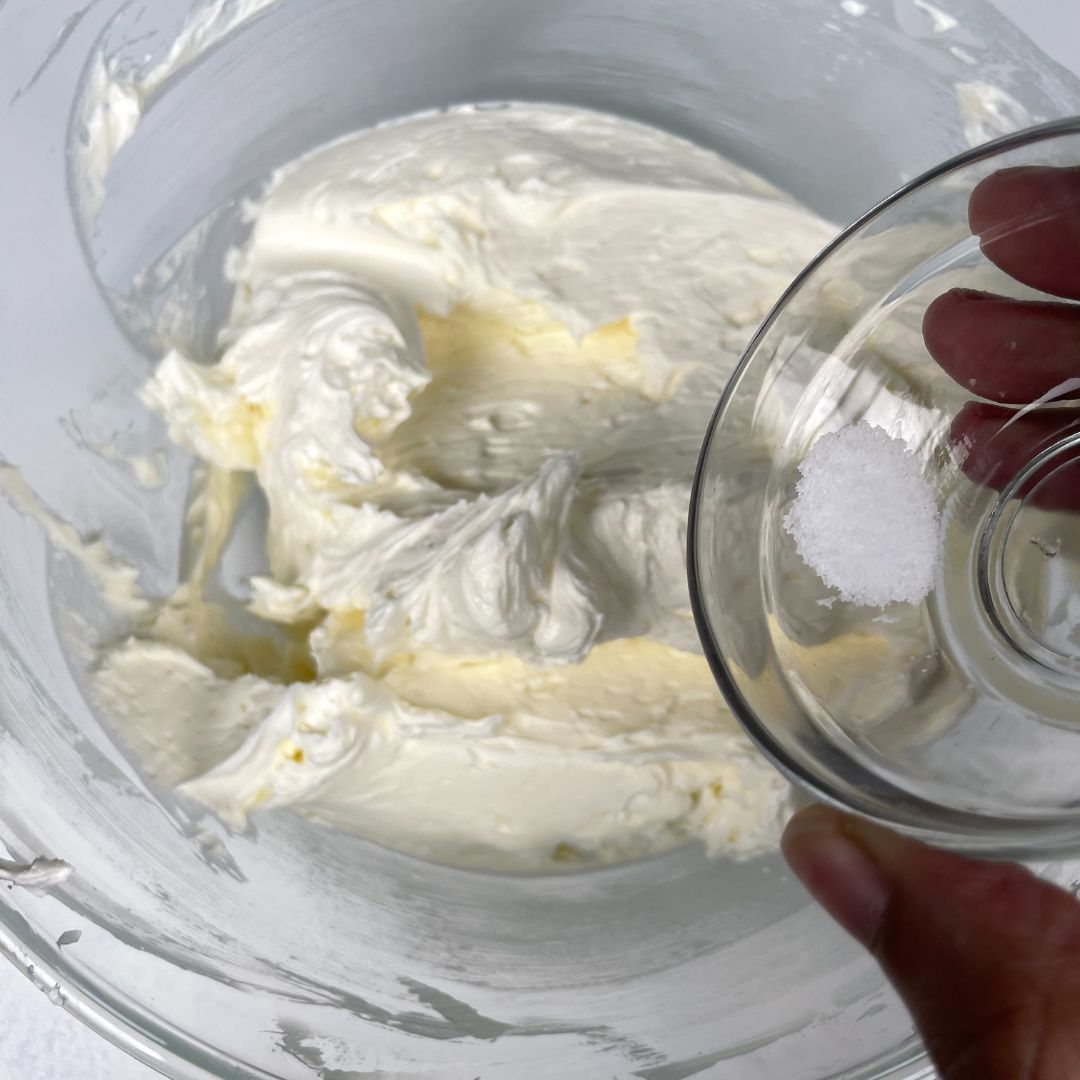
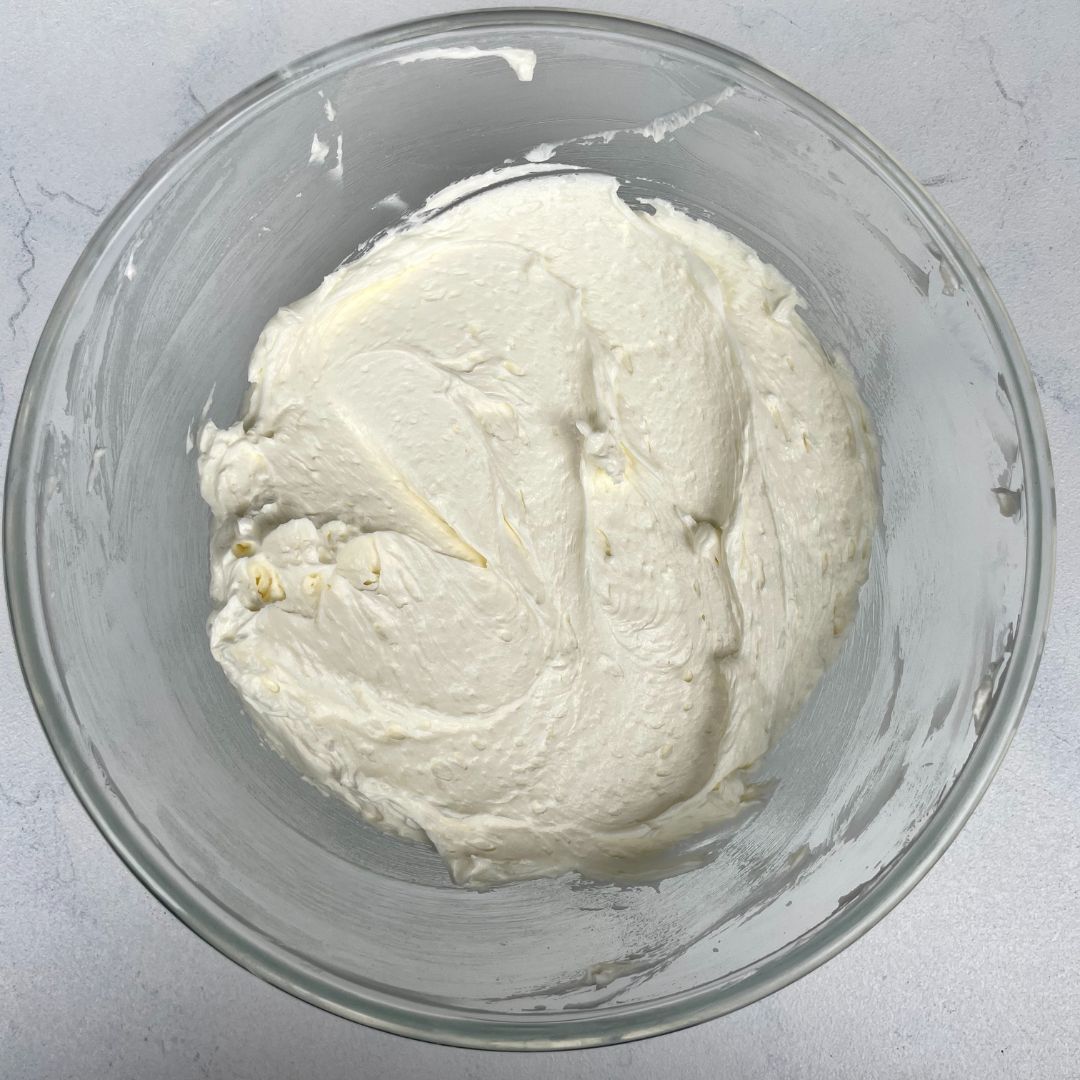
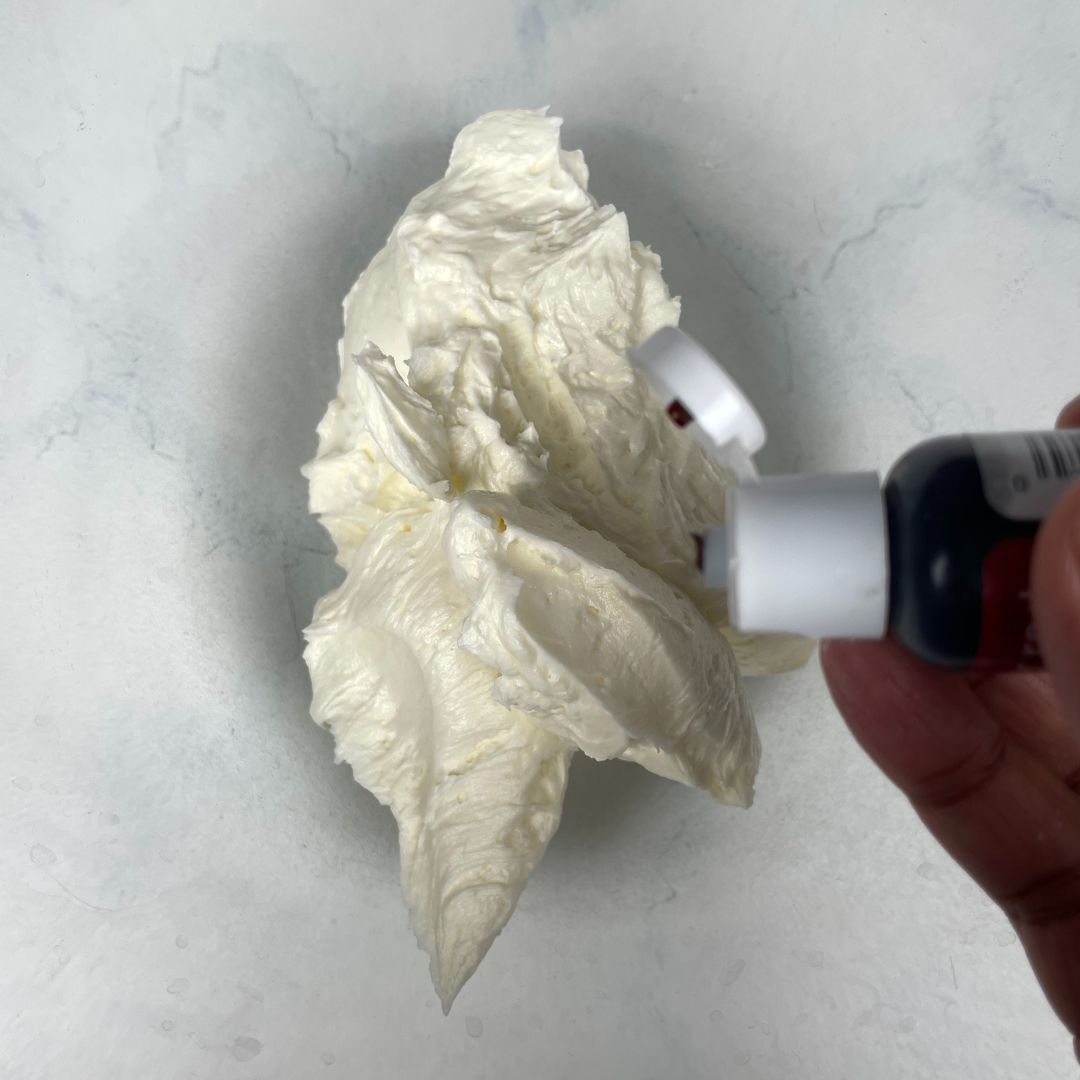
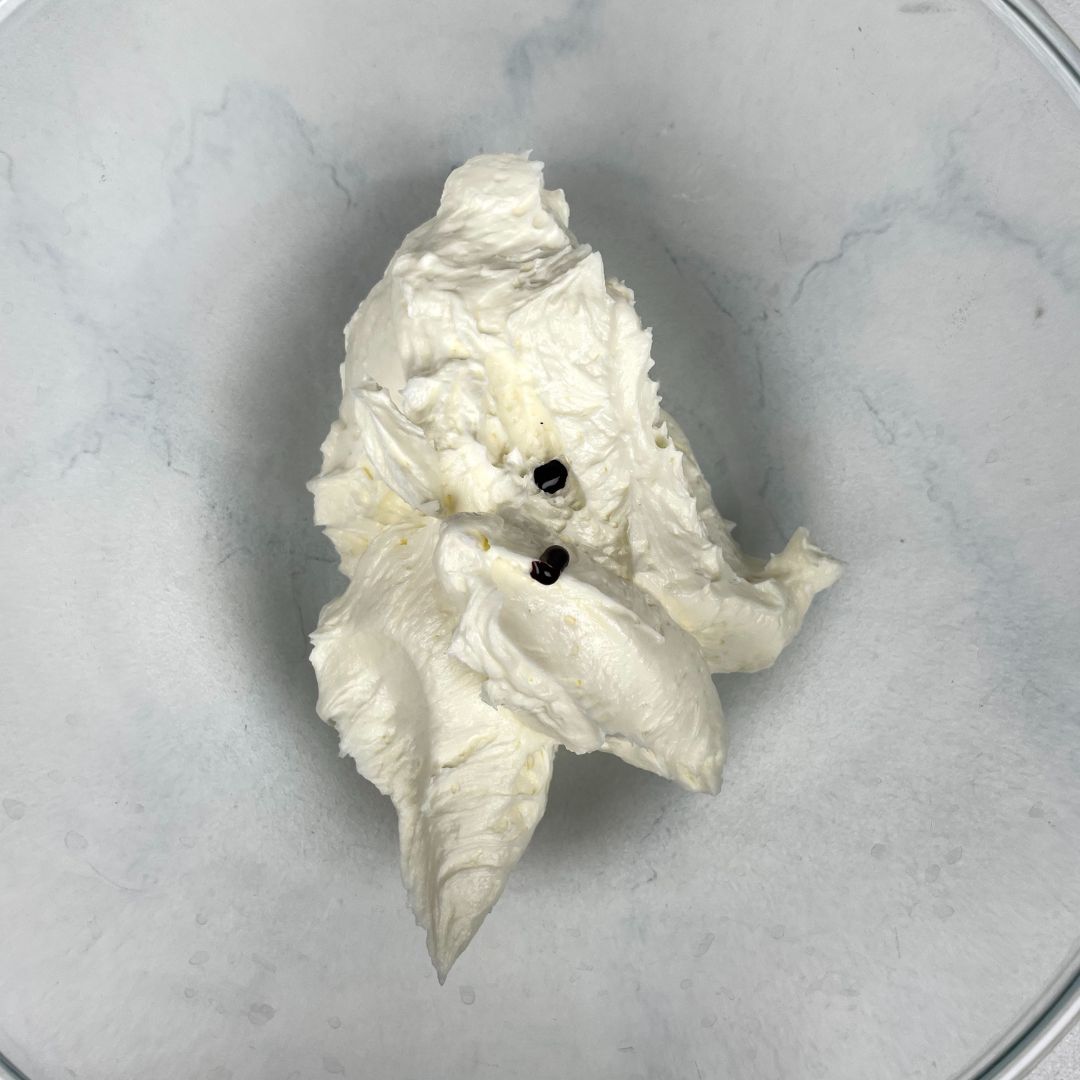
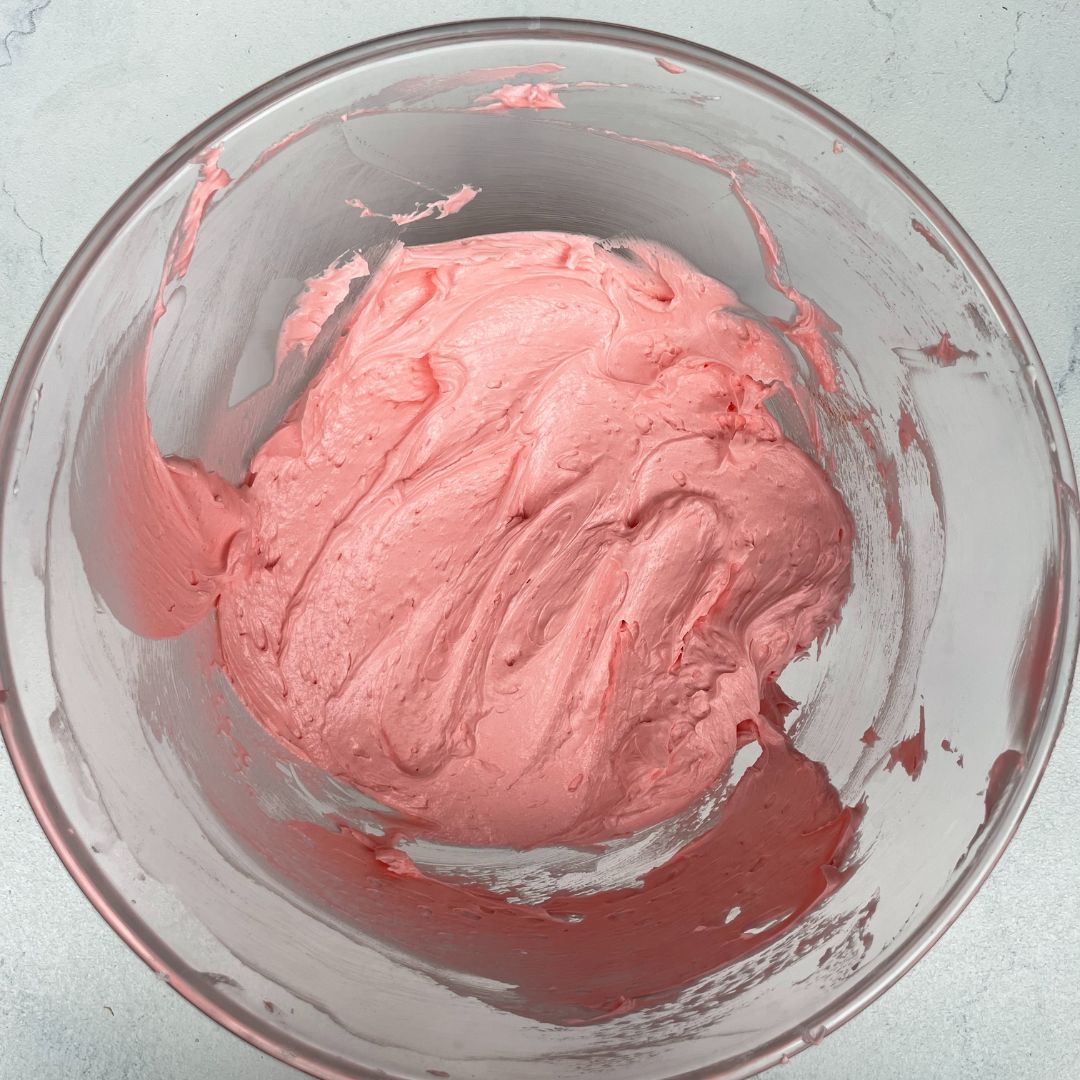
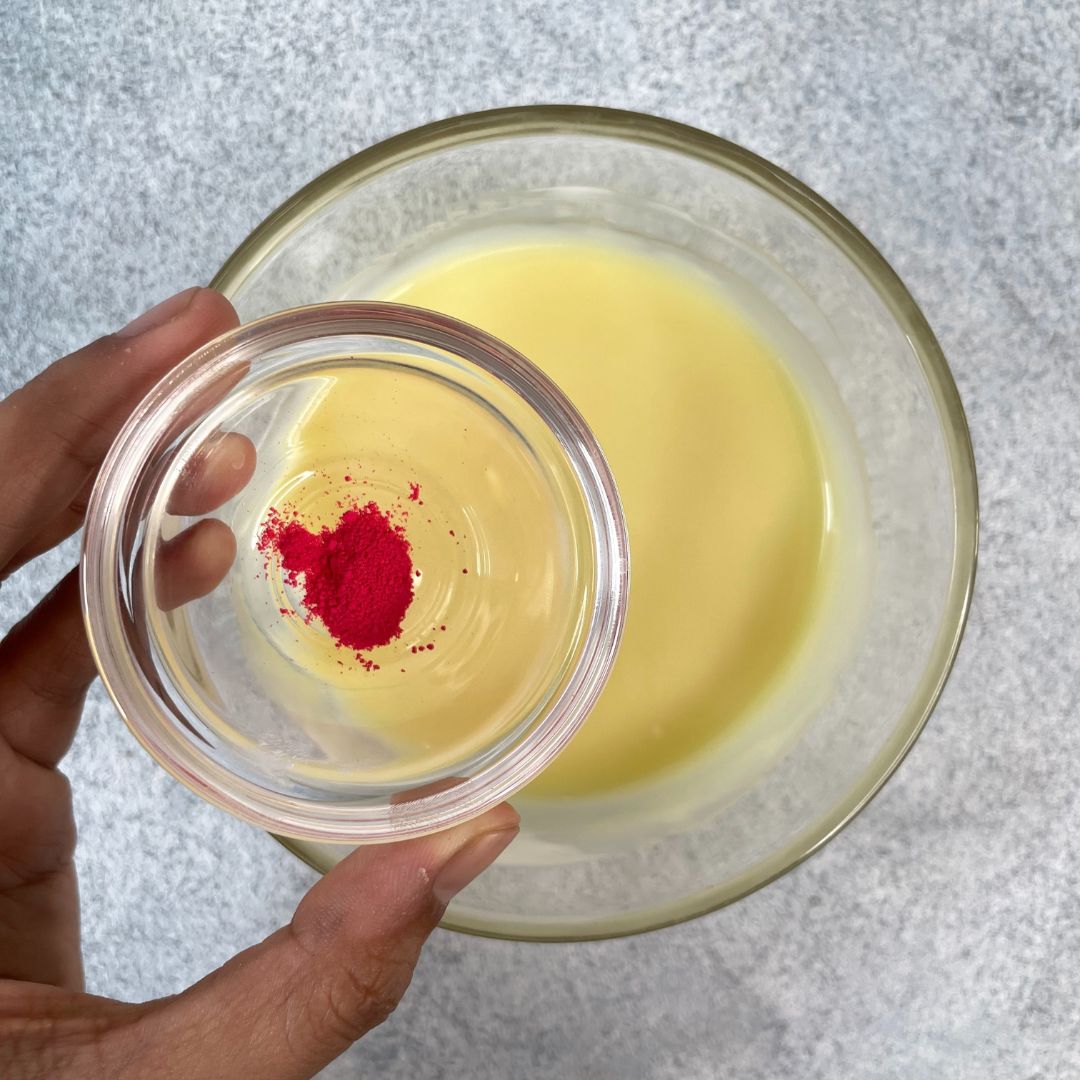
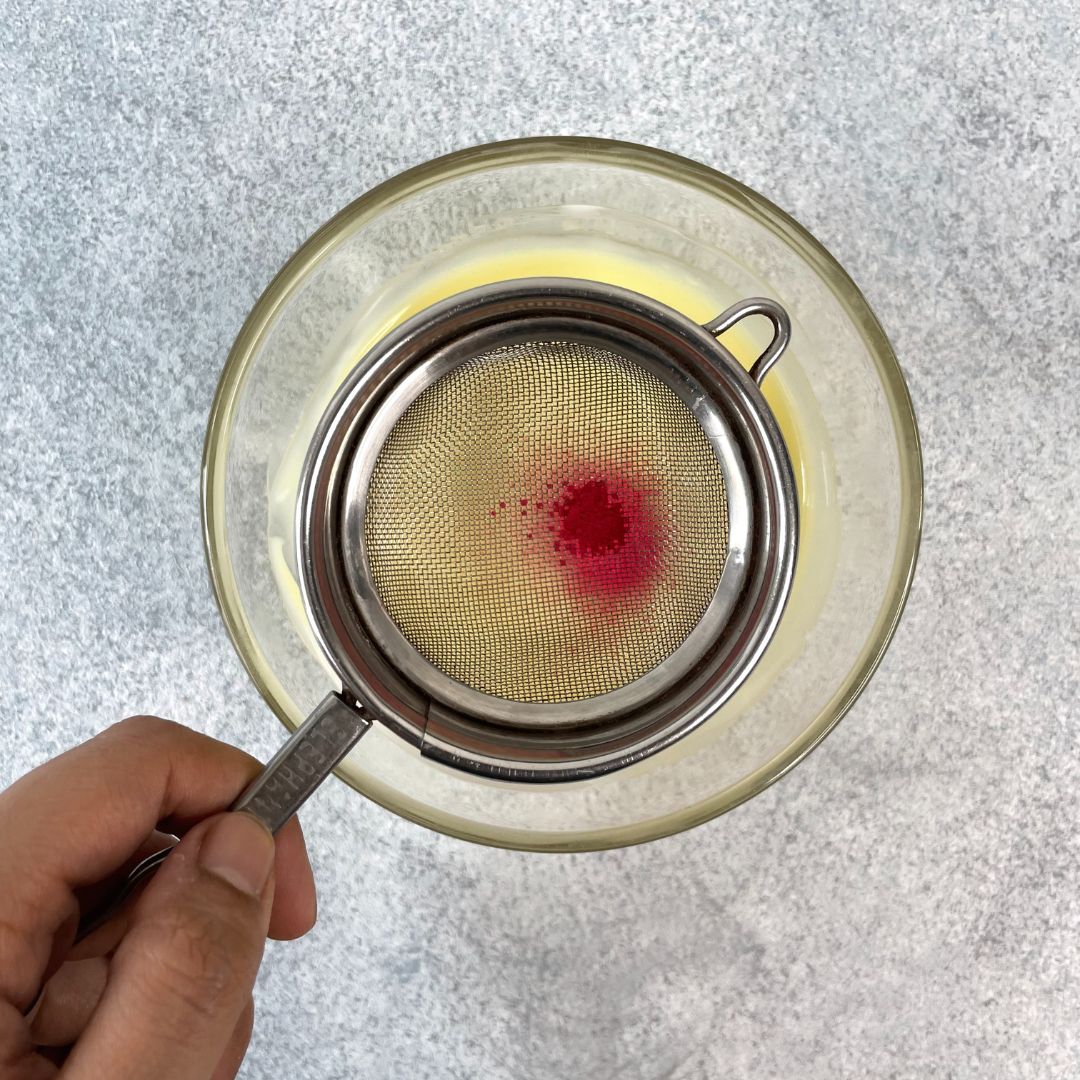
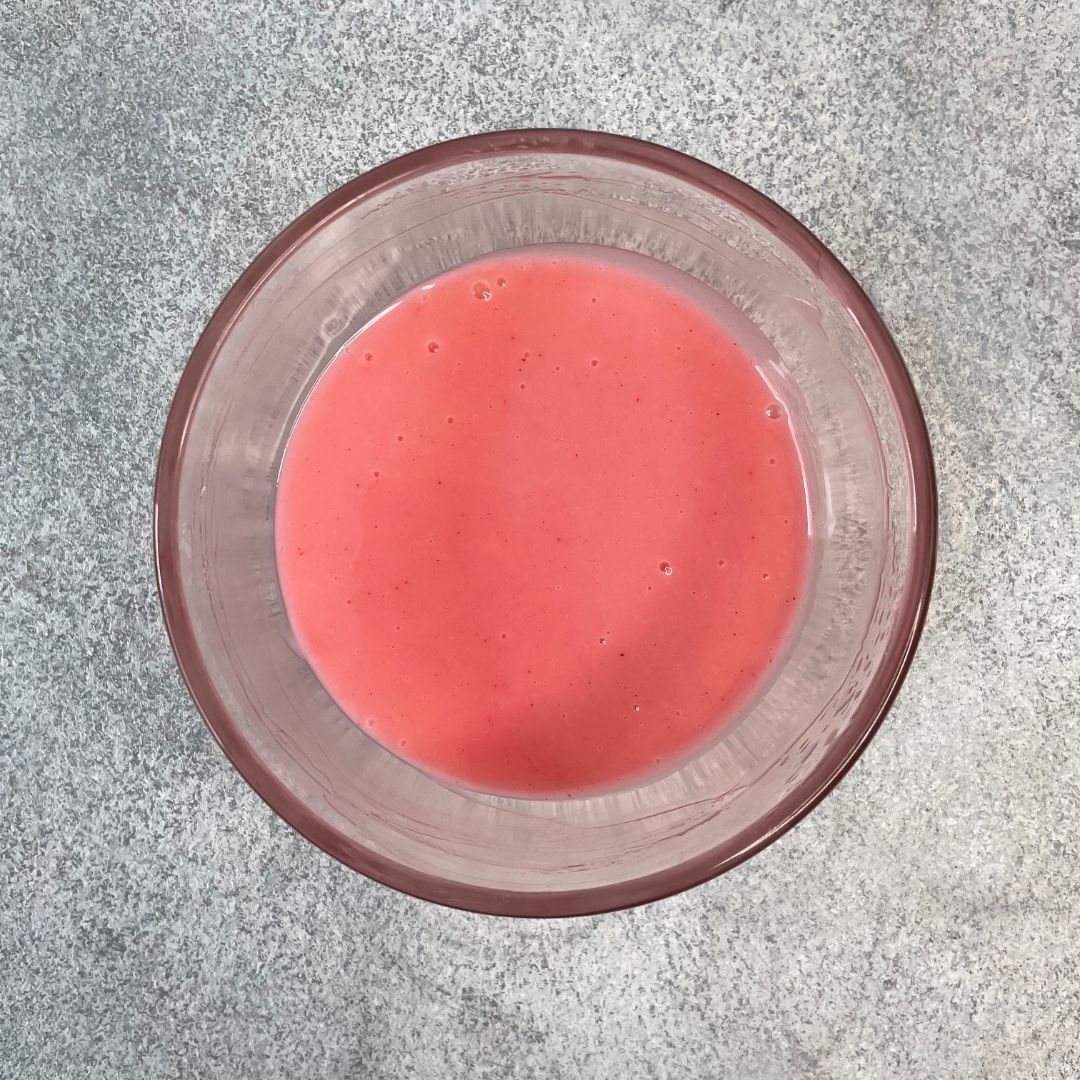
Make the buttercream: Once the butter has turned fluffy, add in milk and icing sugar mixture in parts while beating continuously. Once mixed, add in salt and mix again. Now transfer 1/3 of the buttercream to a different bowl, add red gel color to the 1/3 part of the buttercream, and mix again to form pink buttercream. Transfer both the pink and white buttercream into different piping bags, then keep it aside.


For Pink Drip
To make the pink chocolate drip, melt white couverture chocolate and warm fresh cream separately. Add warm fresh cream to melted white chocolate and mix to form a thin ganache. Lastly, add in pink edible powder color and give it a final mix. Transfer it to a piping bag as well.

For Assembly
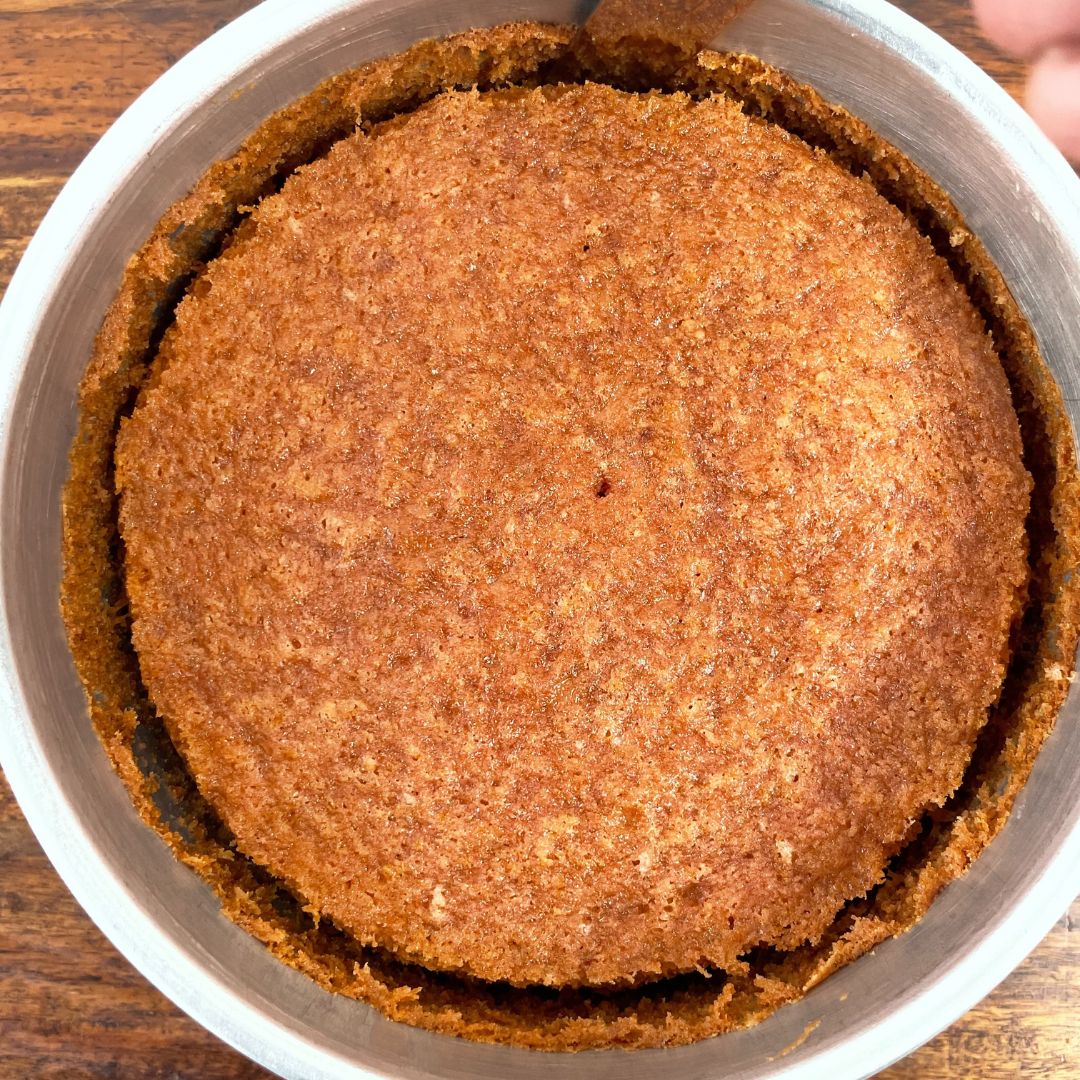
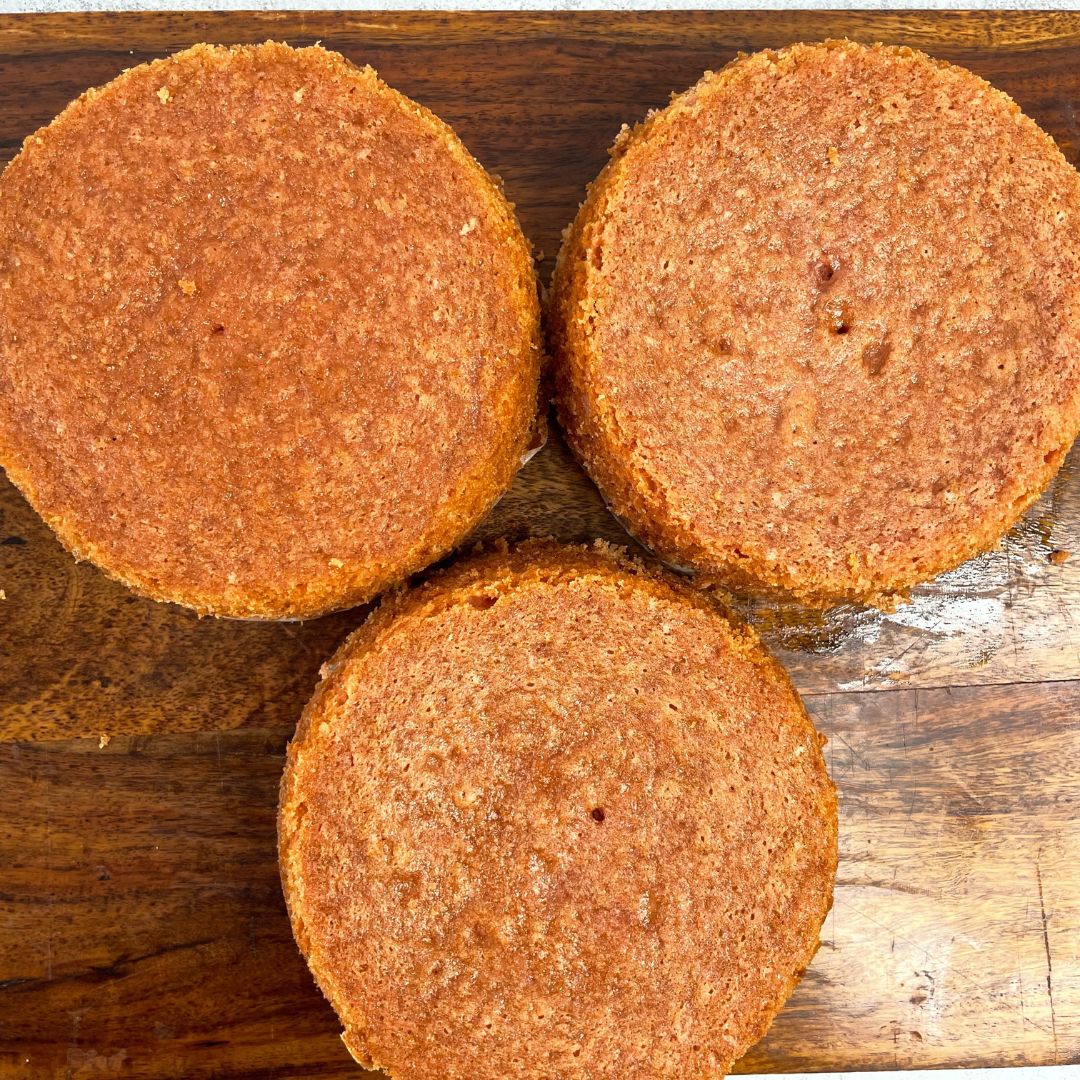
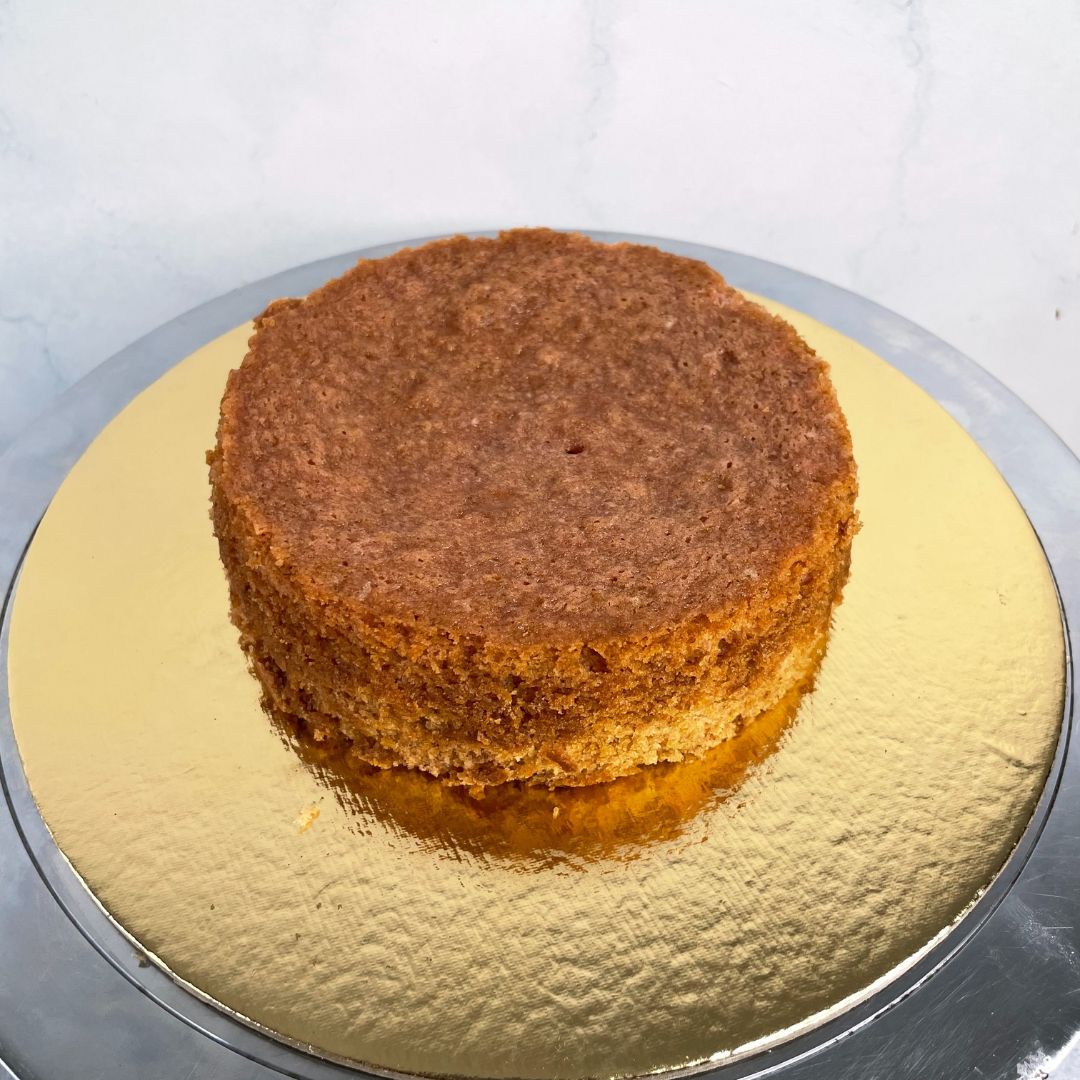
Demolding: Once the sponges have baked properly, let them cool down completely. After they have cooled down completely, de-mold them carefully using a small palette knife. Make sure that the pressure of the palette knife is towards the baking tin and not the sponge.
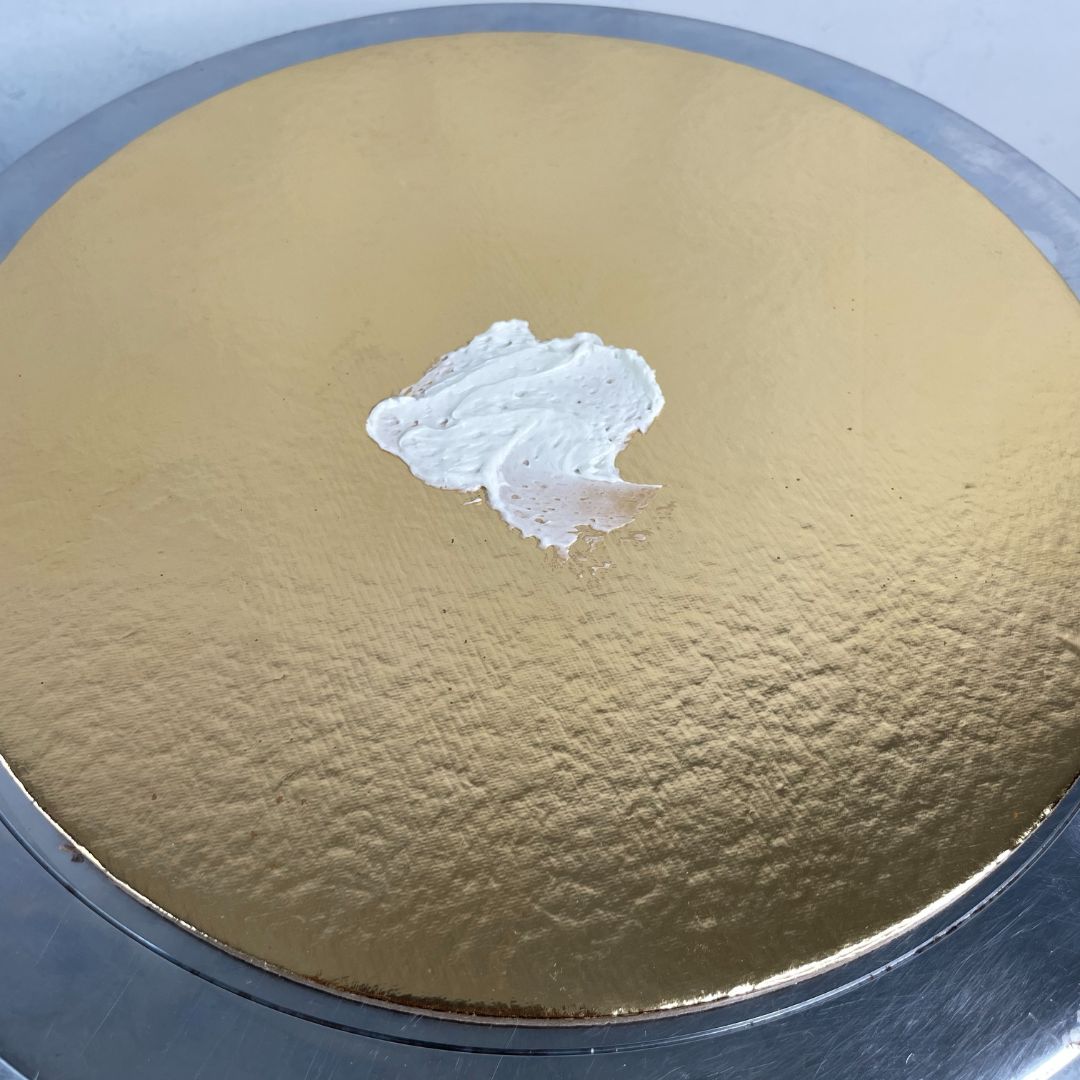
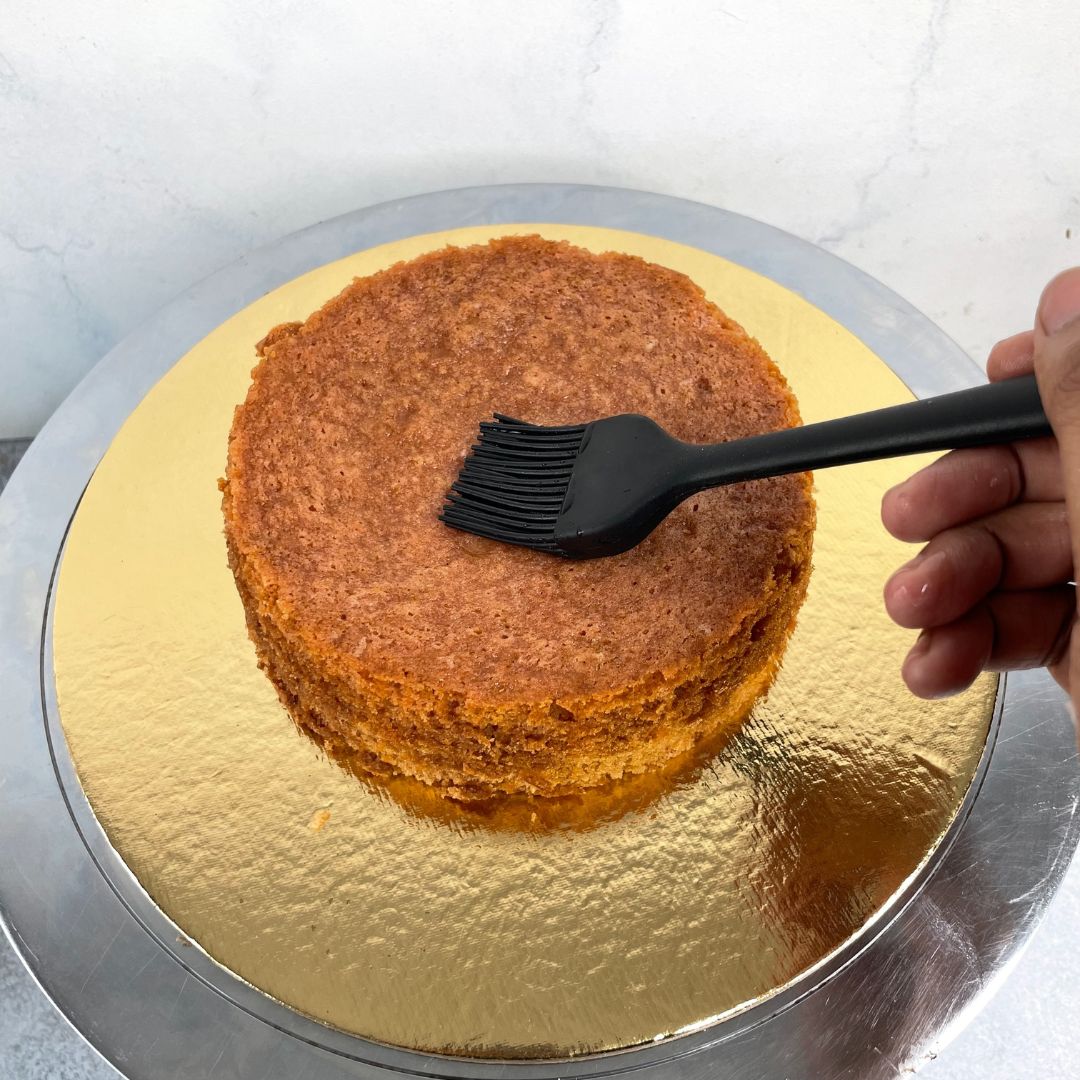
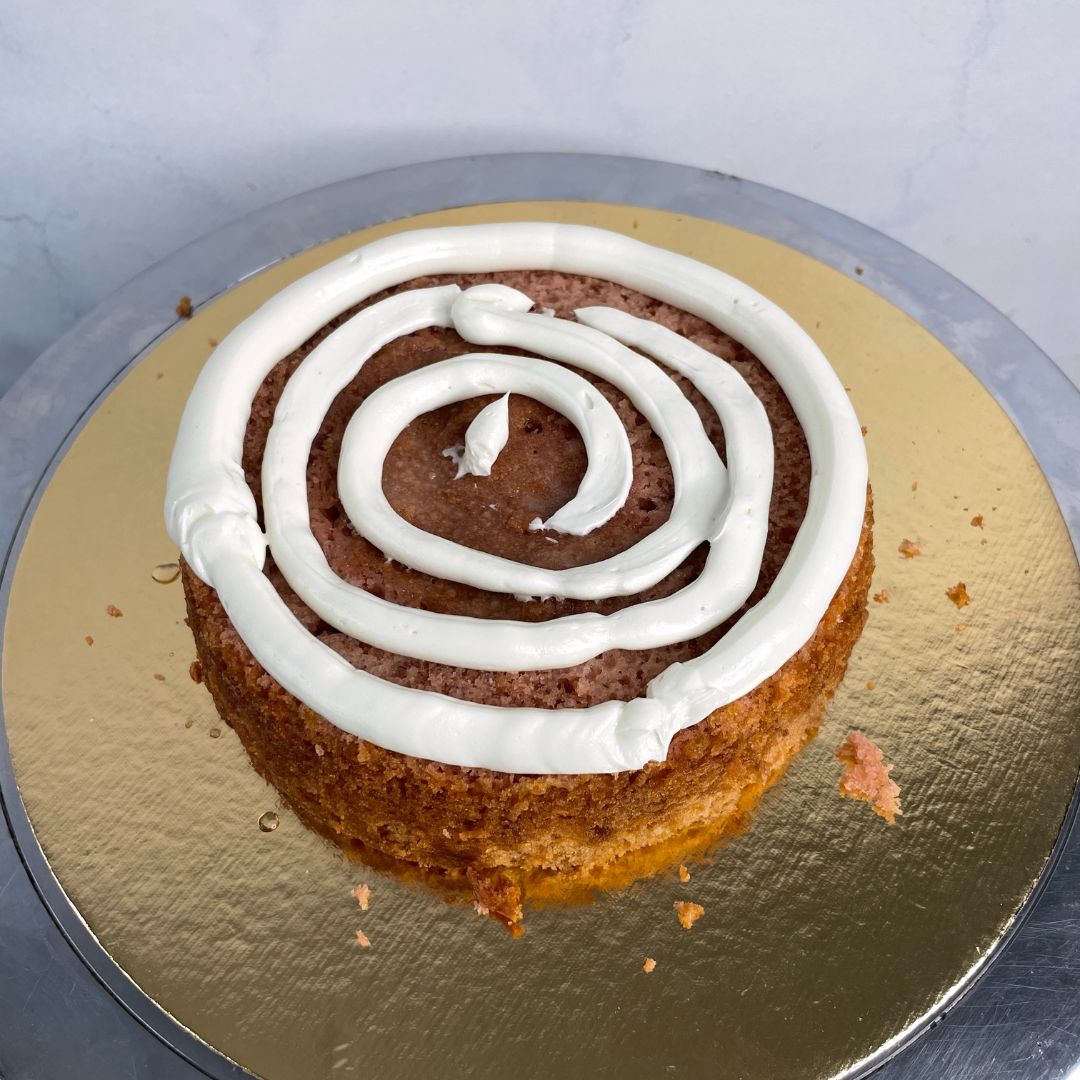
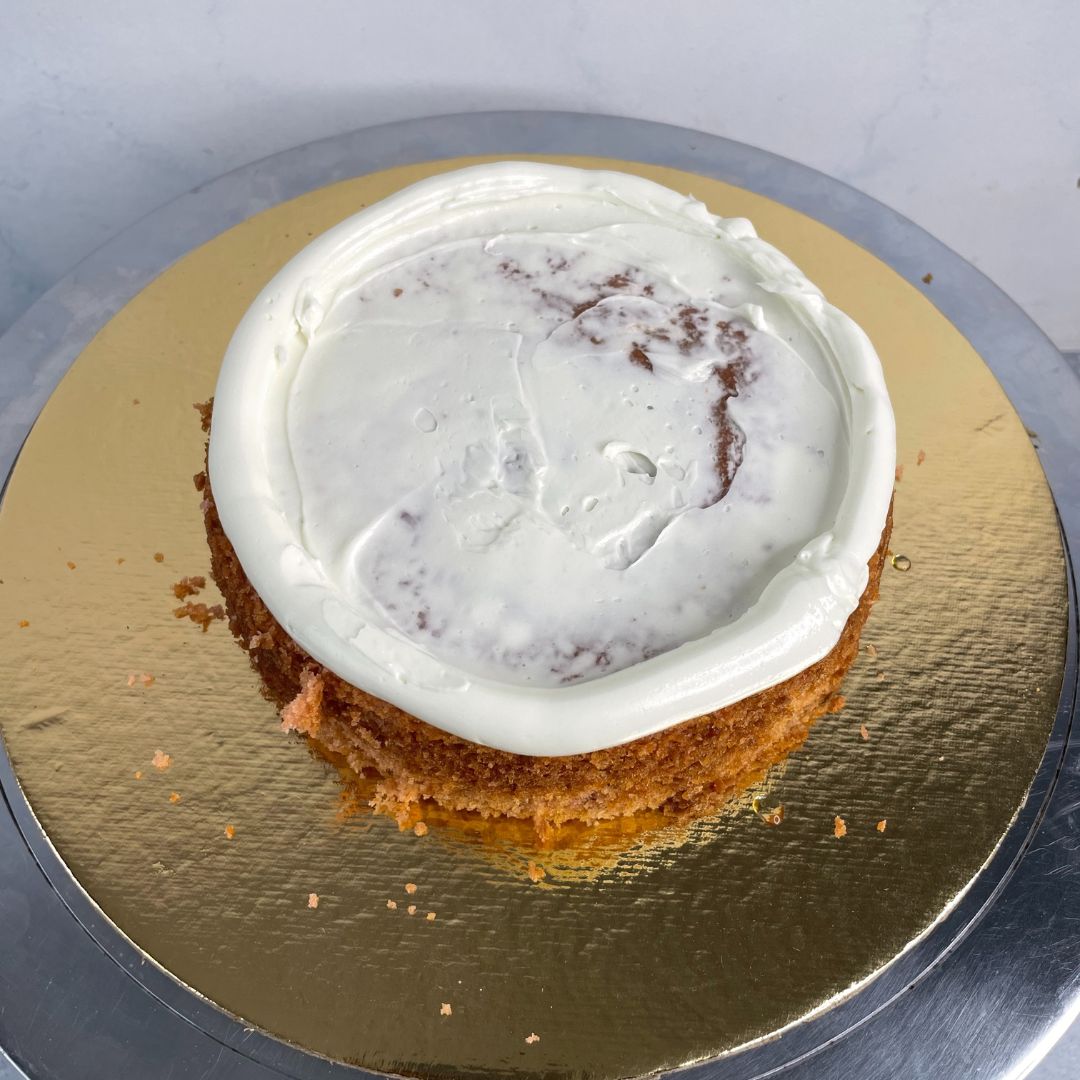
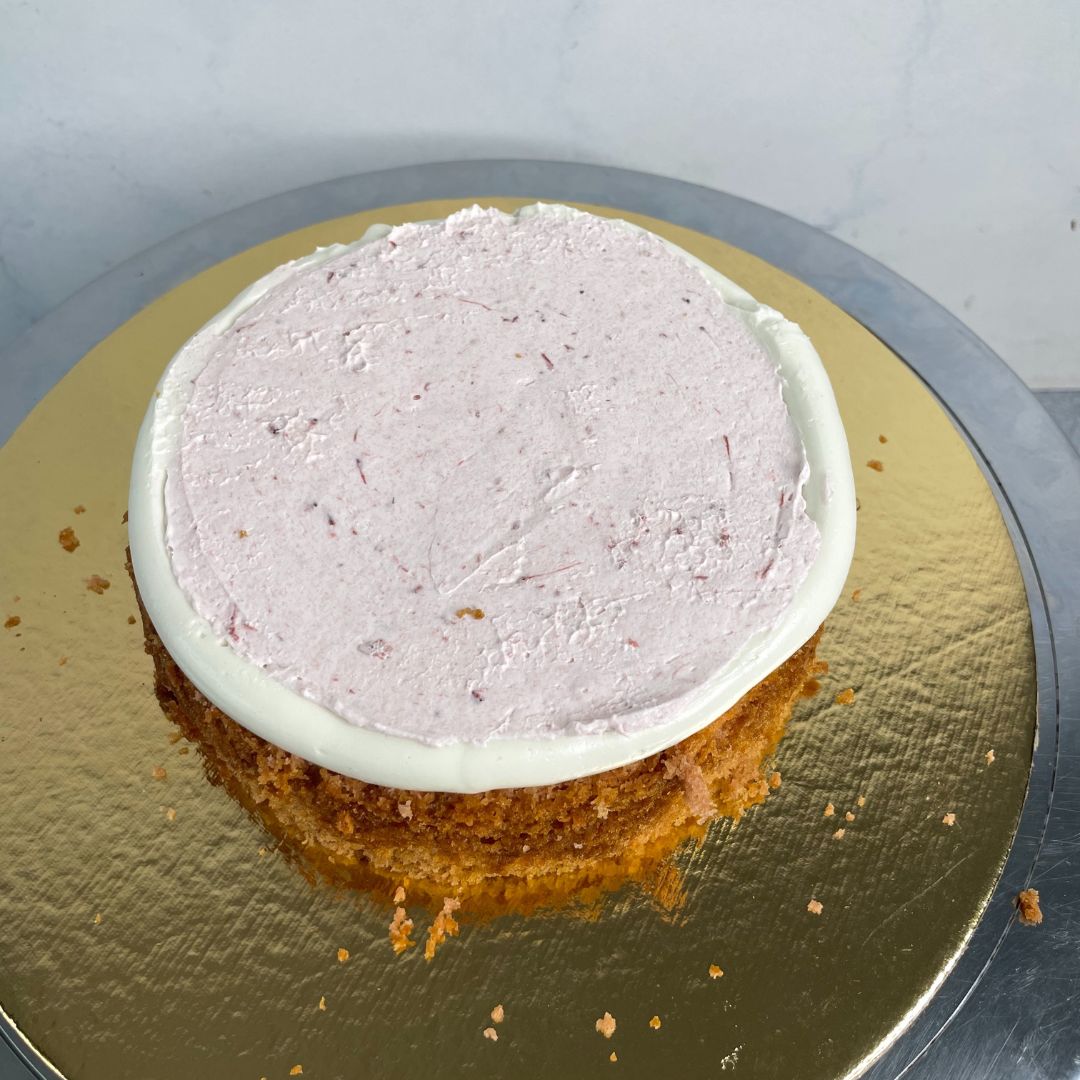
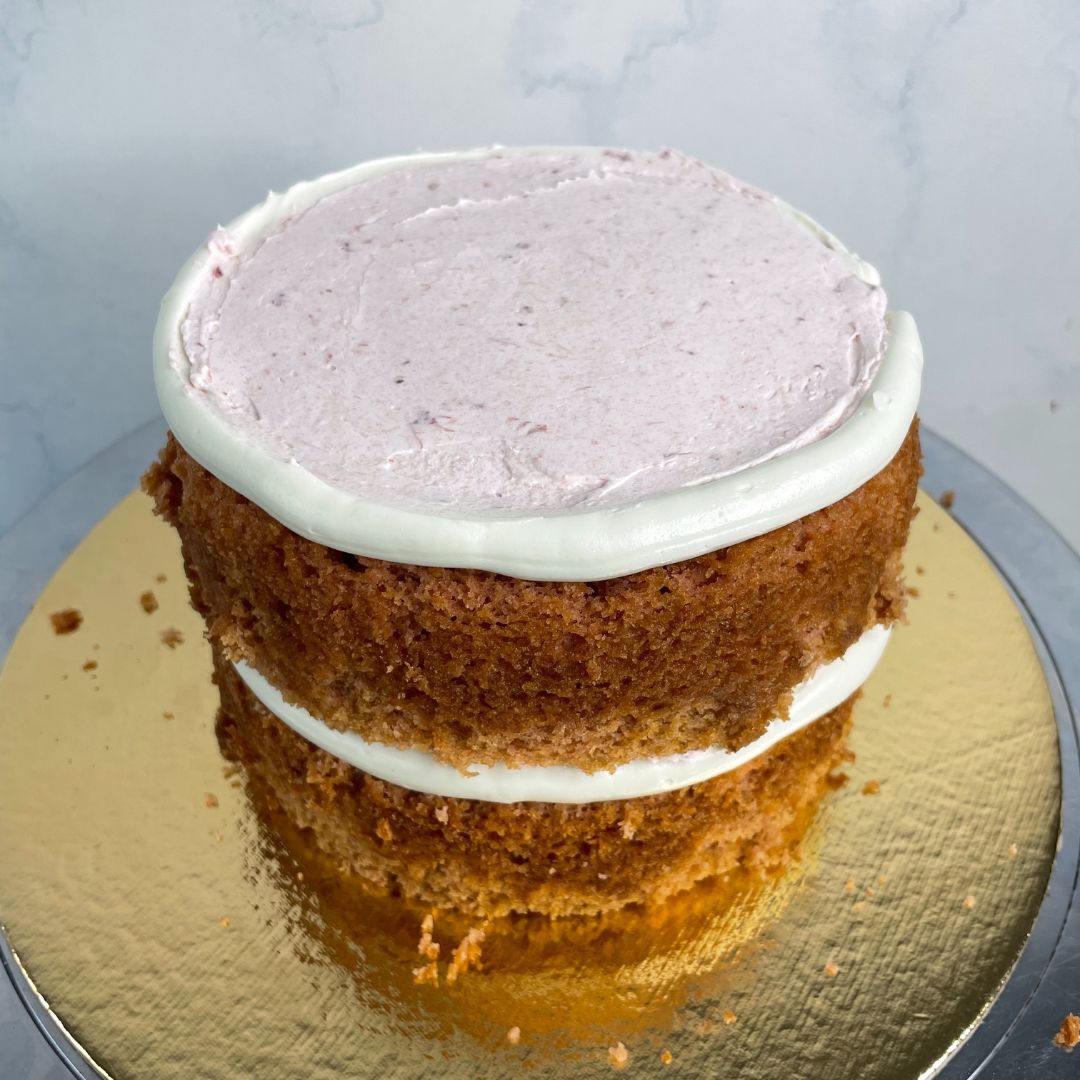
Layering: Pipe the white buttercream on a cake base, then place a sponge on top. Soak it with soaking syrup using a pastry brush. Now apply some white buttercream on top, then pipe the border around the edge of the sponge. Fill the center with the strawberry filling, then smooth out the top. Place another layer of sponge on top and repeat the same process we did with the first layer. Make sure that you soak the top layer as well.

Crumb coating: Now pipe thin layers of white buttercream all over the cake to crumb coat. Smooth out the buttercream using a palette knife and remove the excess with a scrapper. Keep it in the fridge for 15- 20 minutes to set the buttercream so that the stray crumb stays in place while we decorate the cake.
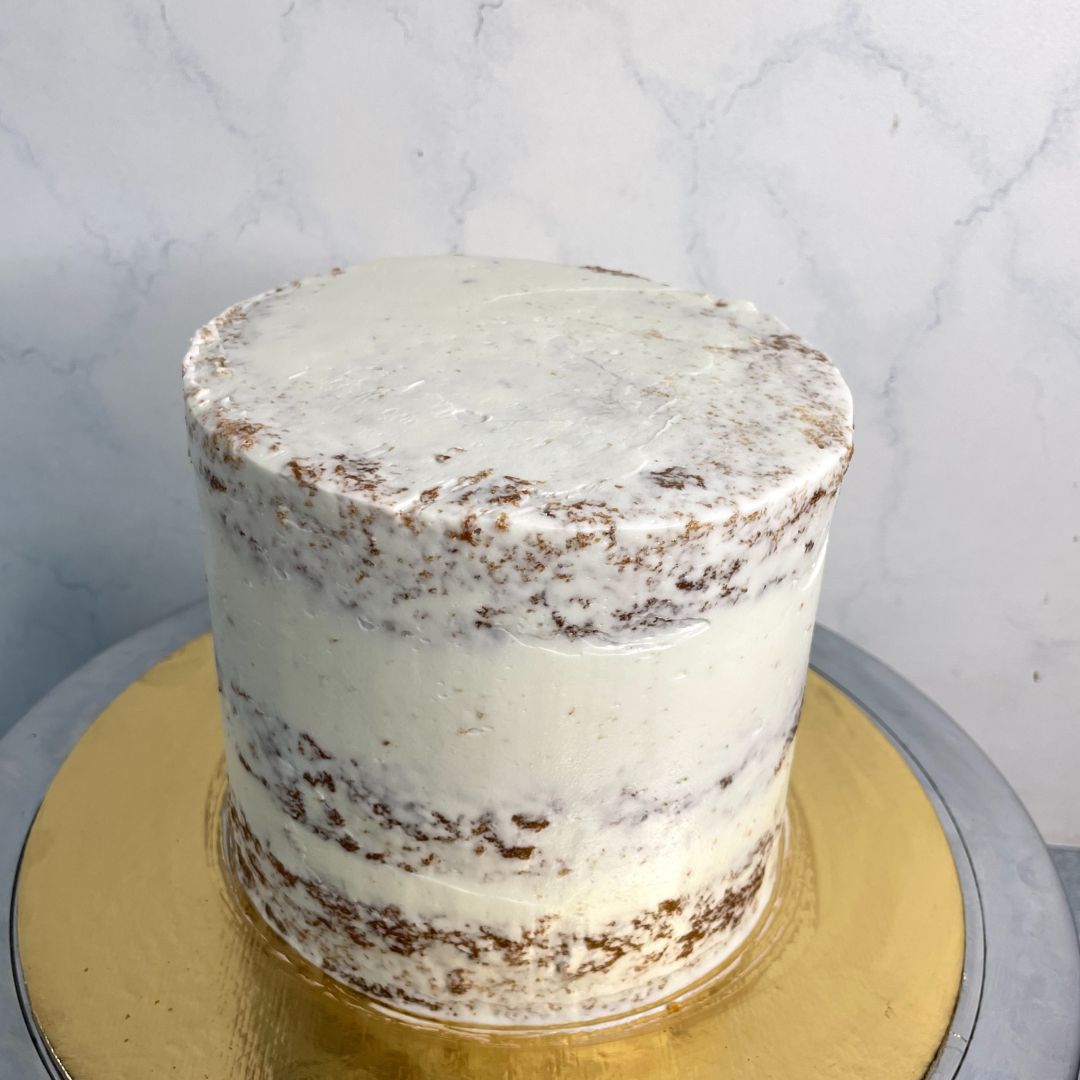
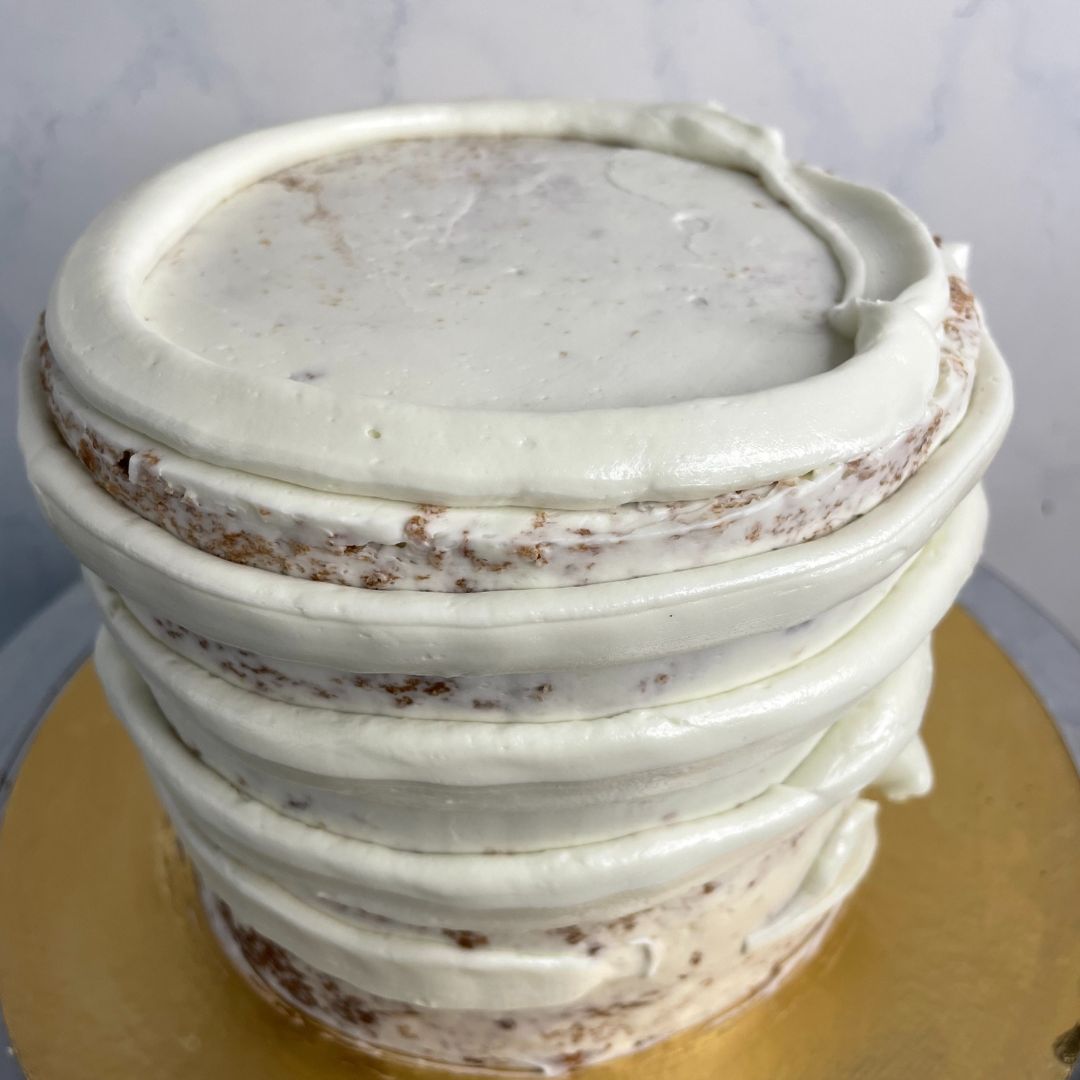
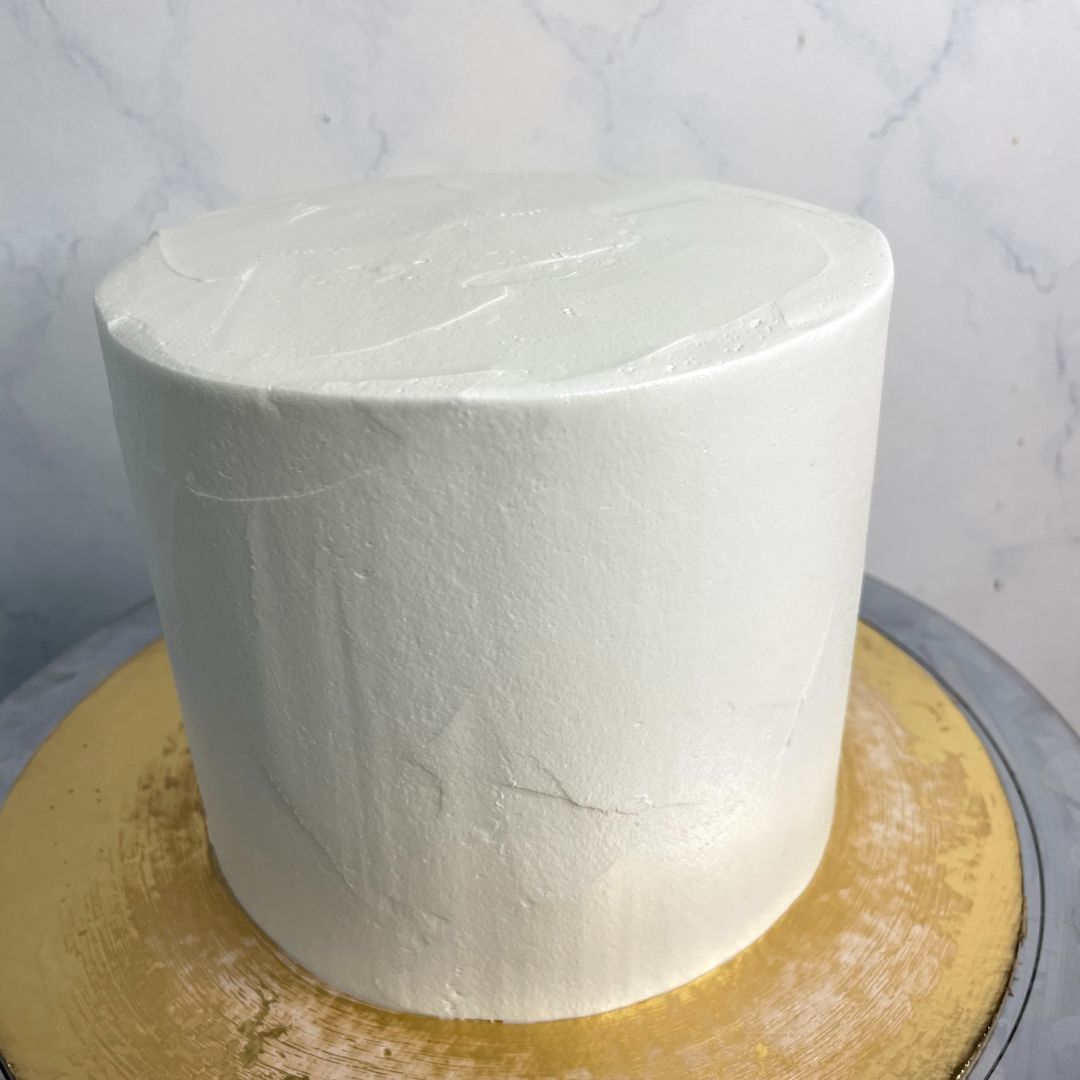
Final coating: After 15 – 20 minutes, take it out of the fridge and pipe thick layers of the white buttercream all over the crumb-coated cake again. Smooth out, remove the scrap the excess, and make sure that you have sharp edges at the top.
For Decoration
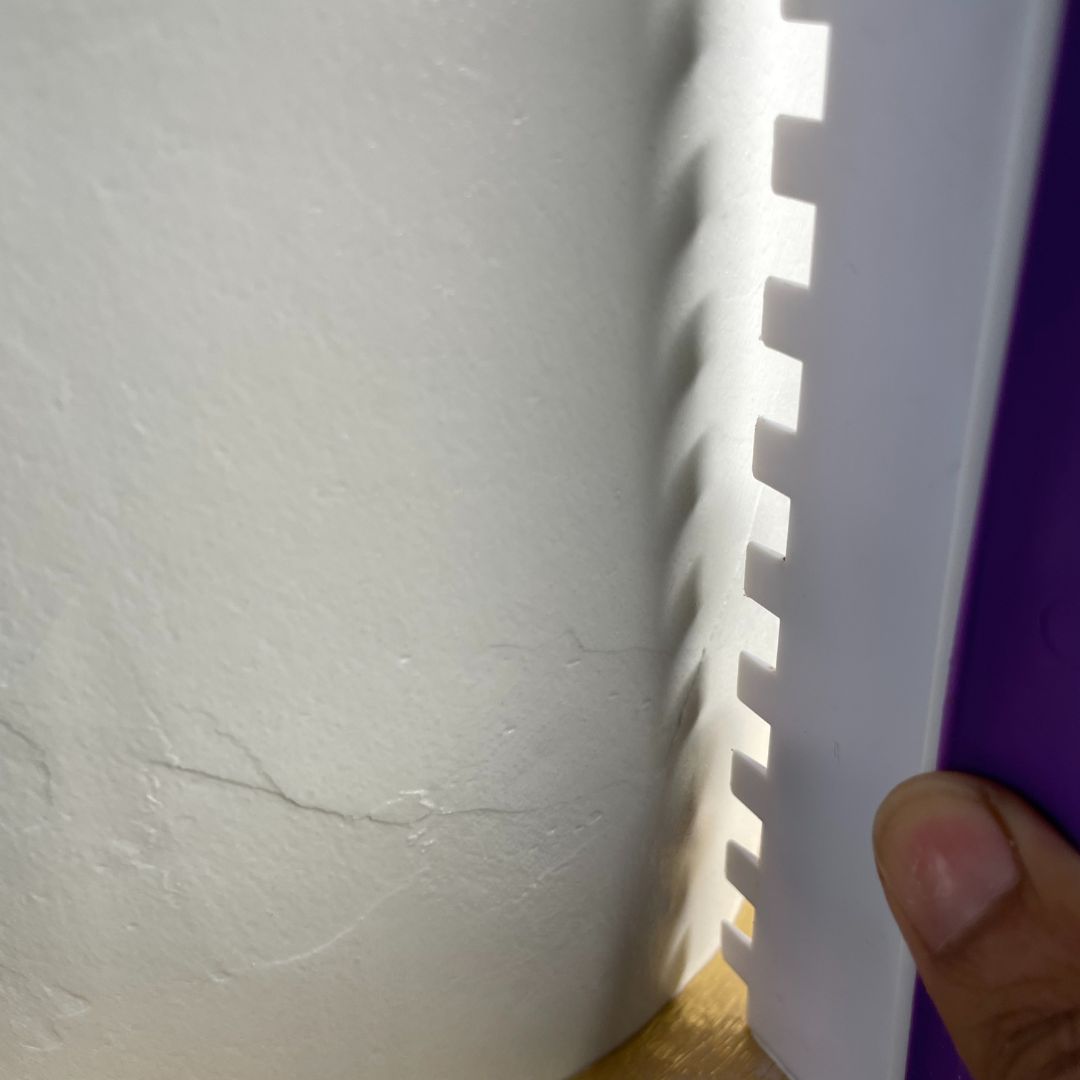
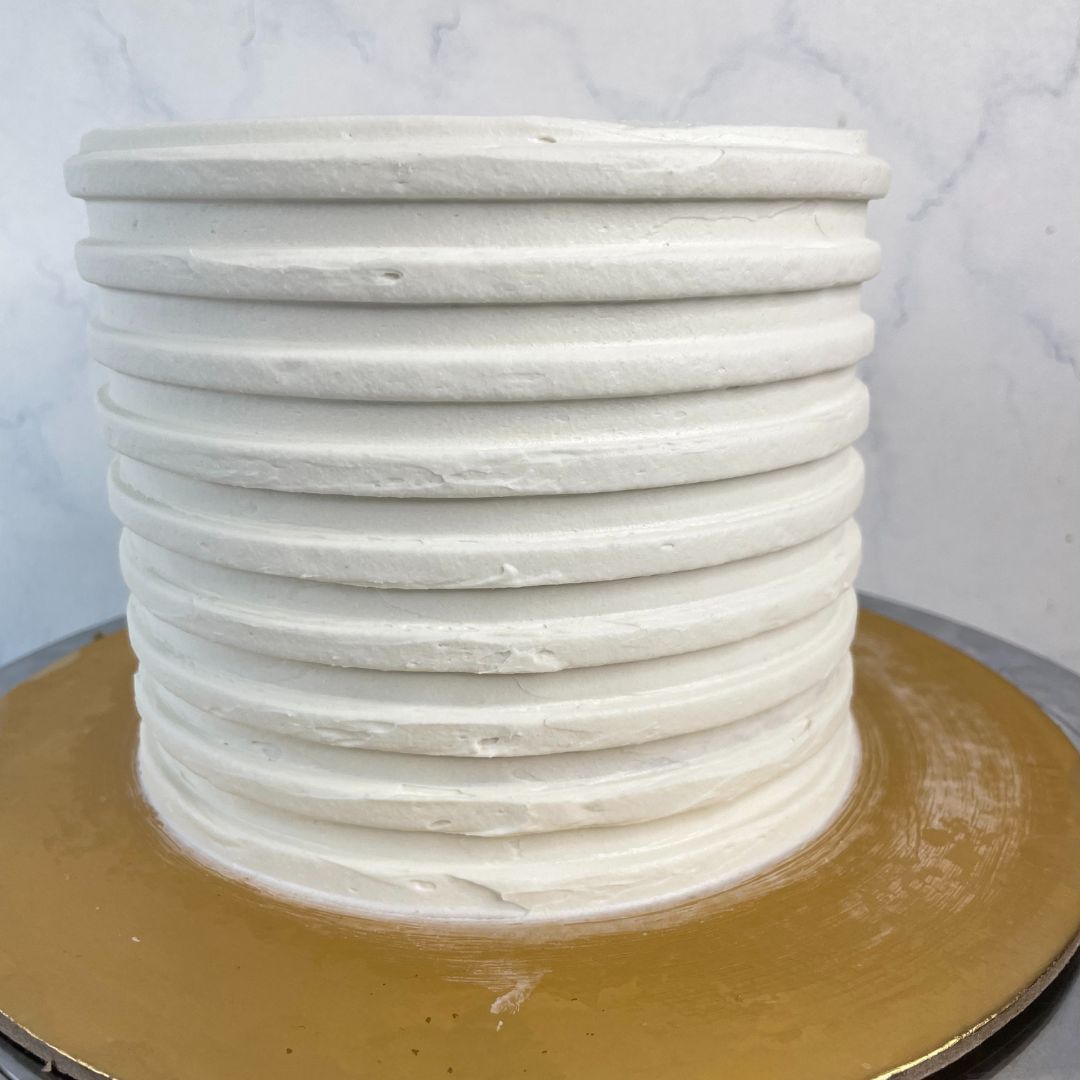
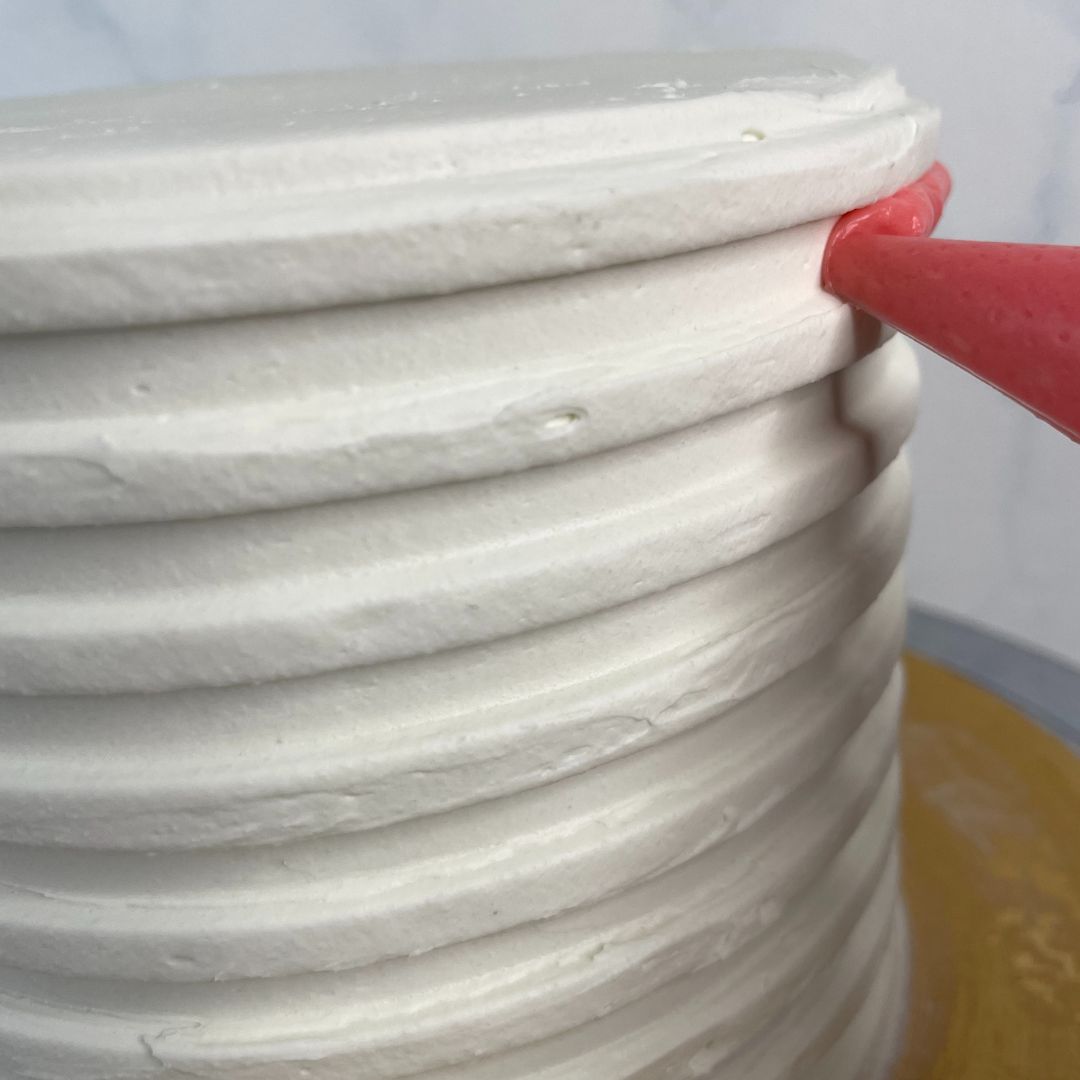
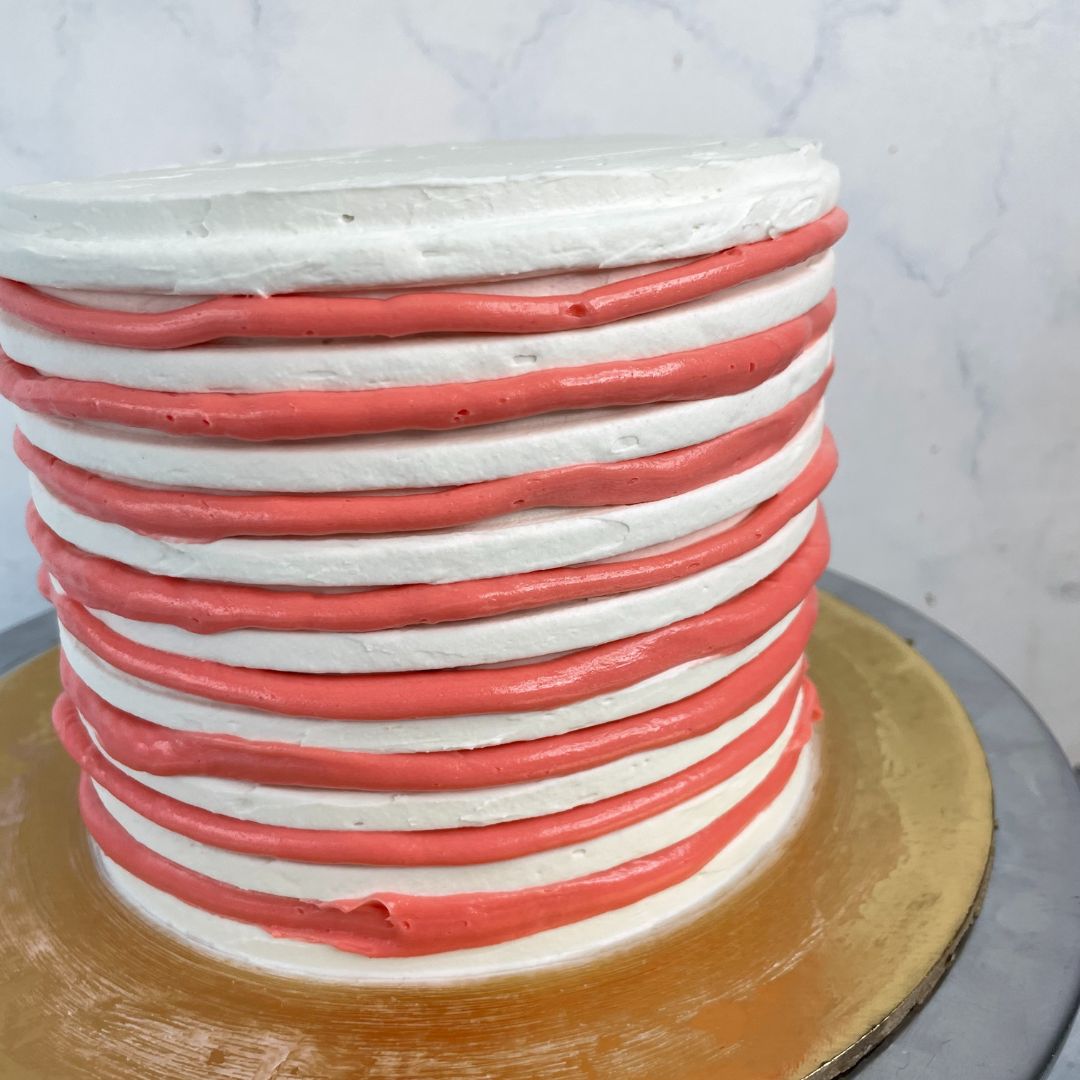
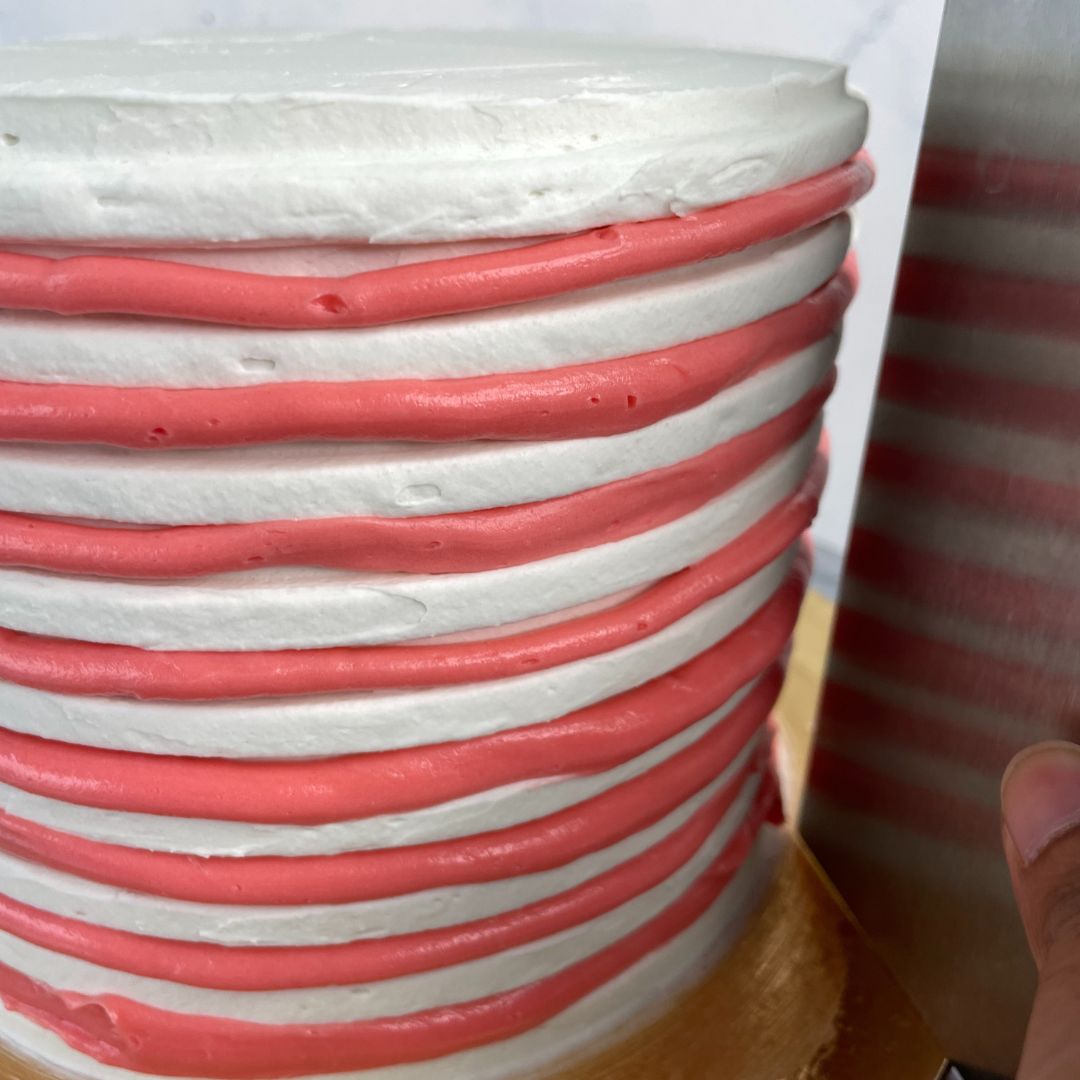
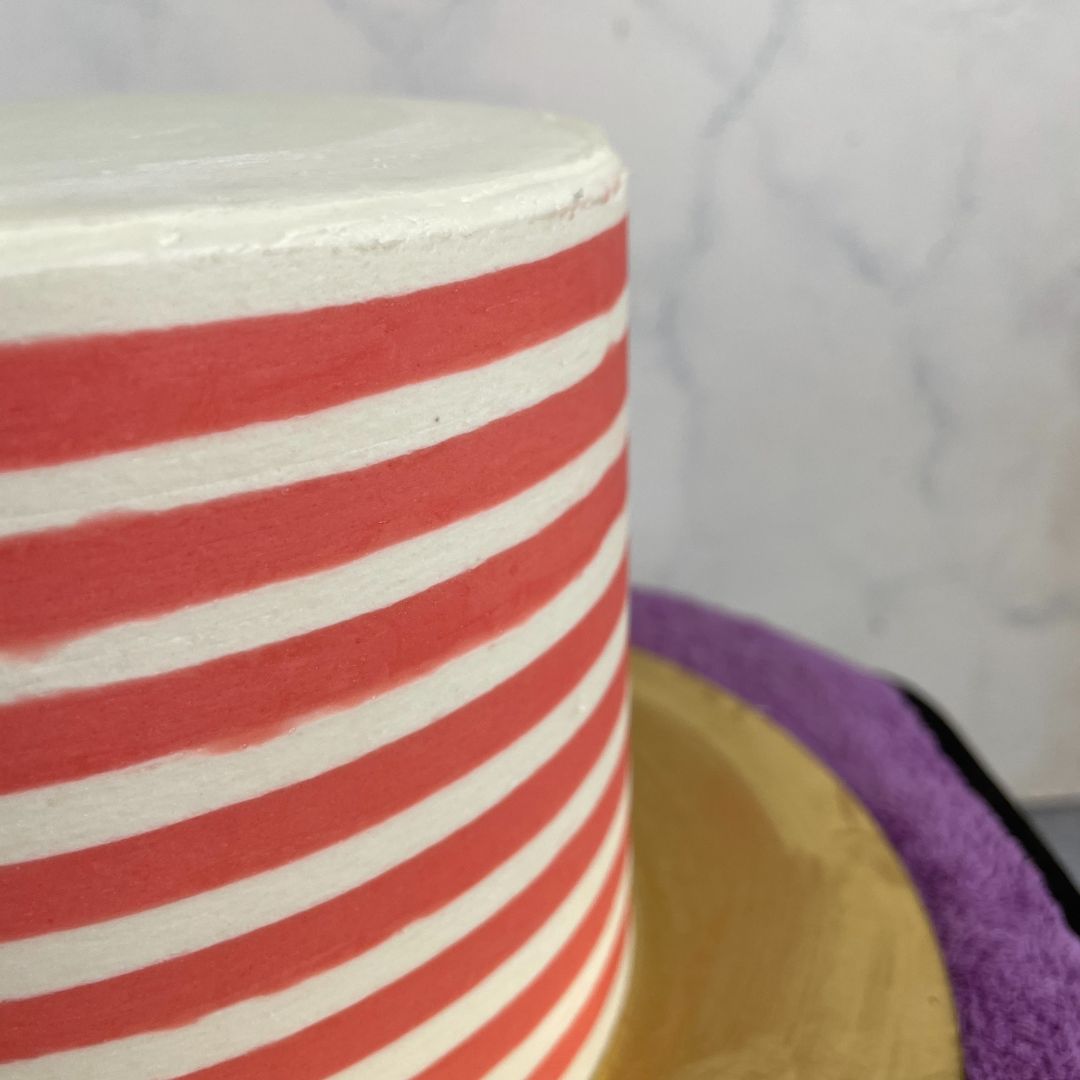
Frosting: Now run the side of the cake with a toothed cake comb to create gaps. Do not press the cake comb too much, or the crumb coat may come off. Keep it in the fridge for 30 – 40 minutes to set the buttercream. Once the buttercream has been set properly, take it out of the fridge; it should not stick to your finger if you touch it. Pipe pink buttercream in the gaps between the white buttercream created with the toothed comb. It is okay if it overlaps the white buttercream. Once you have piped in all the gaps, run a scrapper to remove the excess pink buttercream and make it smooth. It should look like this after scrapping the excess.
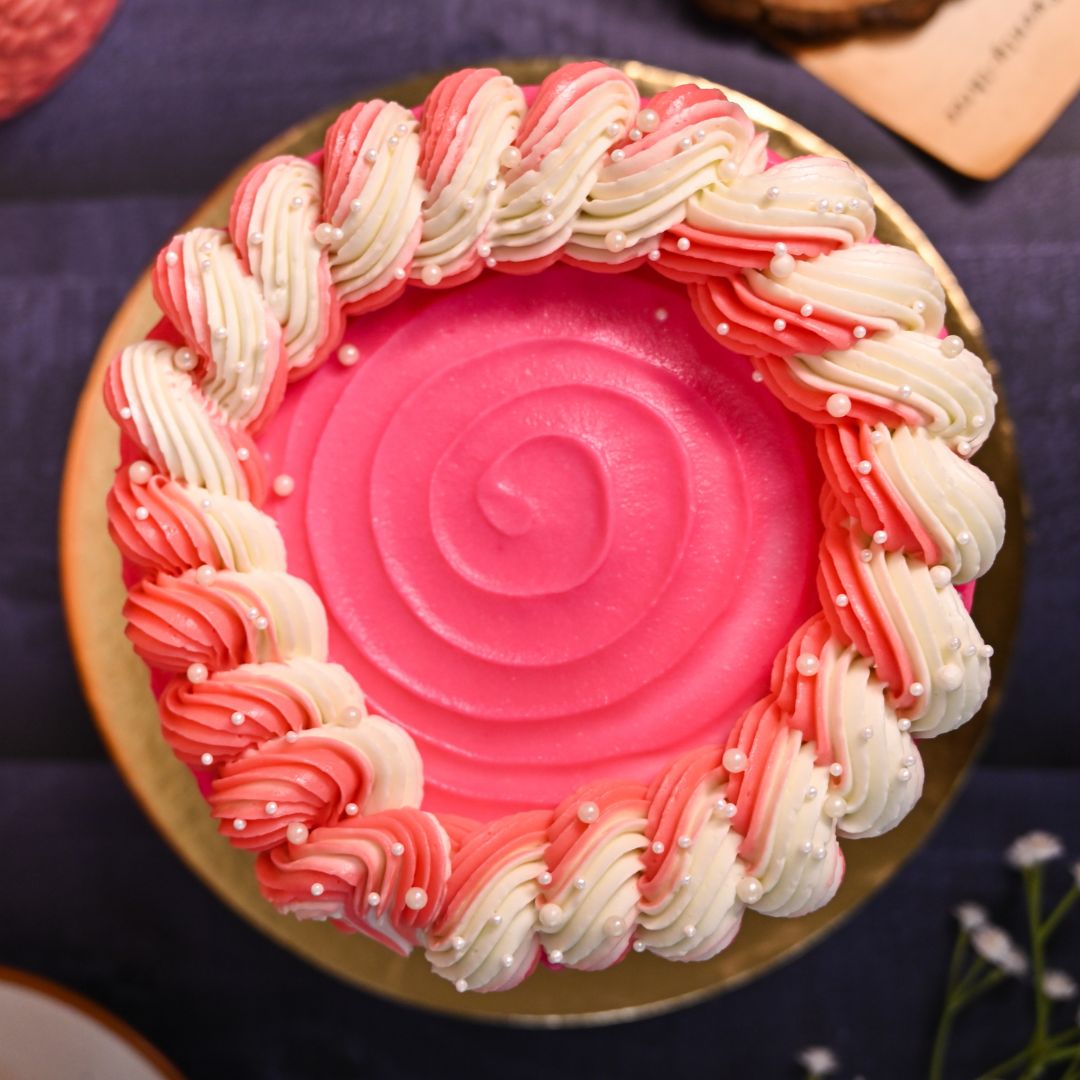
Apply the drip: Once you are done with the frosting, pipe the pink drip around the top edge of the cake. Fill the center with the same drip.
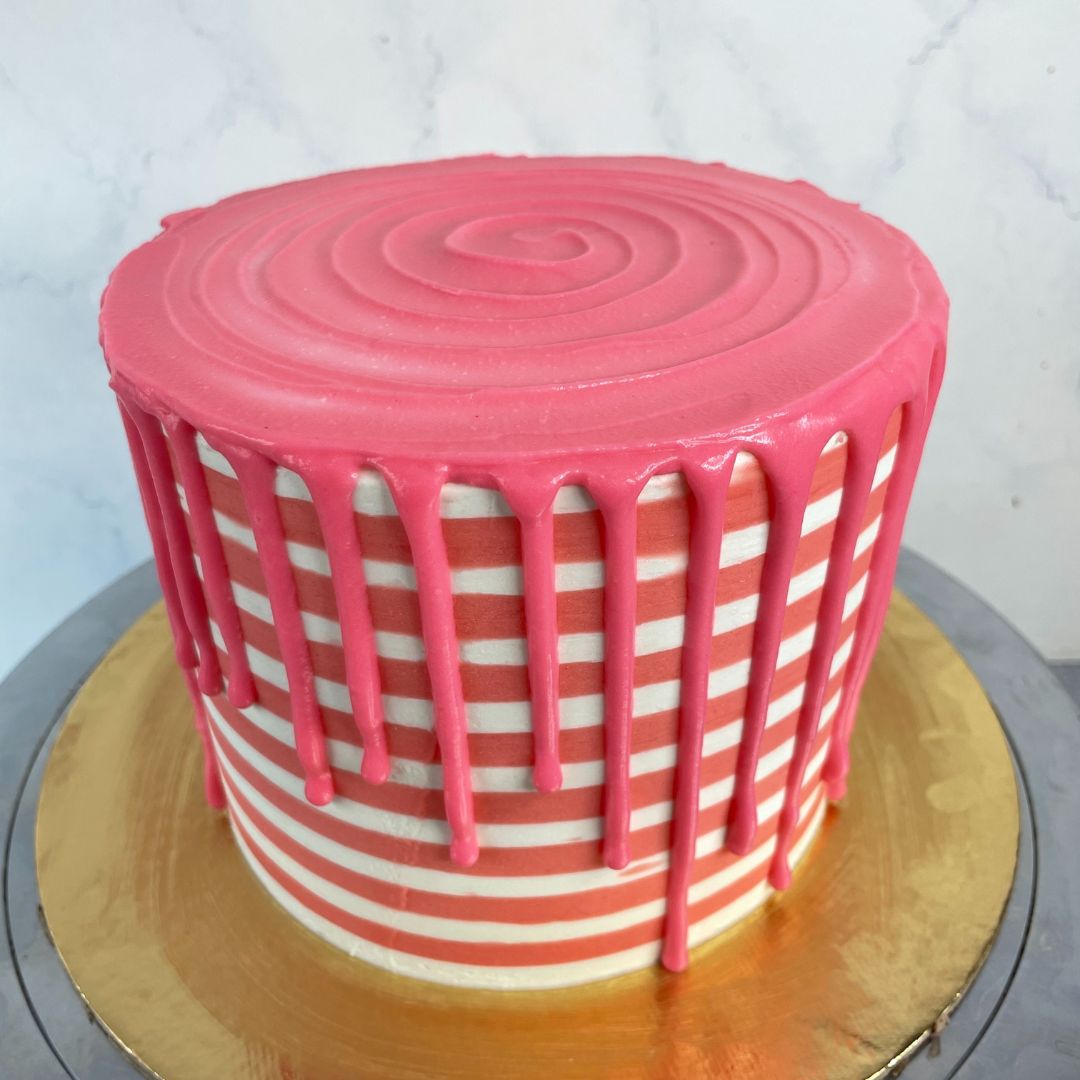
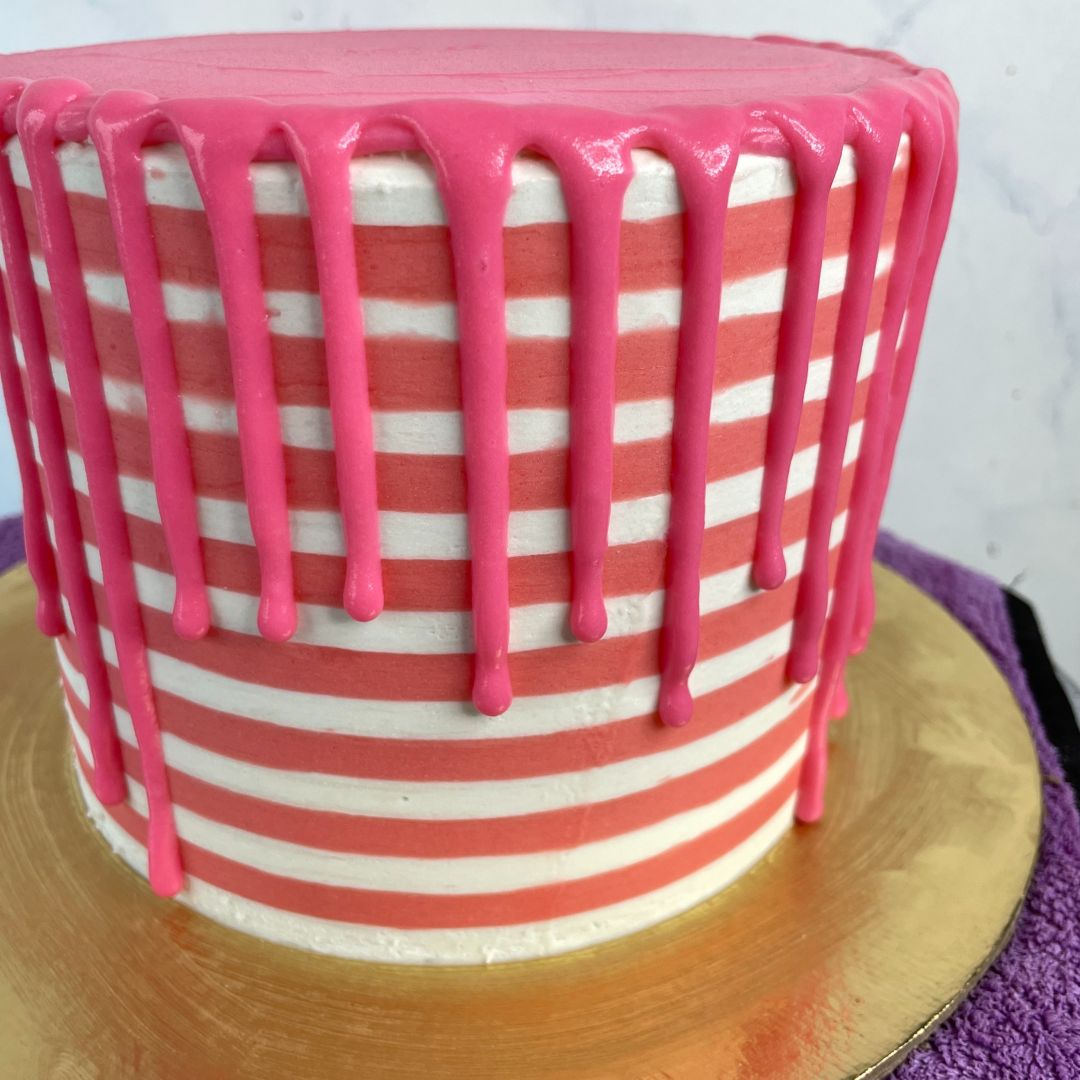
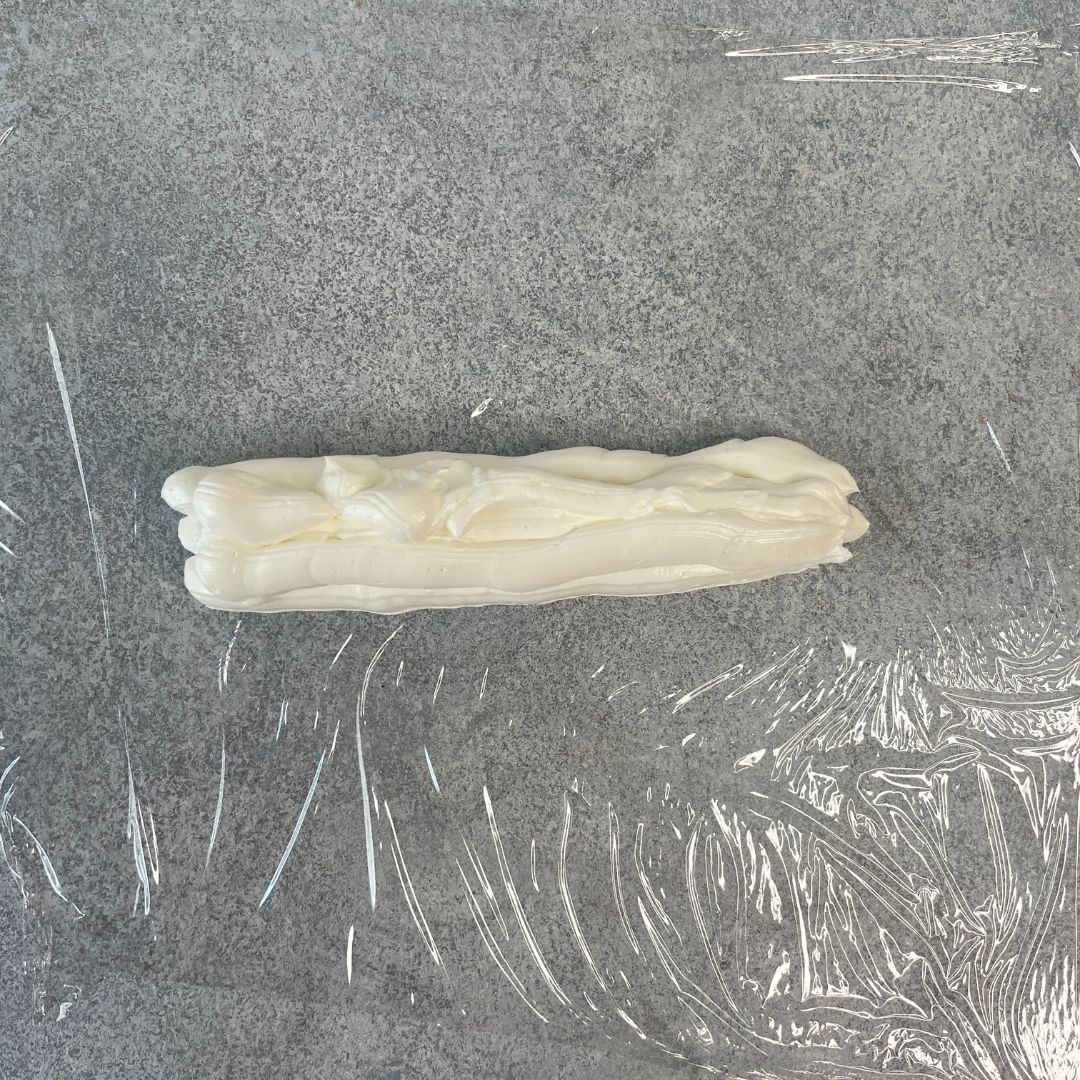
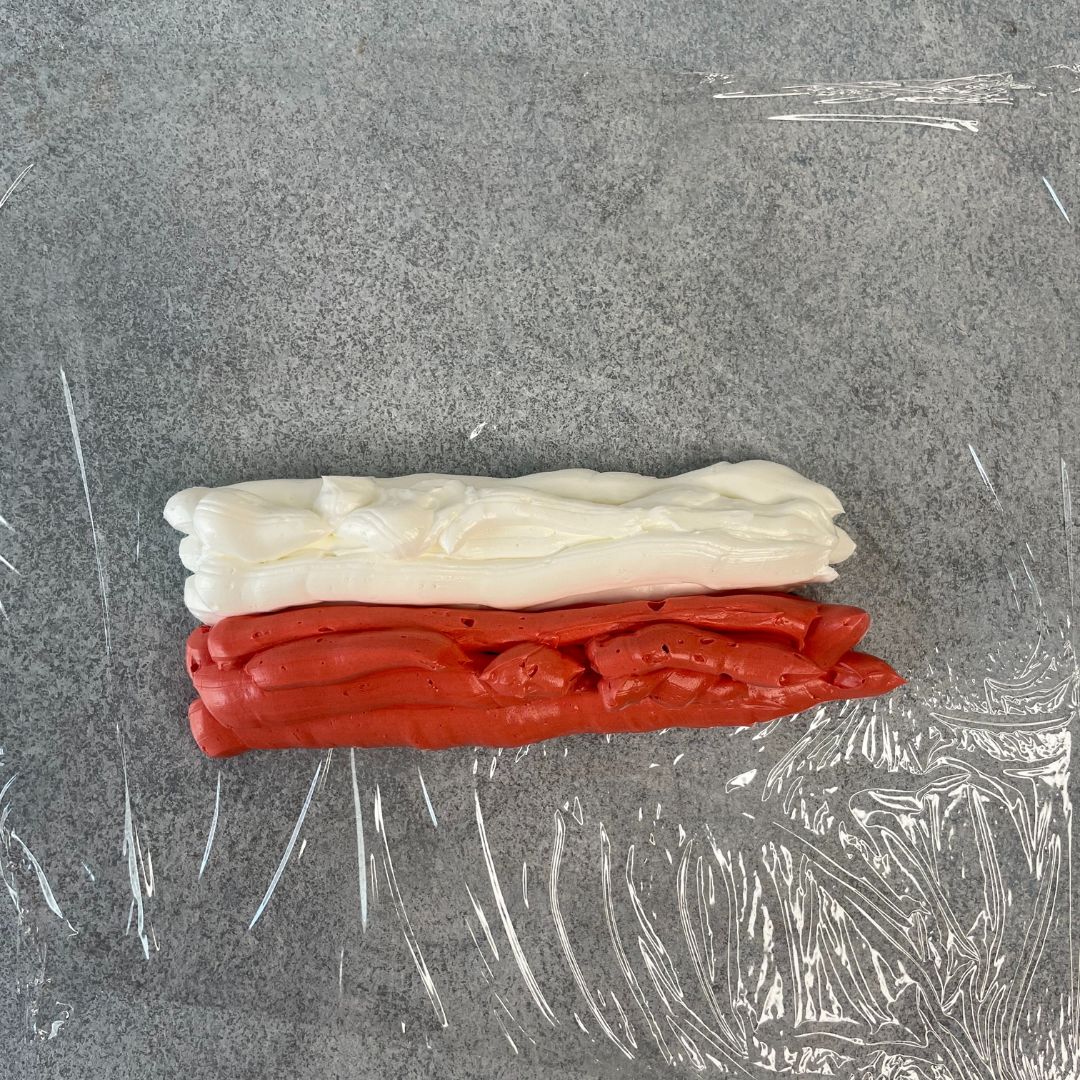
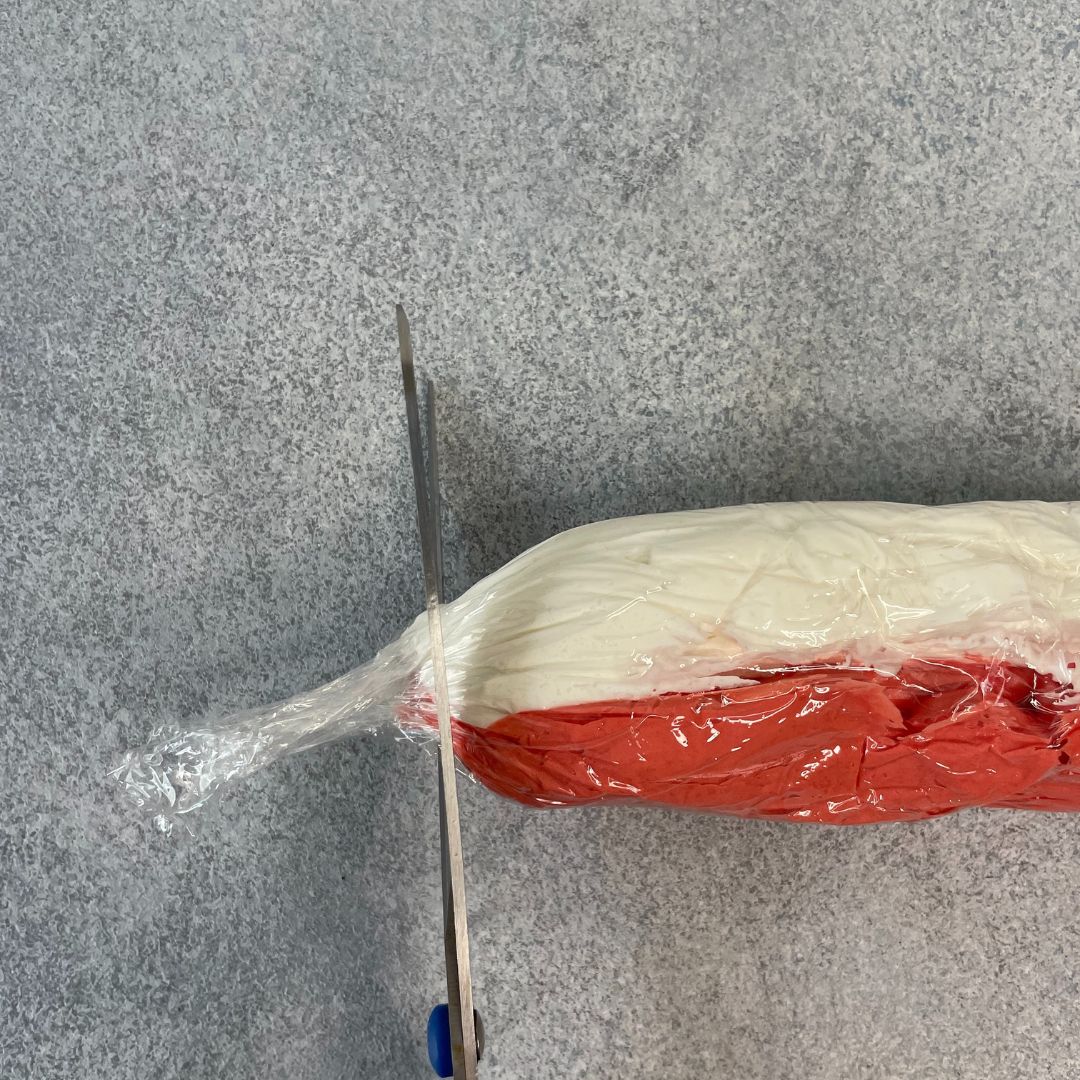
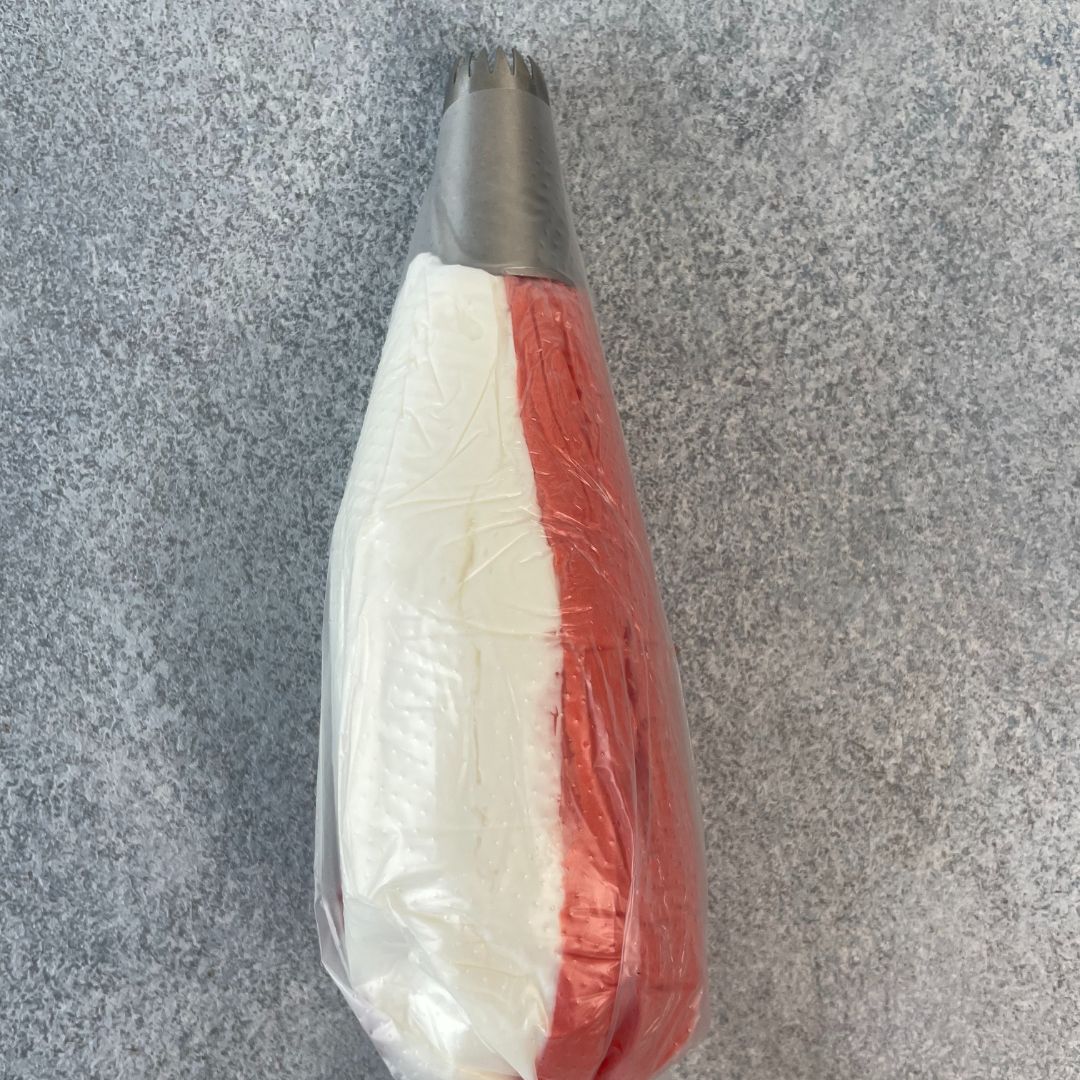
Pipe borders on top: Now, with the remaining pink and white buttercream, pipe both of them side by side vertically on the middle of a food-grade plastic wrap. Then, roll the plastic wrap to cover the buttercream. Cut it from one side and transfer it to a piping bag fitted with an open star nozzle. Finally, pipe spiral borders around the top edge of the cake and sprinkle edible pearls on top. And you are done with the most beautiful and tastiest strawberry cake.

Chef’s Tips For The Recipe
For The Batter
Use cold and fresh egg whites in the batter to intensify its purpose of making the sponge rise.
For The Buttercream
To make the buttercream fluffier, beat the unsalted butter for longer and entrap more air.
Do not skip mixing milk and icing sugar before adding it to the beaten butter, as it will make the buttercream smooth and glossy.
For Decorating
Keep the cake in the fridge after running it with the toothed cake comb so that the buttercream sets completely, and it’s easier to pipe the pink buttercream without a mess.
How To Store Strawberry Cake?
You can store the cake in the refrigerator for 1 week if kept in an airtight container.
It can be stored in the freezer for 14 to 15 days.
I recommend consuming it on the same day if kept at room temperature.
More Easy Recipes
Check out our other incredible recipes:
Yellow cake with chocolate frosting
Frequently Asked Questions
To prevent the cake from becoming too dense, avoid over-mixing. Mix until just combined properly.
Add a pinch of salt to the buttercream to balance out the sweetness.
Although you can use salted butter, it is recommended to use unsalted butter, which will give you more control over the balance of sweetness and saltiness.