
You are here for a treat if you like to taste cookie dough while baking cookies. This is the best cookie dough cake you will ever taste.
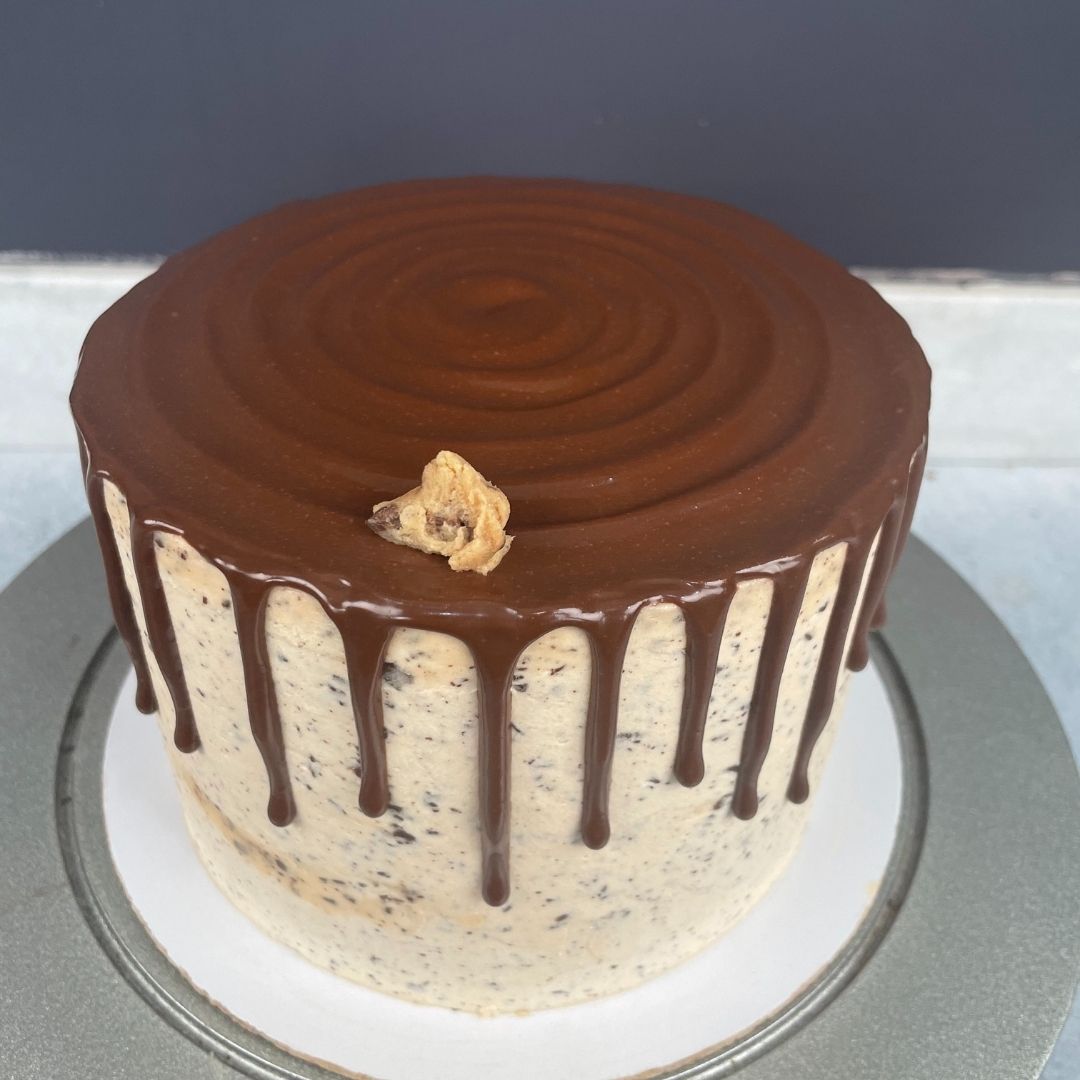
This cake is made with chocolate chip vanilla sponge brown butter buttercream and filled with edible cookie dough. And lastly, it is decorated with dark chocolate drip and cookie dough on top.
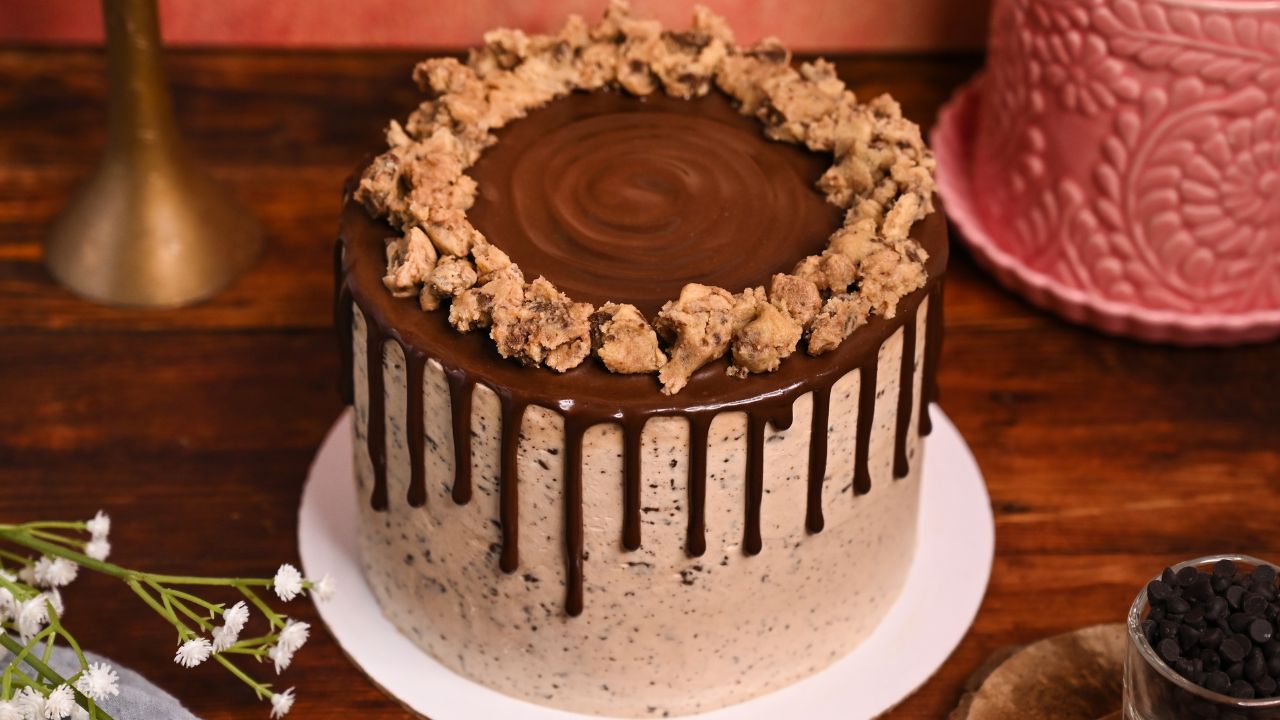
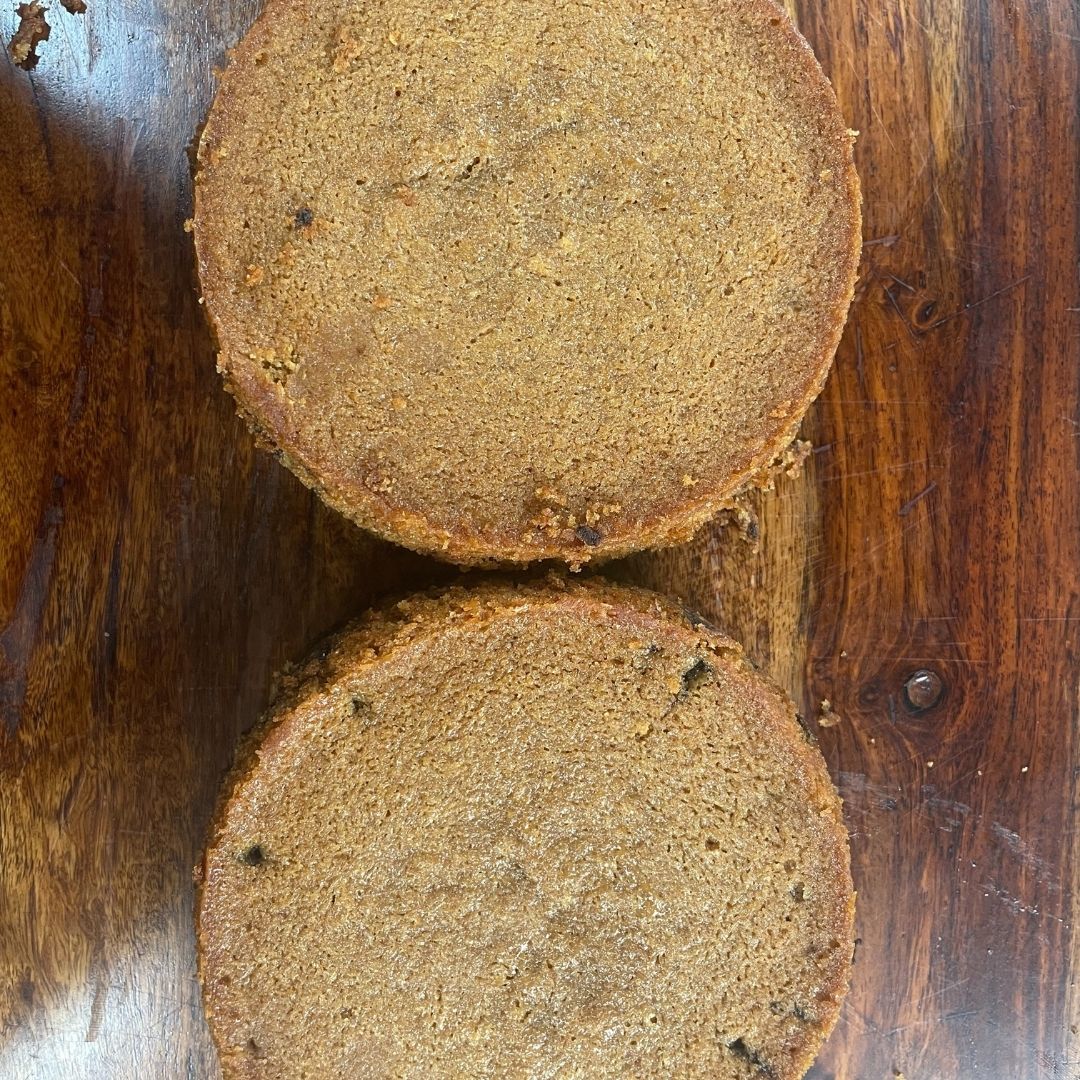
This cookie dough cake is moist and tender crumb textured sponges that are made with brown butter and brown sugar to bring out the best flavor. Both the sponge and the buttercream are made with brown butter. The best part of this cake is the buttercream does not taste like buttercream at all. This cake is perfect for cookie dough lovers and is loaded with edible cookie dough in between the layers.
This cake is made completely with brown butter, and if you do not know how to make brown butter, do not worry. I am here to take you through that through this blog post, and I am sharing the best edible cookie dough you will ever taste. It can be the best celebration cake for any occasion.
Why You Will Love This Recipe?
- Flavor: As the name suggests, the cake tastes like cookie dough heaven. It has a distinct brown butter flavor and aroma, which makes it irresistible. The overall taste of the cake is rich, buttery, creamy vanilla with chocolate chips. All these elements complement each other and give you the best and most perfectly made cookie dough cake ever.
- Texture: The texture of this cake can be described as rich, velvety, and soft sponges with fluffy buttercream frosting. The cake melts in your mouth after you take a bite into it.
- Loaded with edible cookie dough: This cake is packed with edible cookie dough in every bite. Each layer is filled with it. Even the buttercream has the edible cookie dough flavor as I have added heat-treated all-purpose flour in it with icing sugar that makes the butter taste not so like a typical buttercream.
- Crowd Pleaser: Whether you are serving this cake at a birthday party, family gathering, or any occasion, this cookie dough cake is a total crowd-pleaser that will have everyone asking for more.
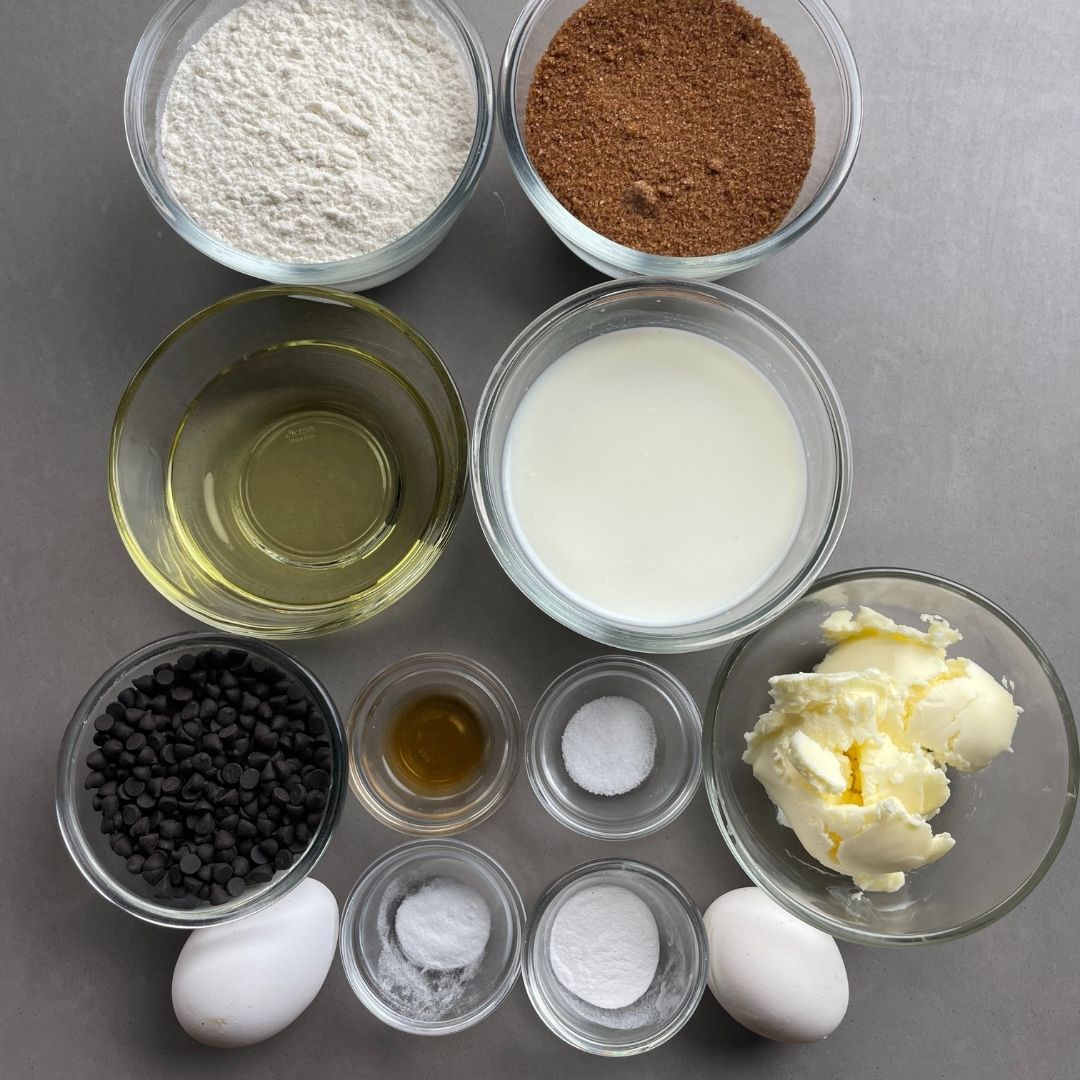
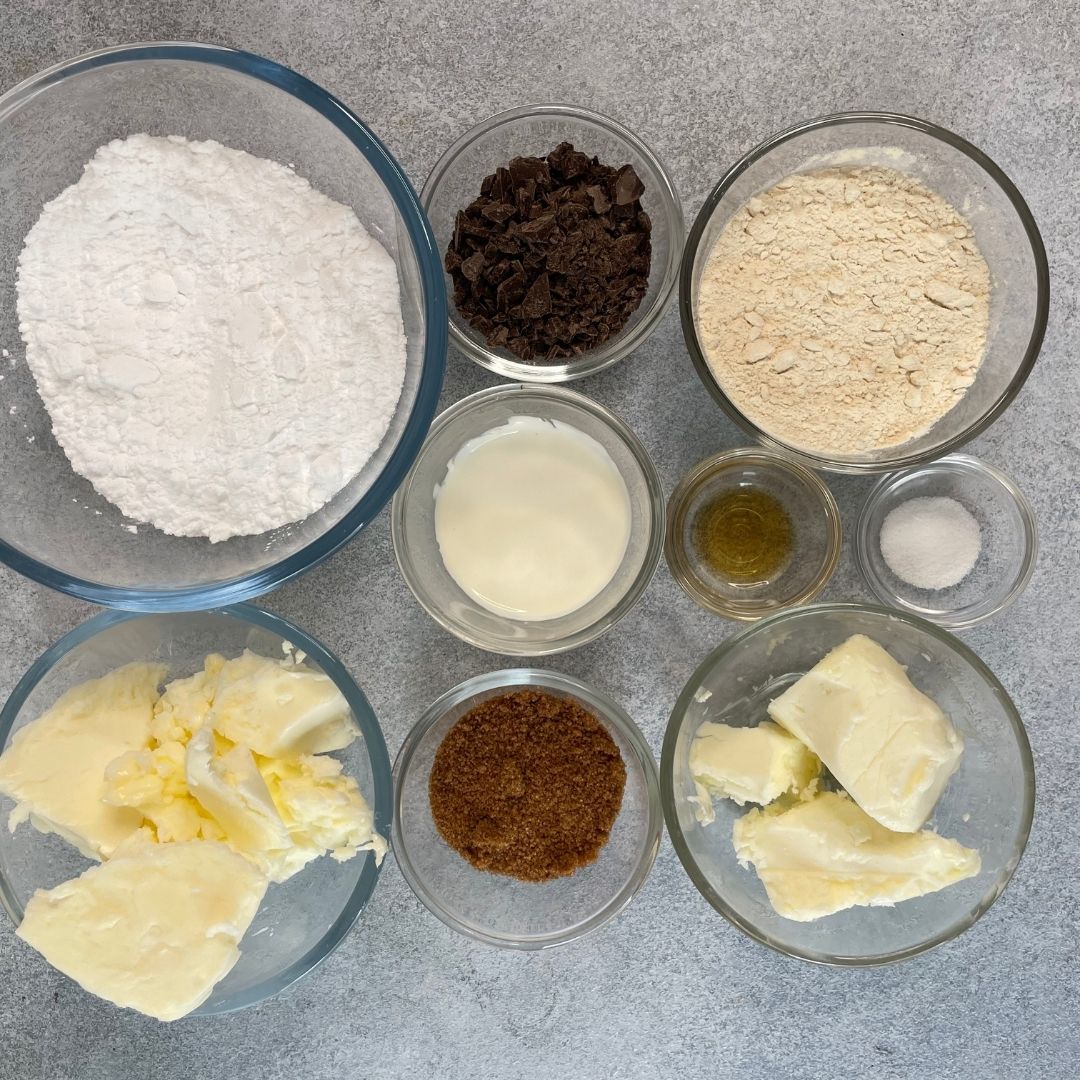
Important Ingredients Used in the Recipe
- Brown Butter: This is the star ingredient of this recipe of cookie dough cake. It gives the cake a distinct nutty flavor and brings out the flavor of other ingredients. It provides richness, which results in a softer and more tender crumbs of the cake.
- Heat-treated flour: Heat-treated flour plays a crucial role in making edible cookie dough as well as buttercream. It makes the dough edible, unlike the regular all-purpose flour, which can be harmful if consumed raw. Heat-treated flour has a similar texture to regular flour, ensuring the cookie dough is safe to eat.
- Brown Sugar: This cake is made of brown sugar, which contributes to the cake’s flavor as well as the texture. It adds a hint of caramel-like flavor, enhancing the overall taste. It also provides the cake with a beautiful brown color with soft and velvety crumbs. Brown Butter has been used in all the elements of the cake that, are the sponge. Edible cookie dough and the buttercream.
- Oil: It contributes to the cake’s texture by making the crumbs softer by retaining moisture.
- Buttermilk: Buttermilk adds moisture, preventing the cake from drying out during baking and resulting in velvety and soft crumbs.
- Heavy cream: Heavy cream contributes to the creamy, smooth, and luxurious texture of the buttercream. It also makes the buttercream fluffier compared to other buttercreams. Heavy cream has been used in both the buttercream and edible cookie dough.

How To Make Cookie Dough Cake
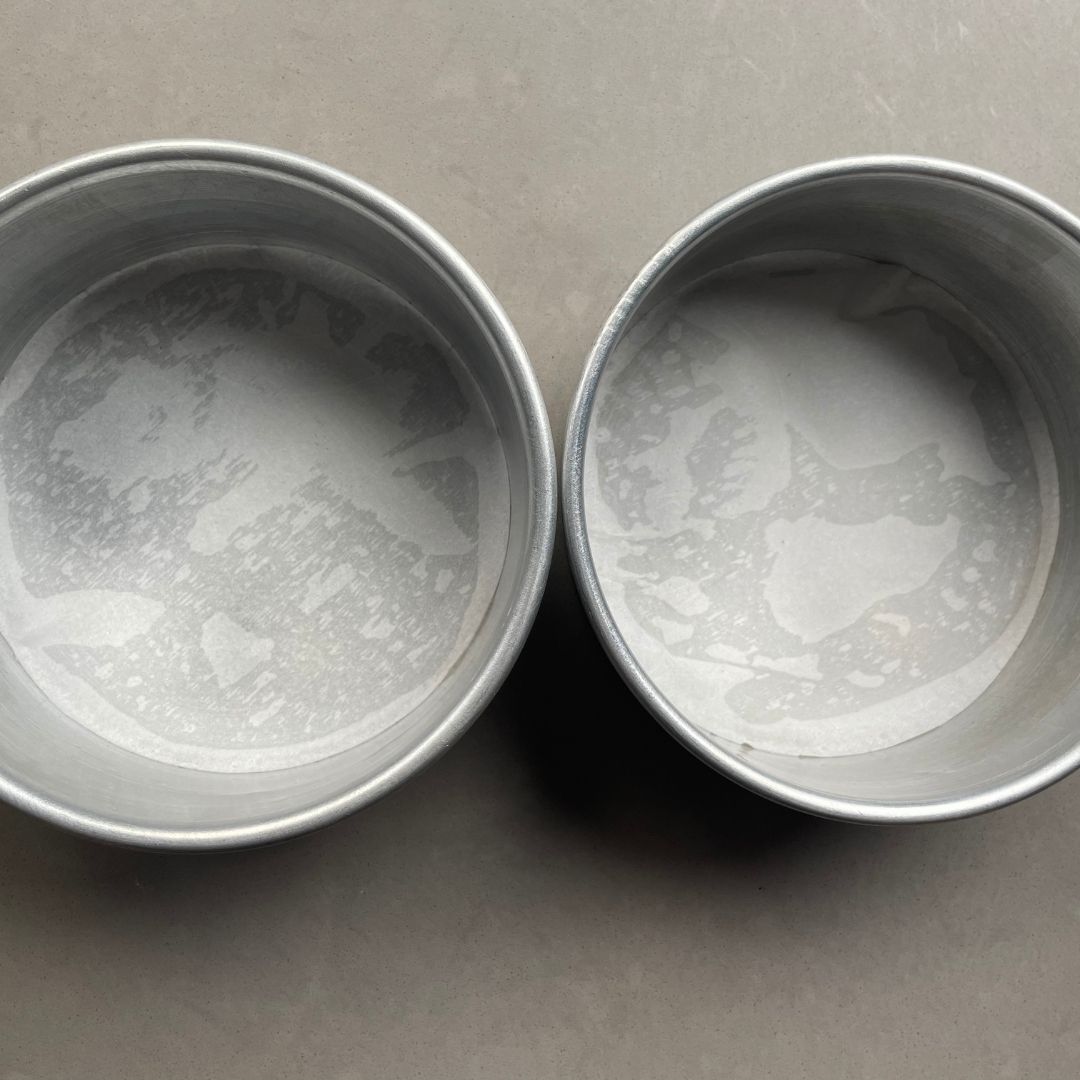
Preparations: Gather all the ingredients that are needed for the recipe. Prepare two 6-inch round baking tins by greasing oil and placing butter paper on the bottom. Also, preheat the oven to 180° C or 350° F (OTG mode: lower rod + upper rod + fan).
For Sponge
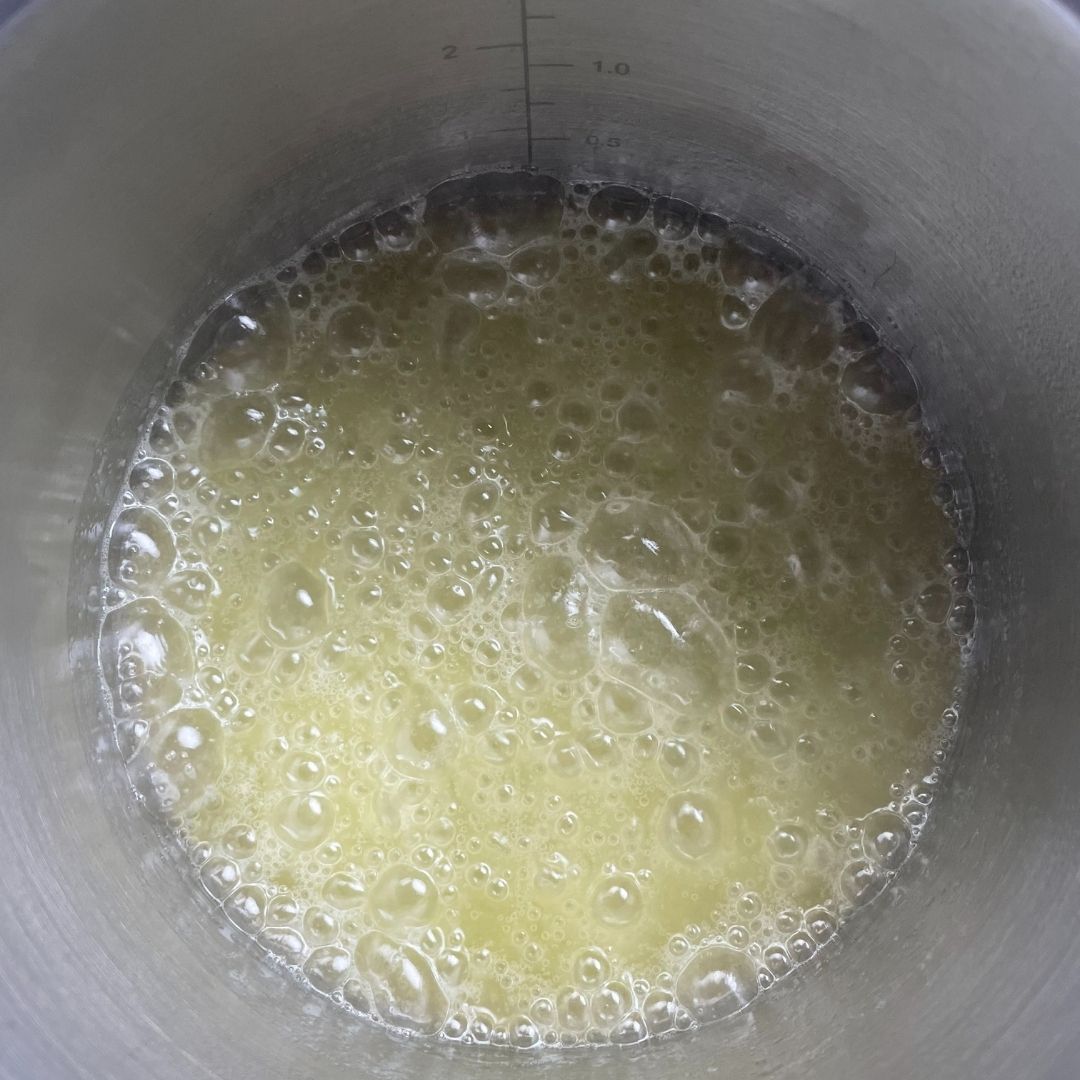
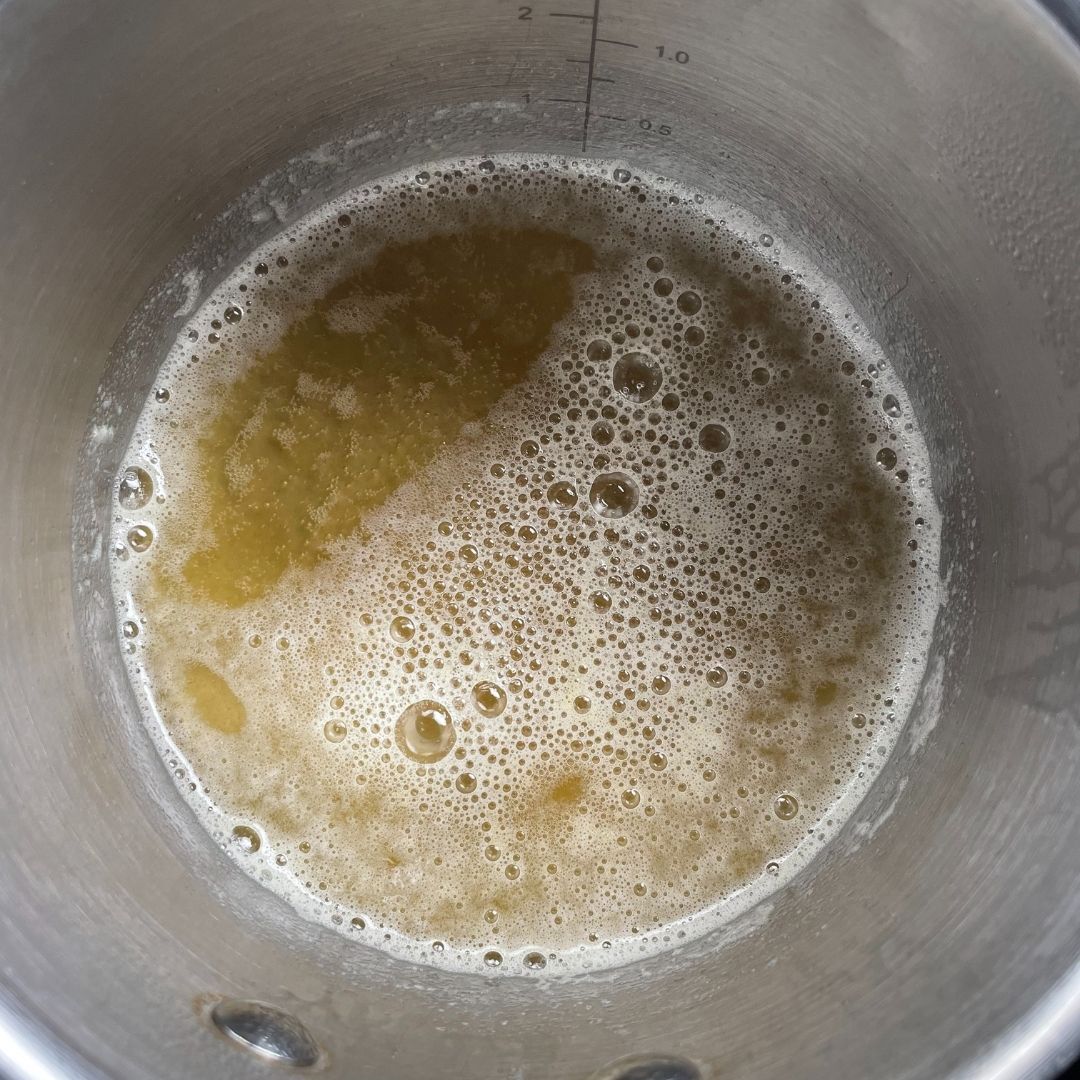
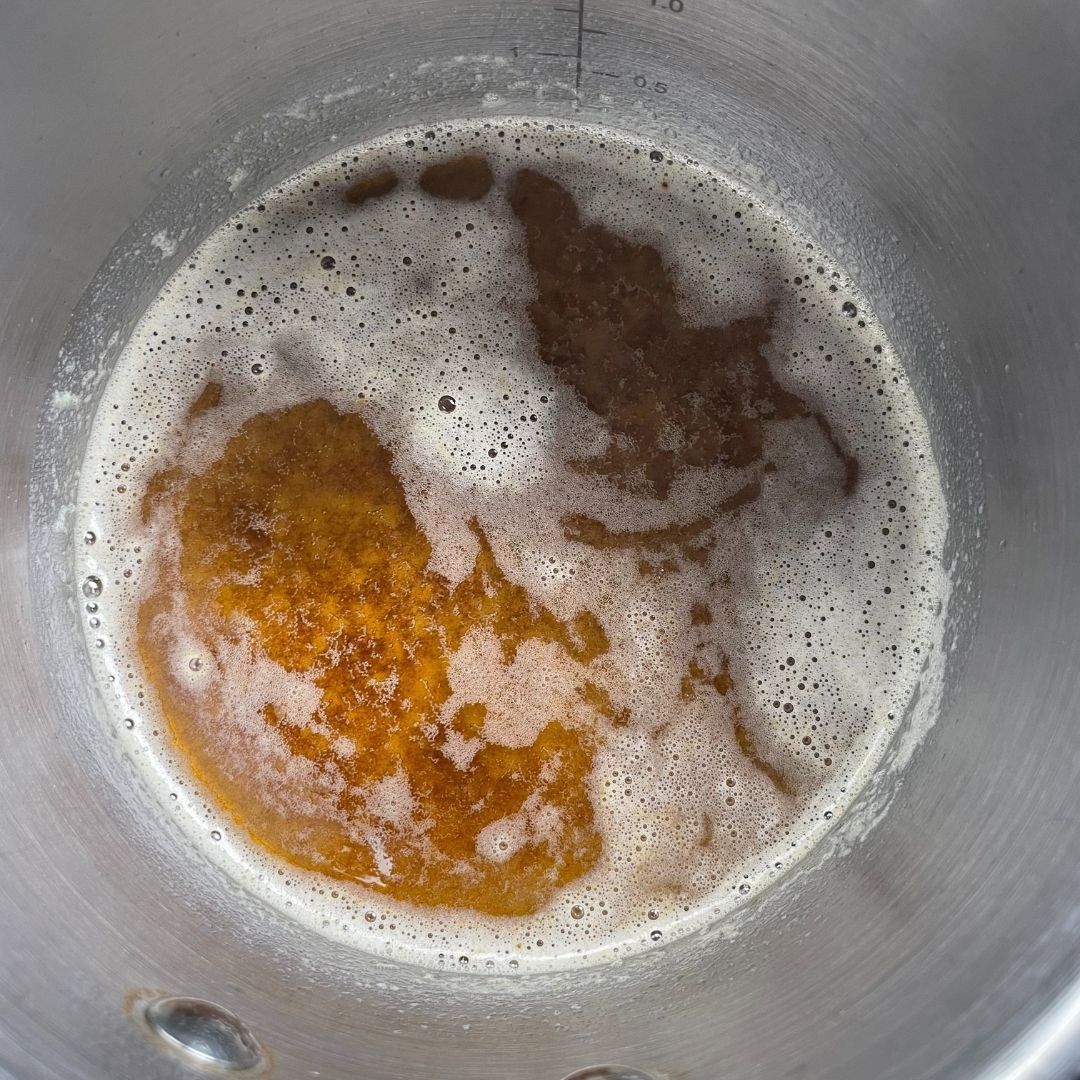
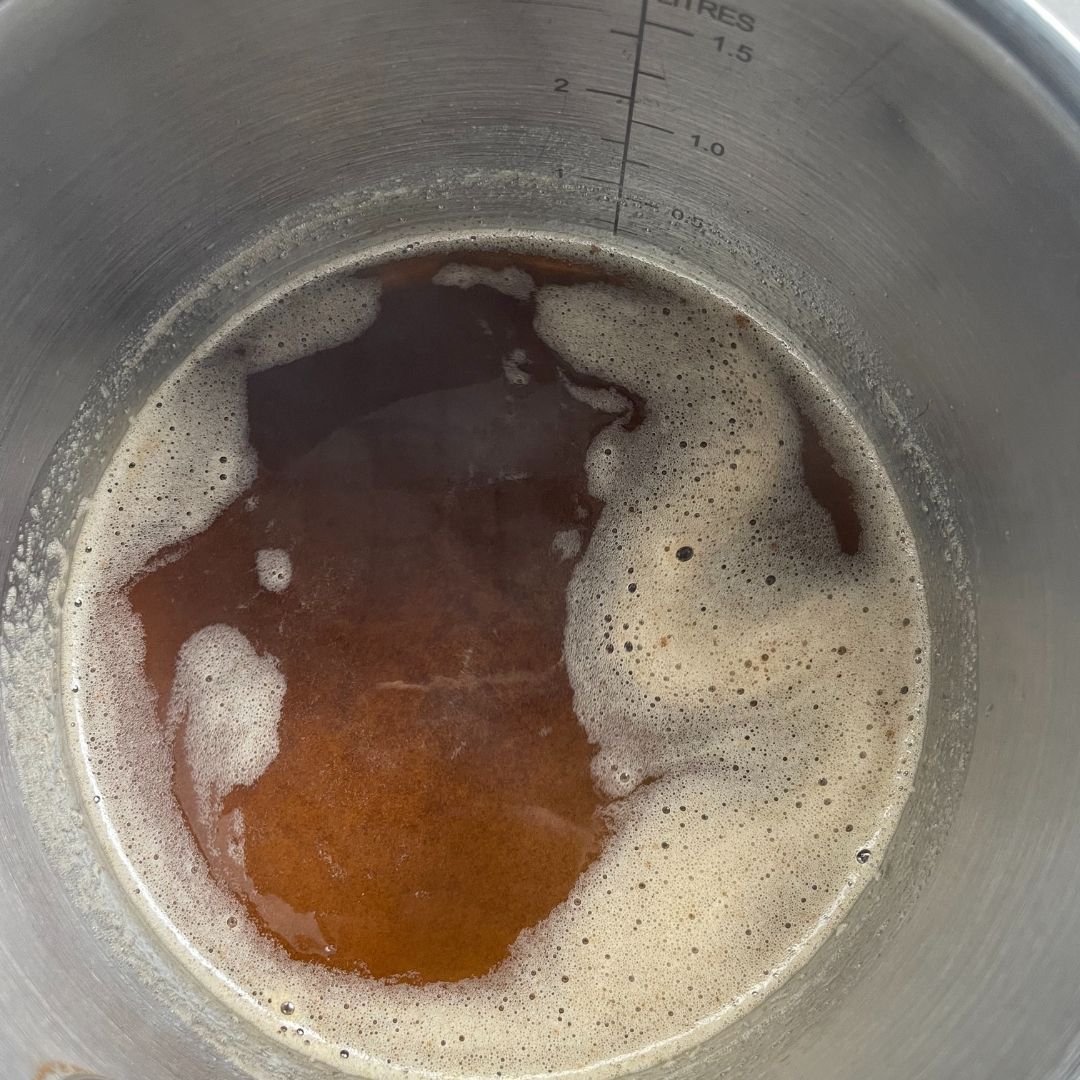
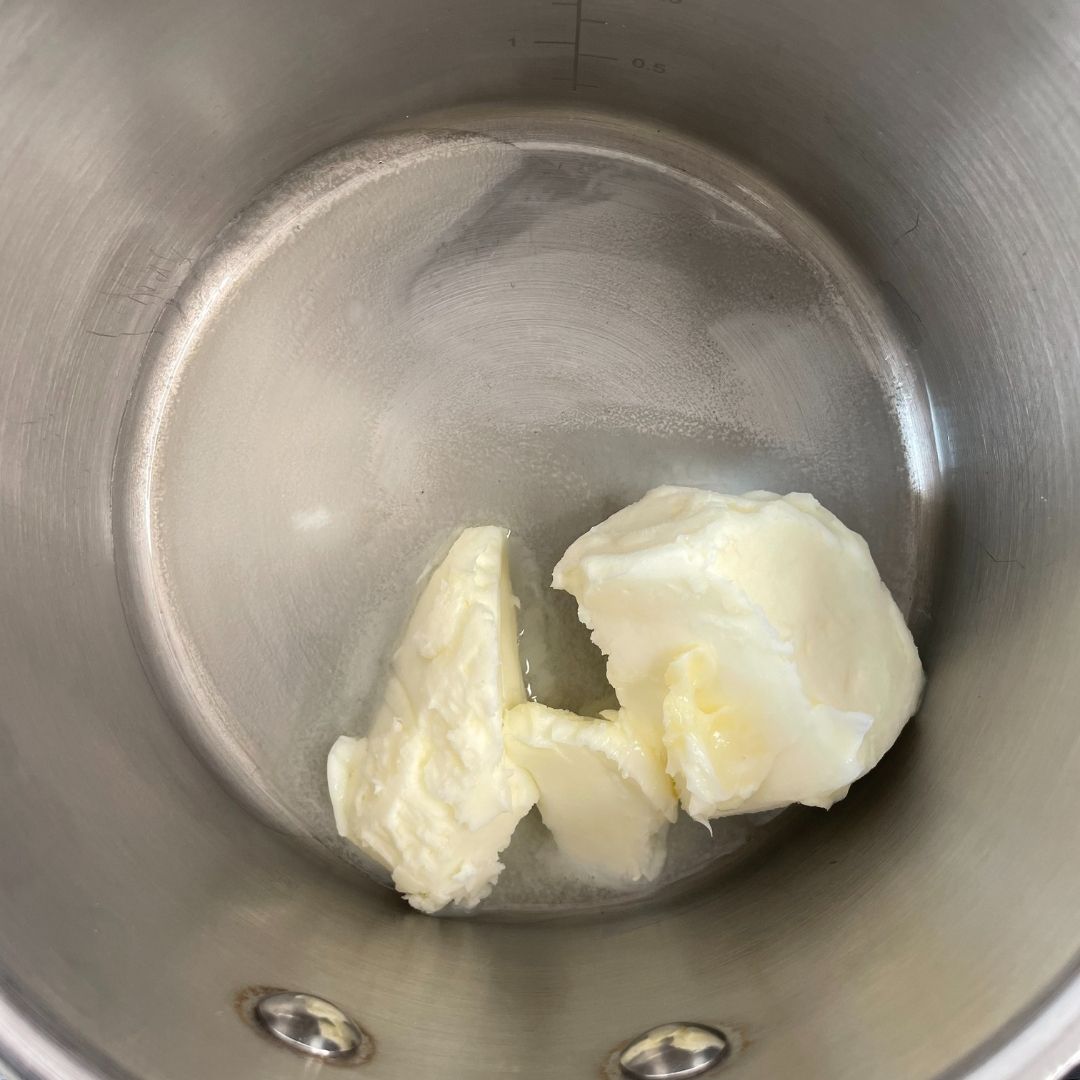
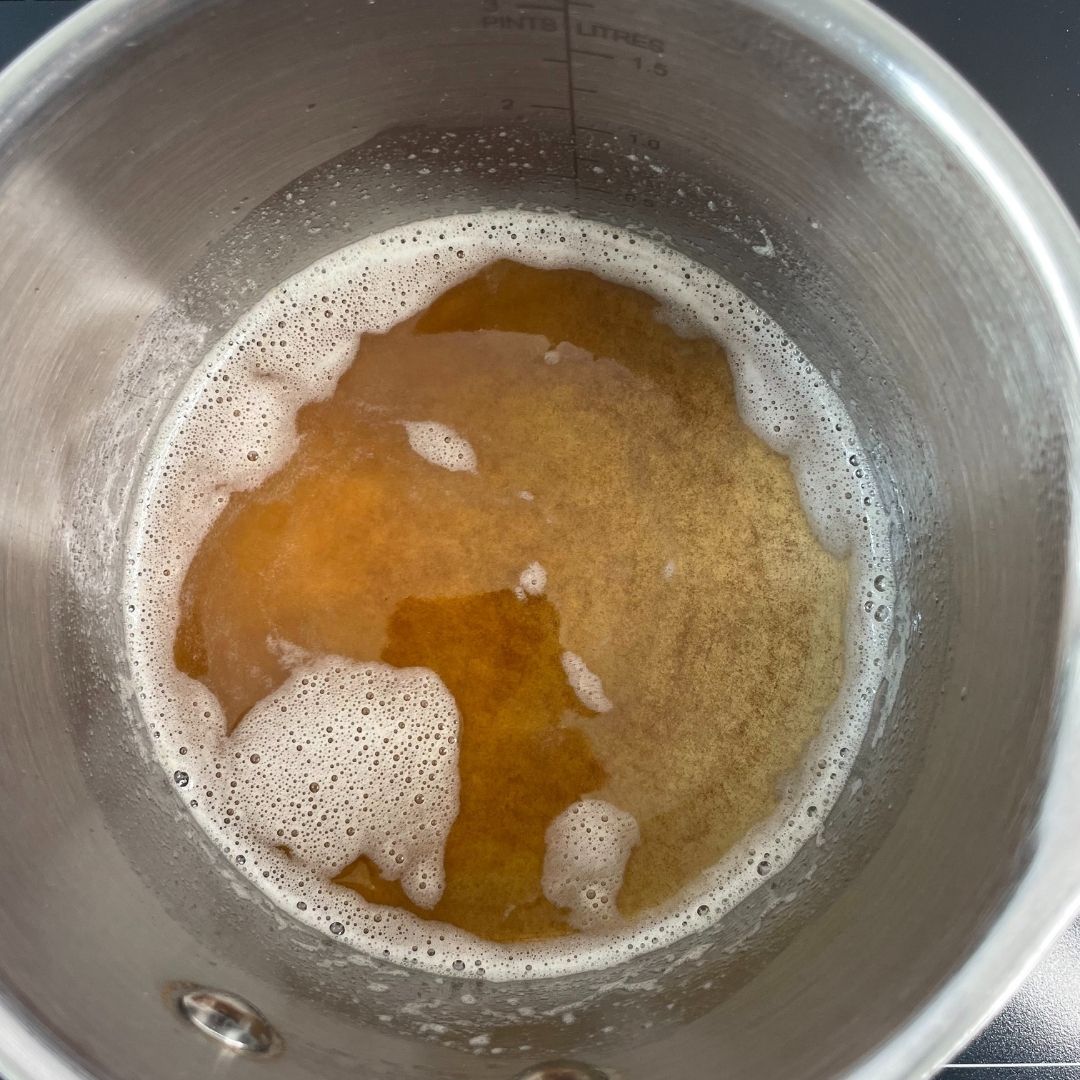
Make brown Butter: In a saucepan, add butter and let it melt slowly over medium-low heat. As it melts, stir it continuously while swirling the pan frequently. Keep swirling until you have golden brown butter and an intense nutty flavor. Take off the heat immediately and transfer it to a bowl so that the Butter stops cooking. Keep your eyes on the butter, as it can be burnt very quickly.


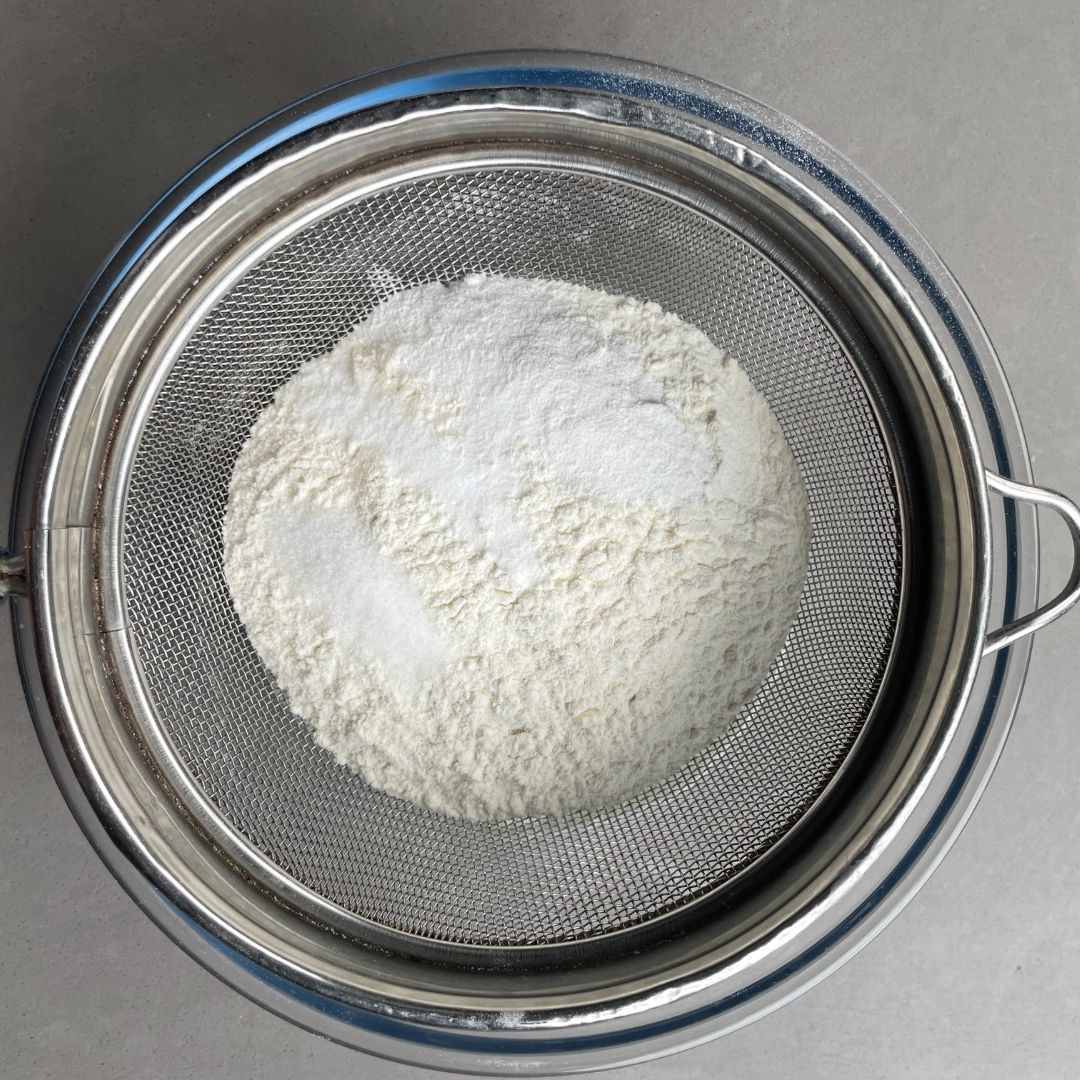
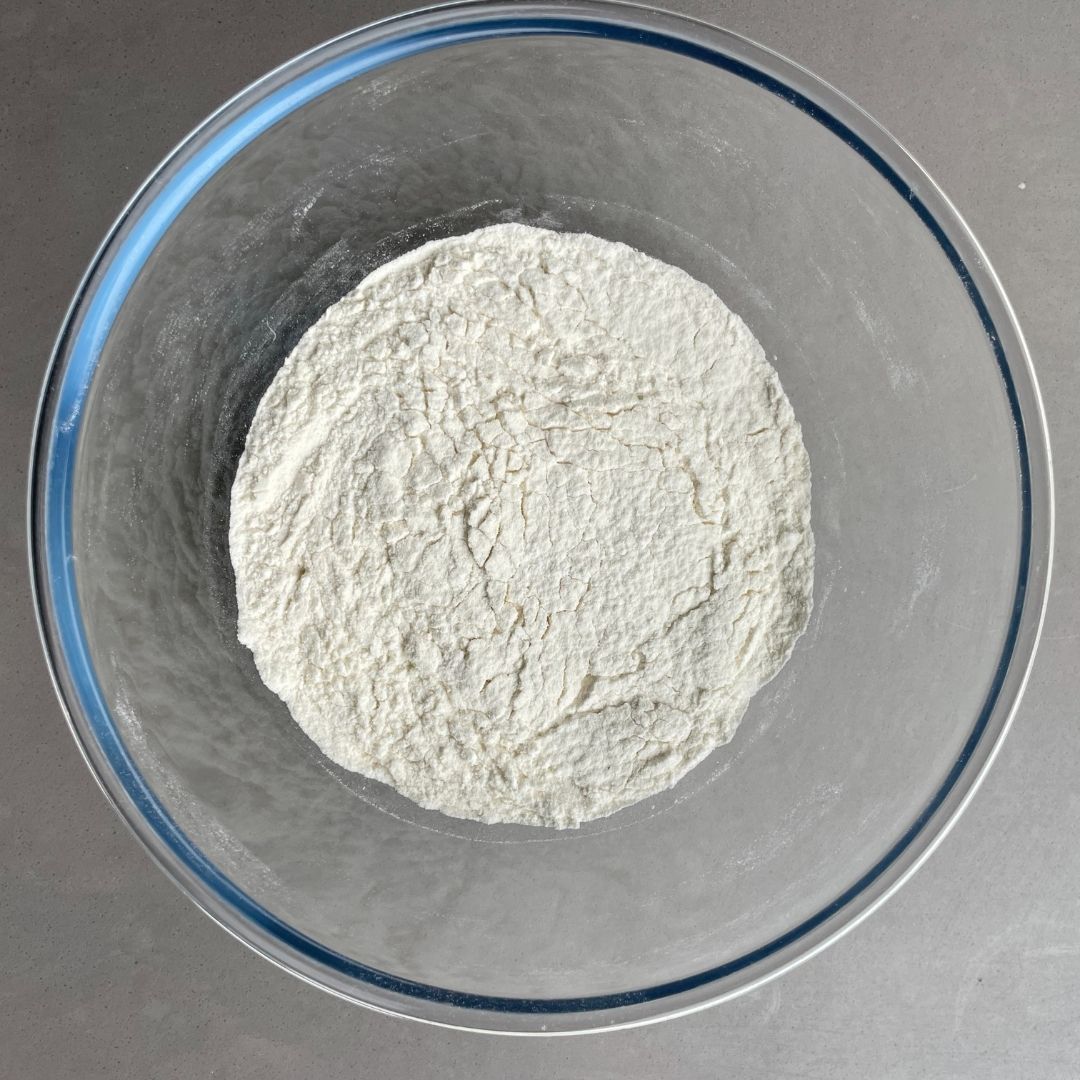
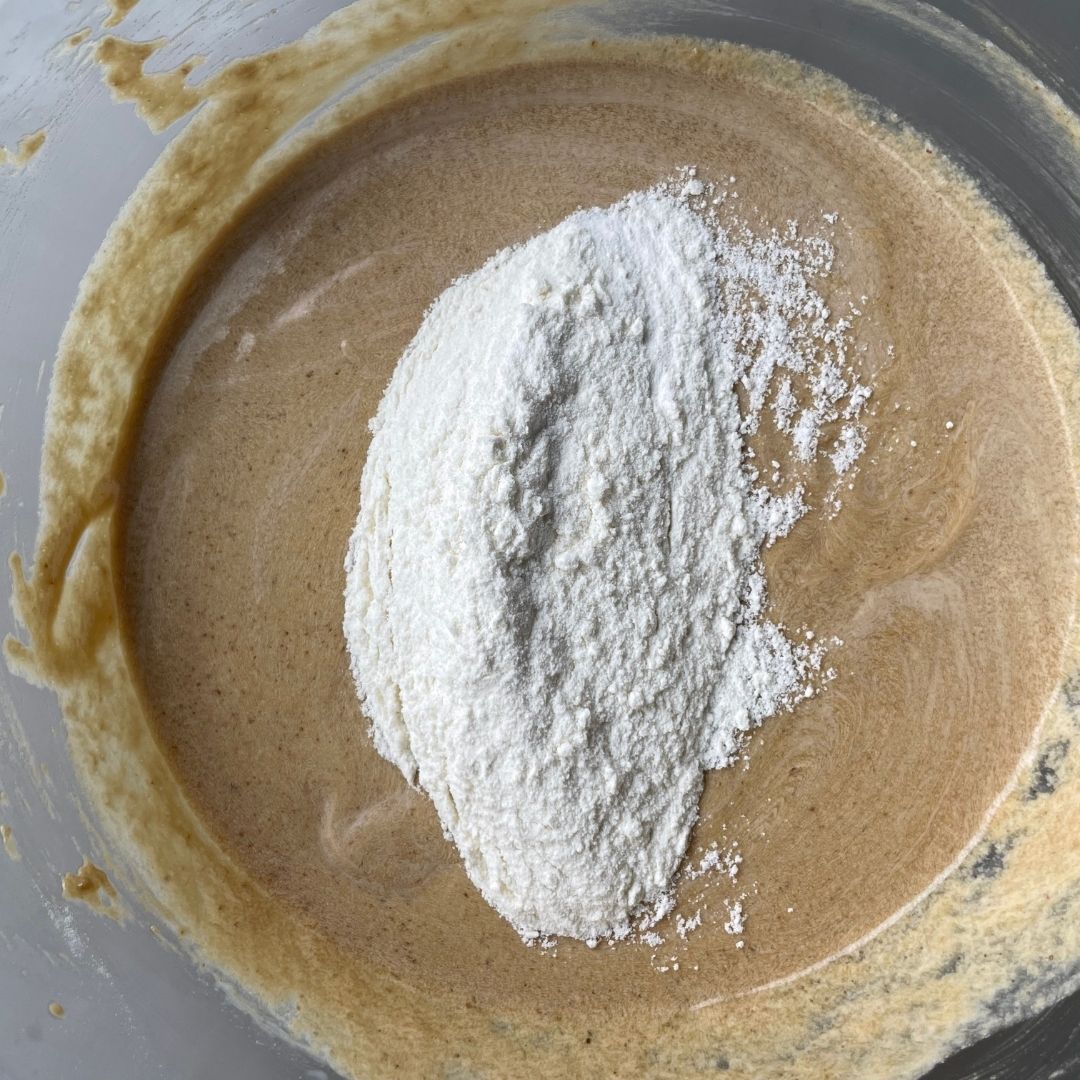
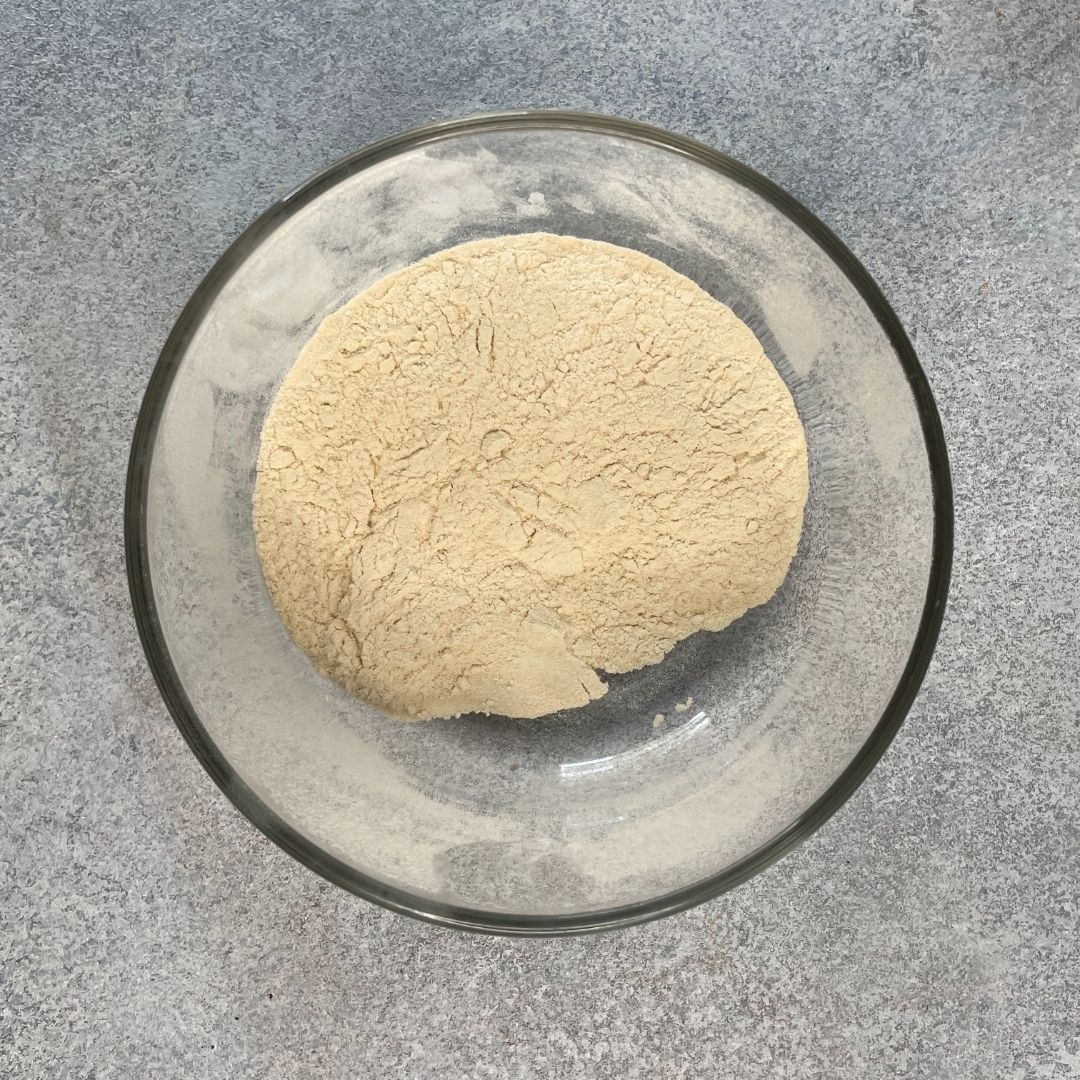
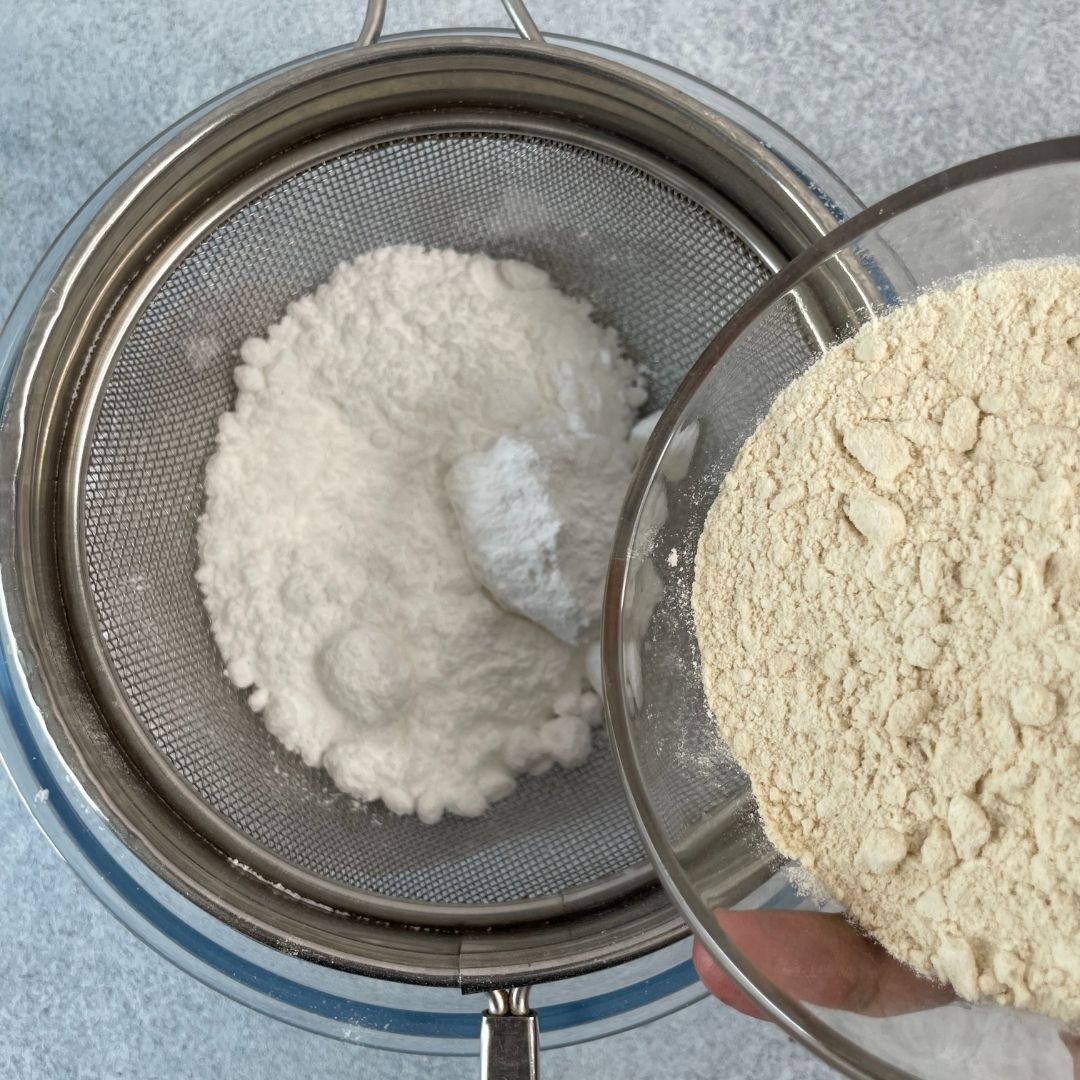
Sift dry ingredients: Meanwhile, the brown butter is cooling down. In a medium-sized bowl, sift the dry ingredients, which are all-purpose flour, baking powder, and baking soda salt. Then, keep it aside.
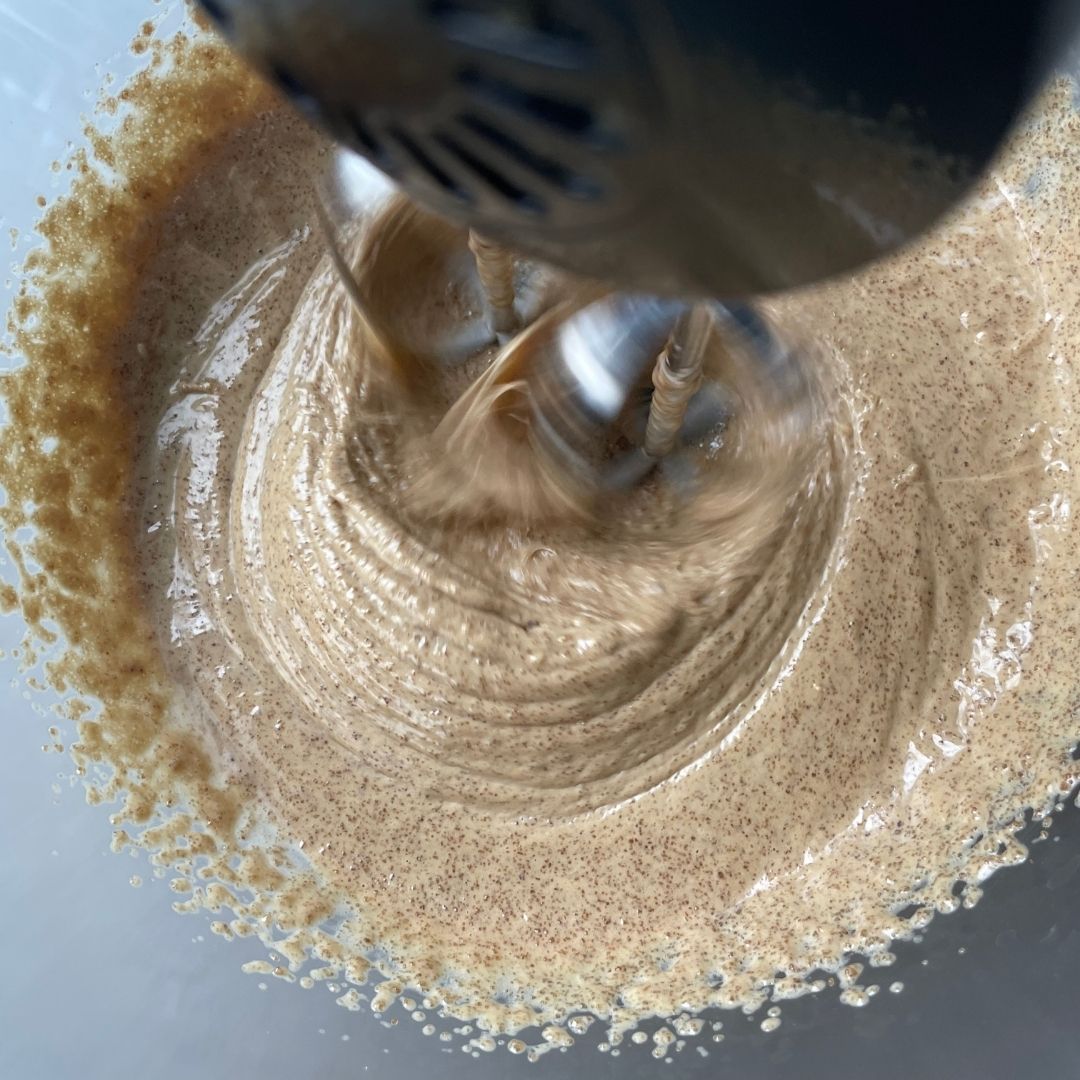
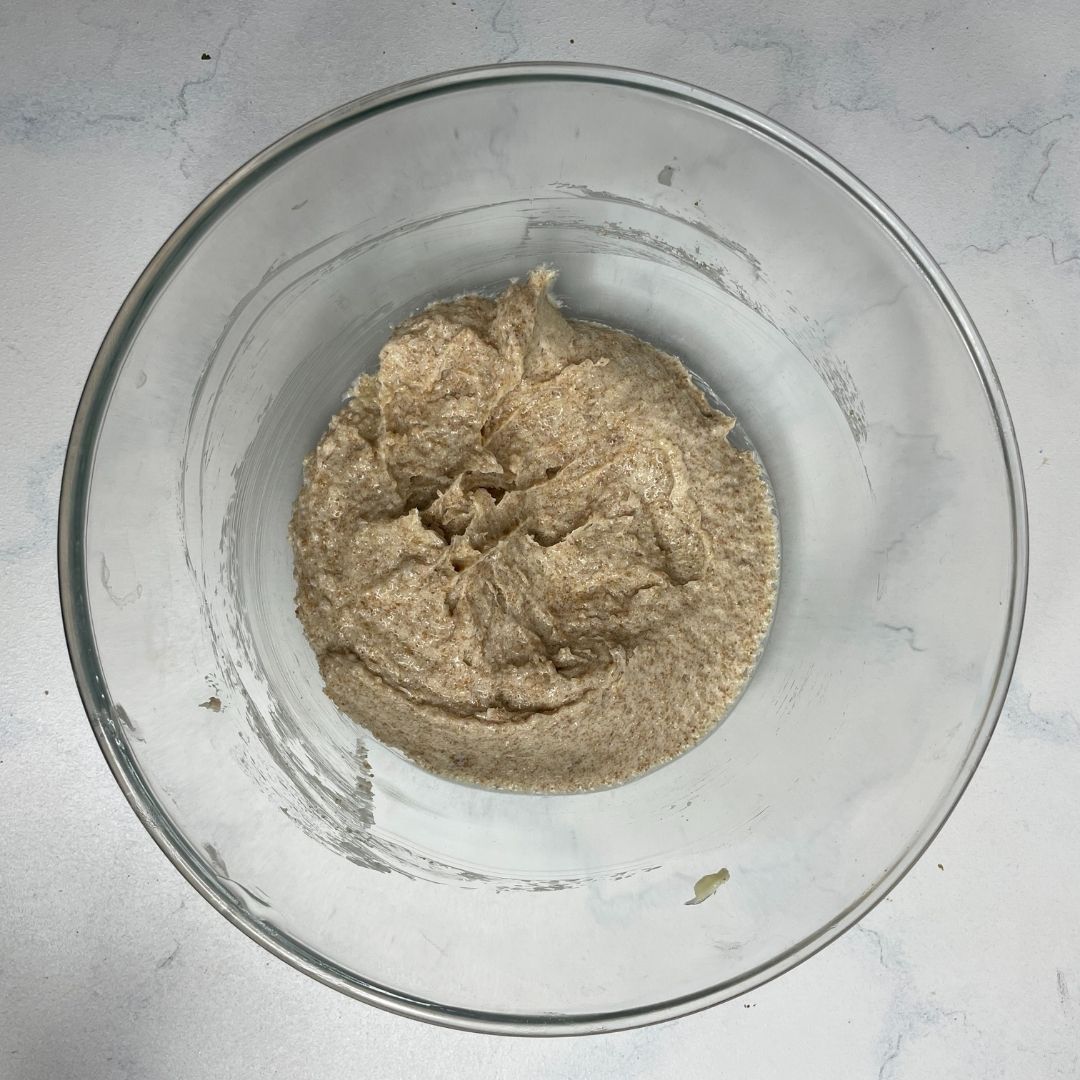
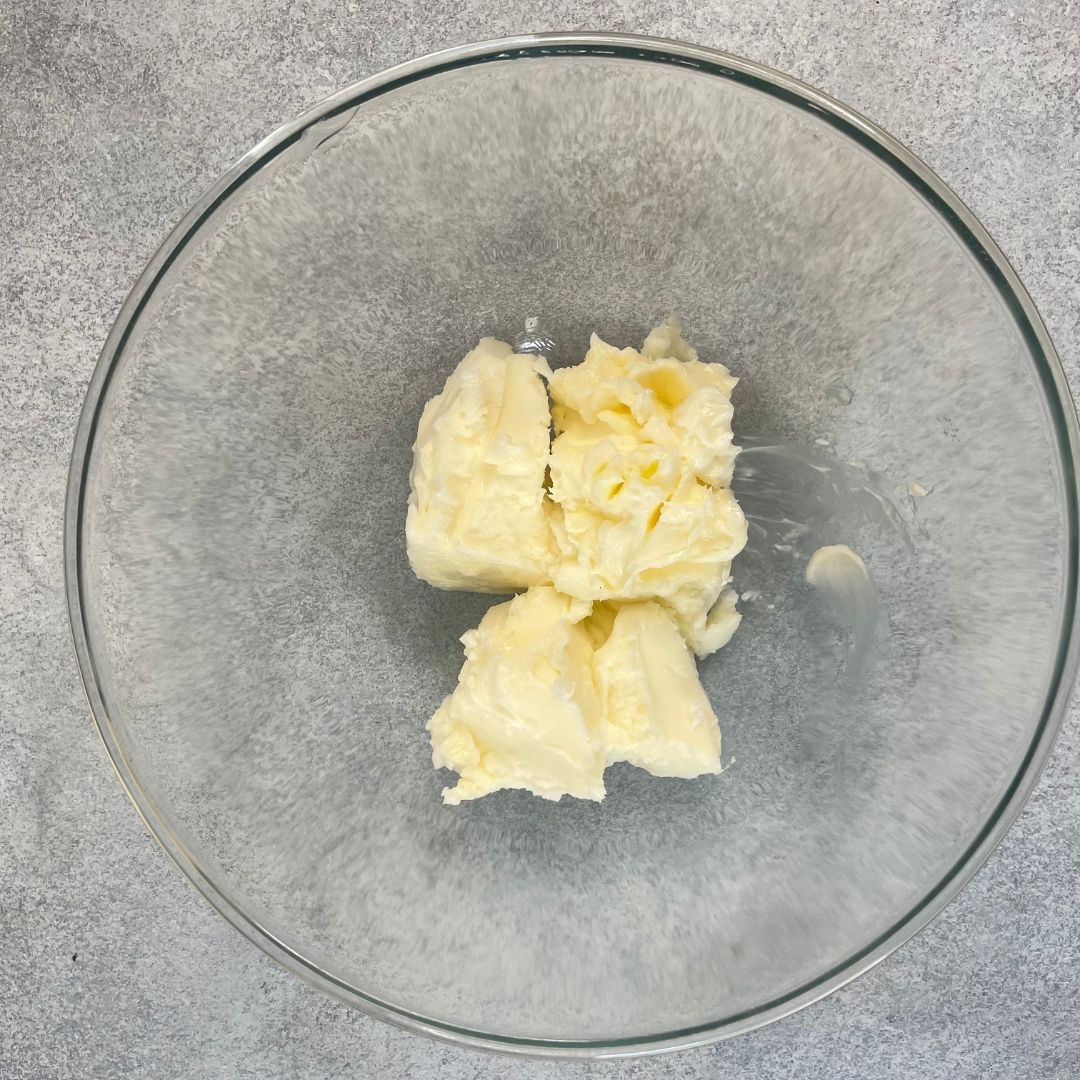
Cream brown butter and brown sugar: Once the brown butter has cooled down, add it to a big bowl along with brown sugar and cream it until it is light in color and fluffy in texture. It may take some time to cream them, so be patient and wait for the magic.
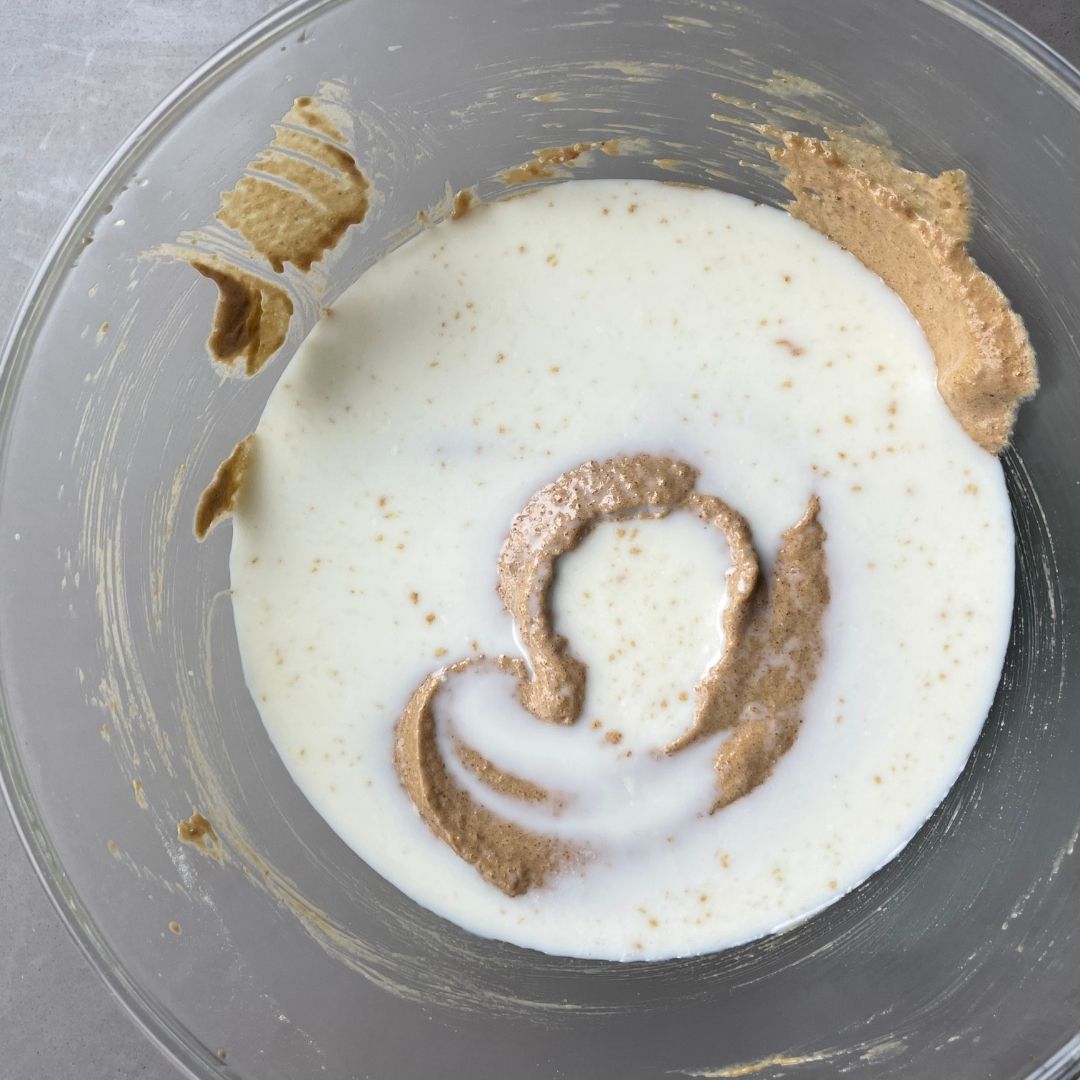
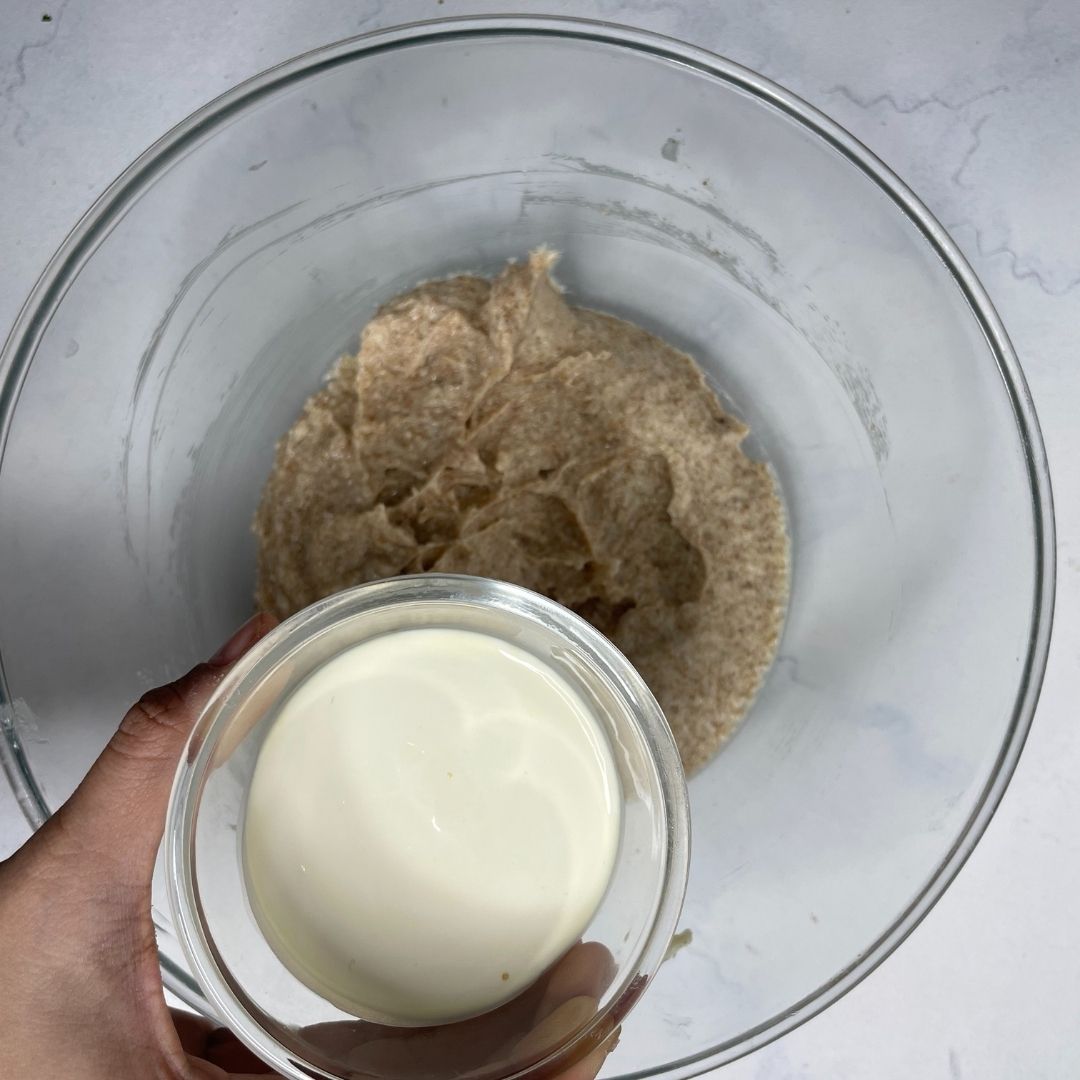
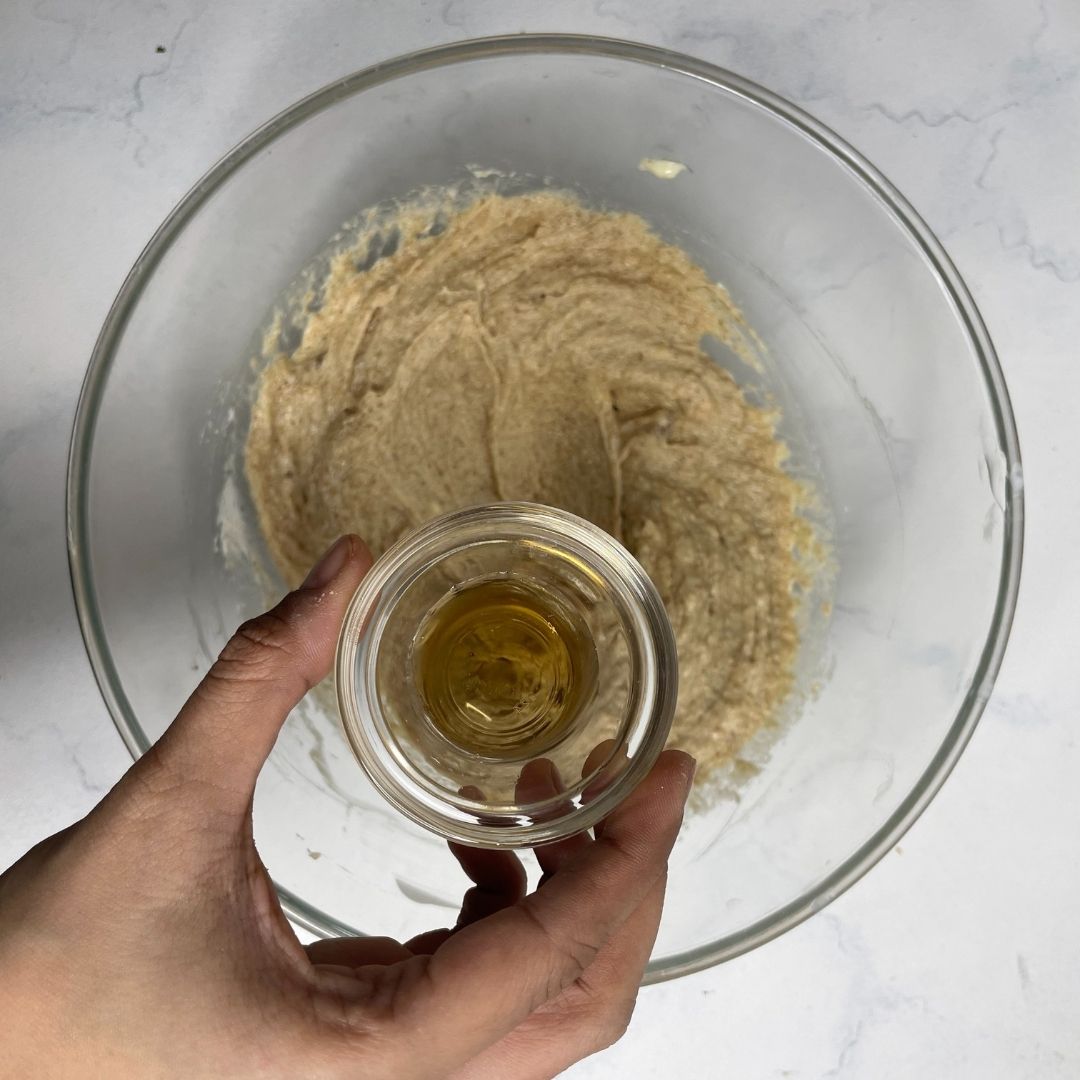
Add liquid ingredients: Once the creaming process is done, add in oil and beat again. Add in eggs, then beat again to incorporate properly.
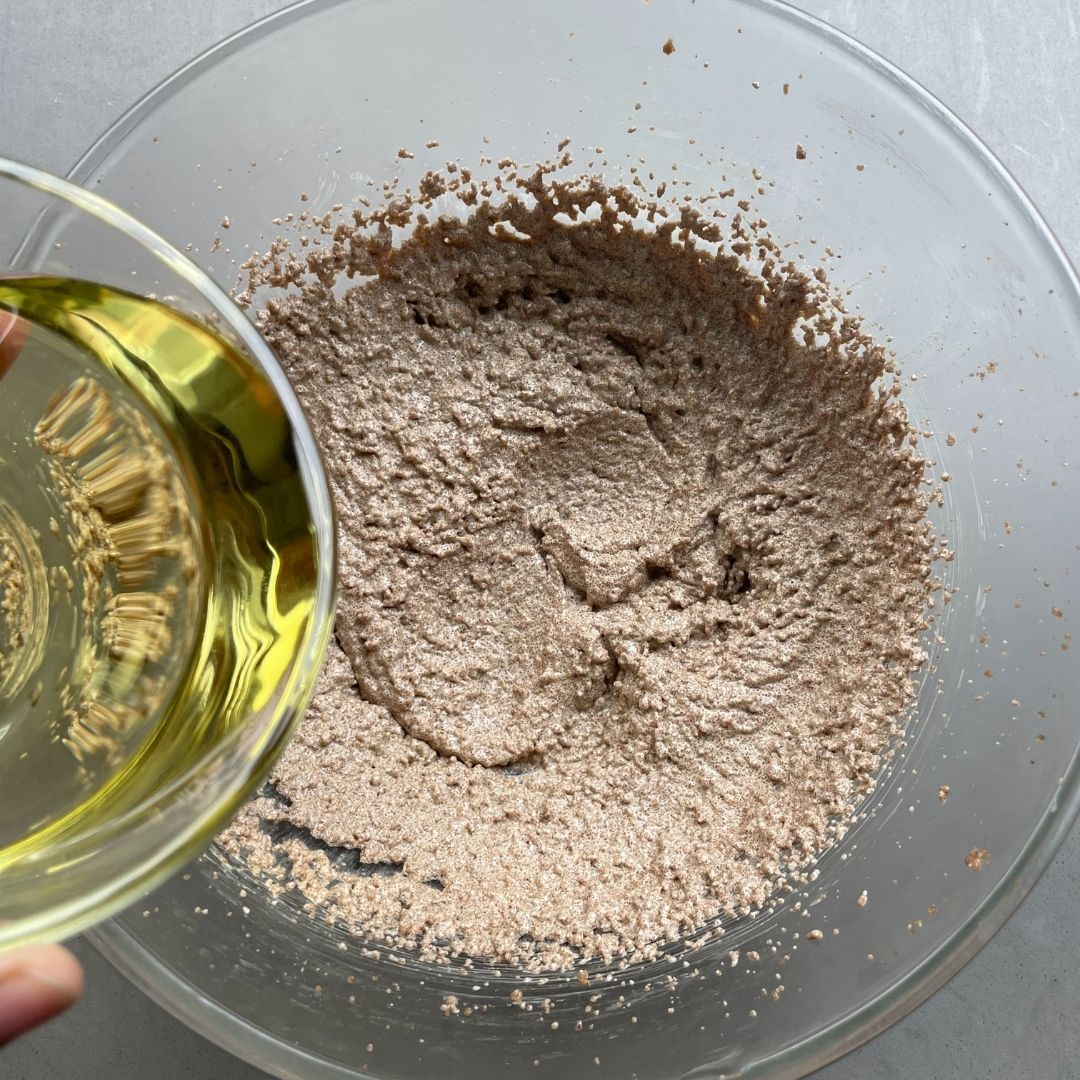
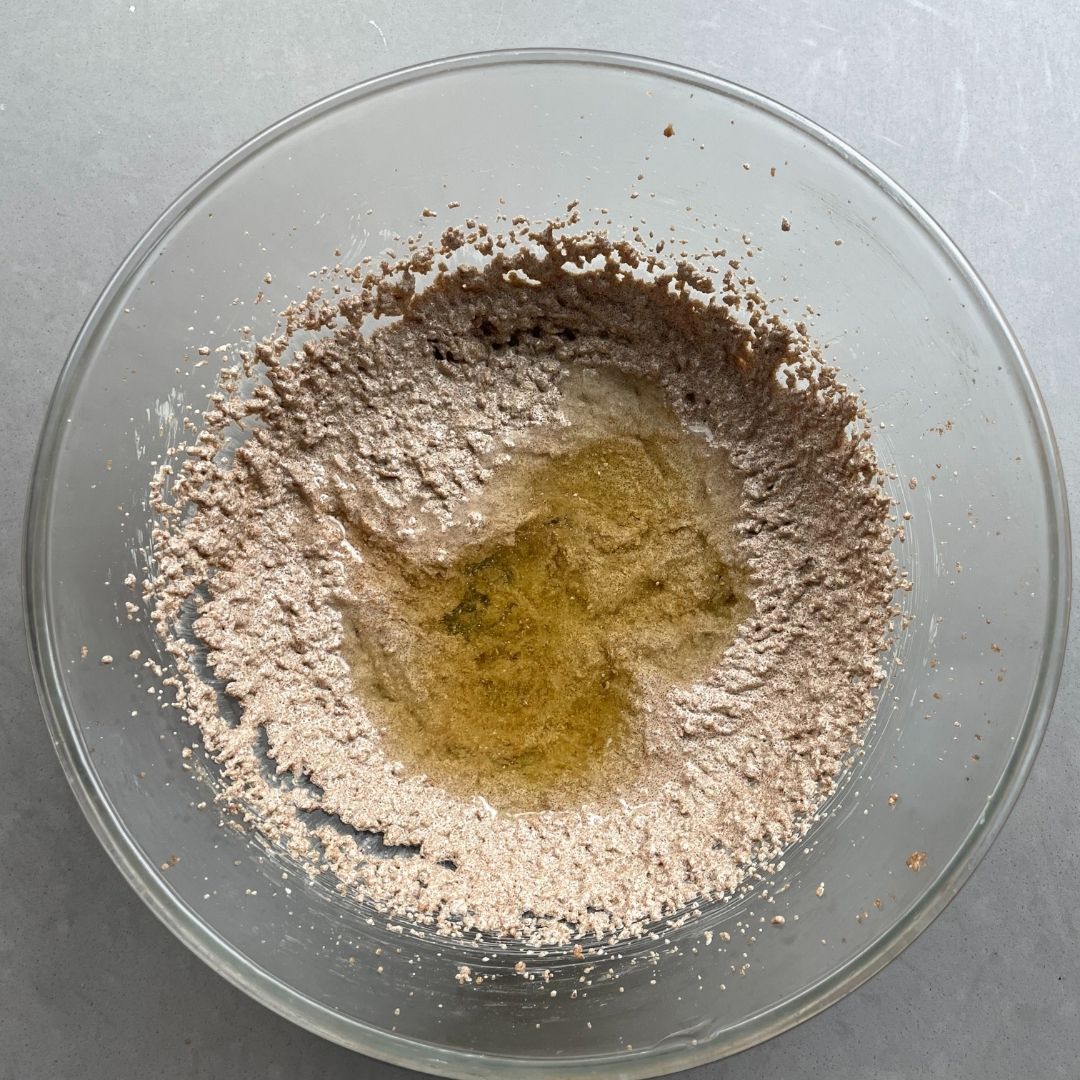
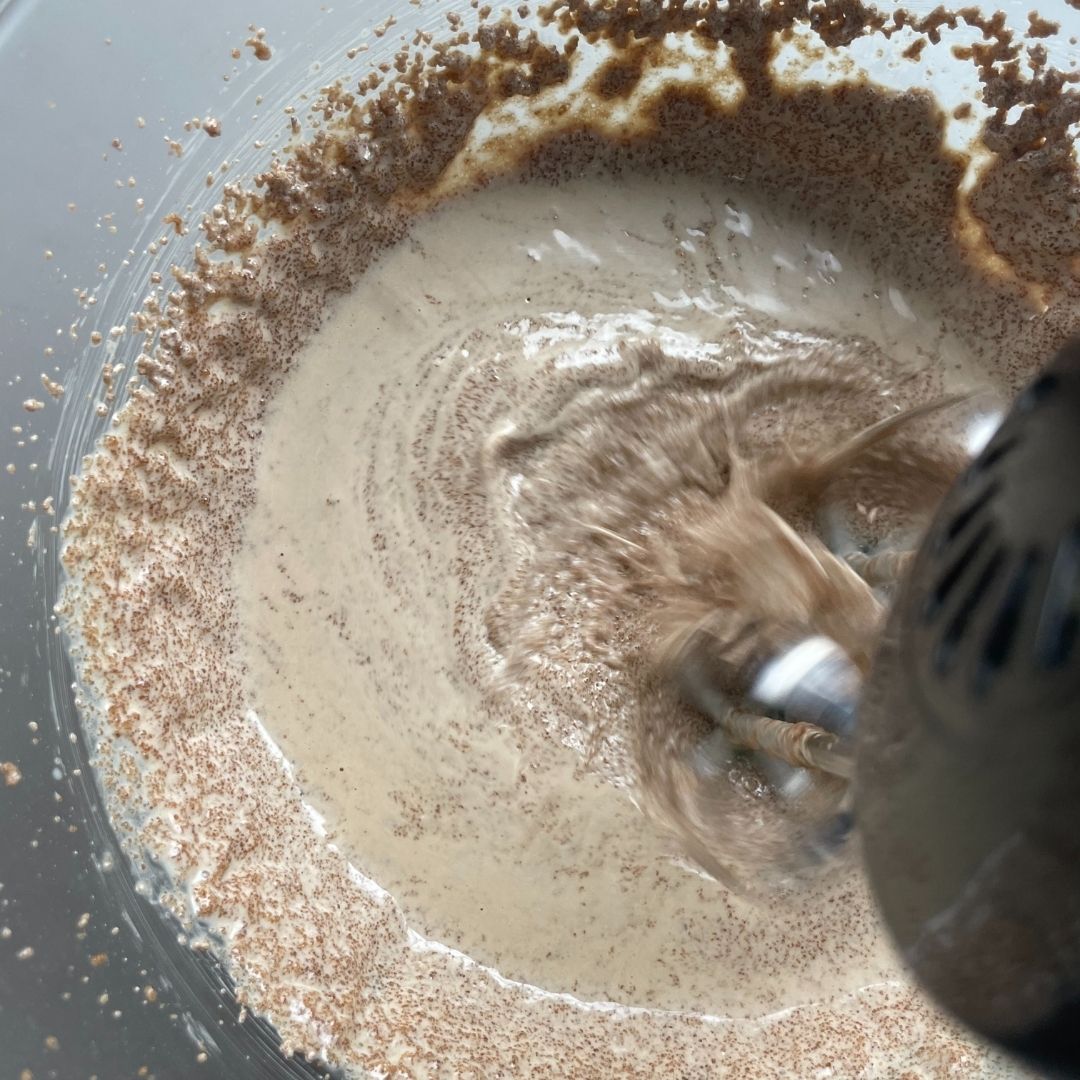
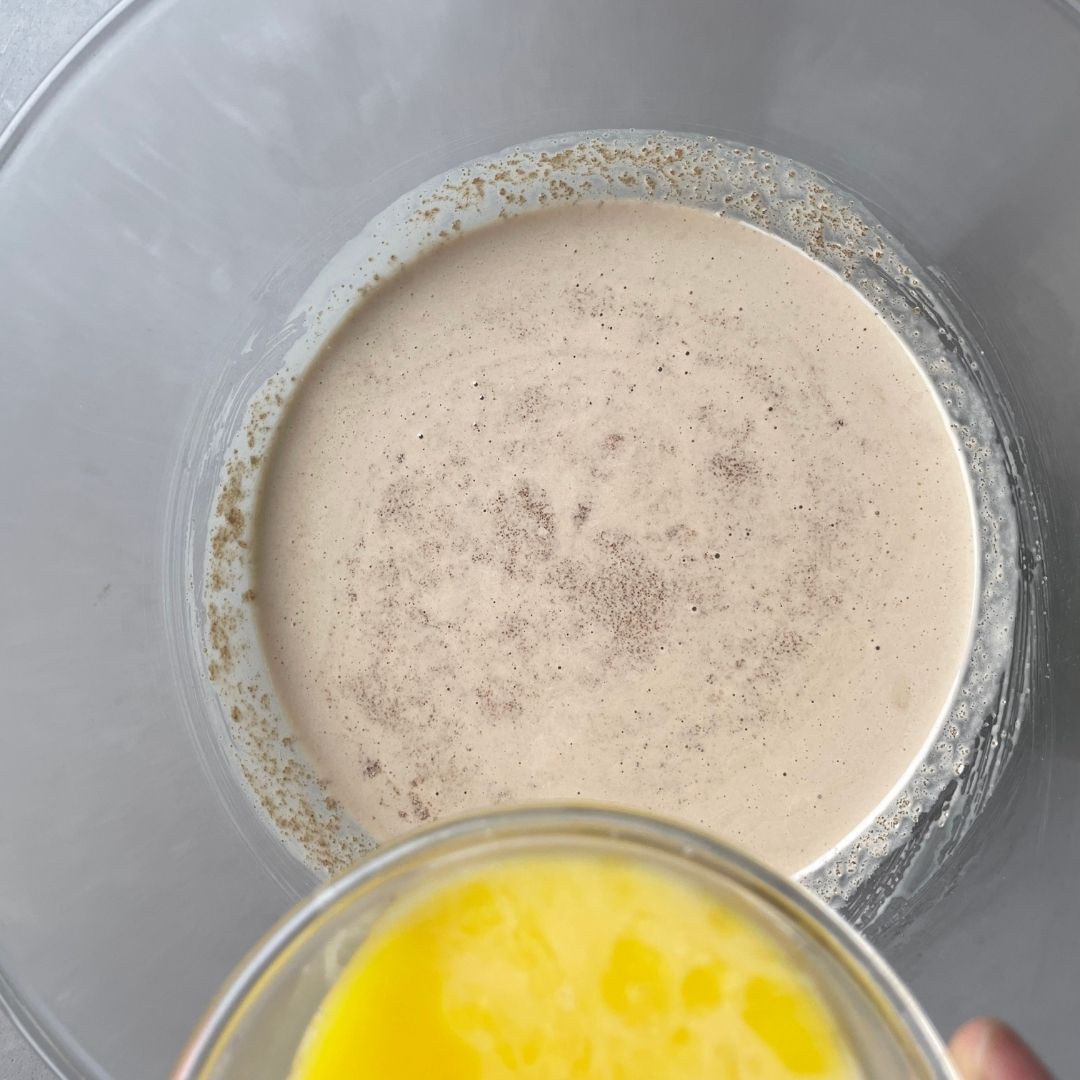
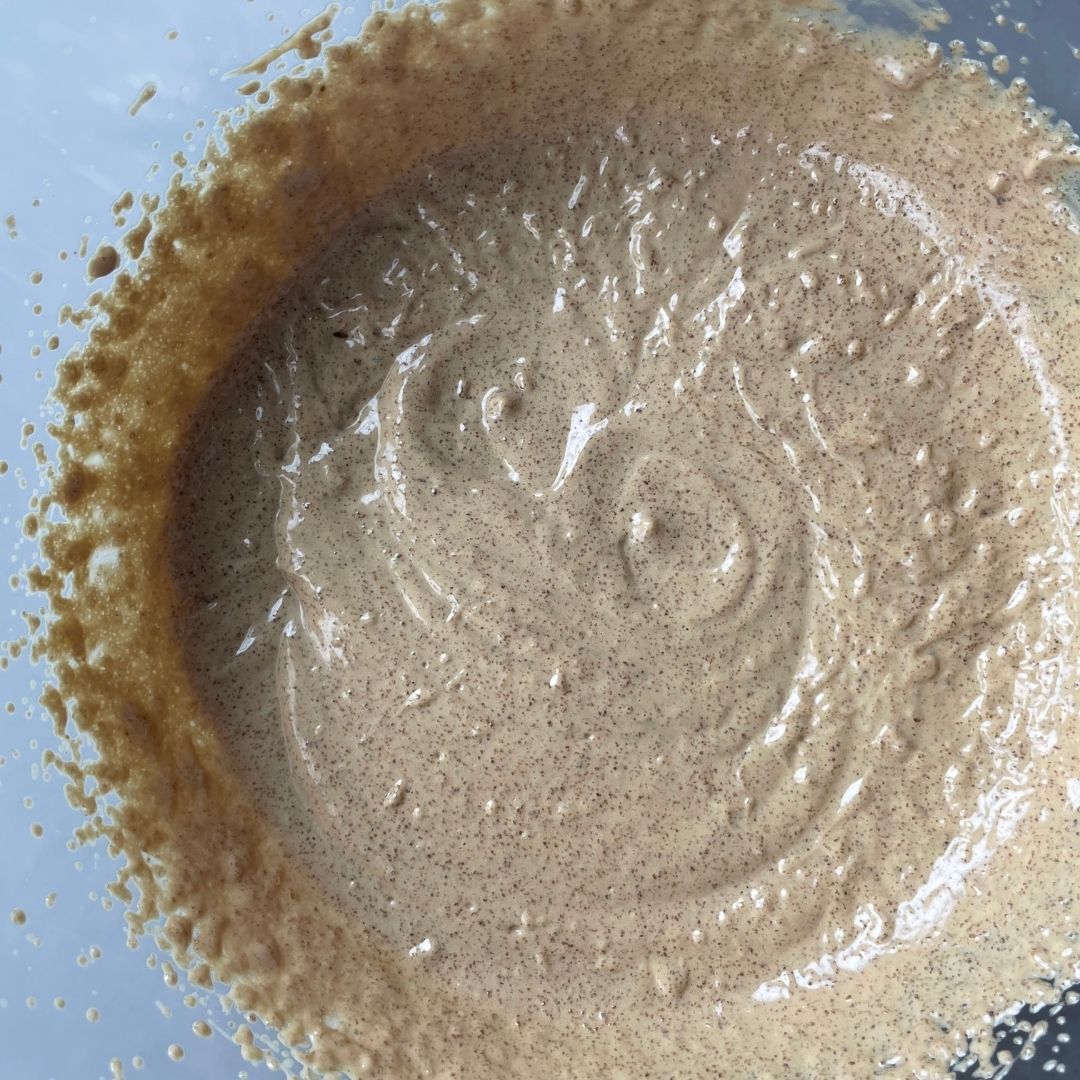
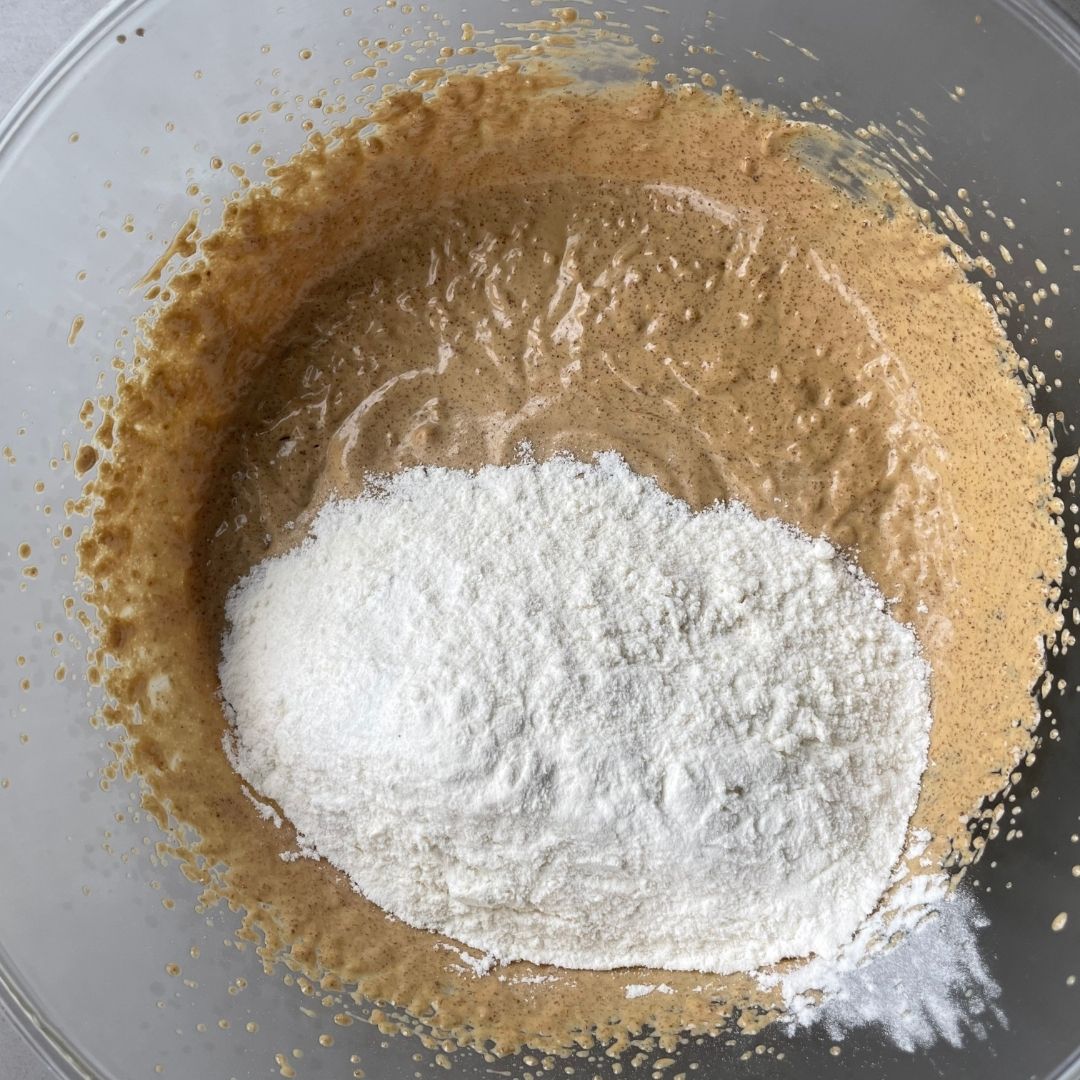
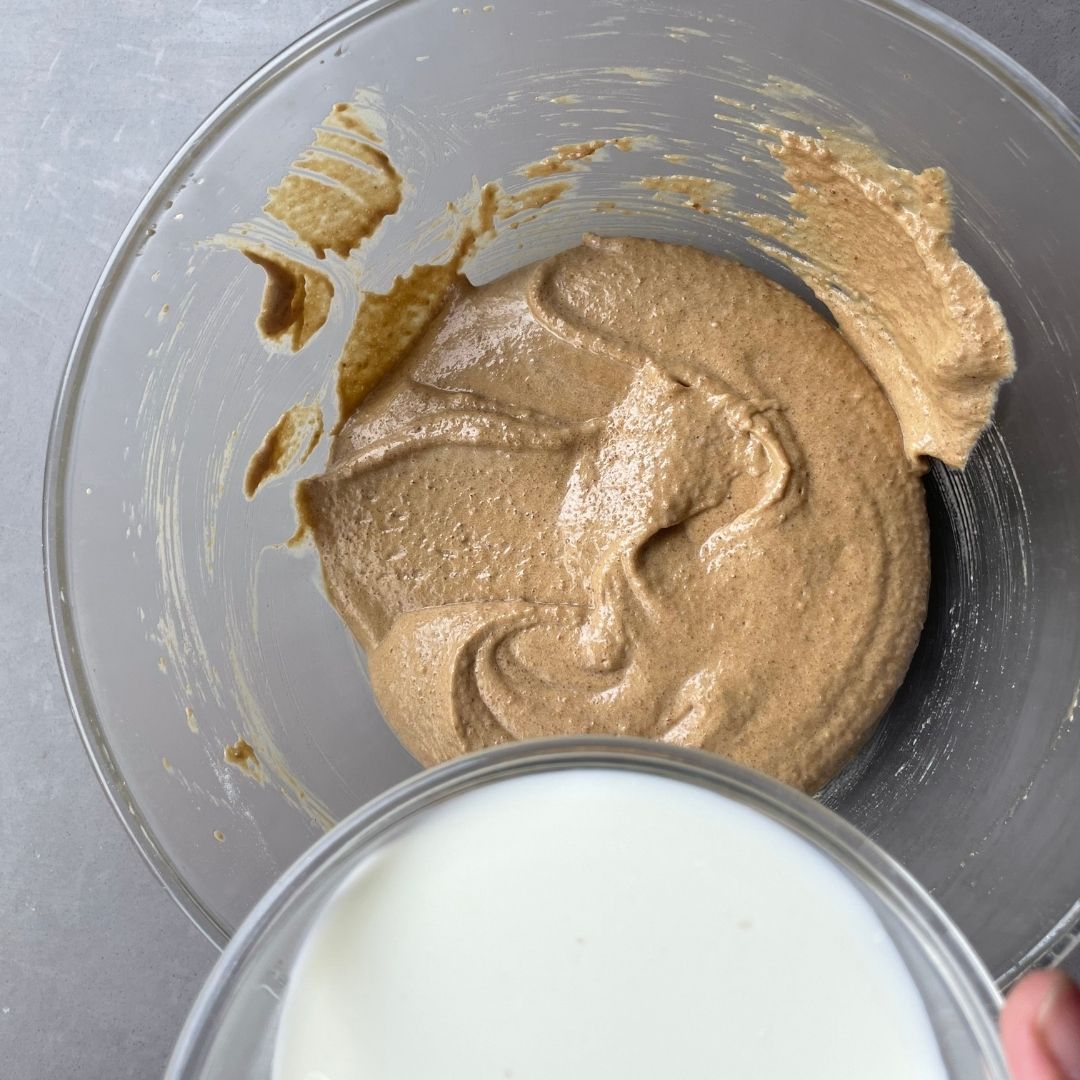
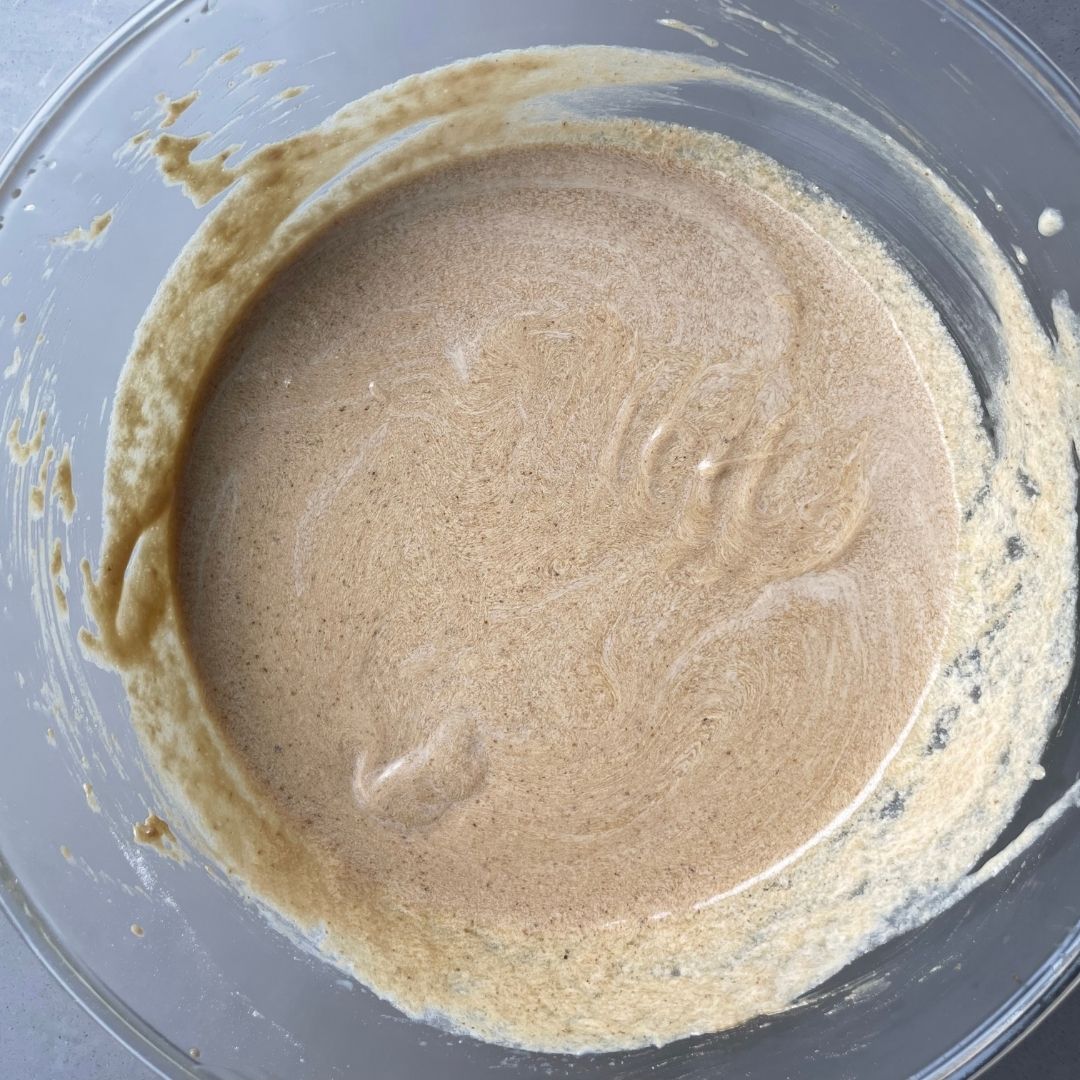
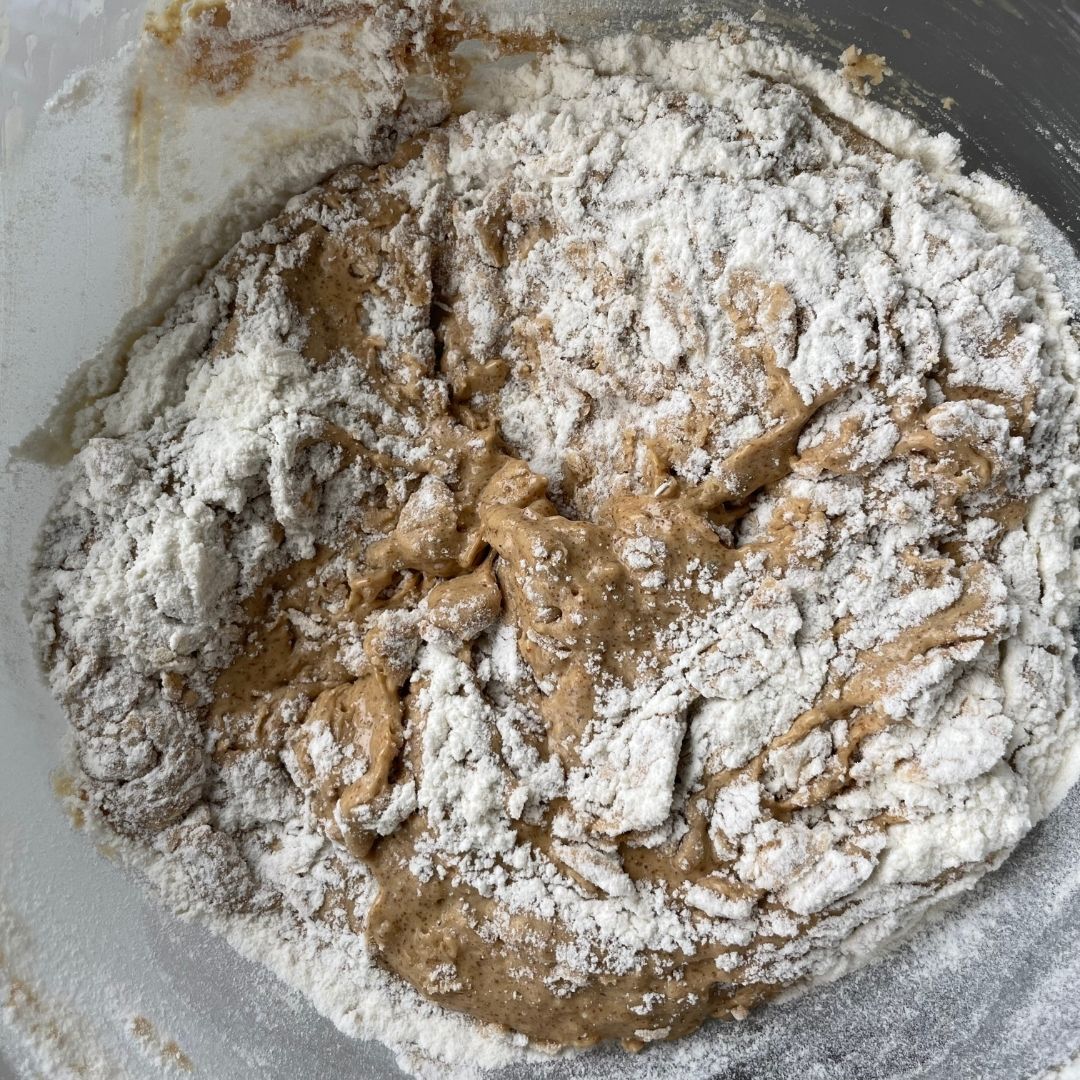
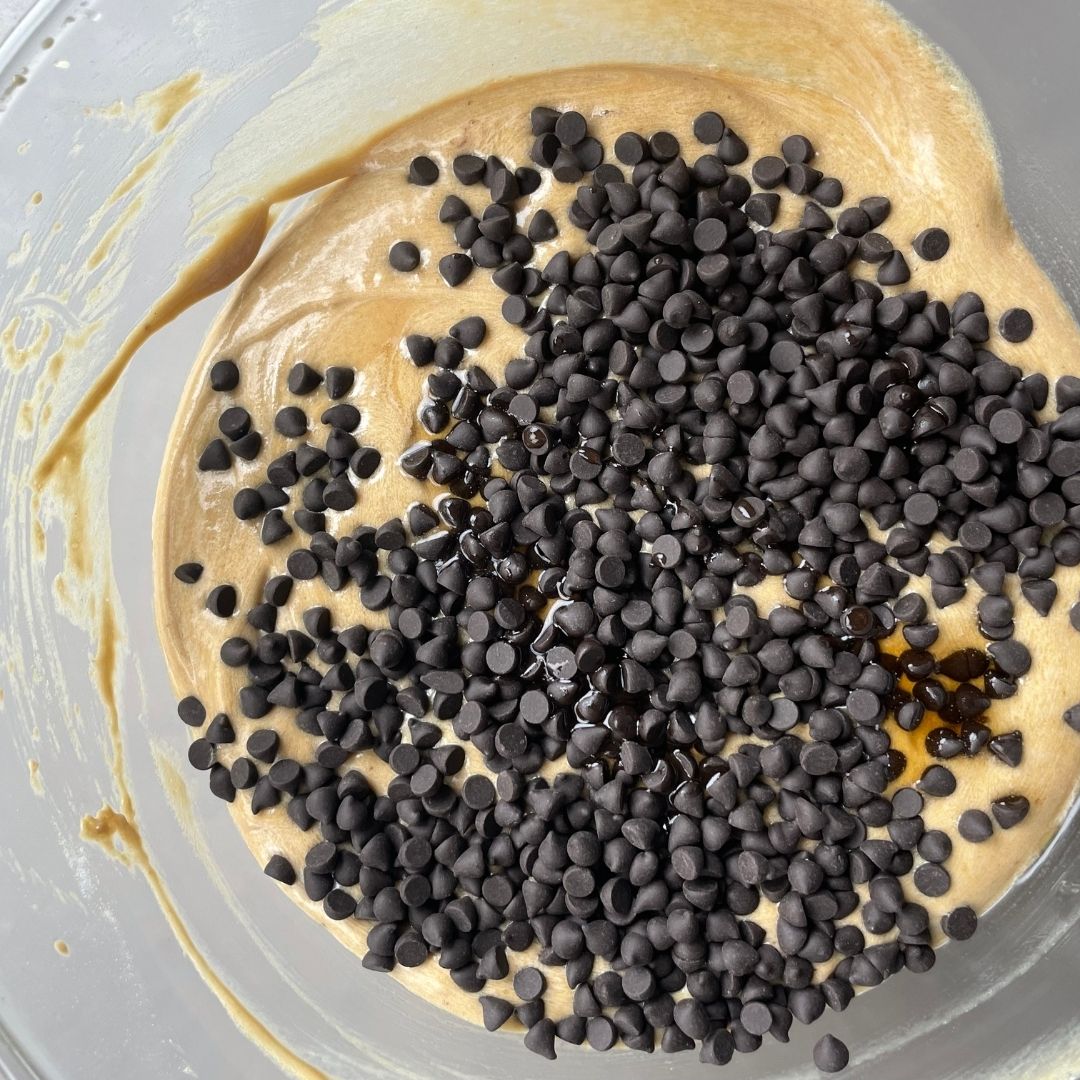
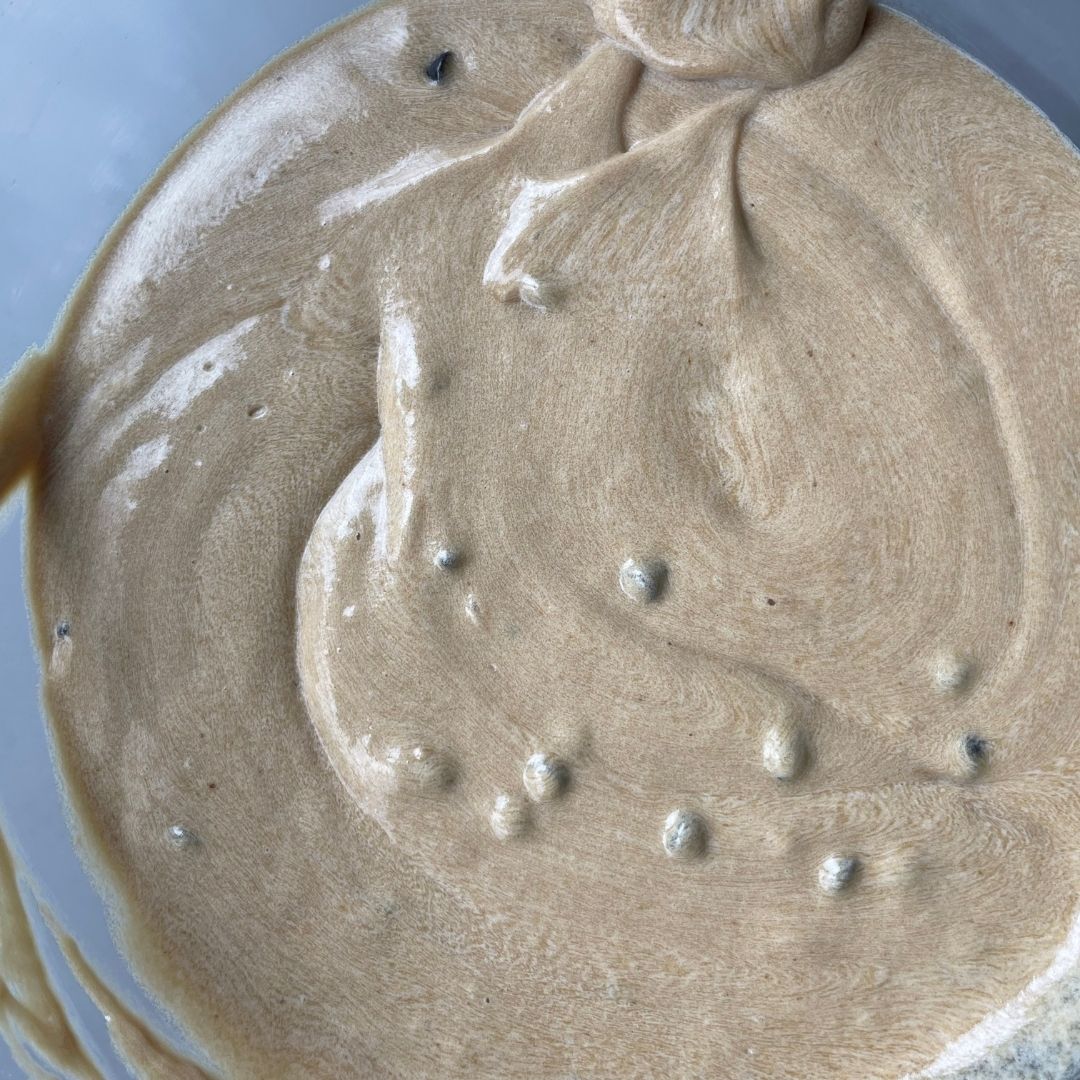
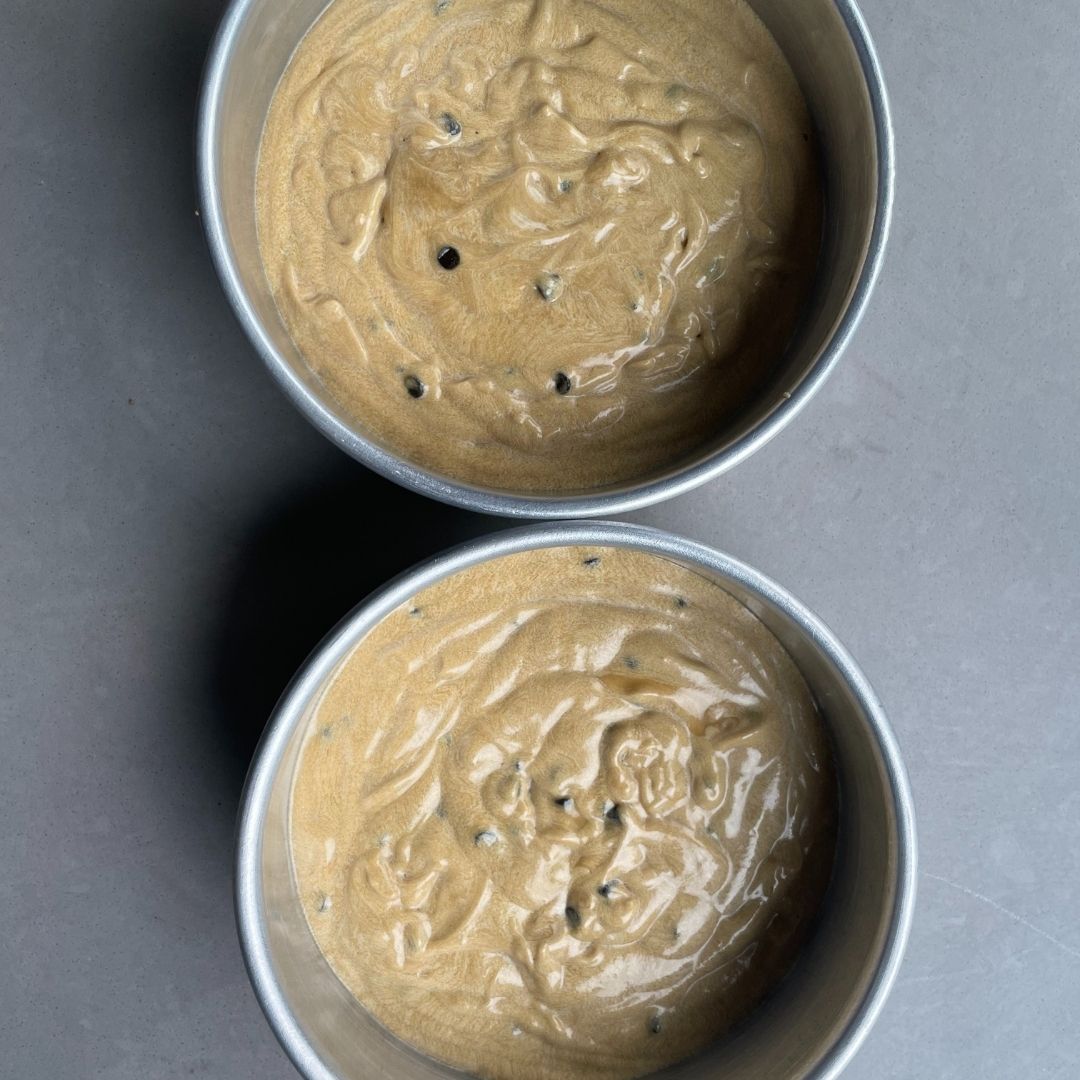
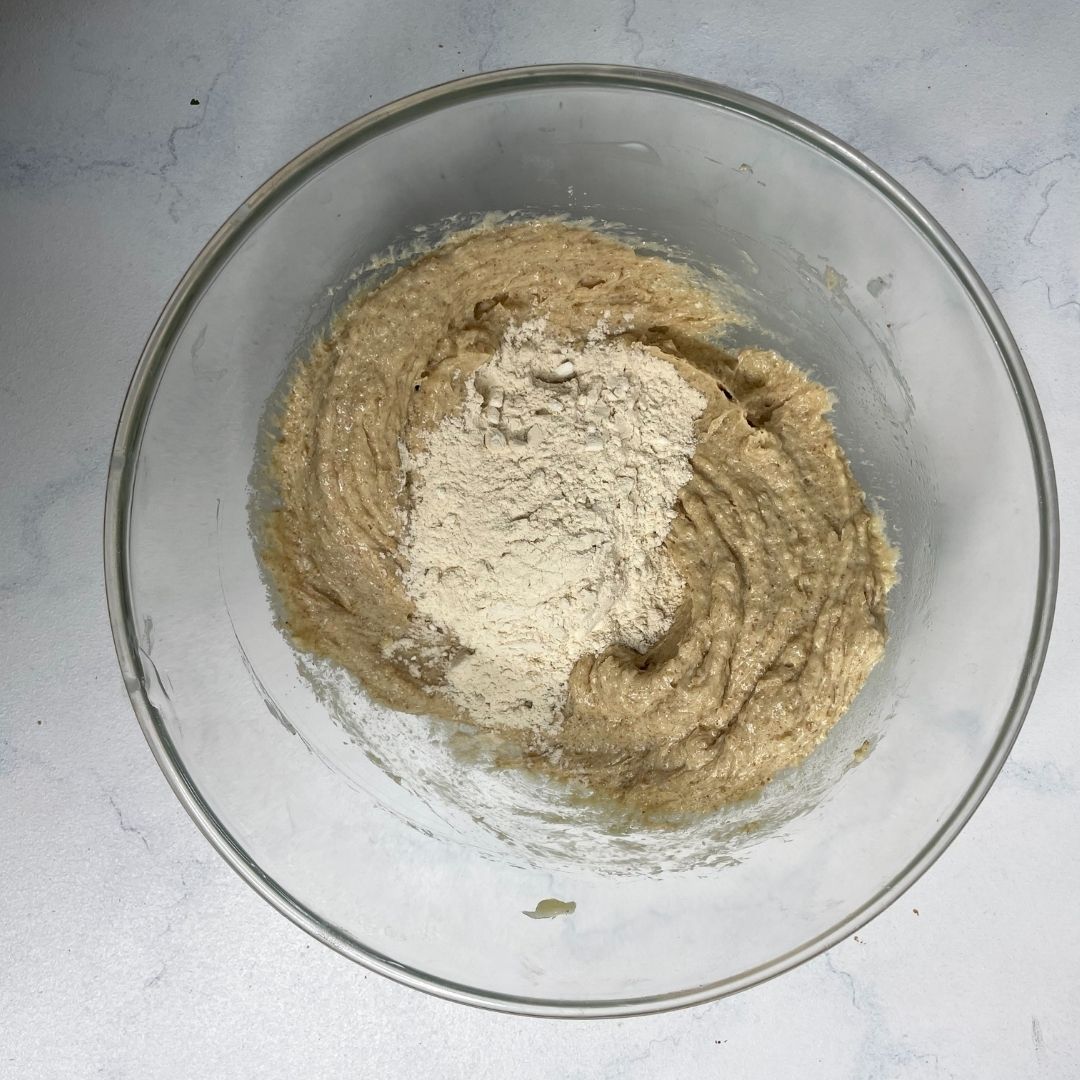
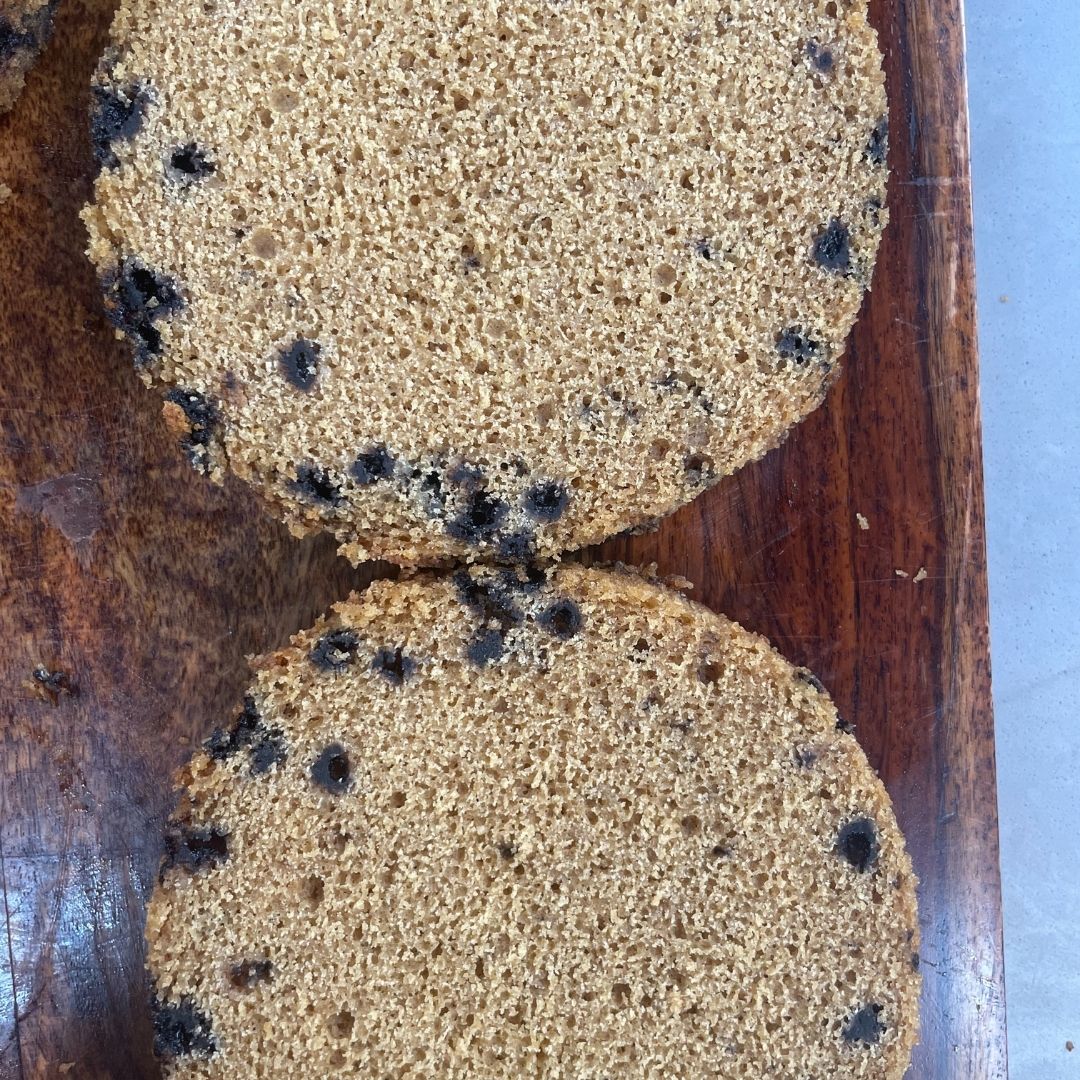
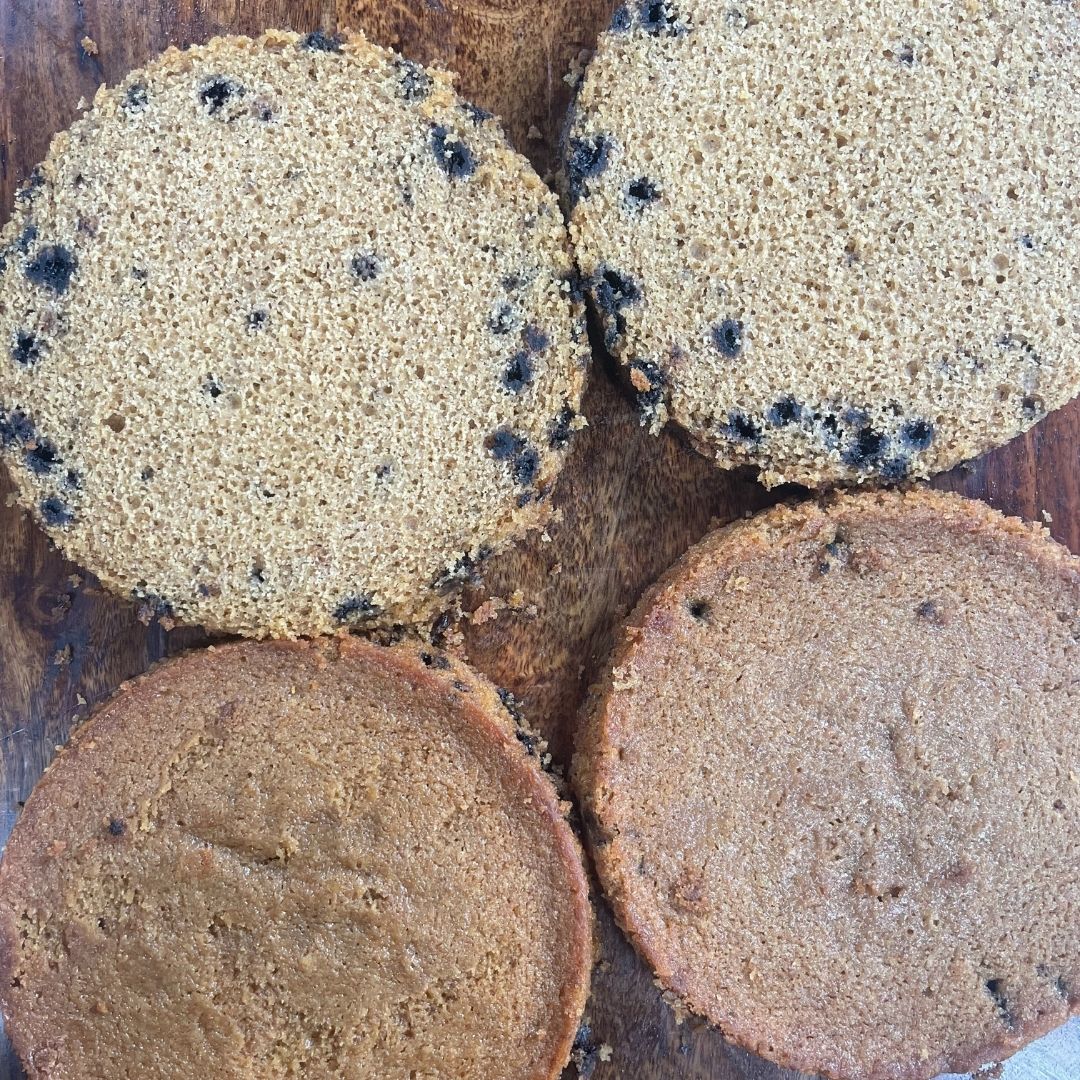
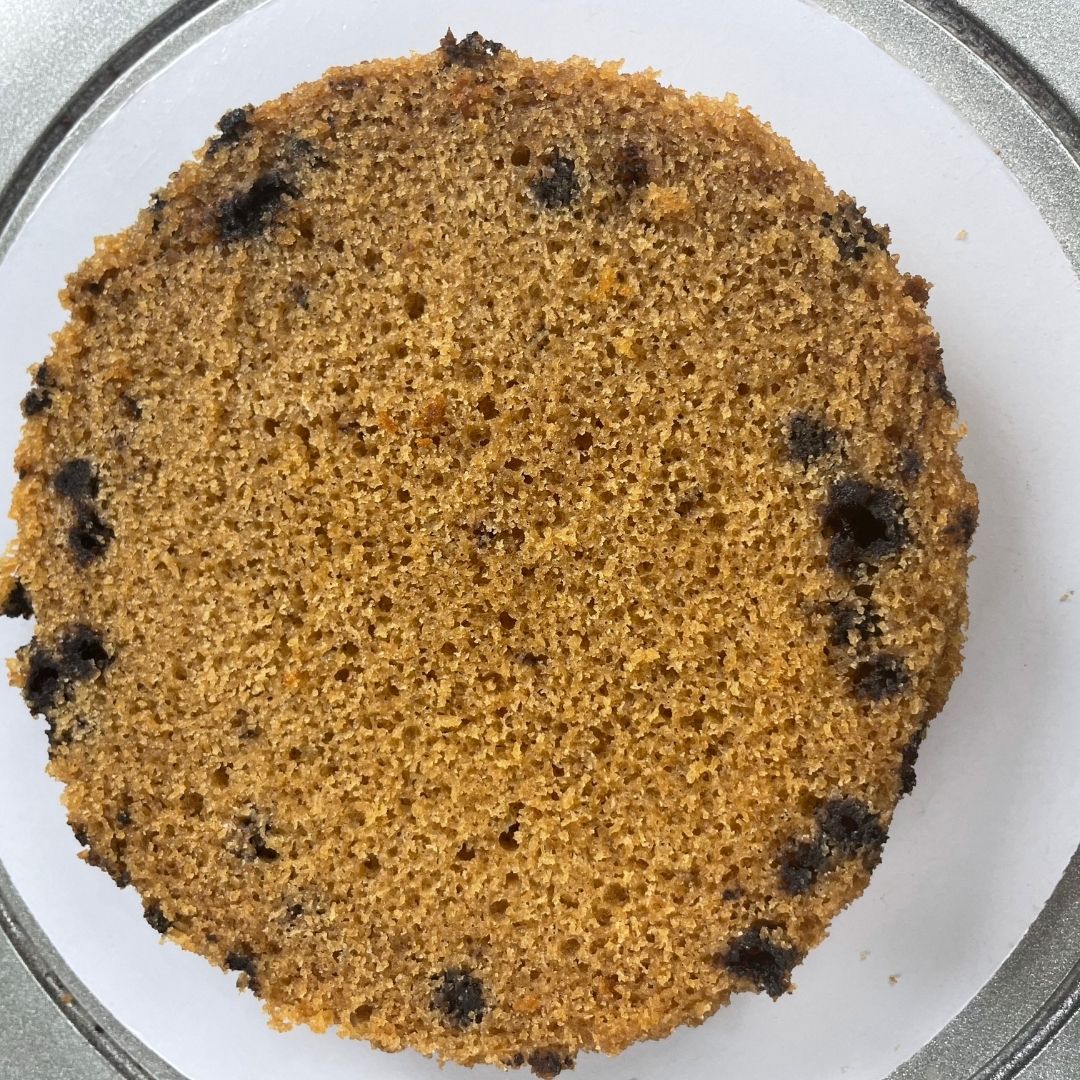
Make the batter: Now, add all-purpose flour and buttermilk alternatively, starting with the flour mixture and finishing with it. Once incorporated properly, fold in the dark chocolate chips along with the vanilla essence. Mix properly to get a pourable batter without any lumps. Make sure to coat the chocolate chips with all-purpose flour before adding it to the batter.
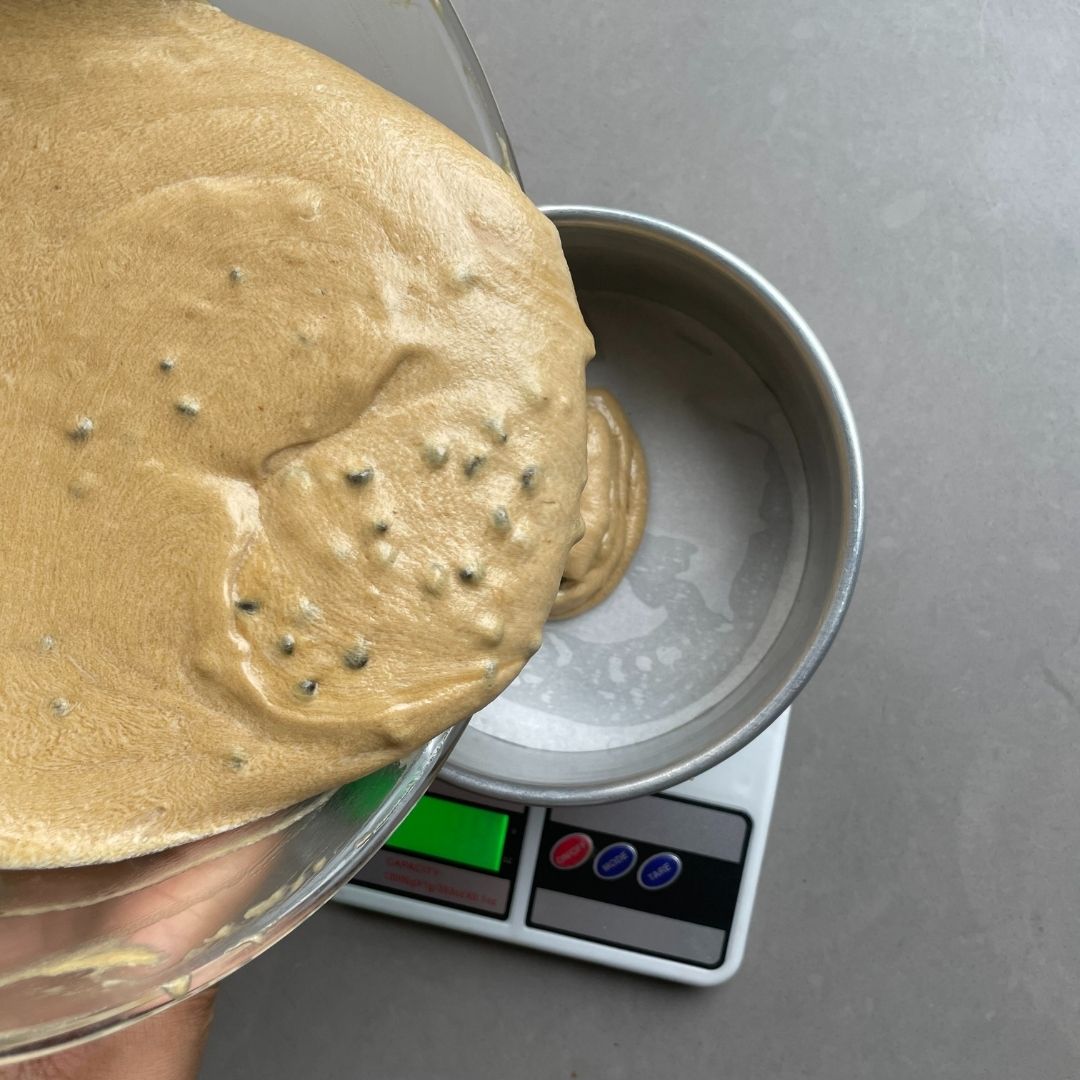
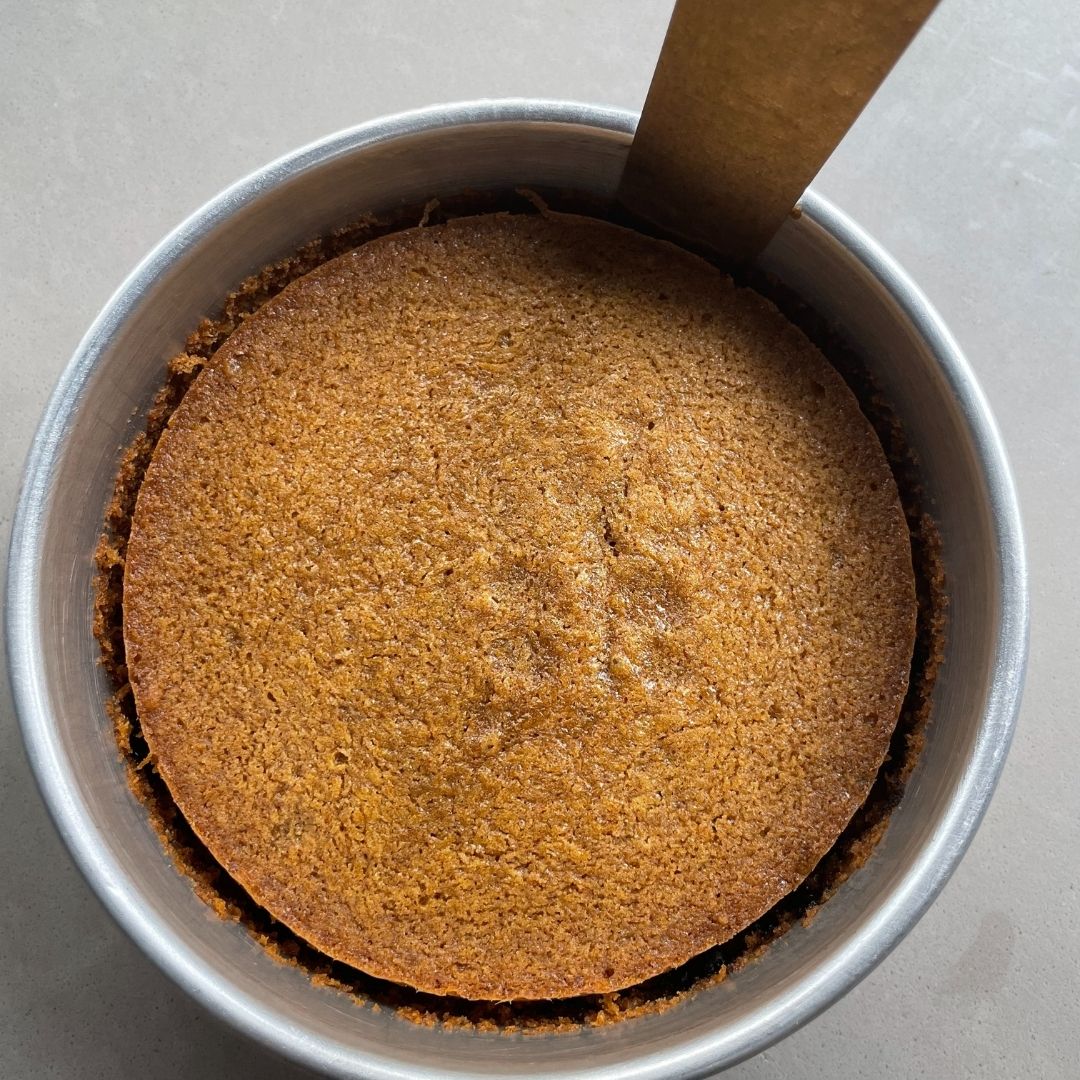
Bake: Pour them into the prepared round baking tins equally. Use a kitchen weighing scale to get even layers. Bake them at 180° C or 350° F (OTG mode: lower rod mode only).
For The Edible Cookie Dough
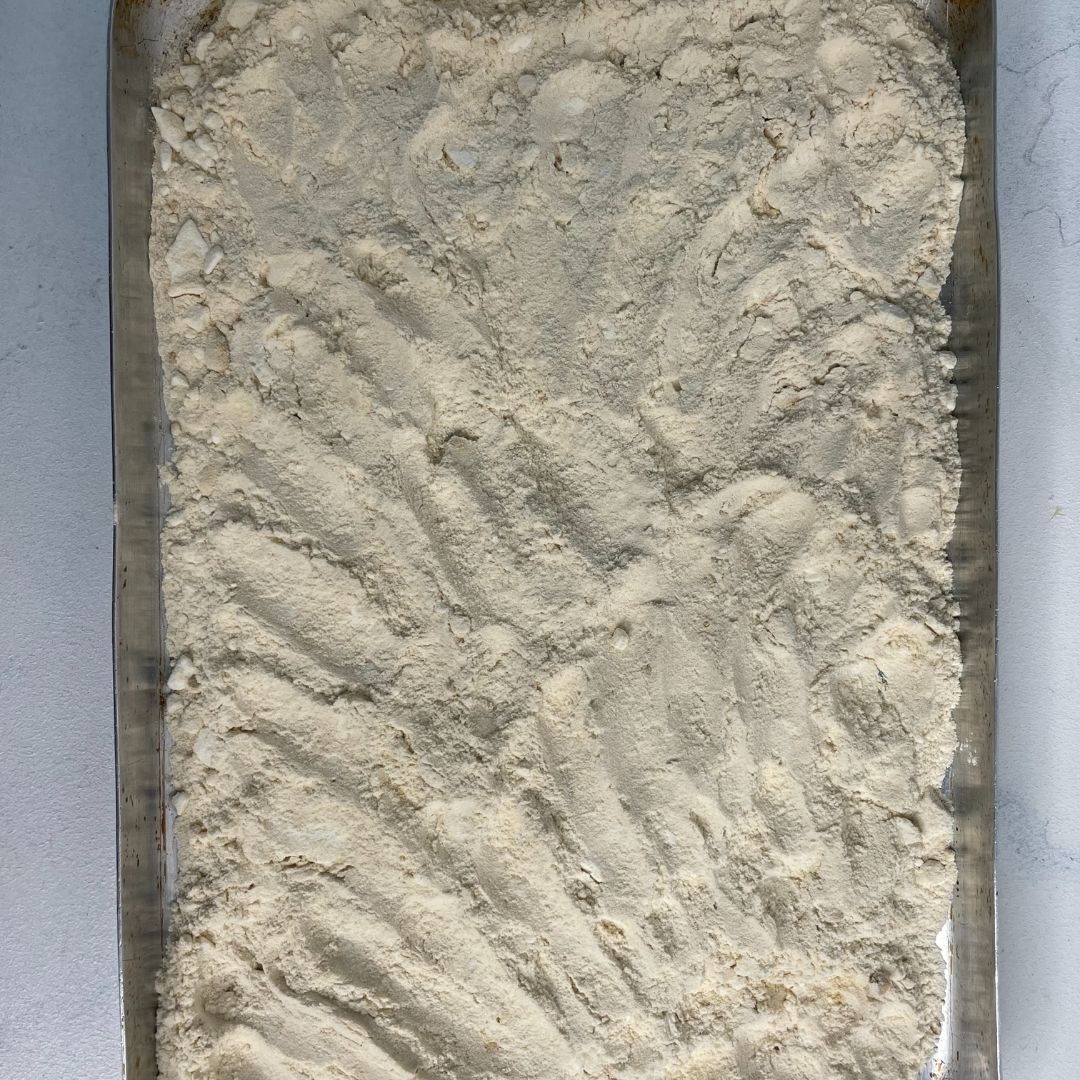
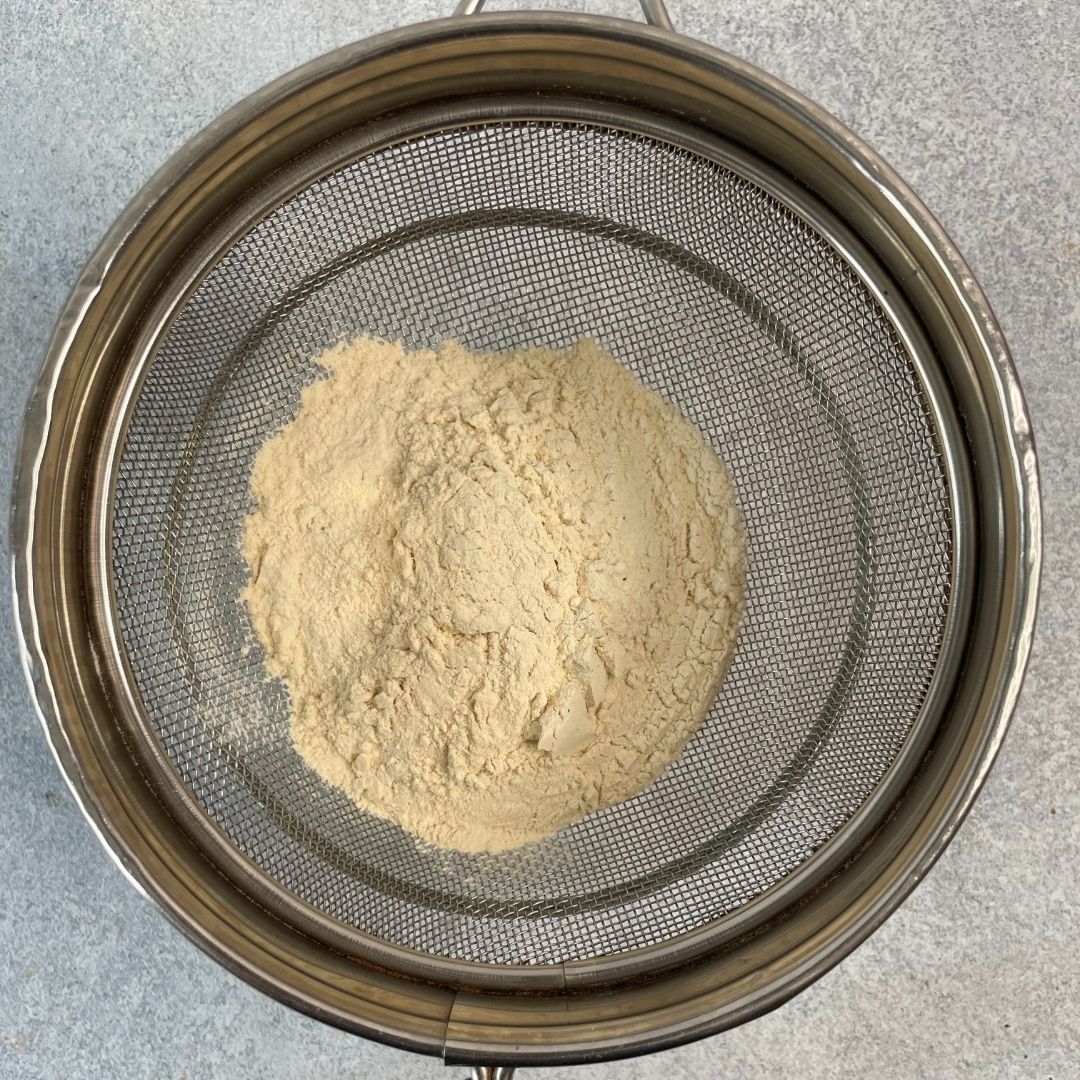
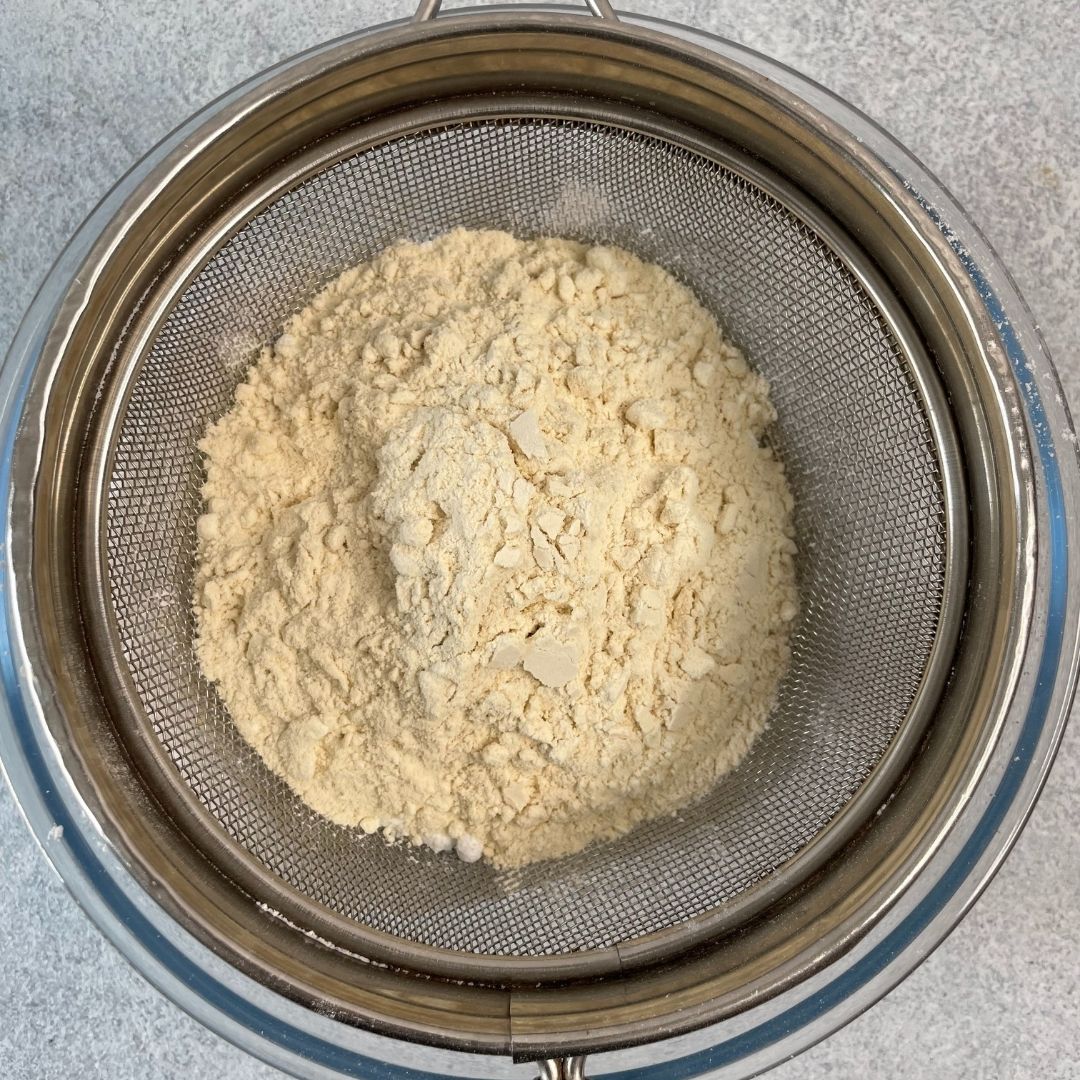
Heat treat all-purpose flour: To heat treat all-purpose flour, spread the flour in the baking tray and bake it in a preheated oven at 200° C or 400° F for 10 – 15 minutes or until it turns light brown in color. Keep it aside to cool down.

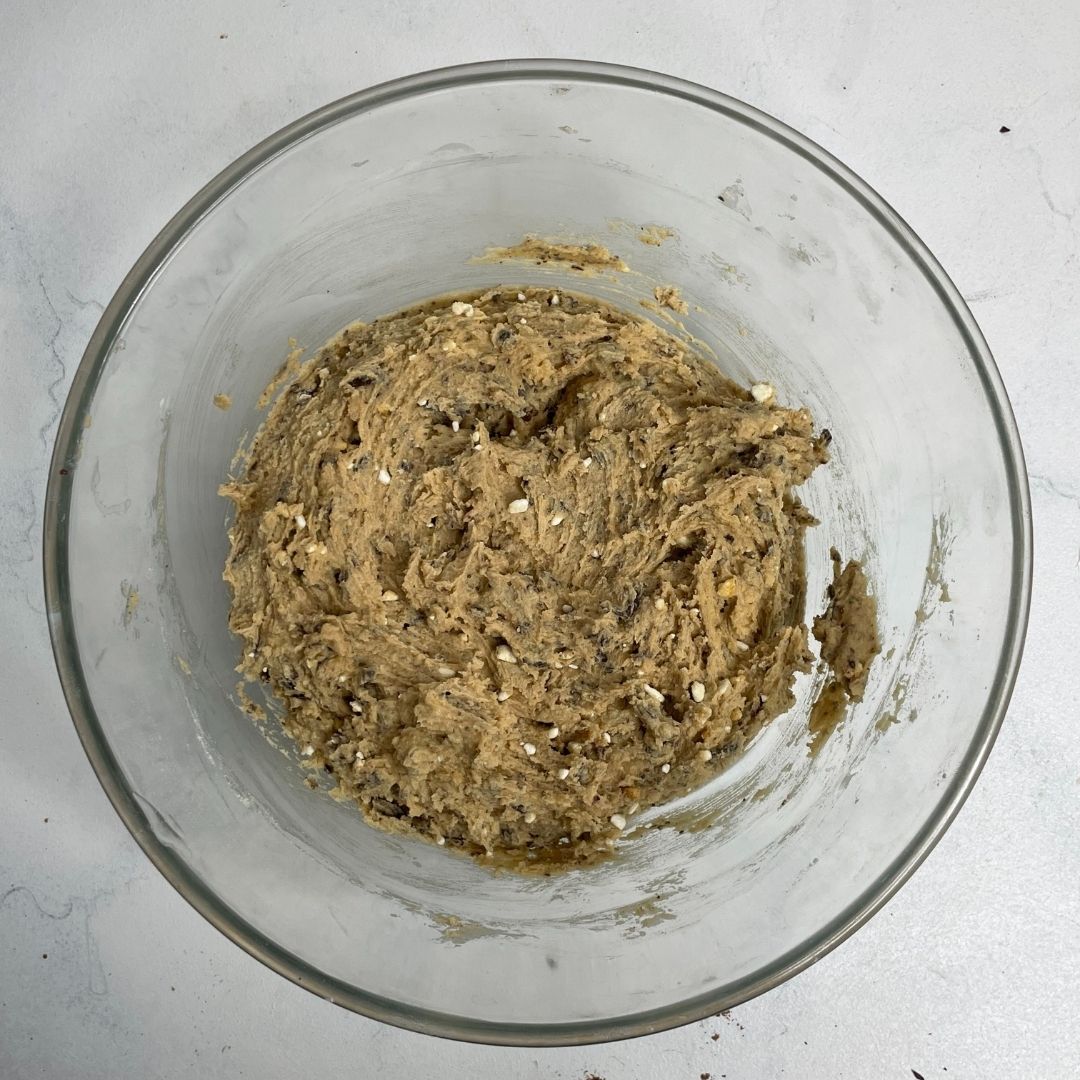
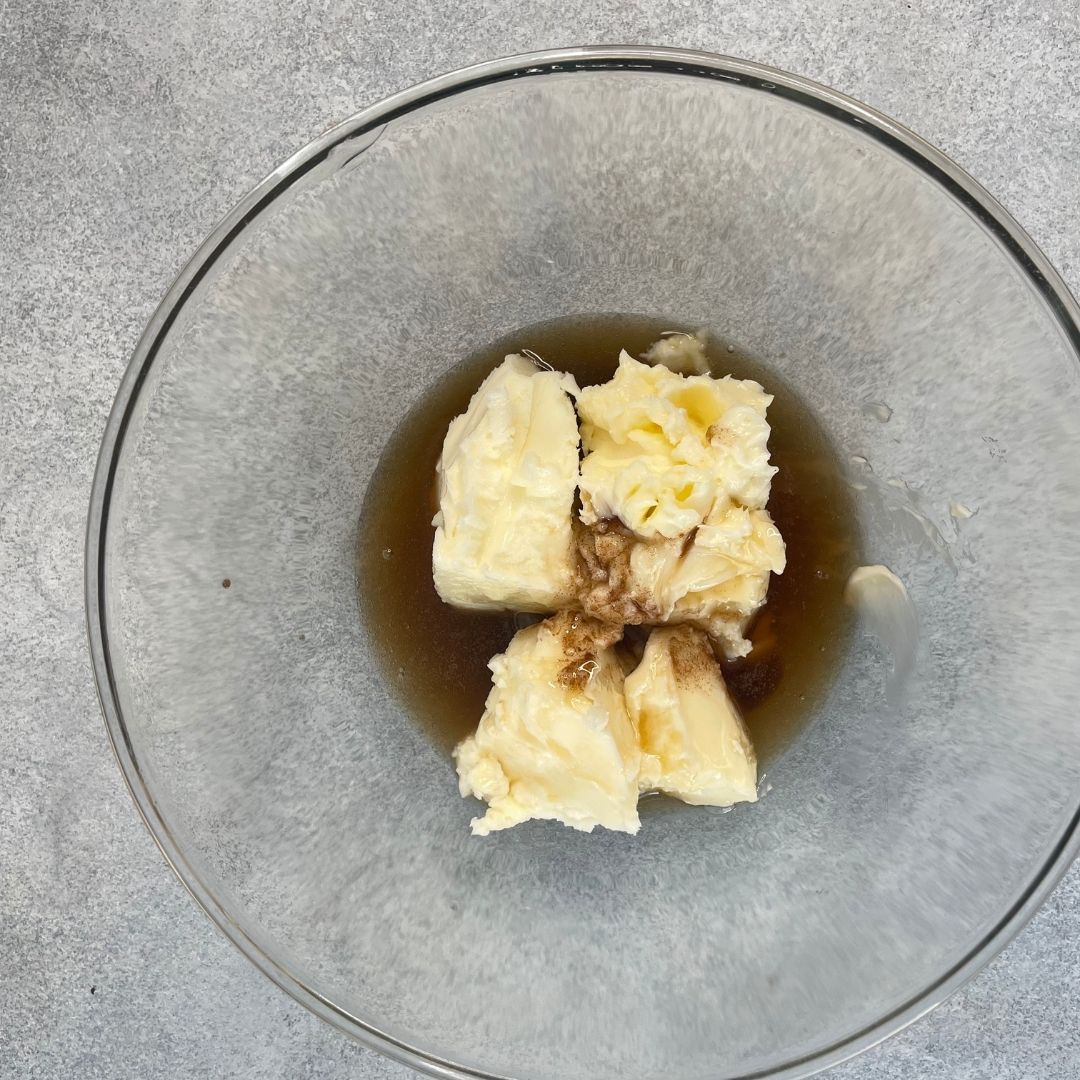
Creaming: In a large bowl, cream butter along with castor sugar and brown sugar with an electric hand beater until it is light in texture and pale in color. Once creamed properly, add in heavy cream and vanilla essence, then beat again until they are mixed well.
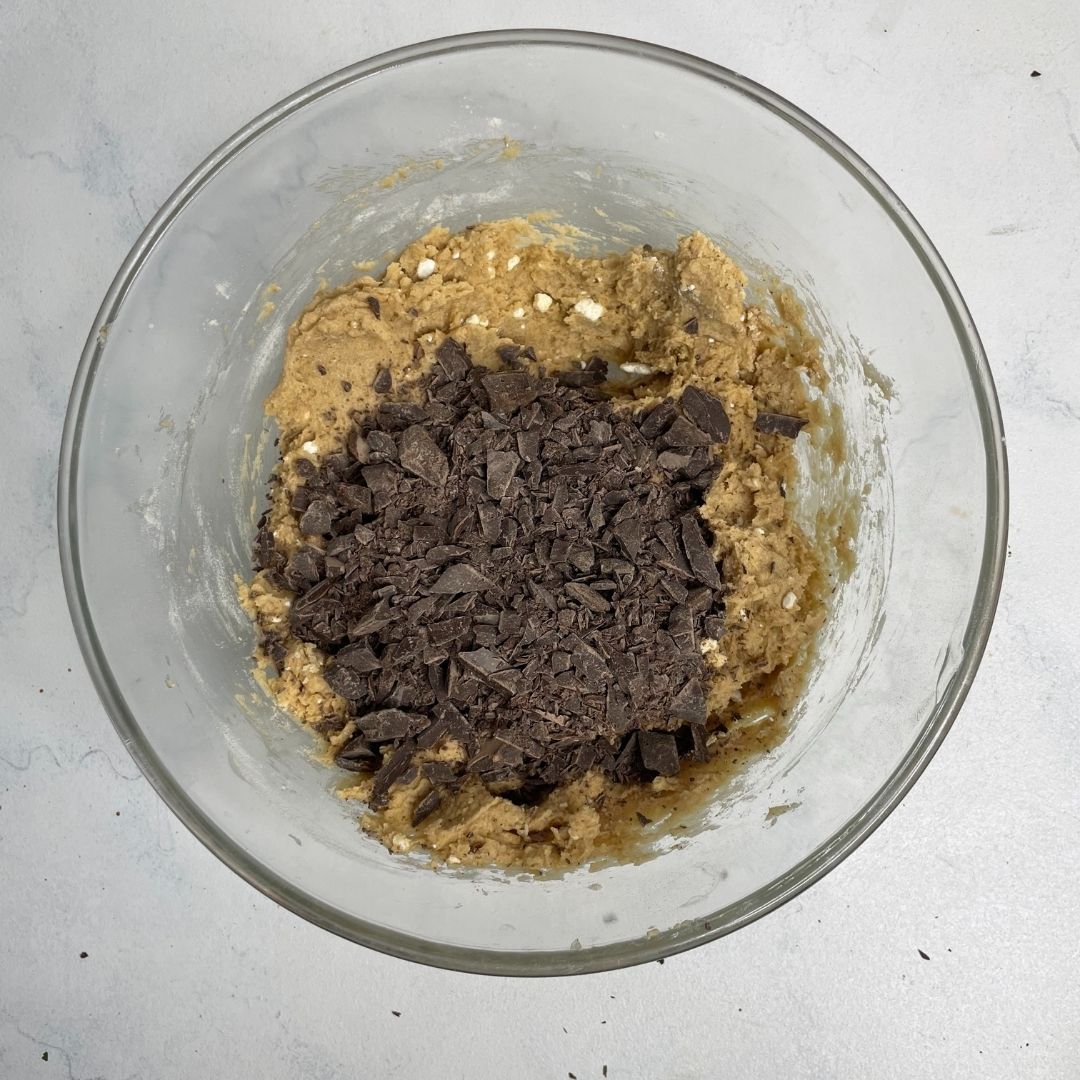
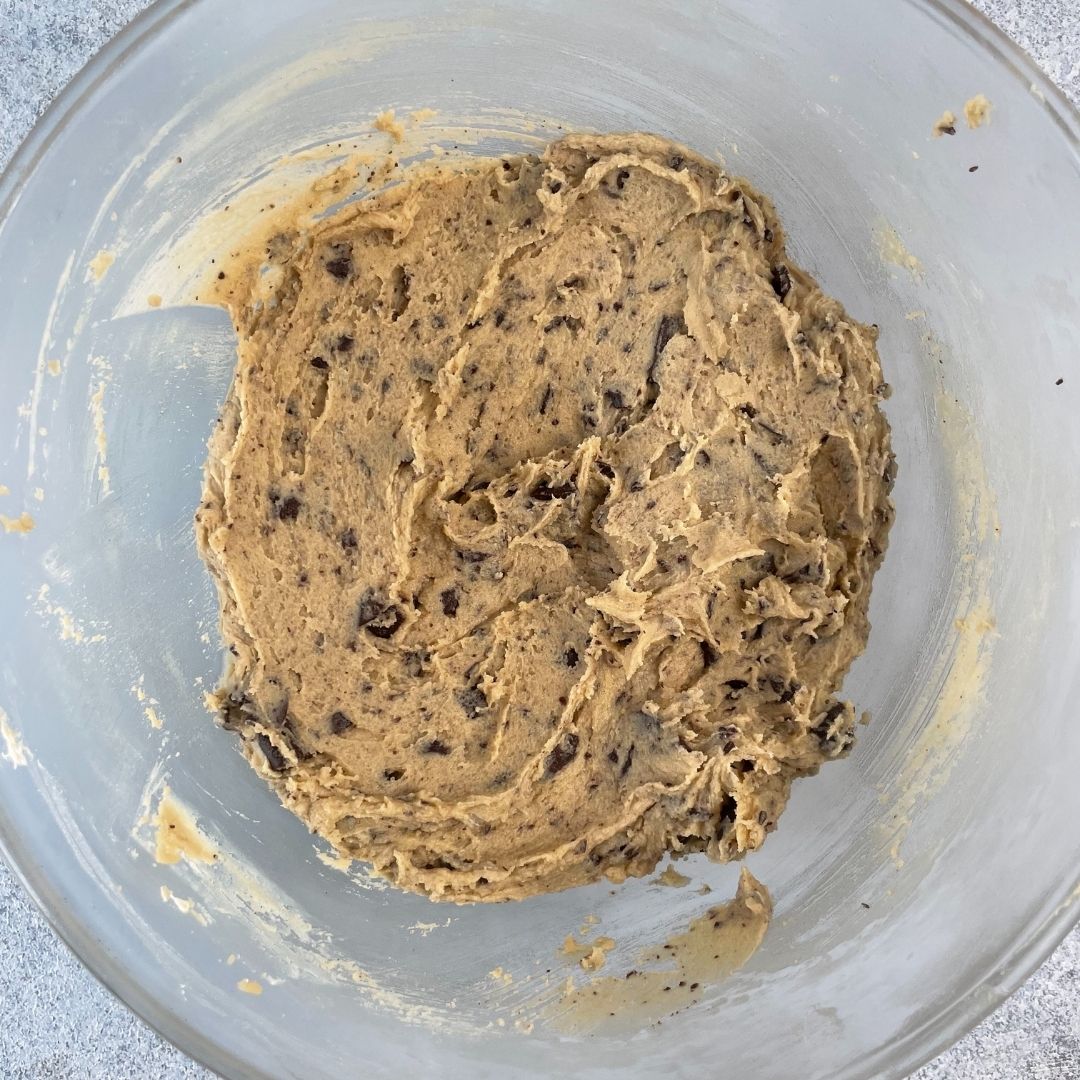
Make the edible cookie dough: Now, in the same bowl, sift in the heat-treated flour and give it a mix. Make sure that you sift the heat-treated flour as it forms lumps while heated. Lastly, add in the chopped chocolate and mix thoroughly.
For Buttercream:
Make brown Butter: Make brown butter with unsalted butter (a) using the same method we did for the sponge batter and let it cool down completely. Keep it aside until we make the buttercream.
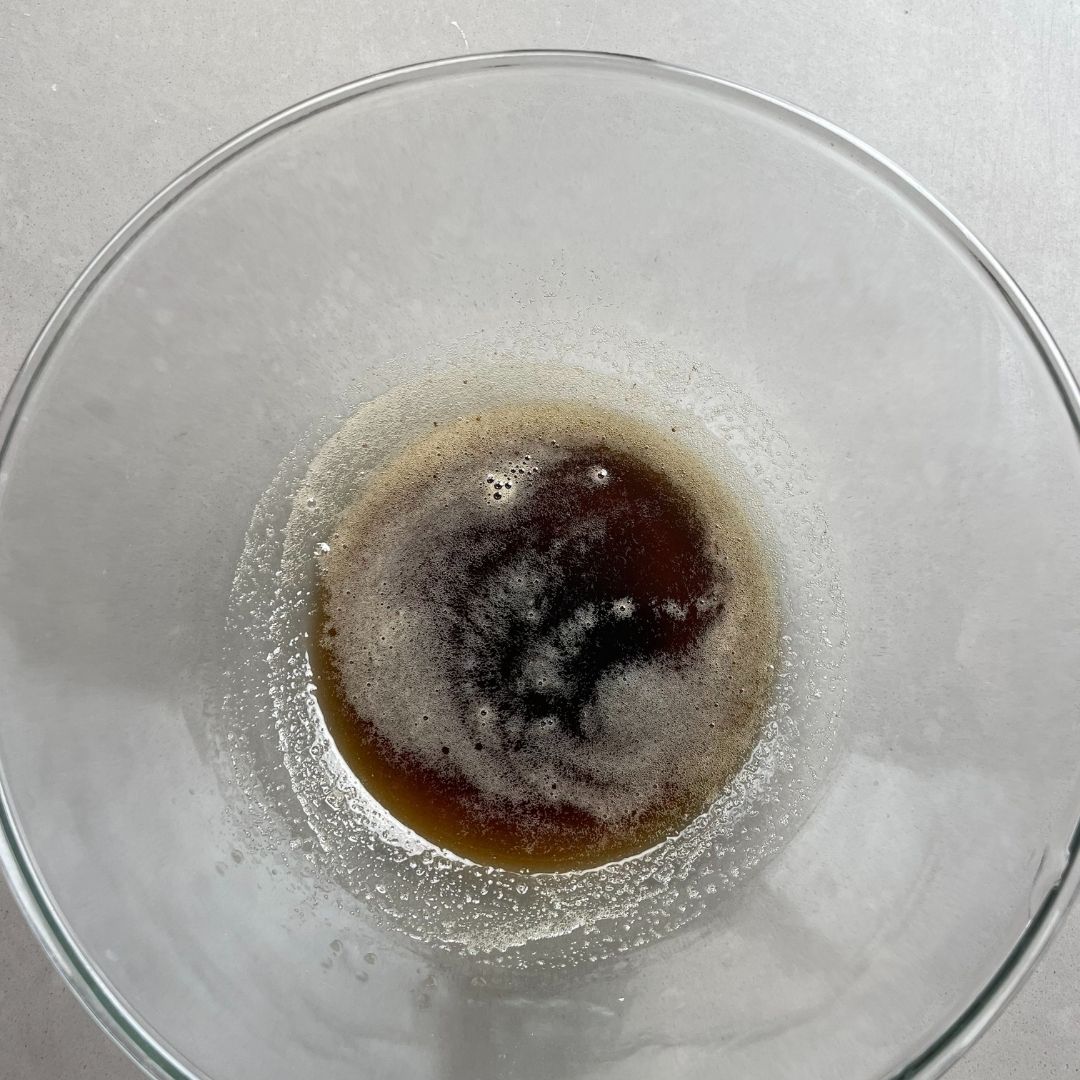
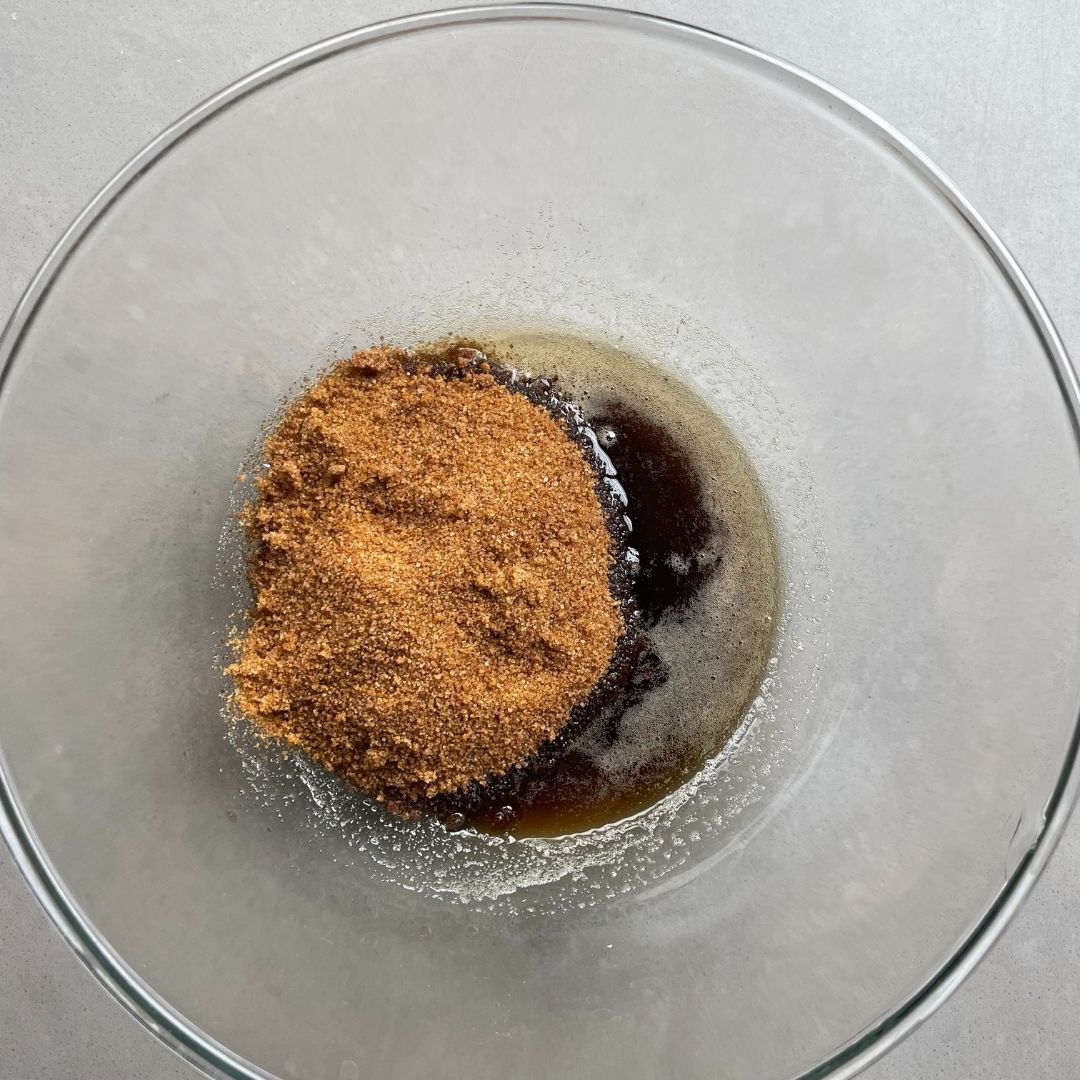
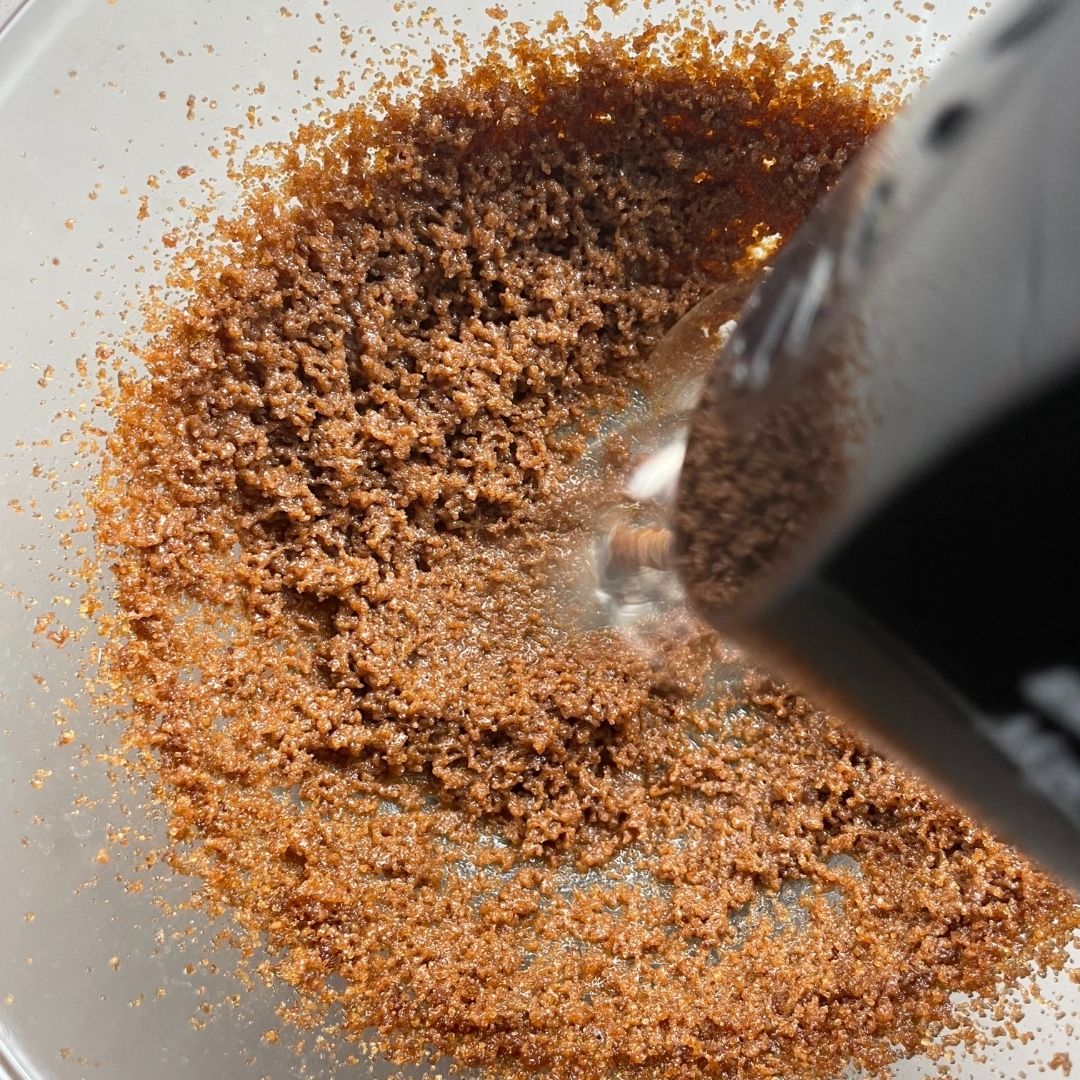
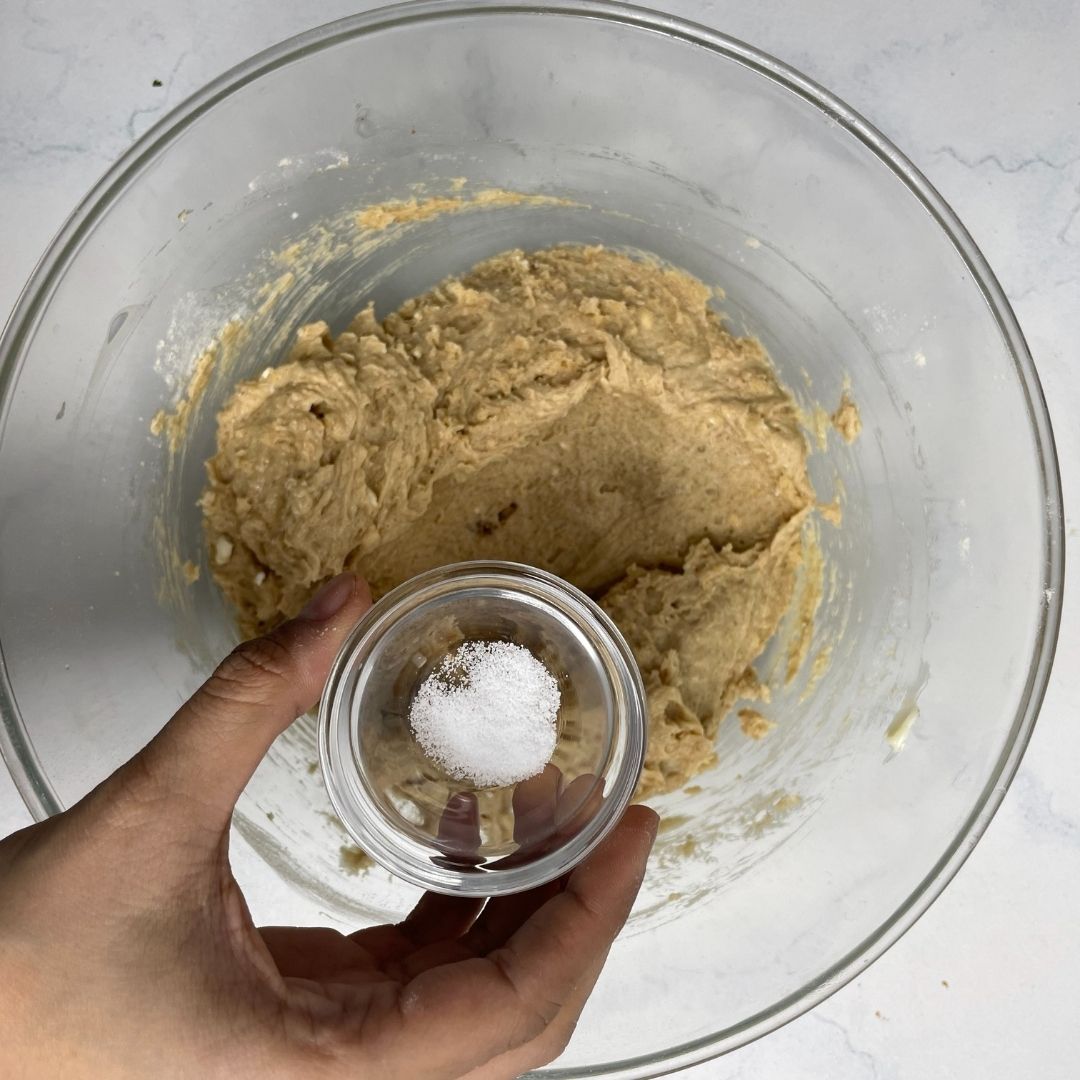
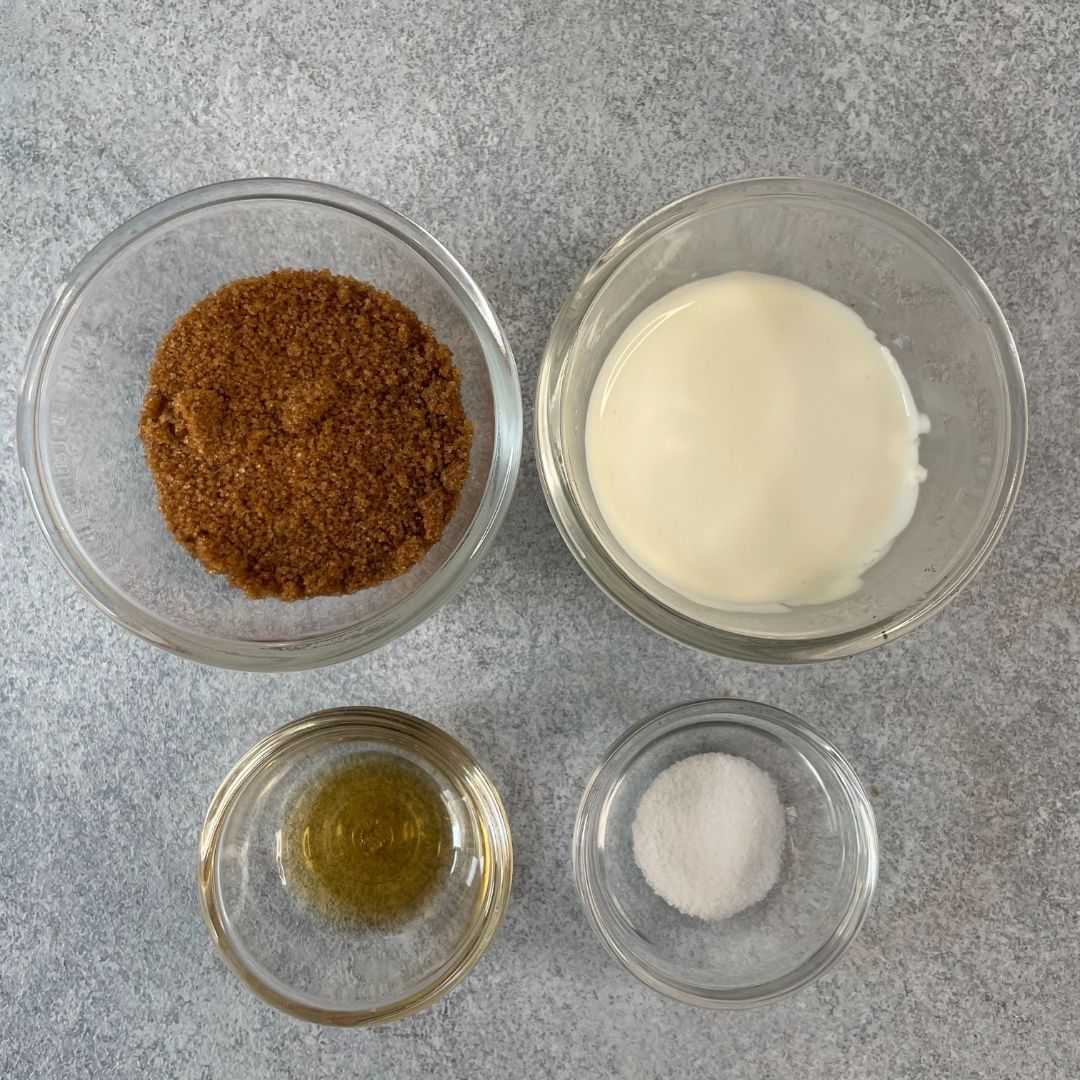
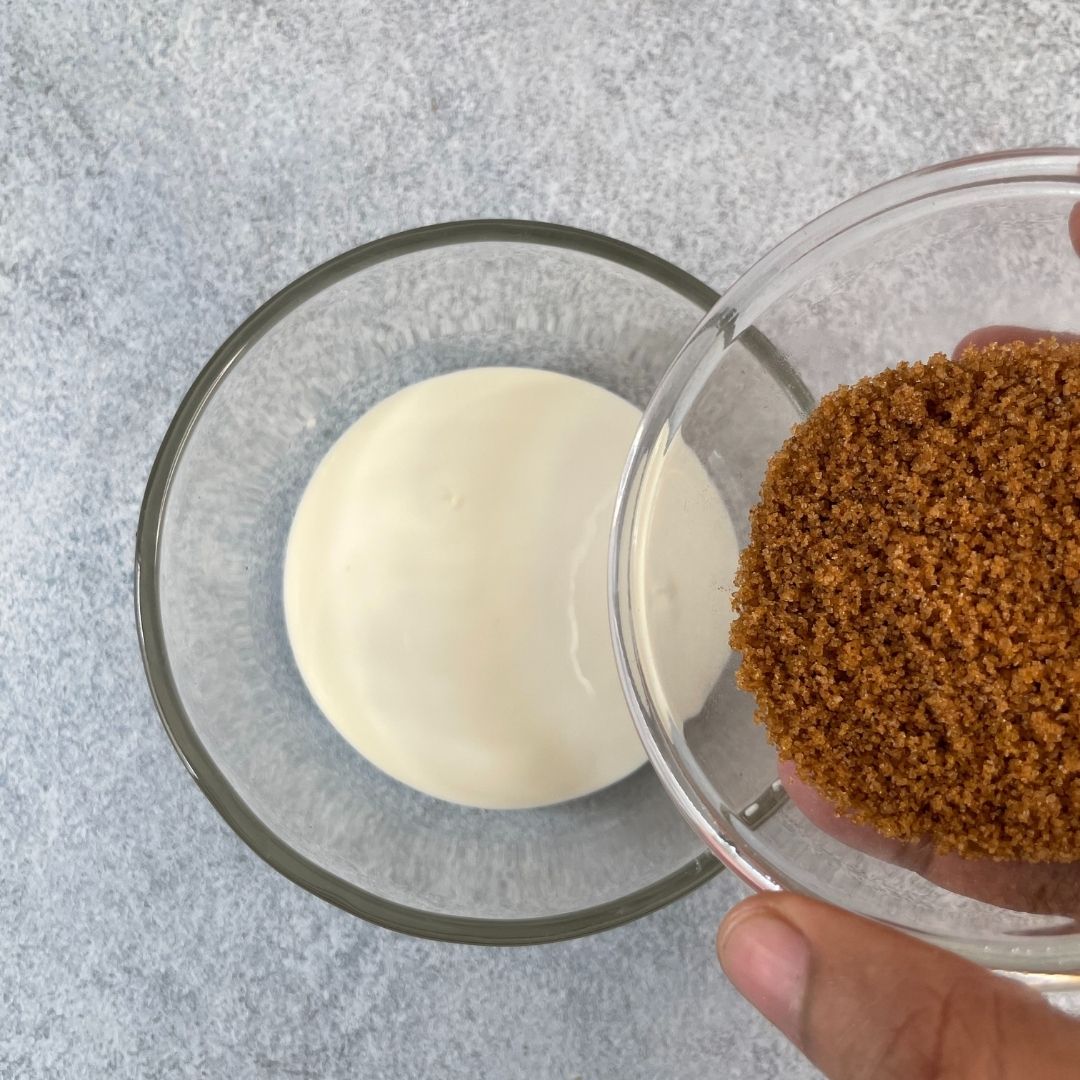
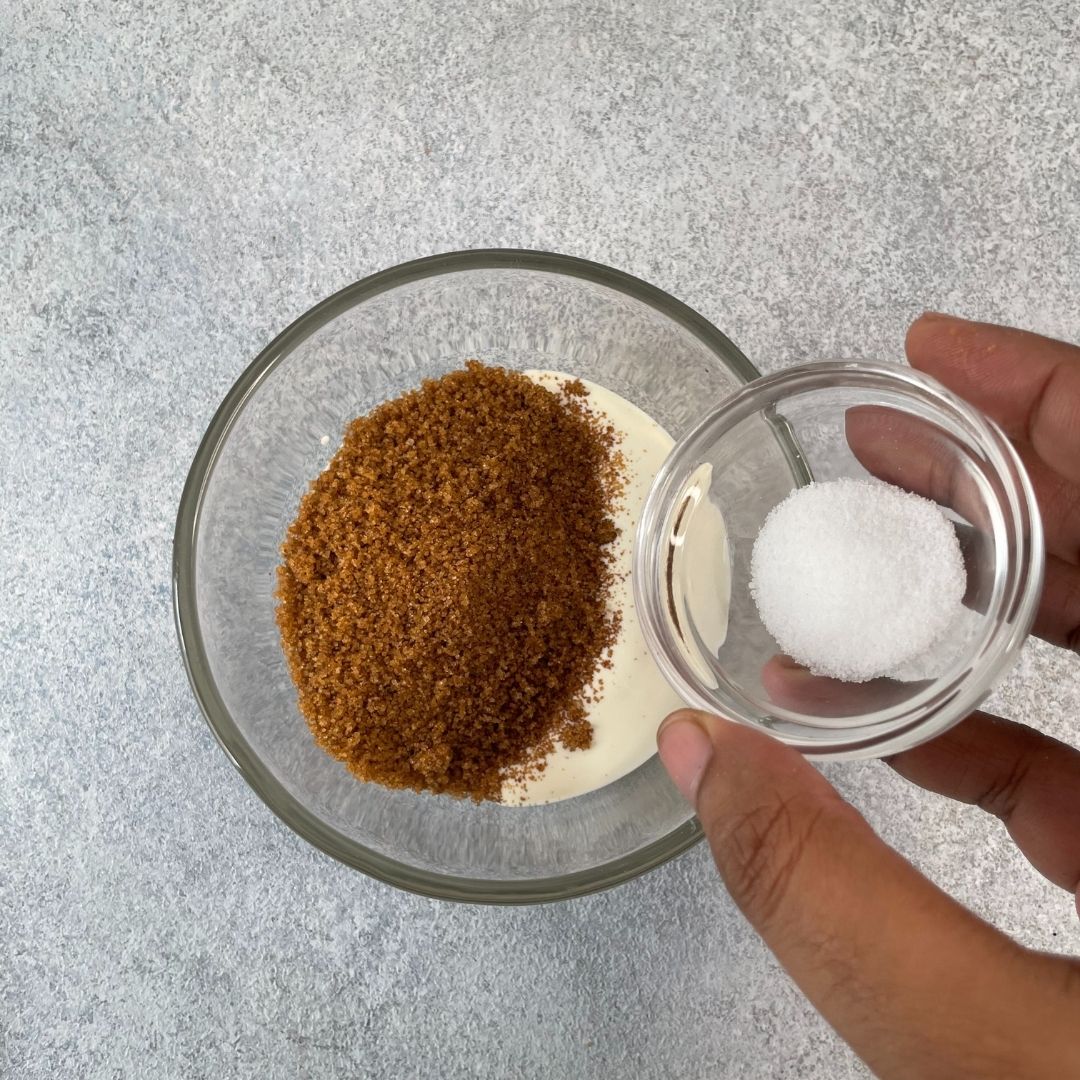
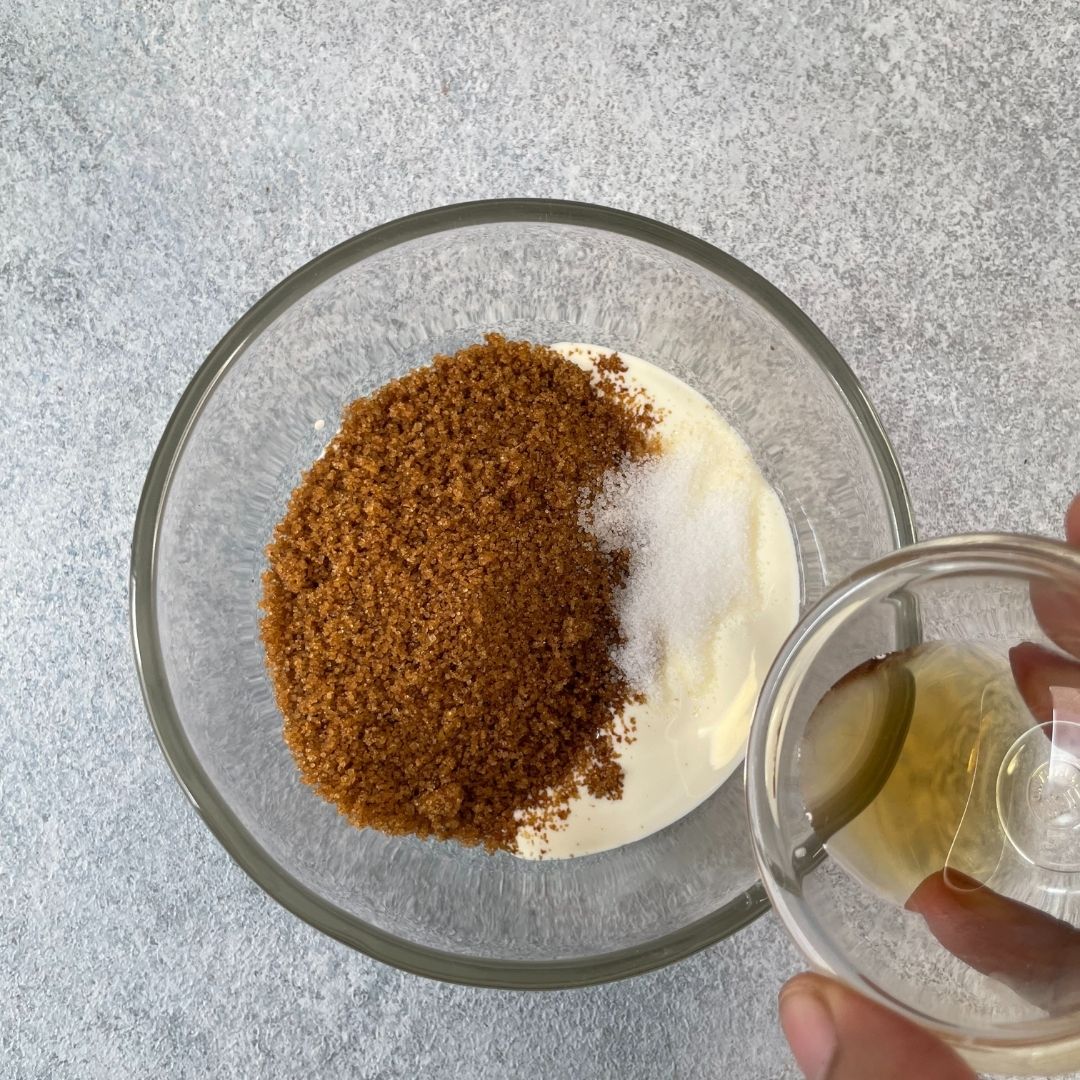
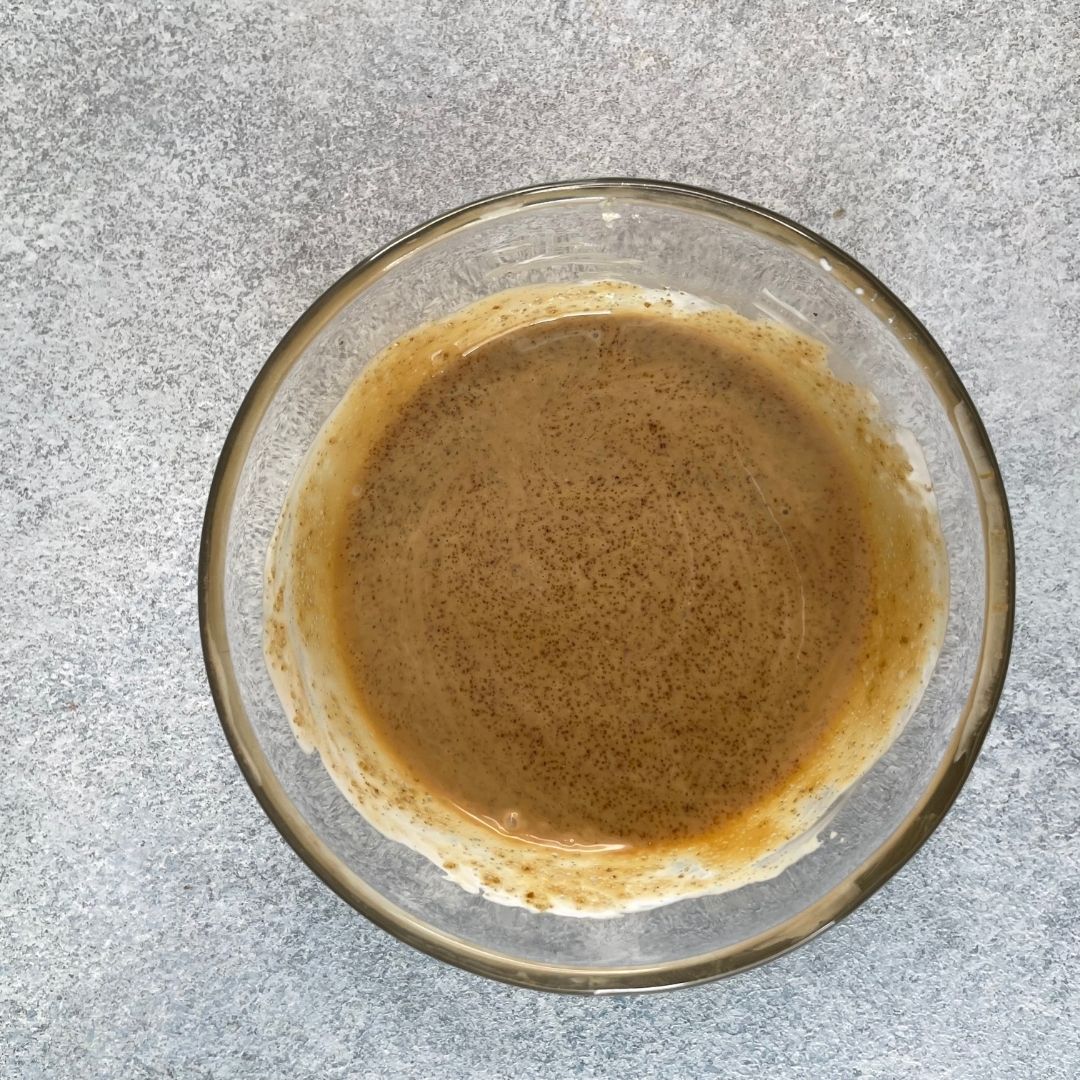
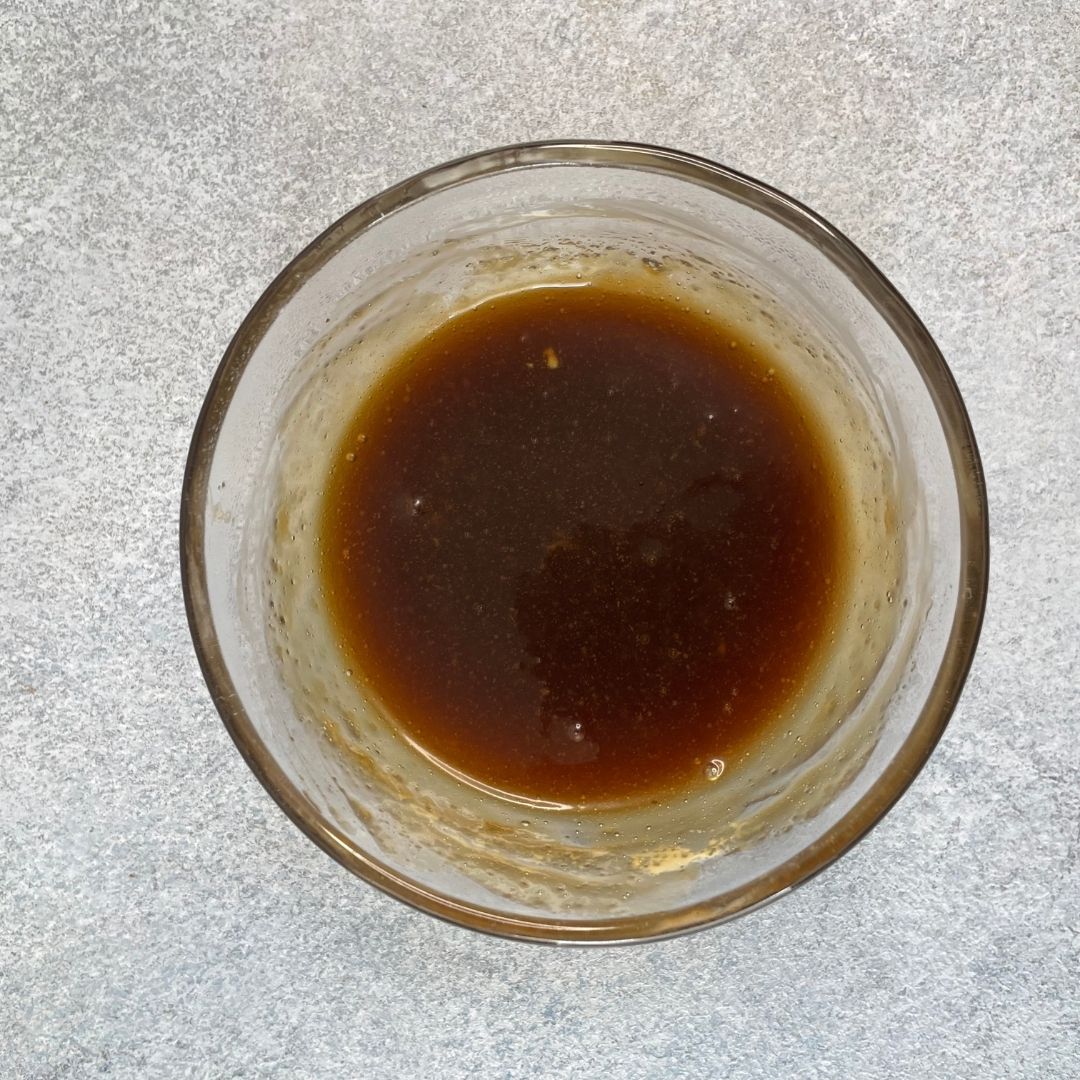
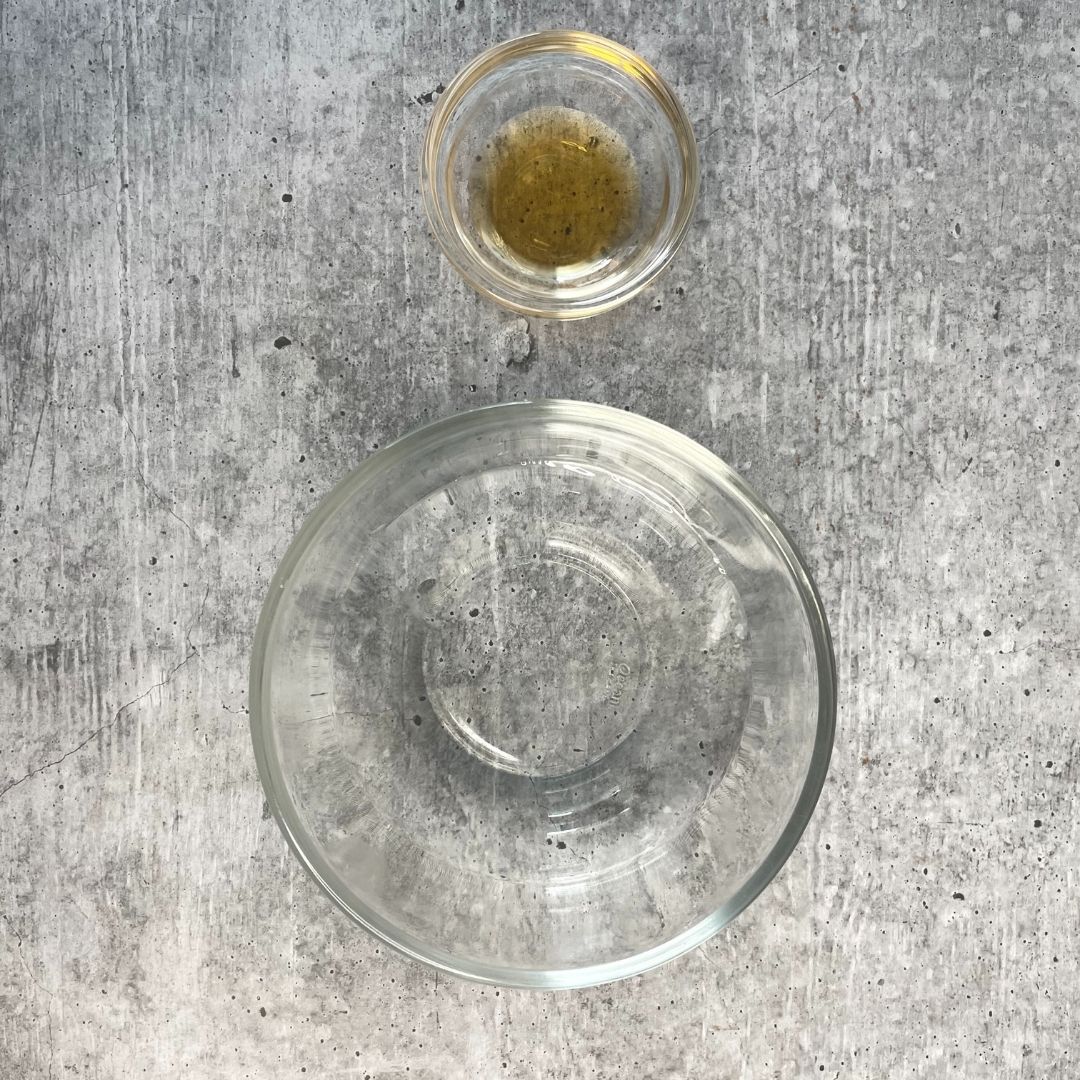
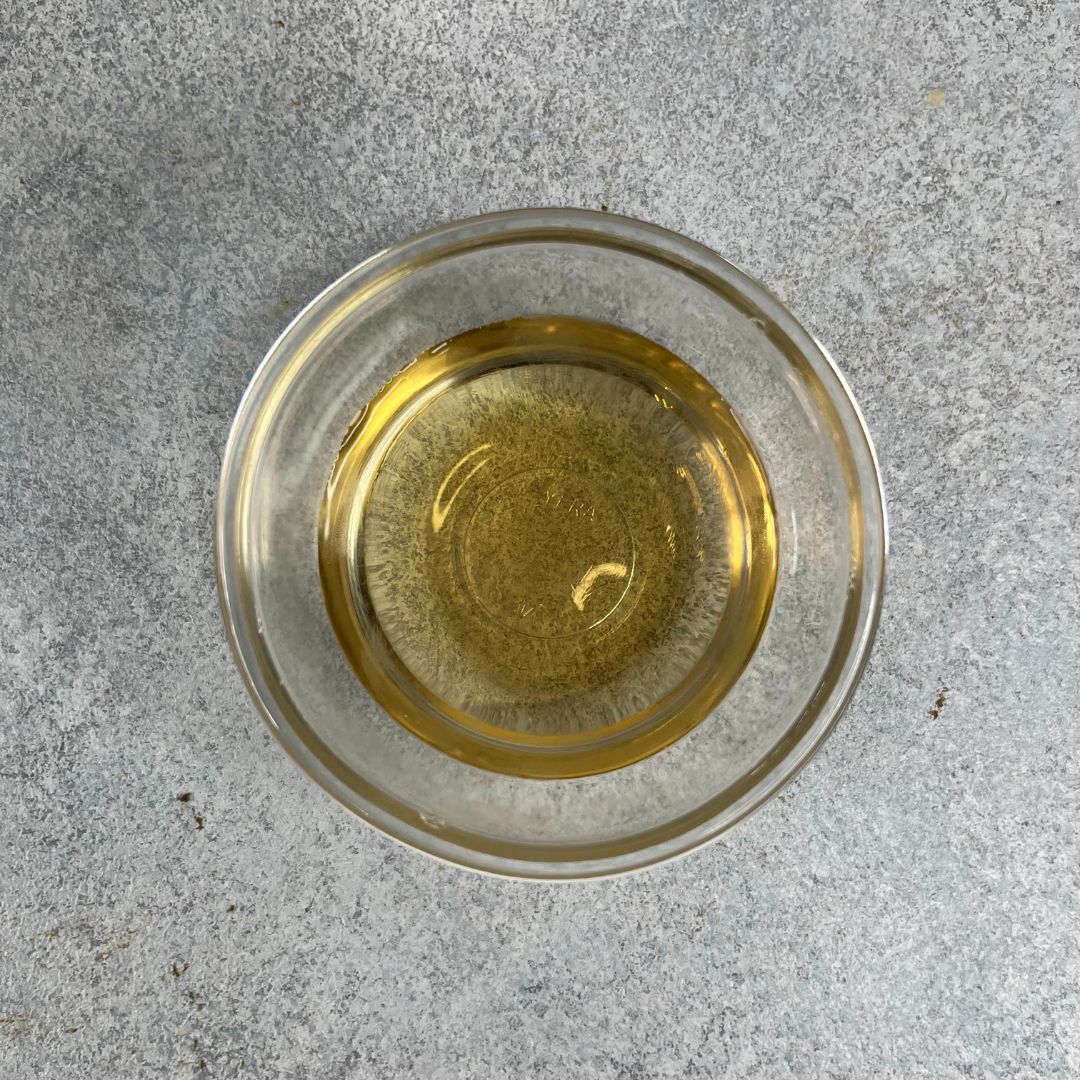
Mix heavy cream and brown sugar: In a small bowl, mix heavy cream and brown sugar along with salt and vanilla essence. Warm it in a microwave until mixed properly. Warm it for only 15 – 20 seconds. The mixture will turn translucent. Let it cool down as well.
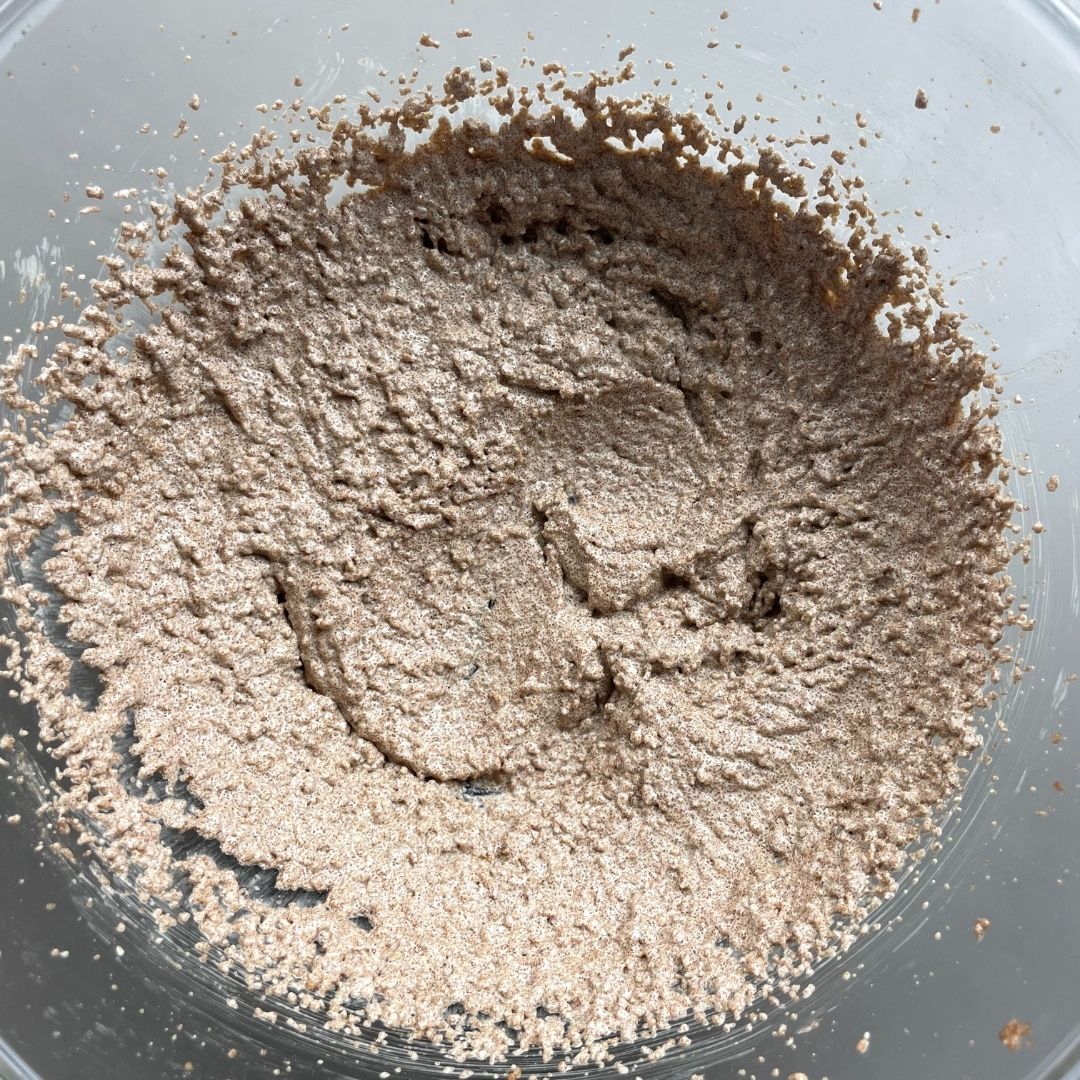
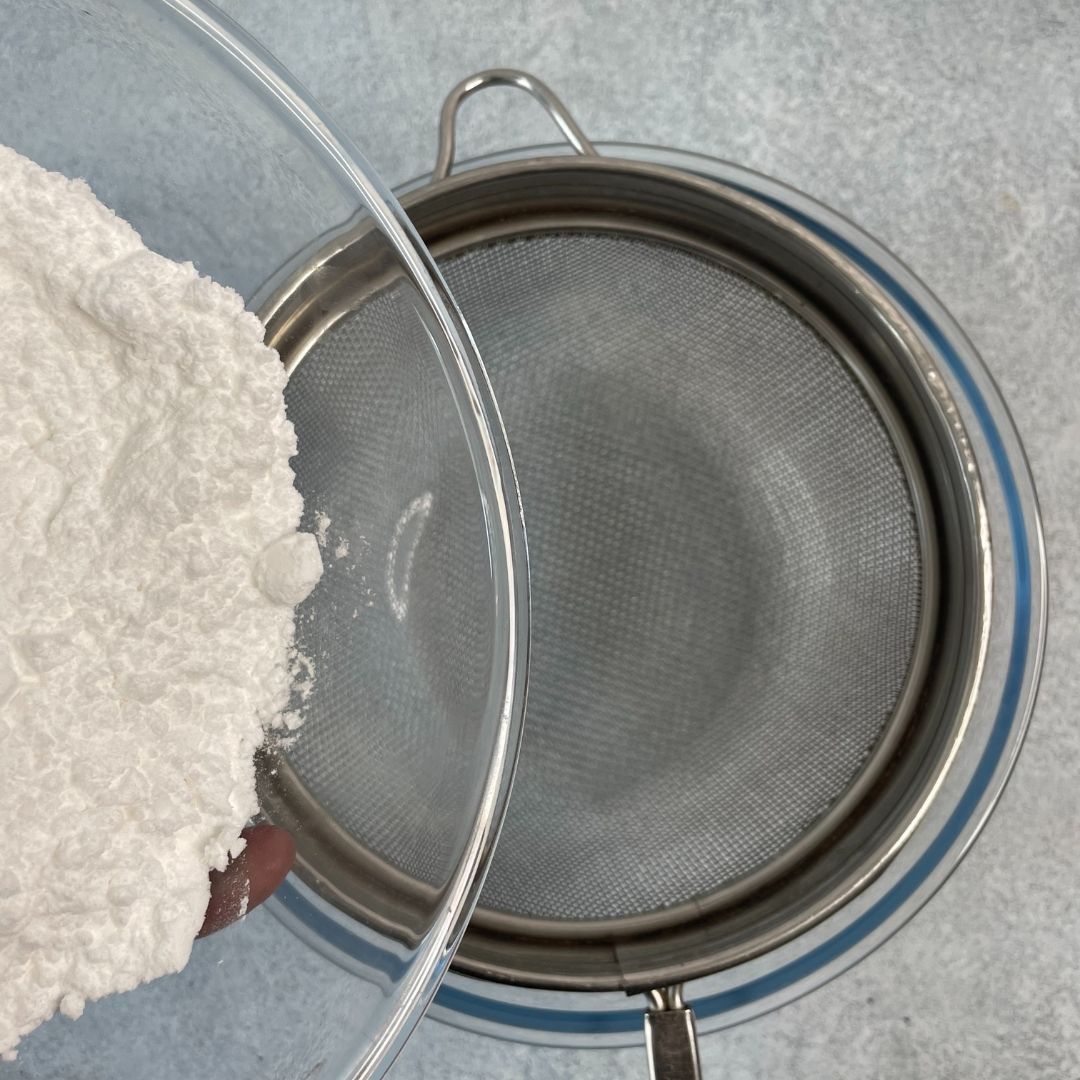
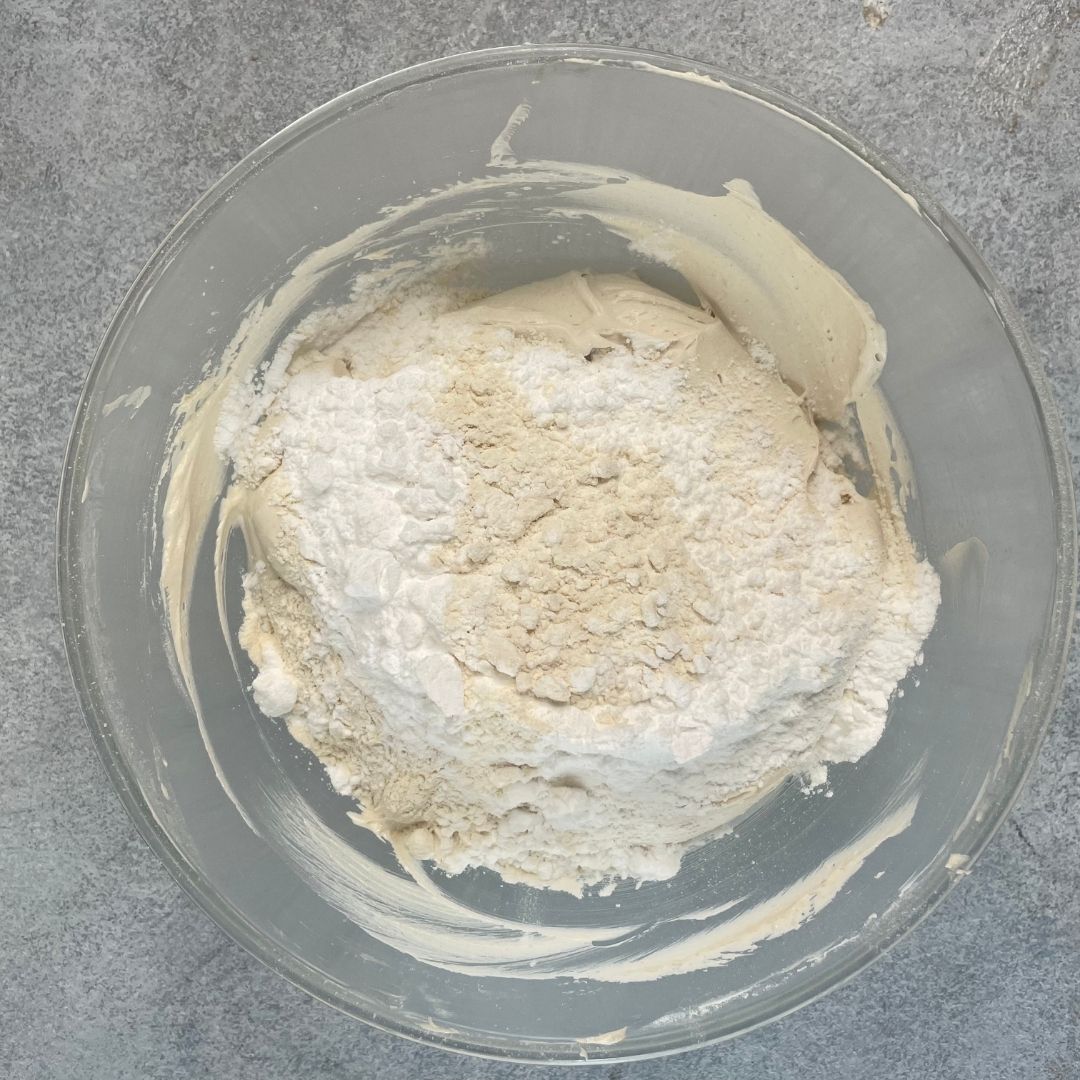
Sift icing sugar and heat-treated flour: In a different medium size bowl, sift the icing sugar and heat-treated flour together. The heat-treated flour will give us the cookie dough flavor in the buttercream.
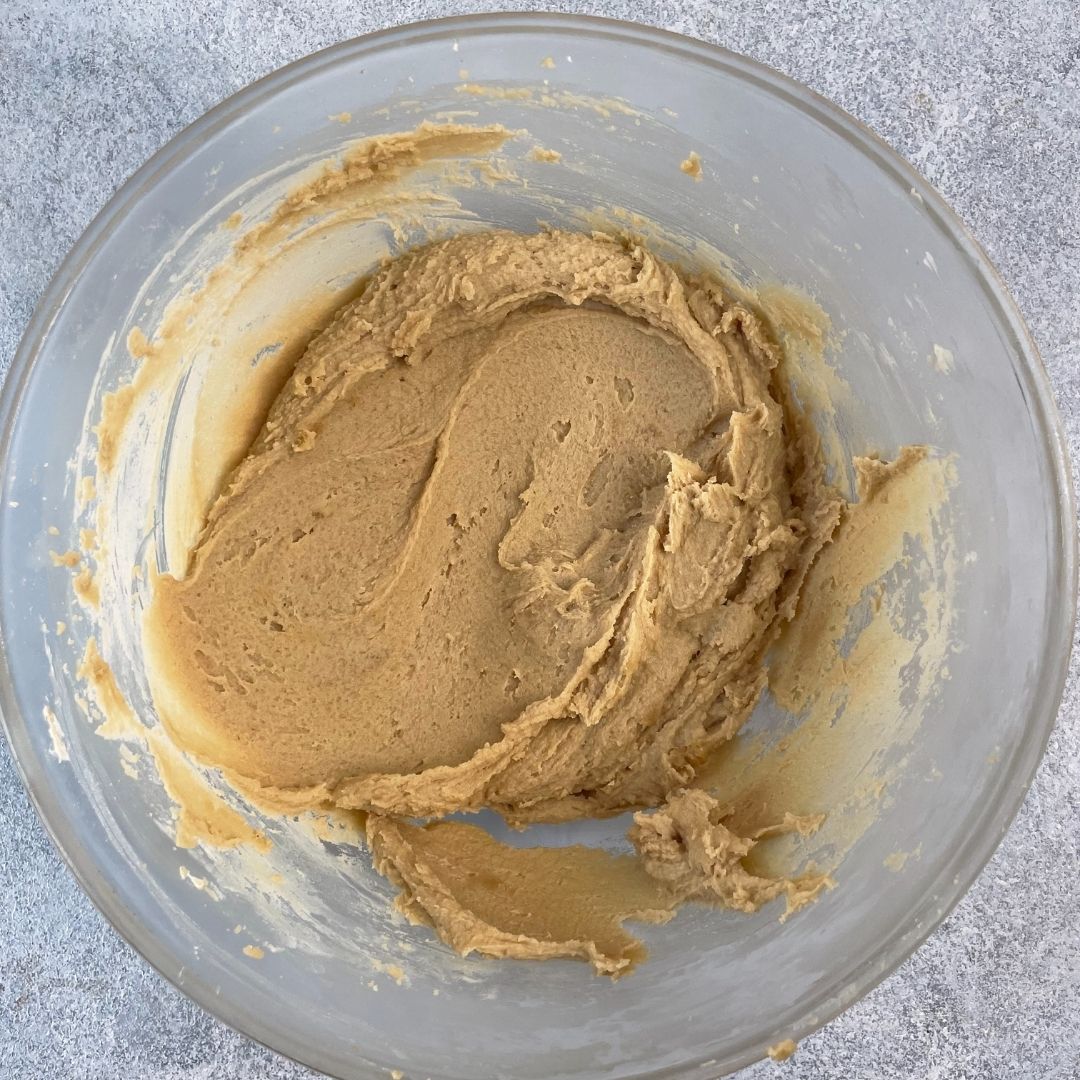
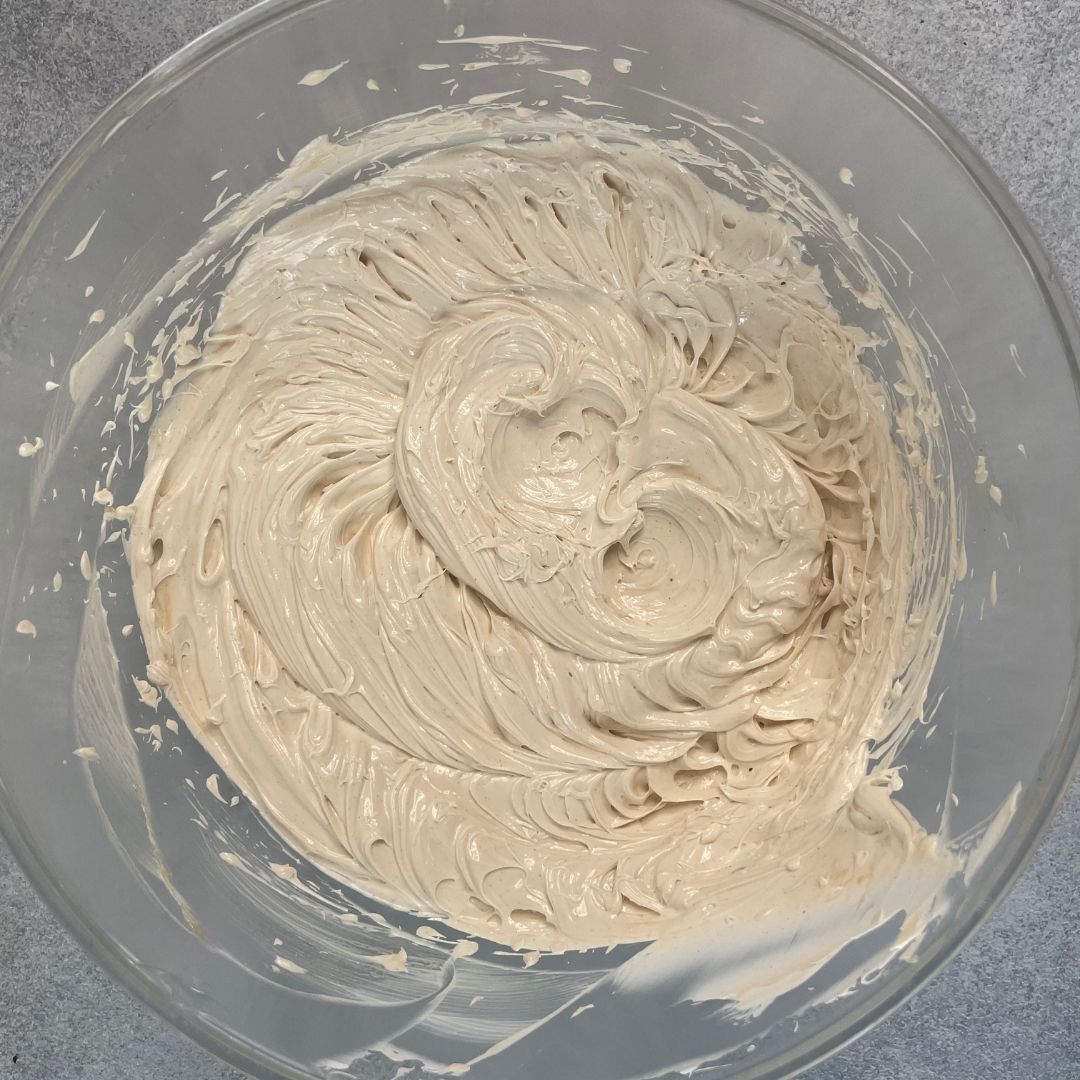
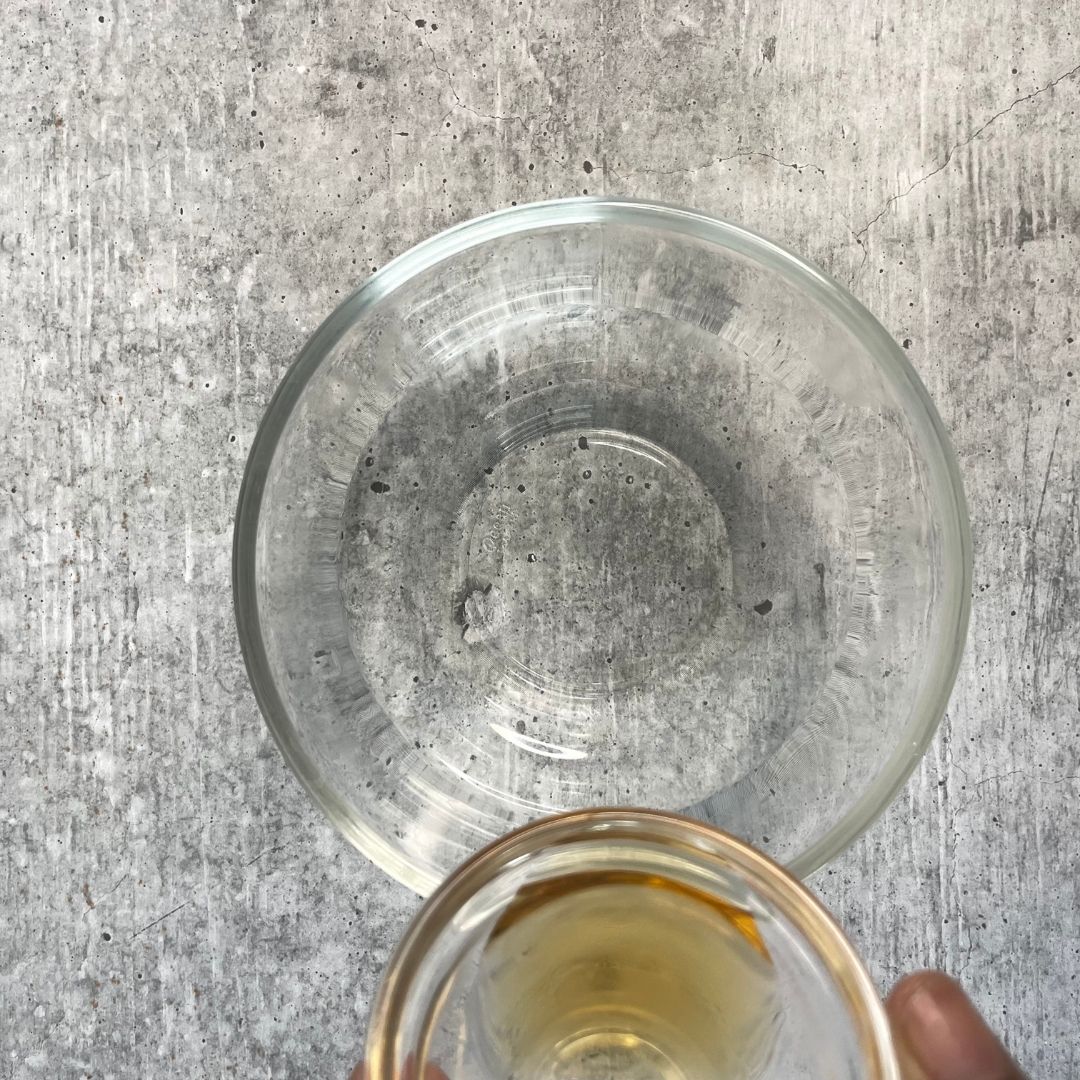
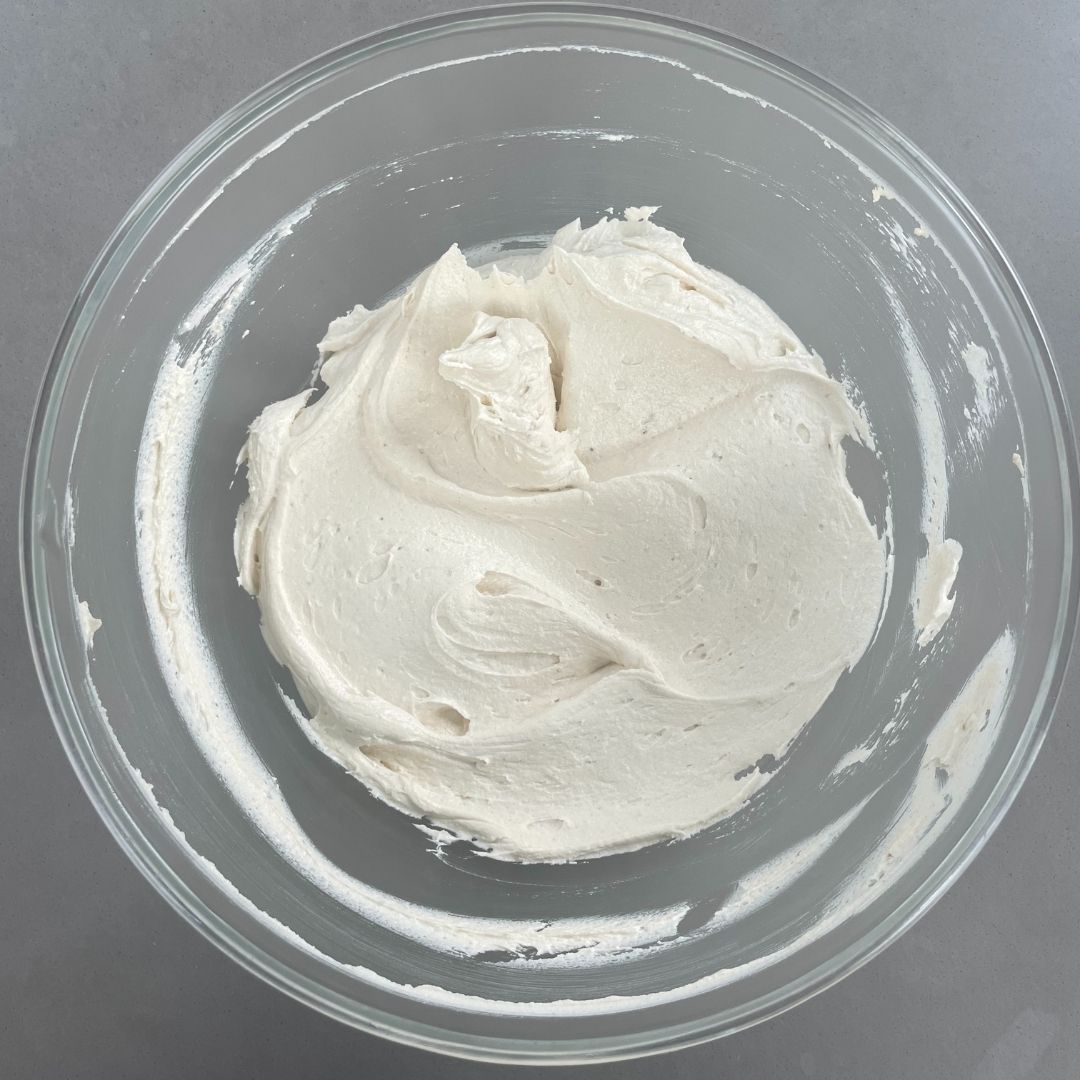
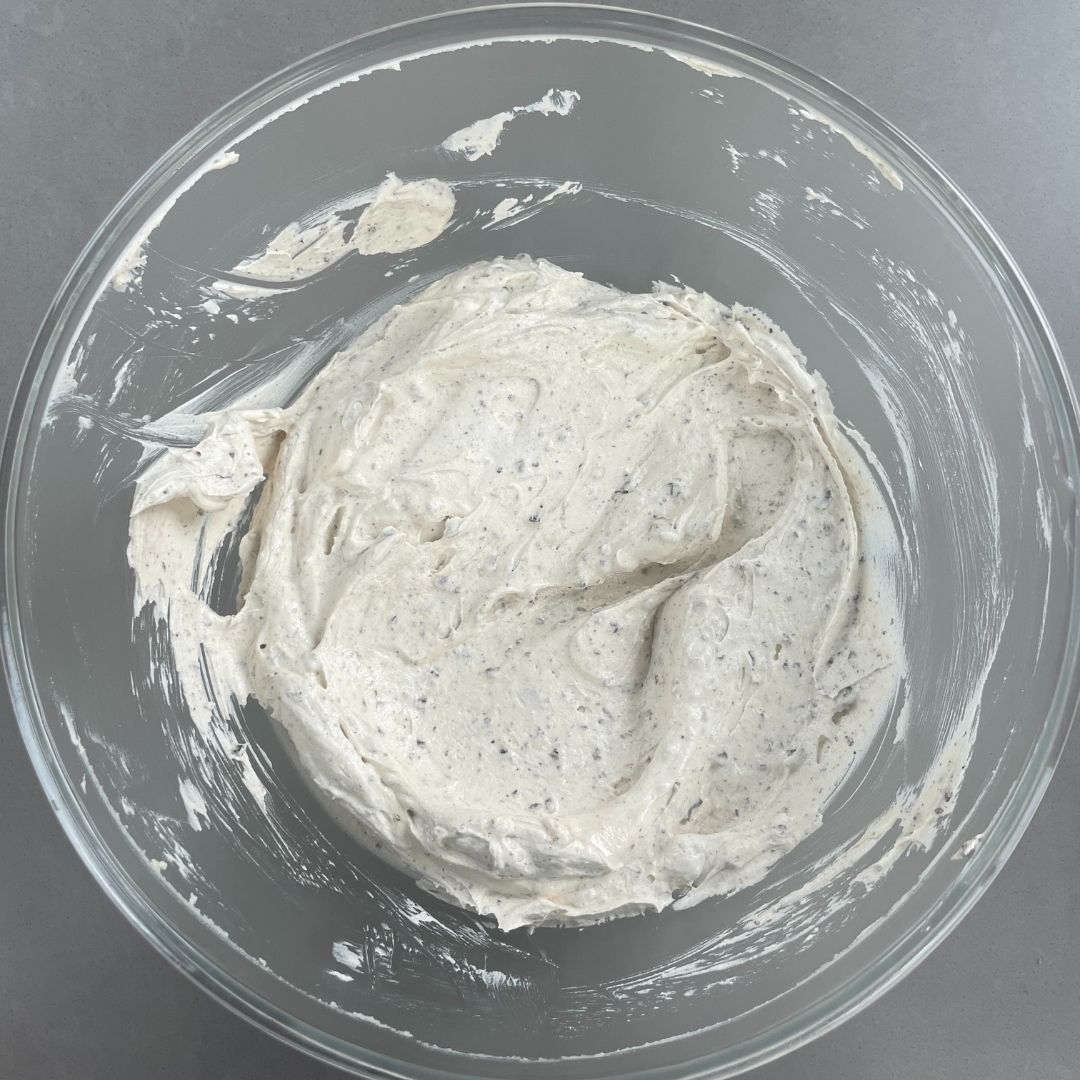
Beat butter: Now beat unsalted butter (b) along with now cooled brown butter until the mixture is fluffy in texture.
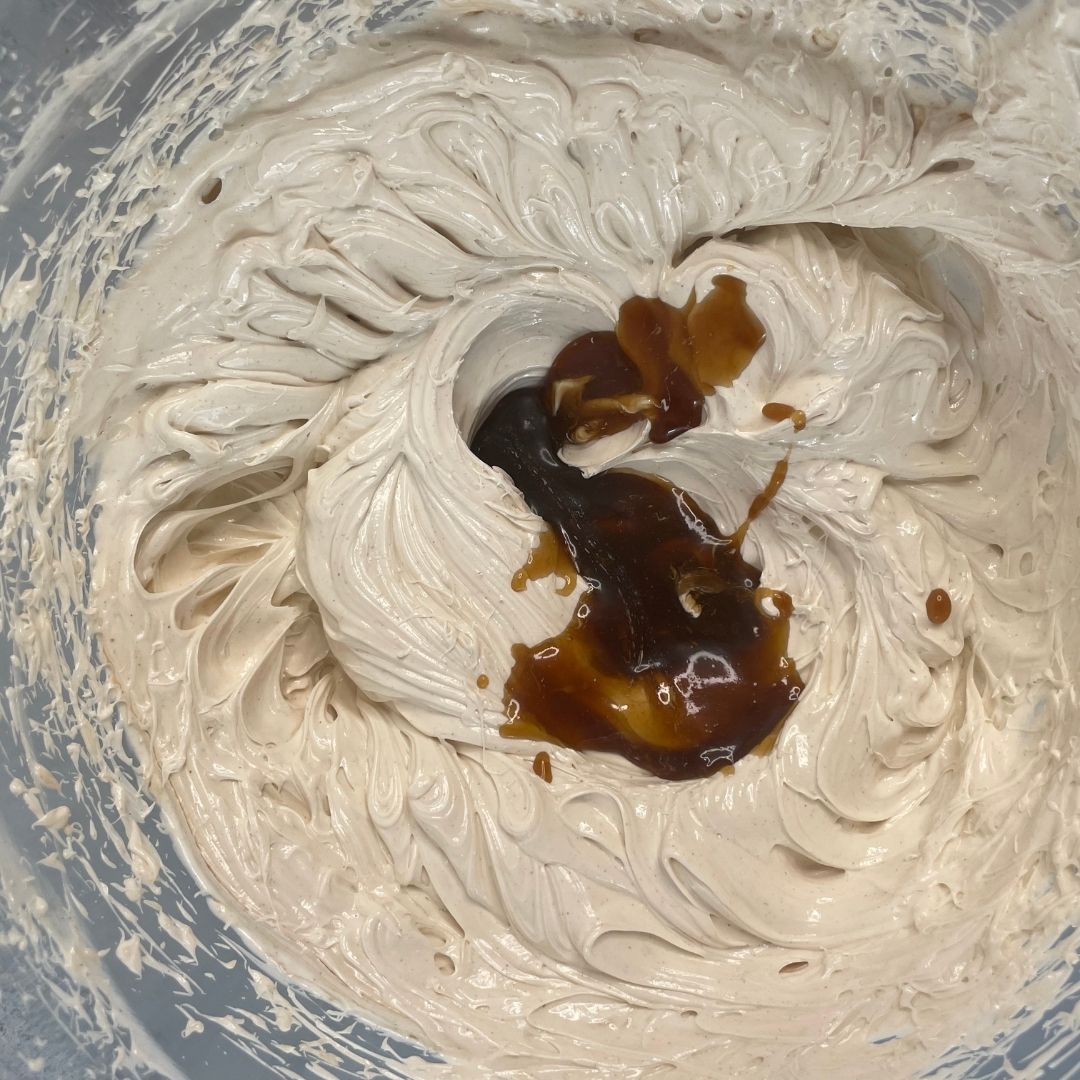
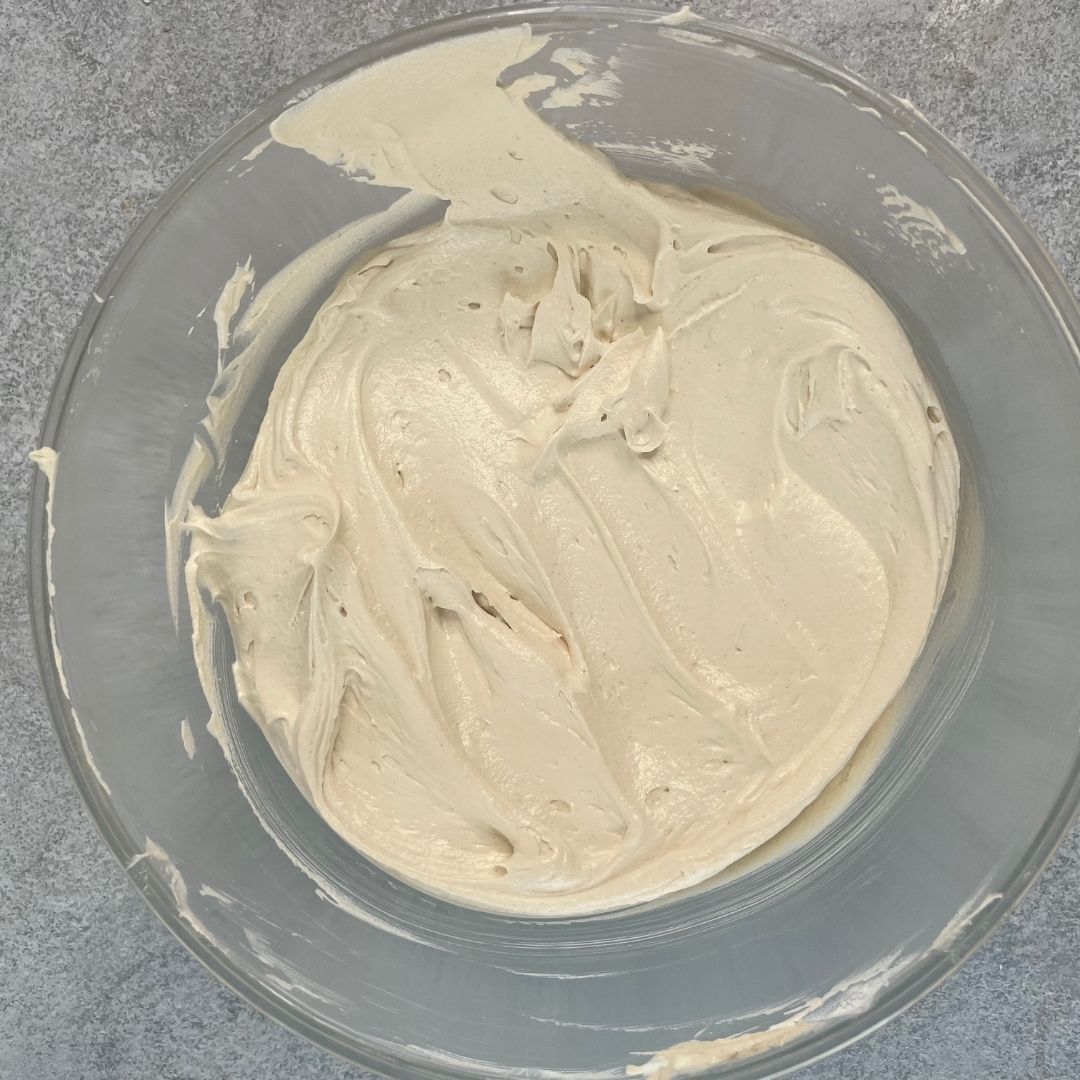
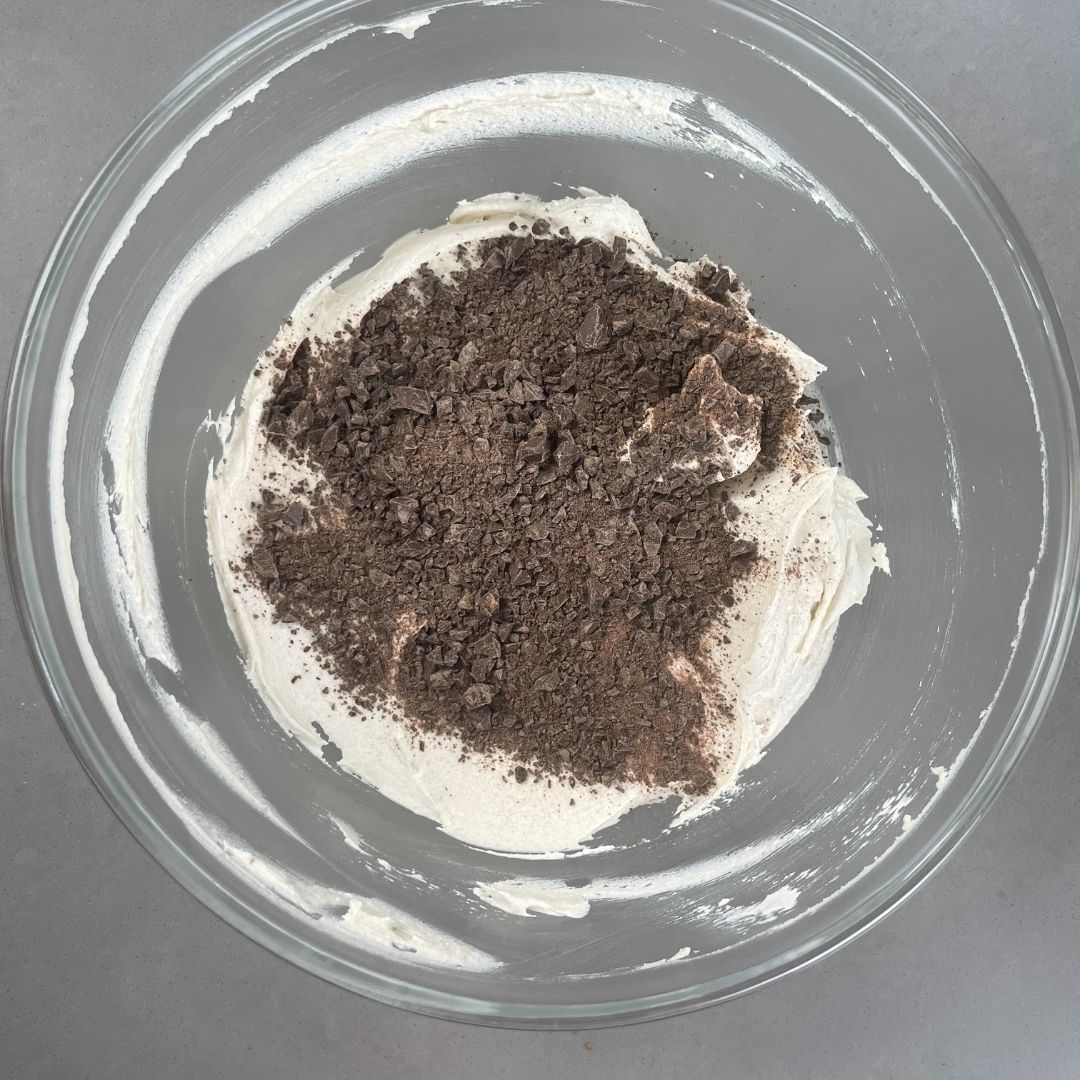
Make the buttercream: Gradually add in the heavy cream and brown sugar mixture while beating it continuously. Once mixed properly, add in icing sugar and heat-treated flour mixture in parts and keep beating until you have a nice and fluffy buttercream. Do not mix the chopped chocolate into the buttercream yet.
For Soaking Syrup
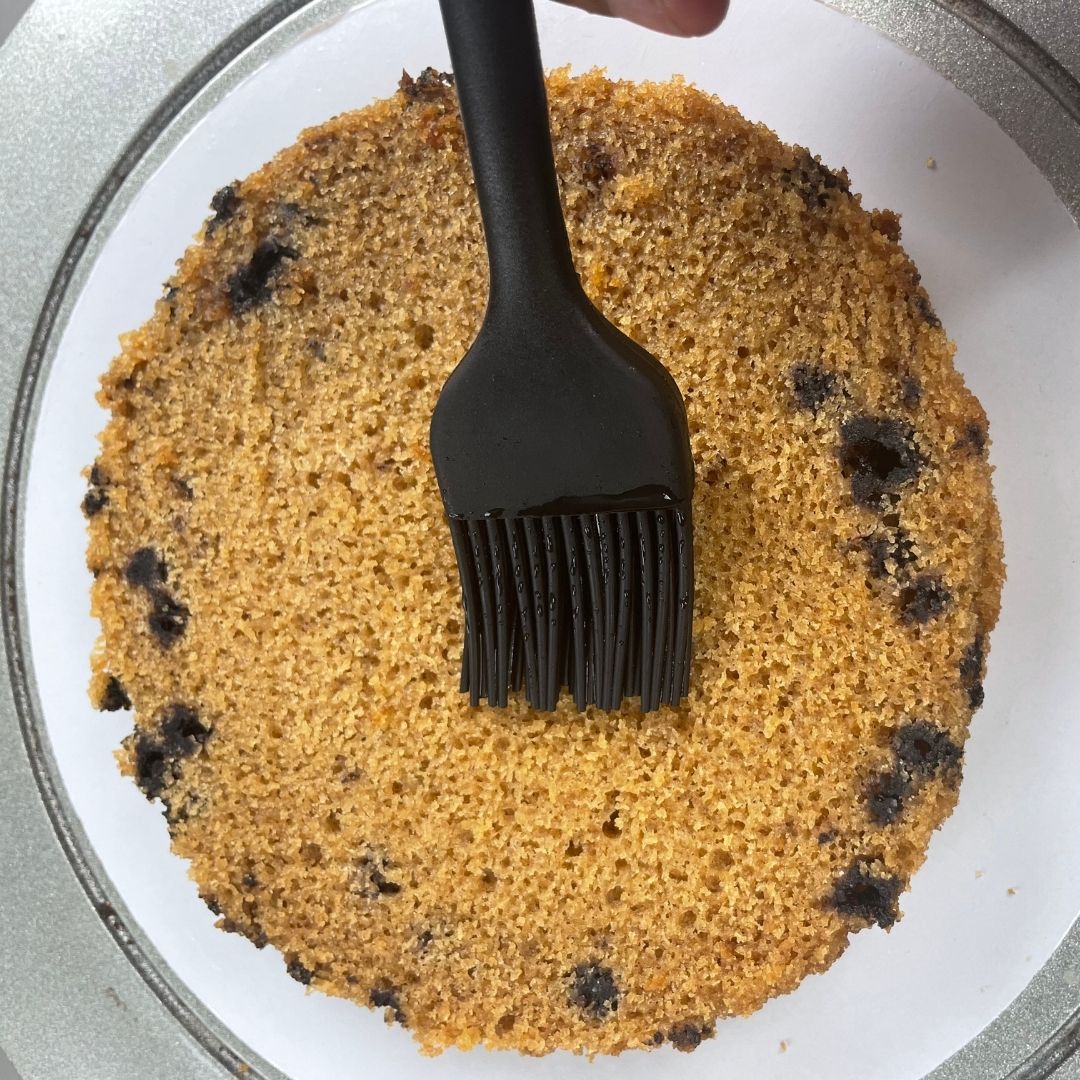
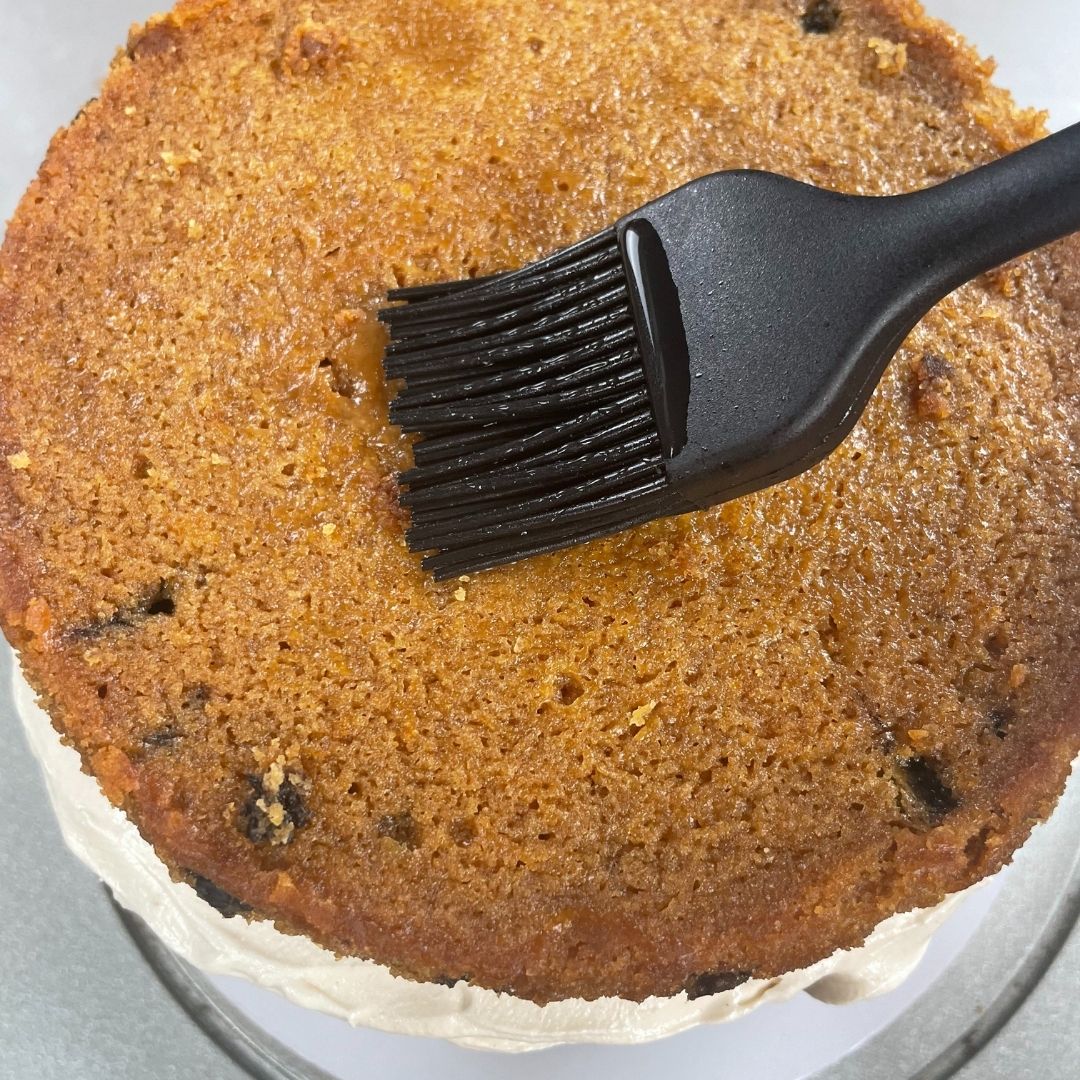
For the Soaking syrup, mix water and vanilla essence together, then keep it aside for the assembly.
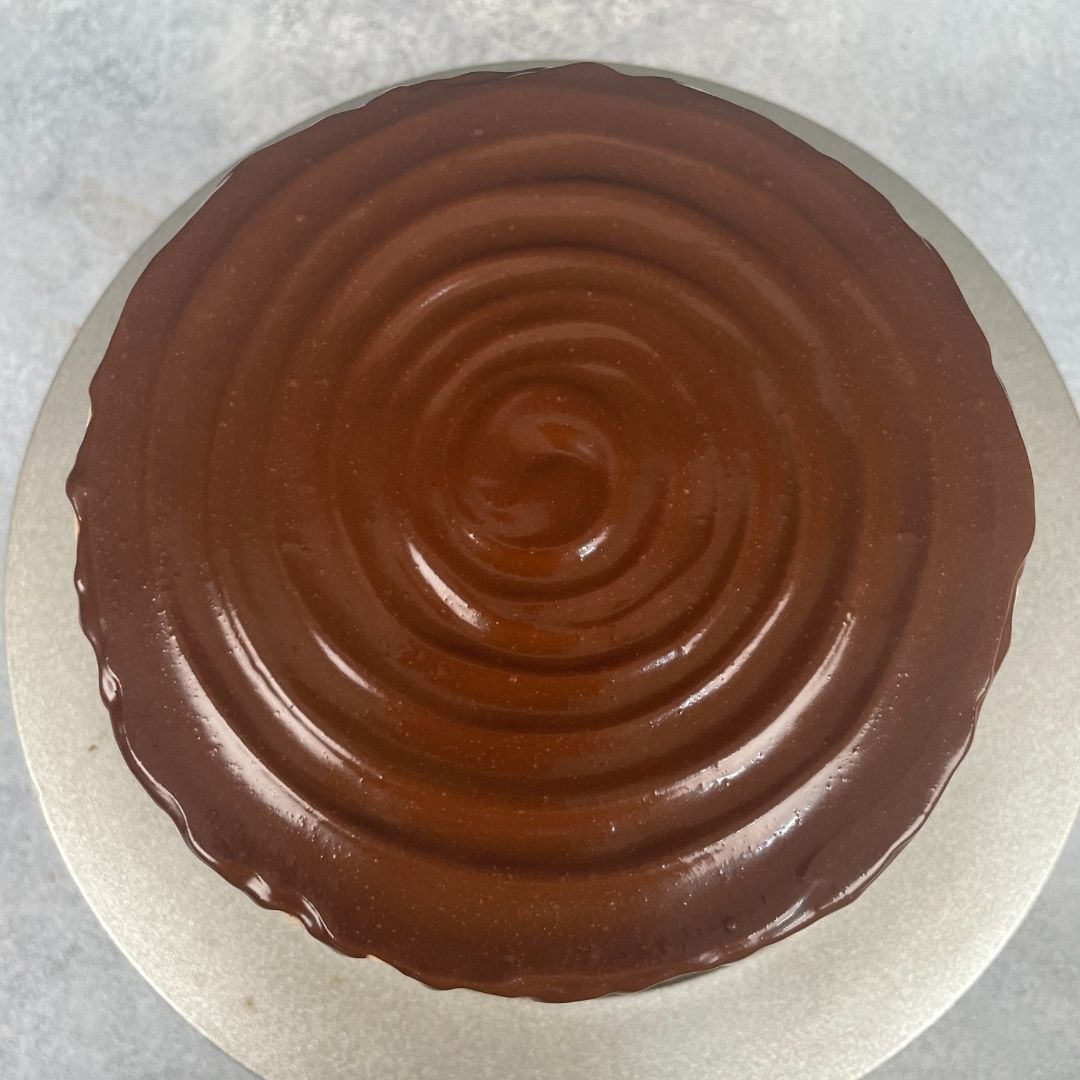
For Dark Chocolate Drip
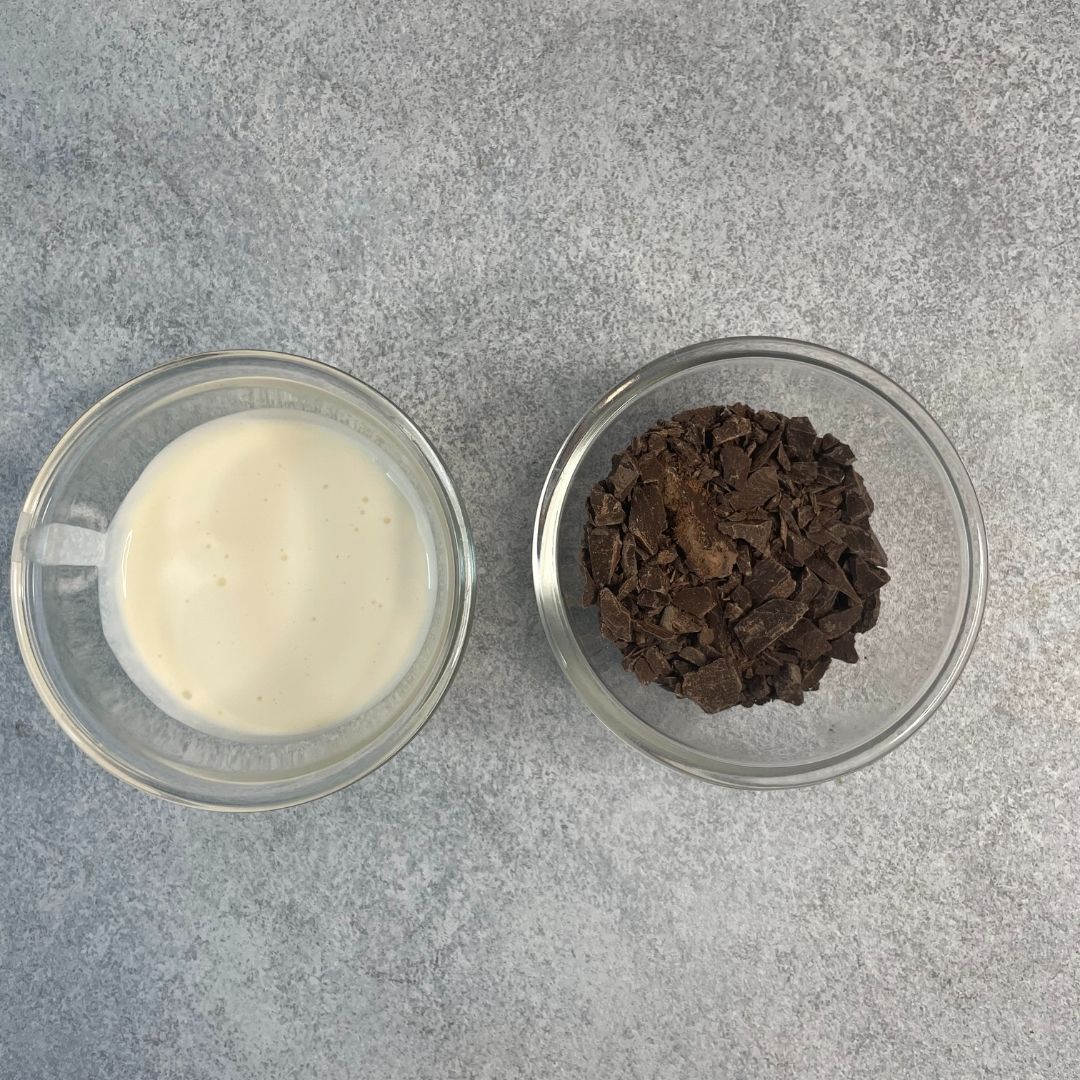
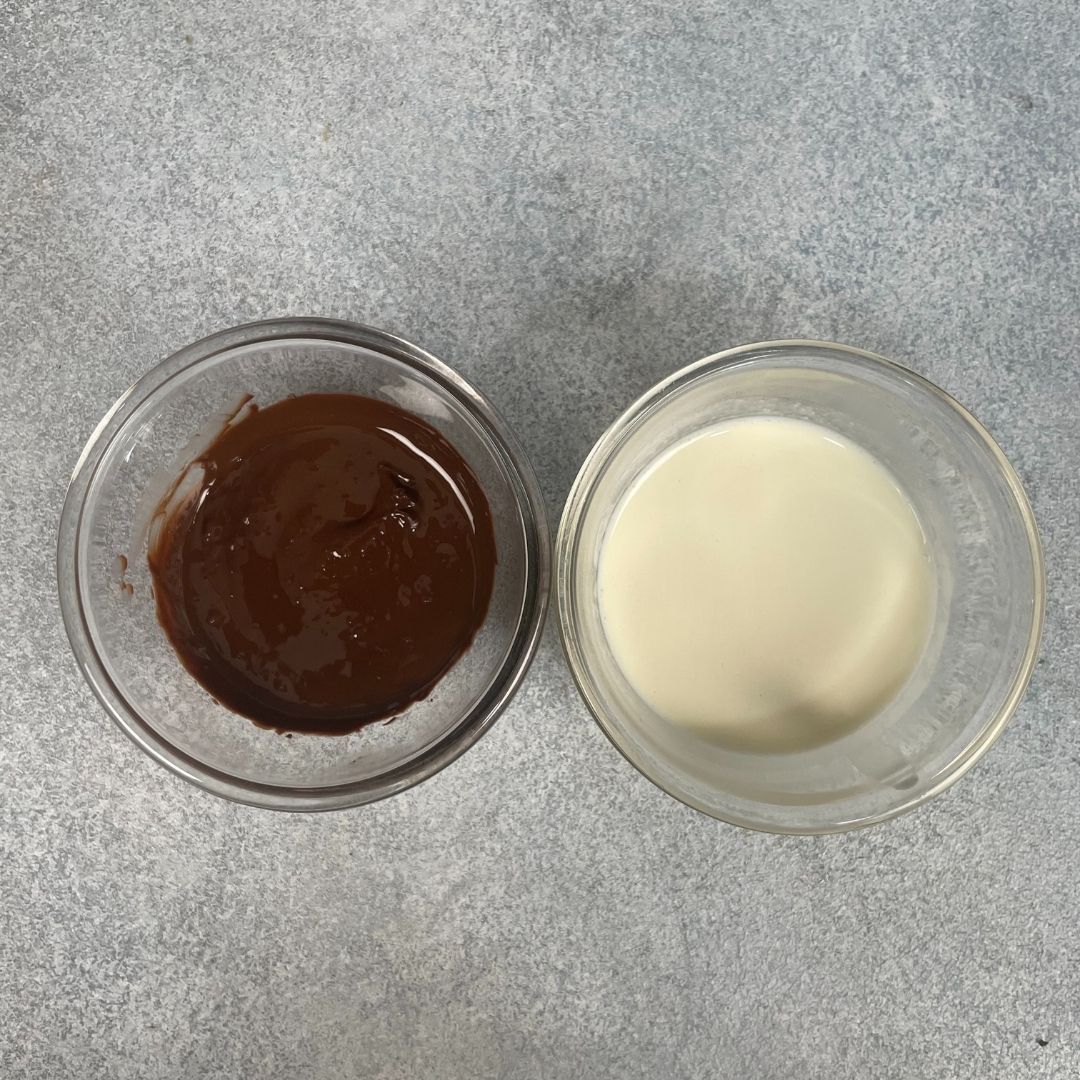
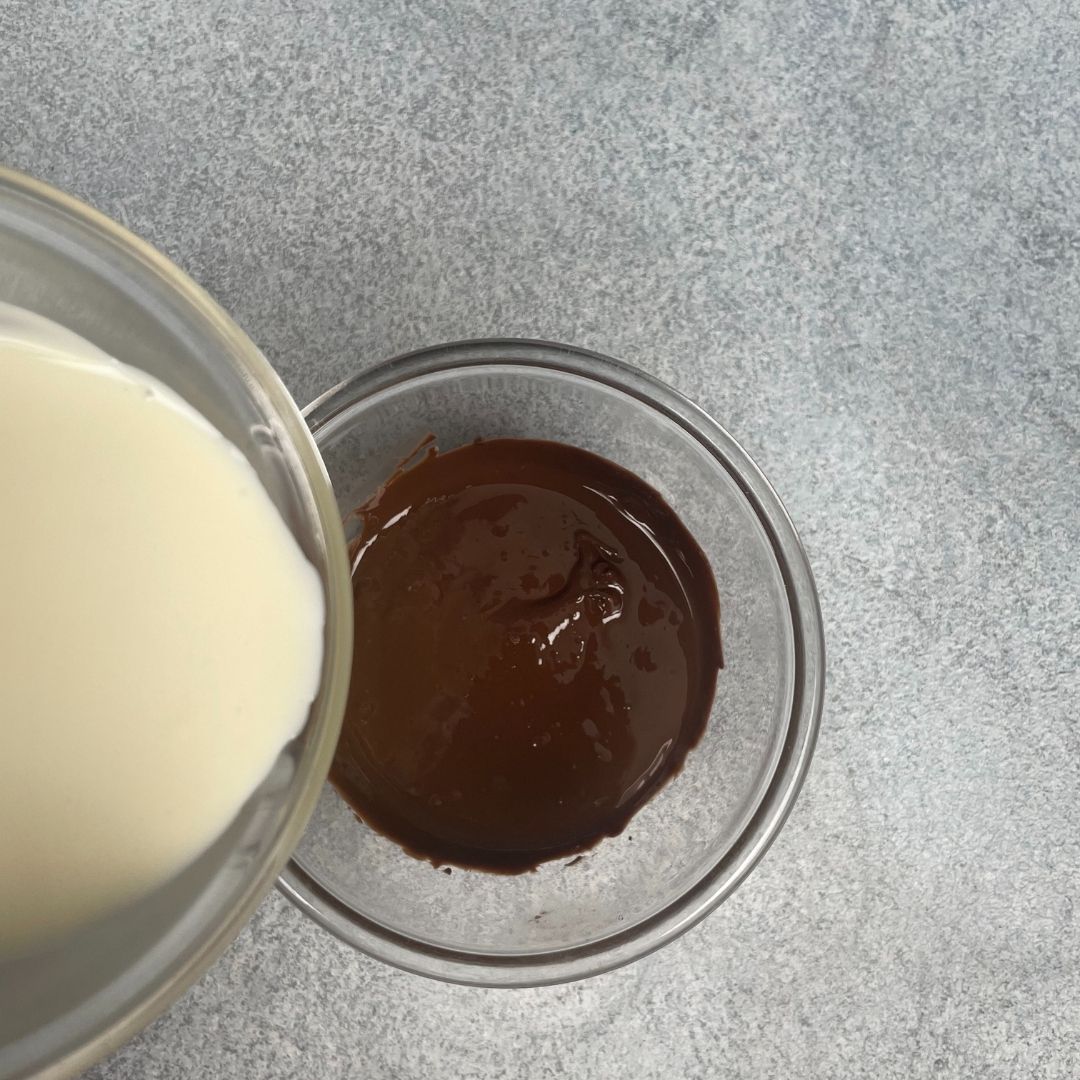
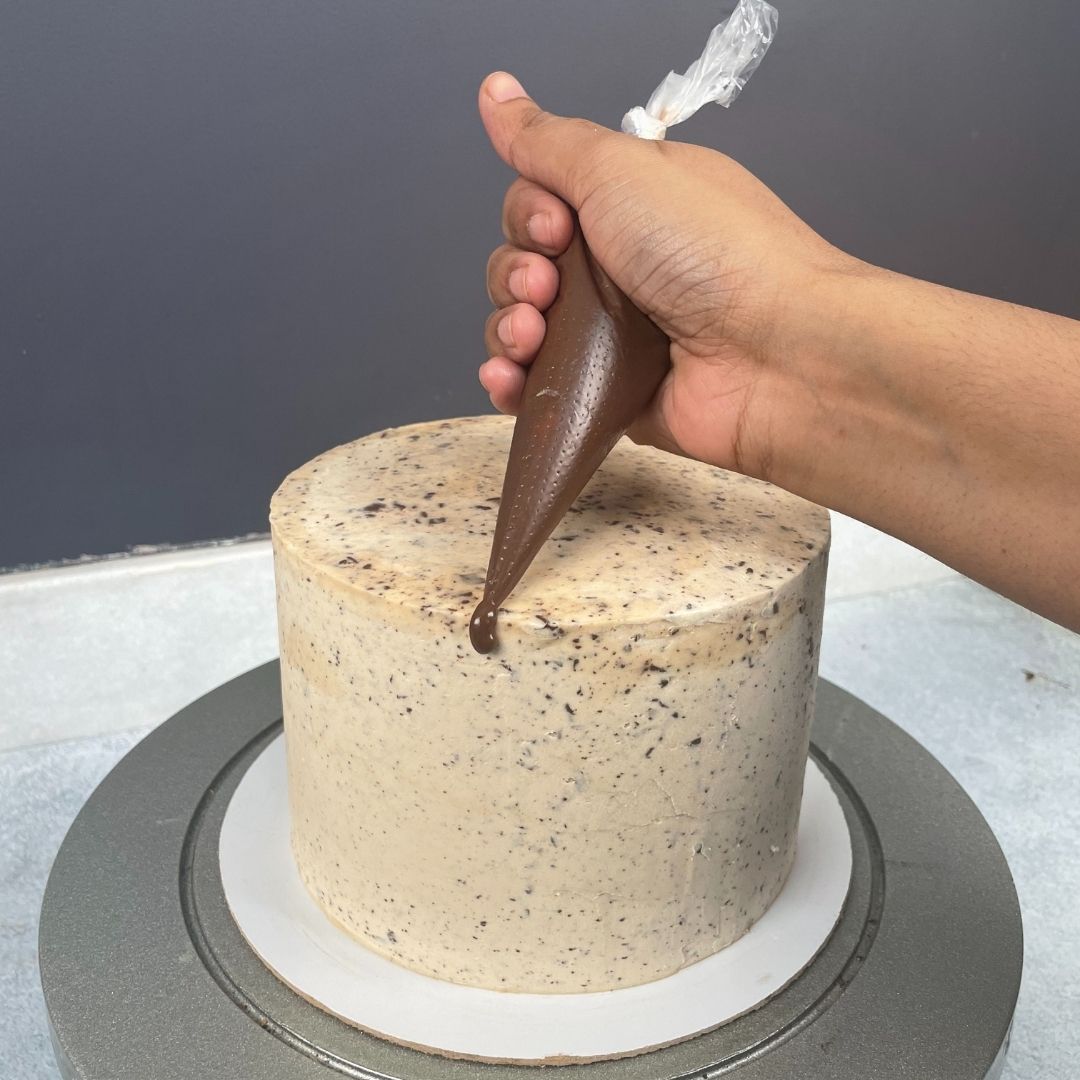
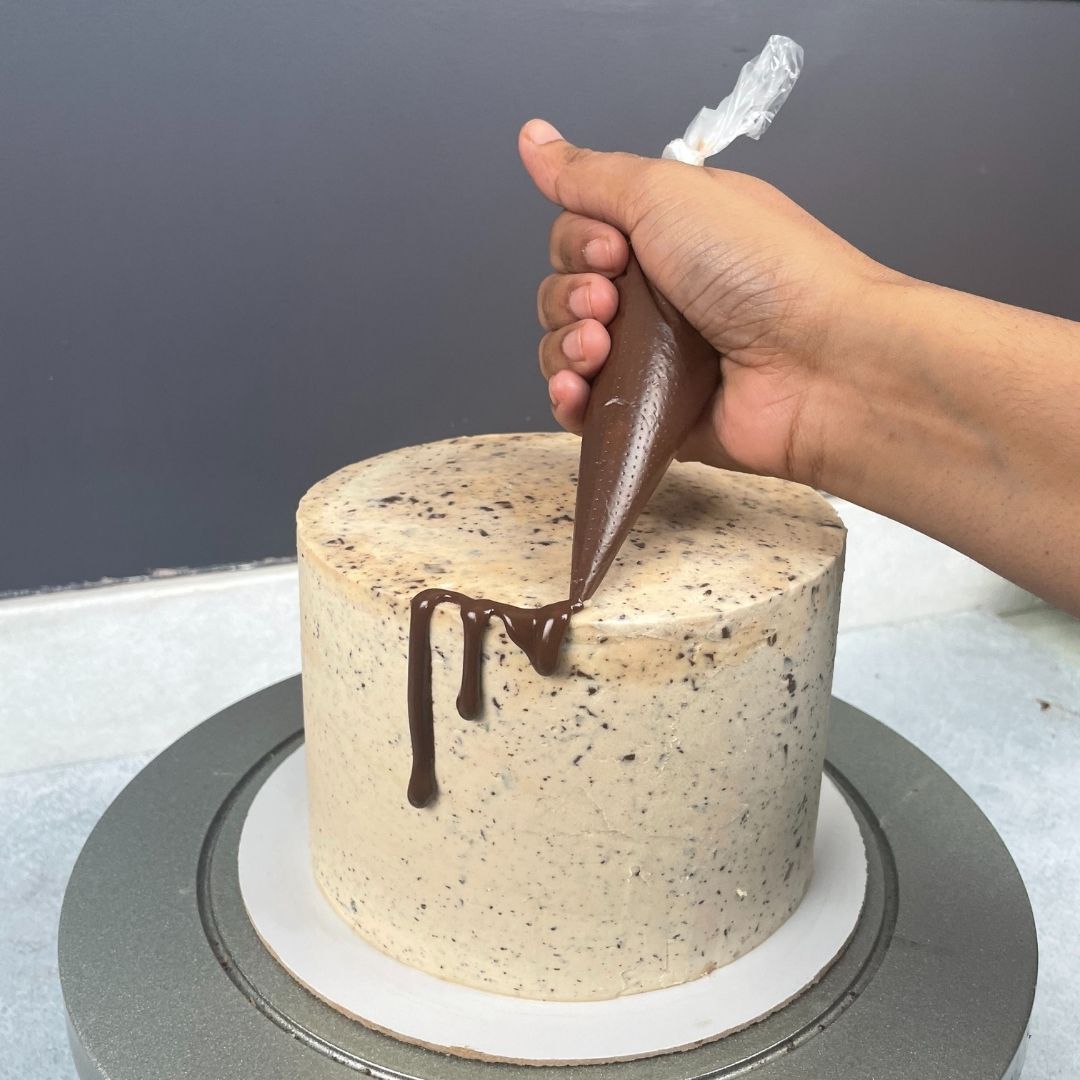
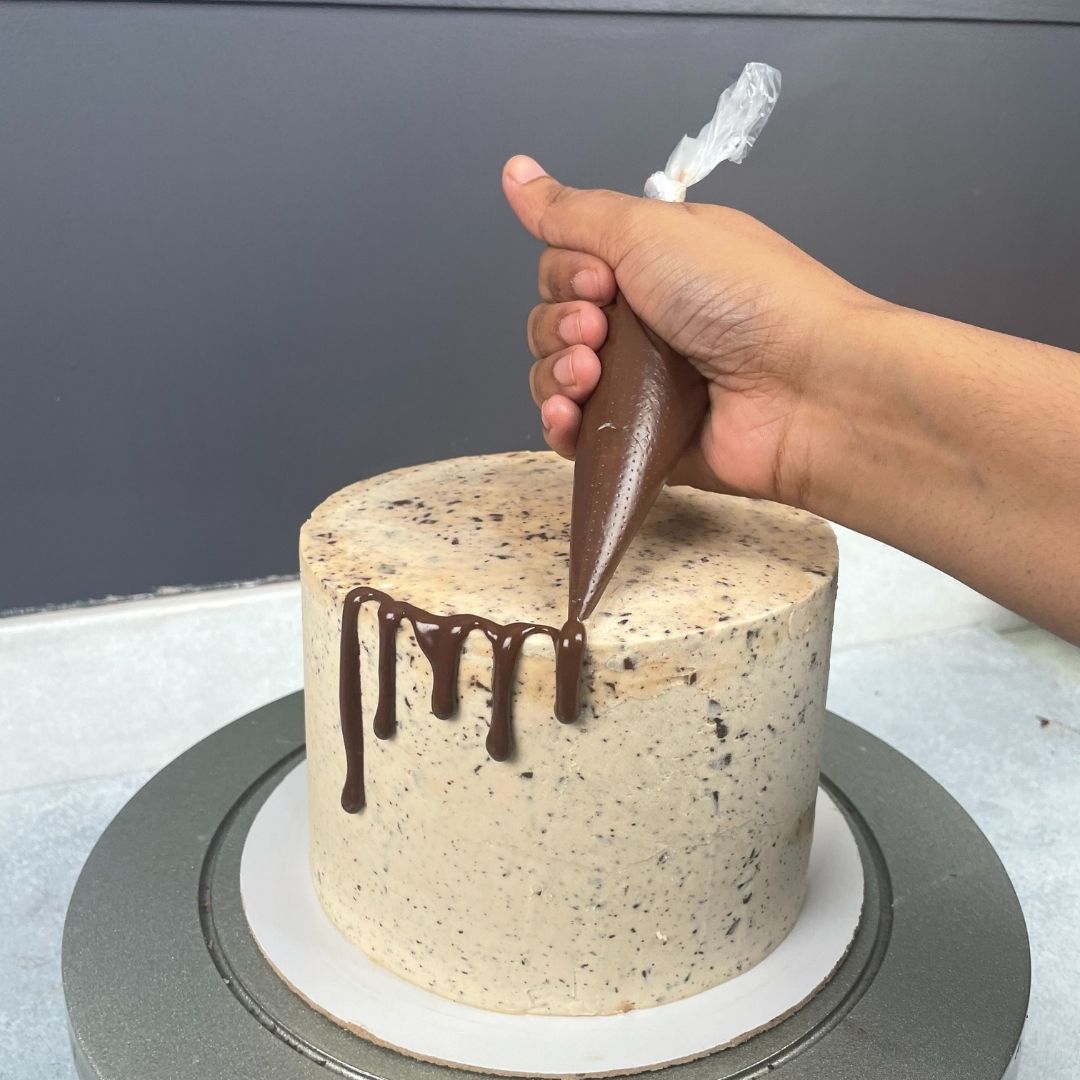
Melt dark chocolate: In a microwave, melt dark chocolate and warm fresh cream separately. While melting dark chocolate, make sure that you melt it in a short burst of time, or it may burn.
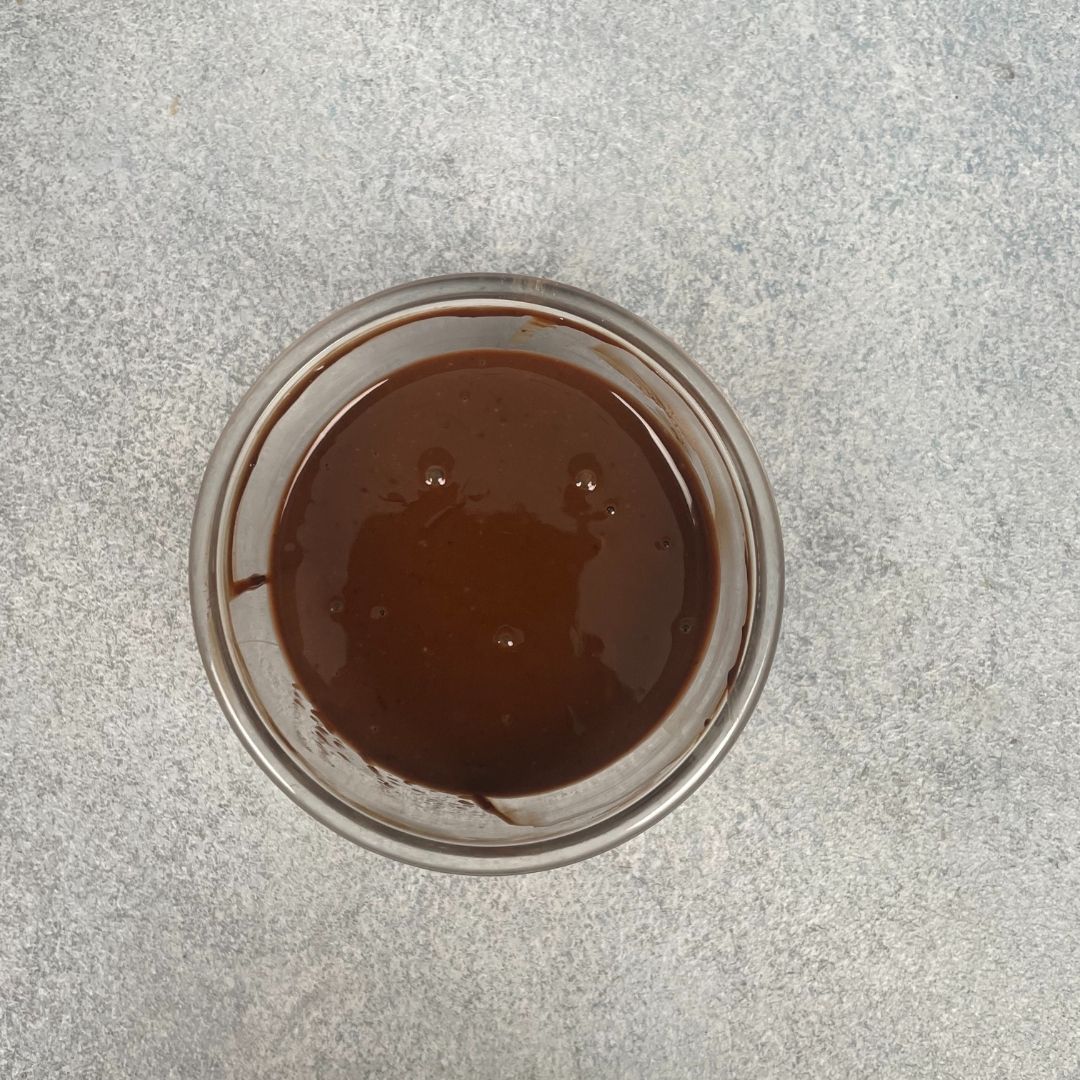
Mix: Now add the warm cream to the melted dark chocolate and mix to create a runny ganache-like texture. Transfer it to a piping bag and keep it aside.
Assembly
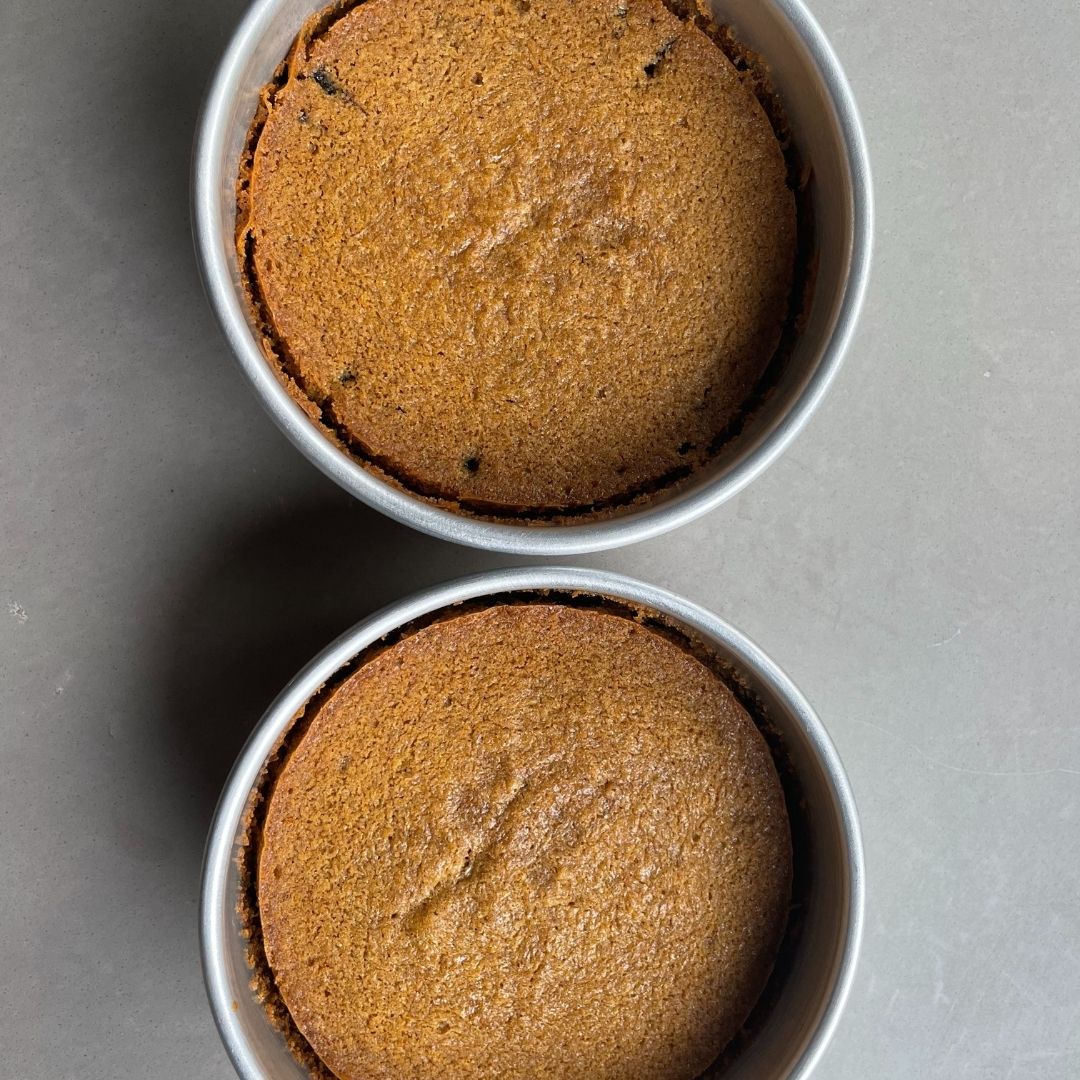
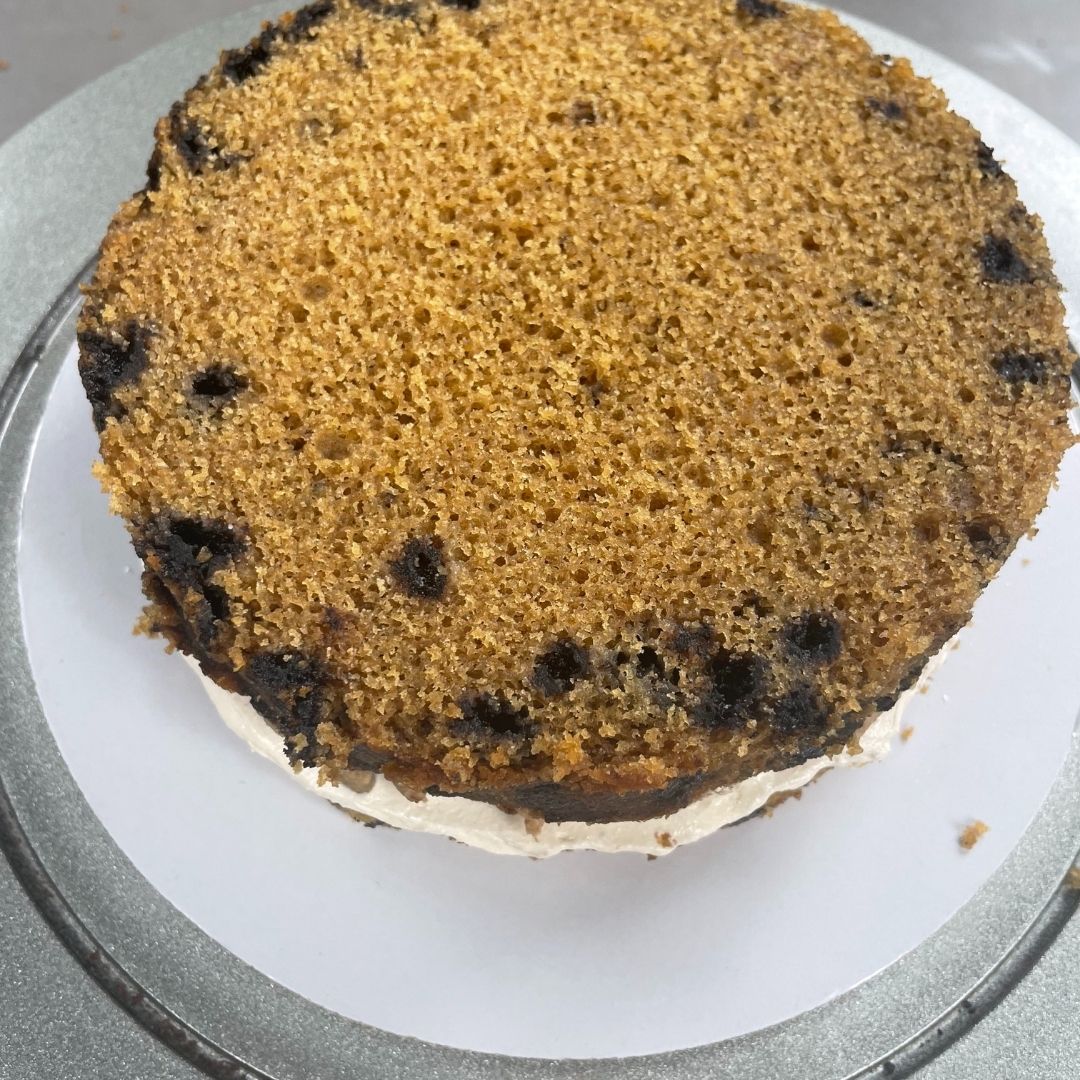
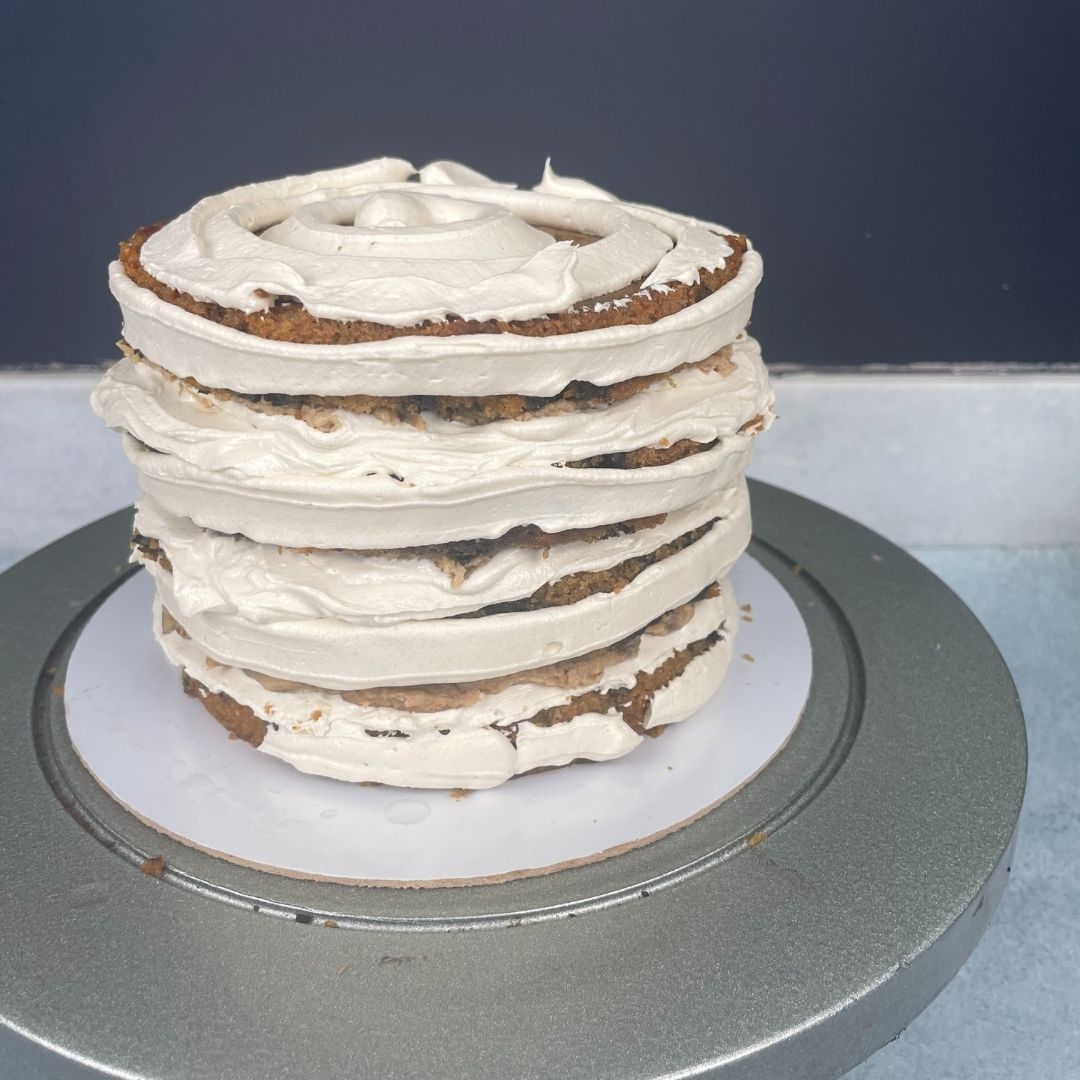
De molding and dividing: After the sponge has baked properly, let them cool down completely. De-mold the sponges from the baking tins with a bent palette knife while applying the pressure towards the tin and not the sponge. Now divide the sponges into two parts using a cake leveler.
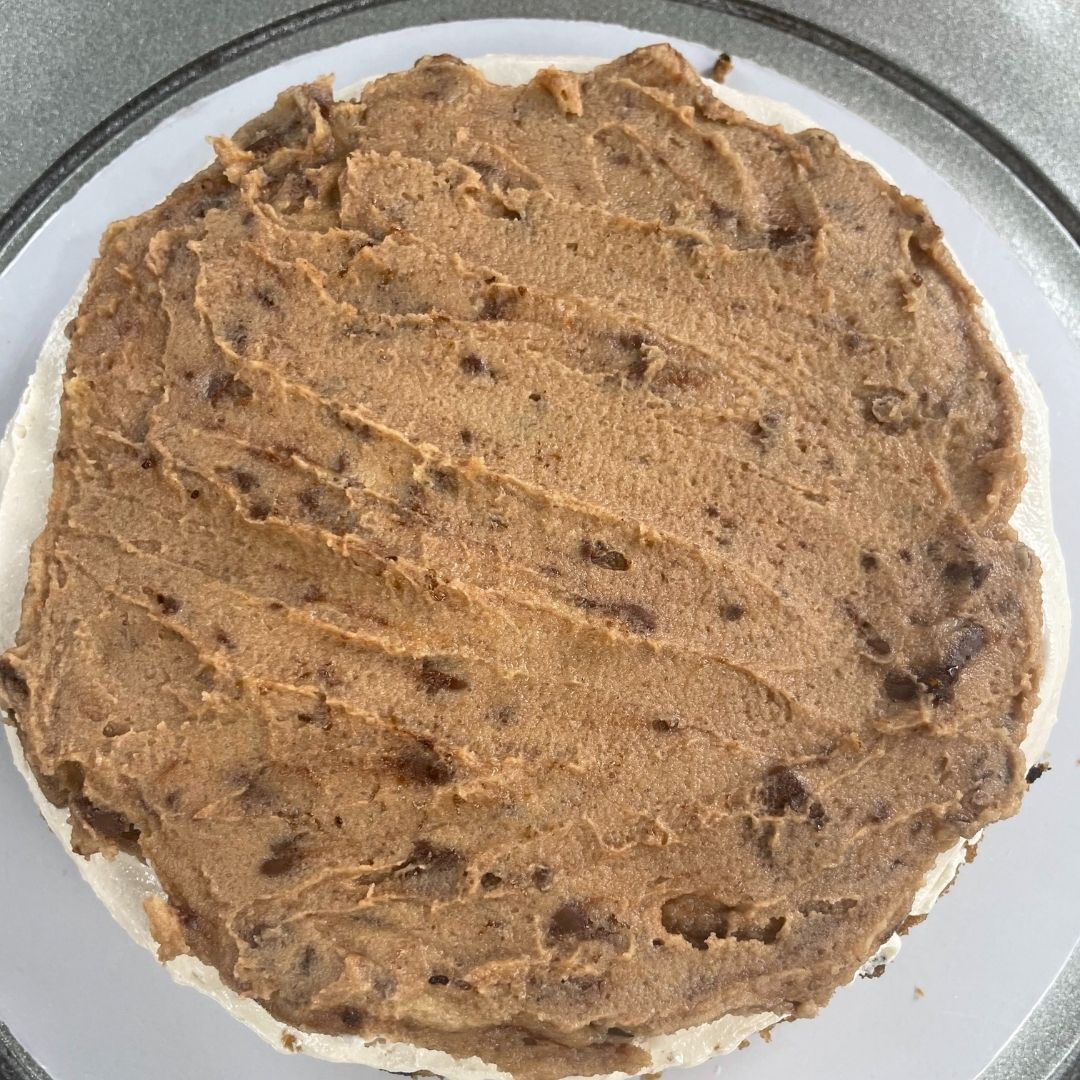
Layering: On a cake base, apply some of the frosting so that the cake does not budge while layering. Place one of the sponge layers on top and soak the soaking syrup using a pastry brush or with a spoon. Pipe buttercream on top and smooth out using the bent palette knife or offset spatula. Now spread the edible cookie dough on top of the buttercream, then place another layer of sponge and repeat the same process as we did with the first layer until we get four-layered cakes.

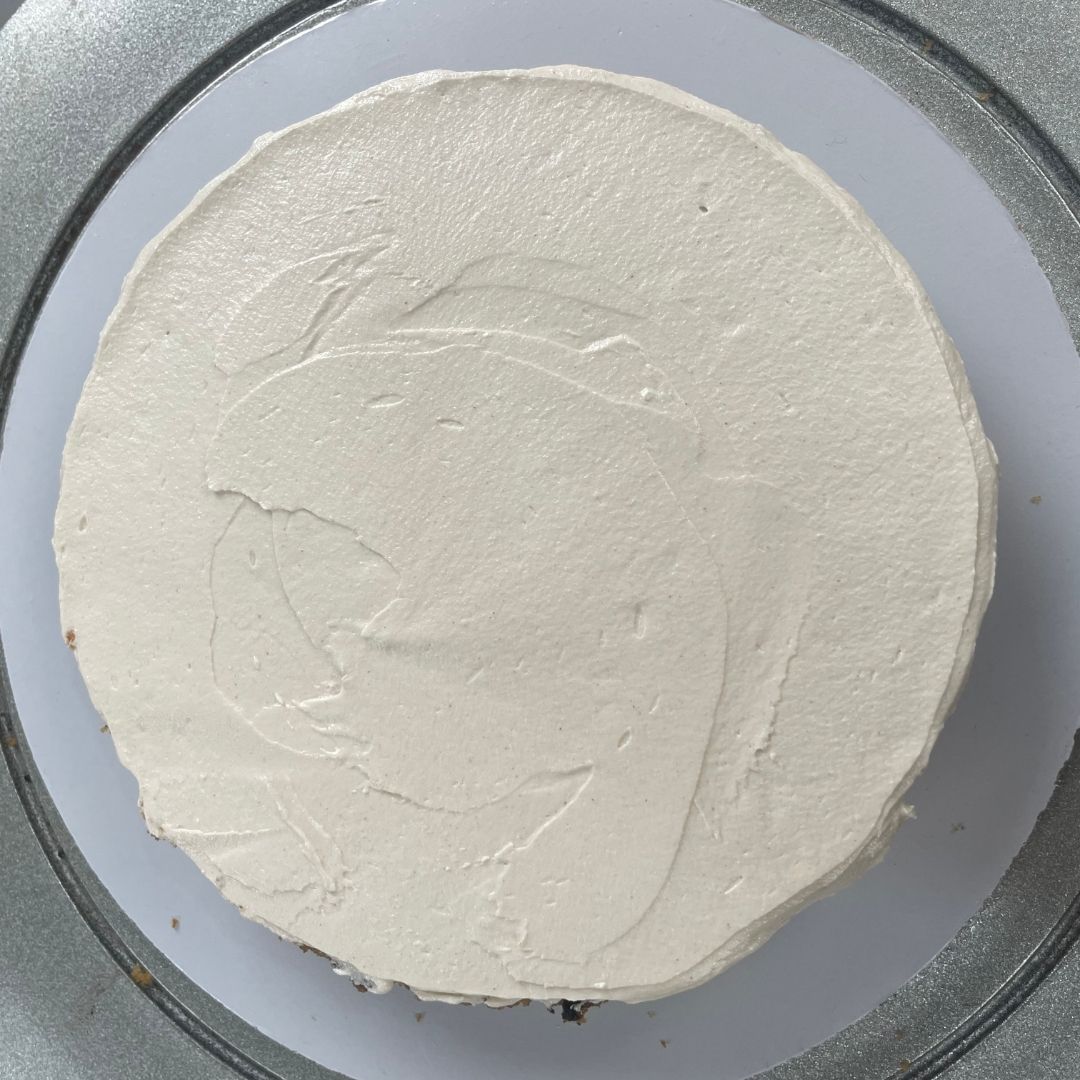
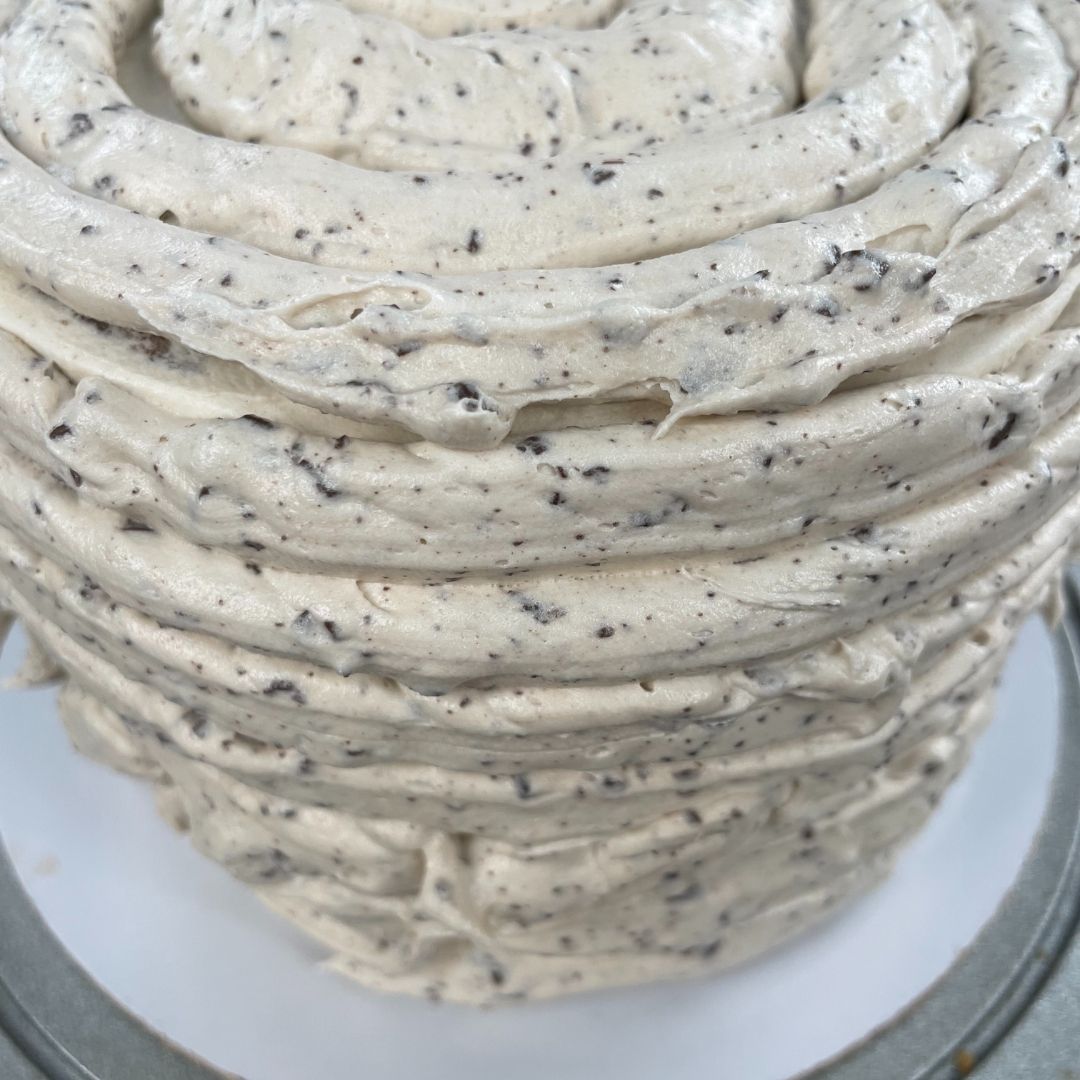
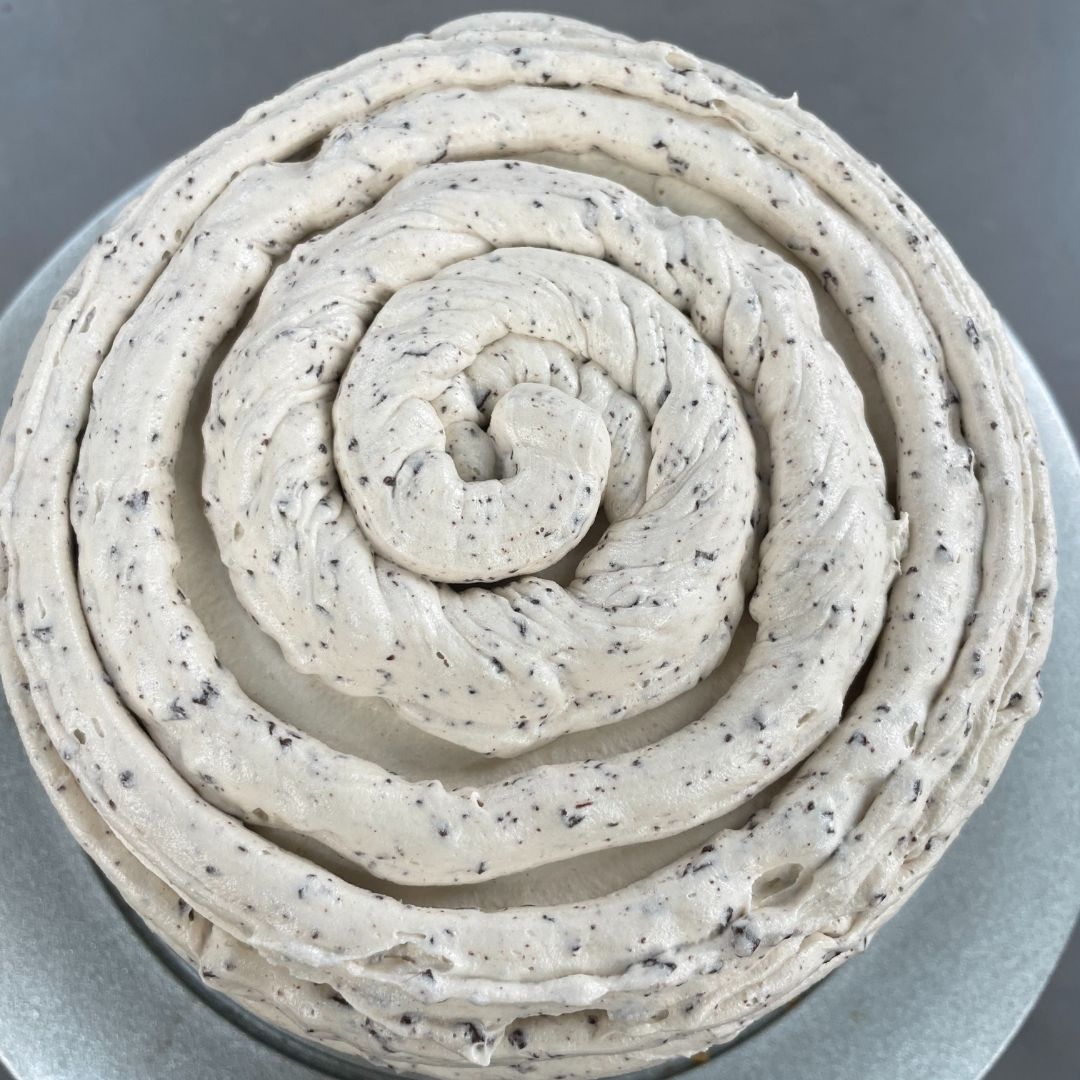
Crumb Coating: For crumb coating the cake, pipe the buttercream all over the cake and smooth it out, then scrap the excess with a scrapper. It is okay if we can see the sponge through the frosting; we can cover it while doing the final frosting. Once crumb-coated, keep it in the refrigerator for 15 – 20 minutes to set the frosting.
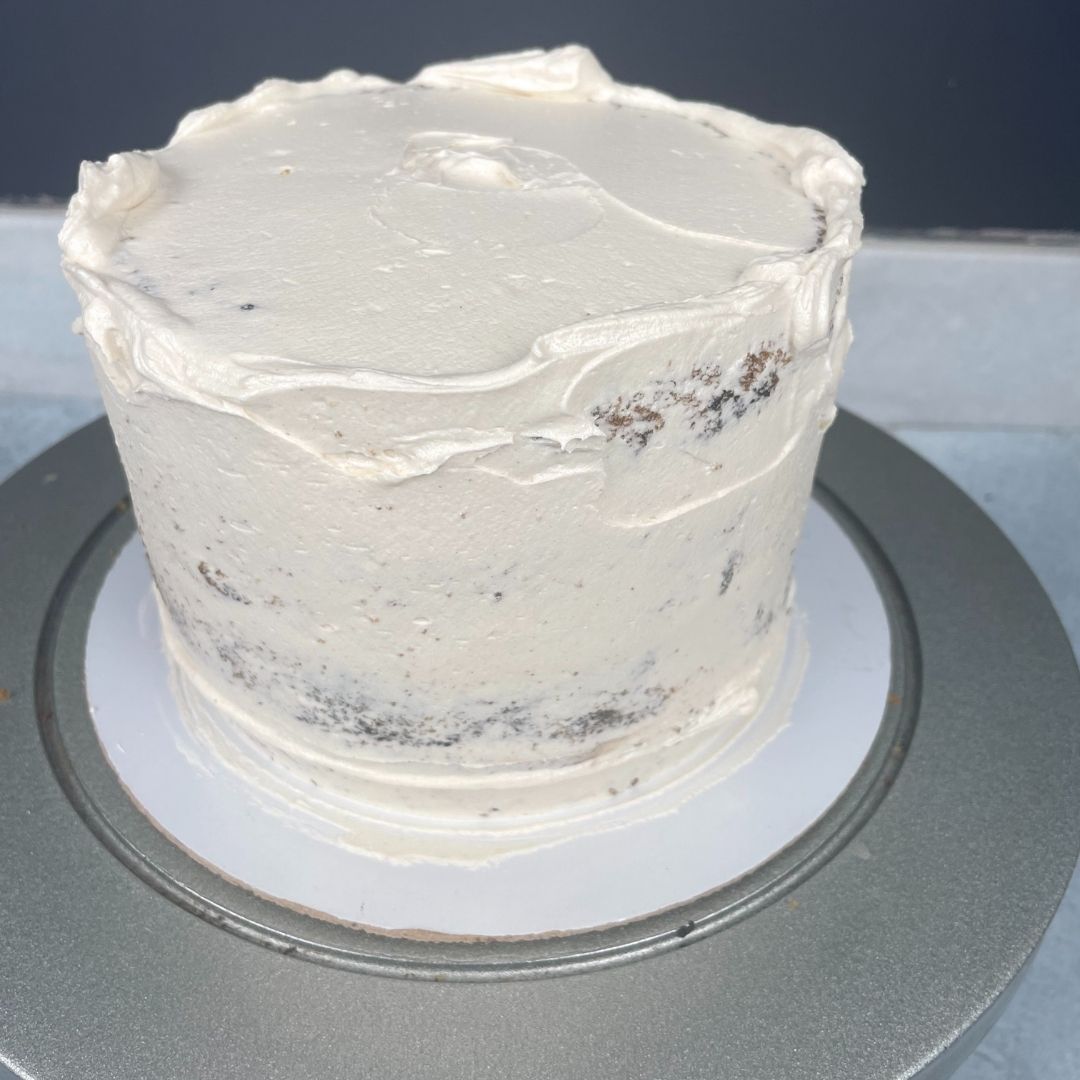

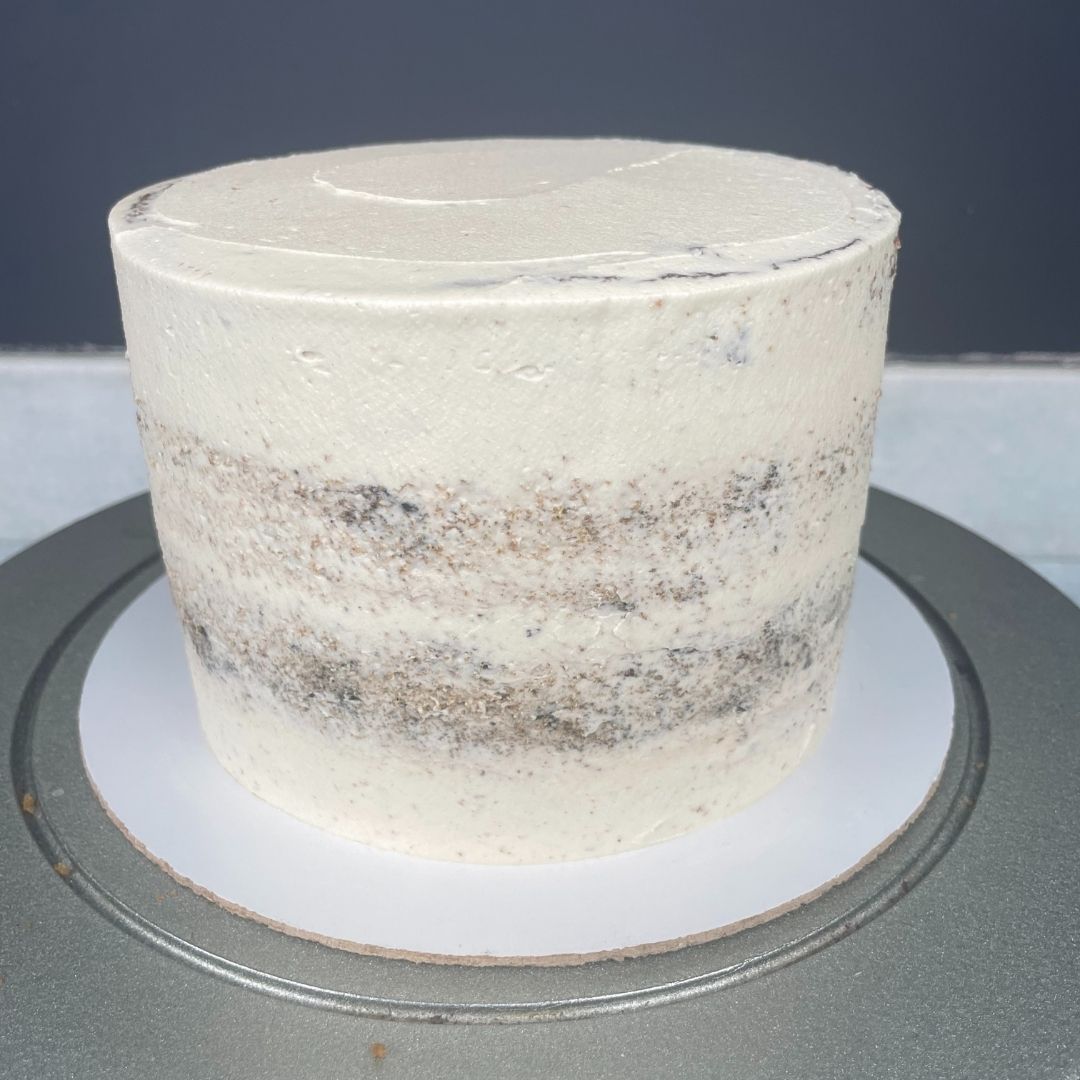
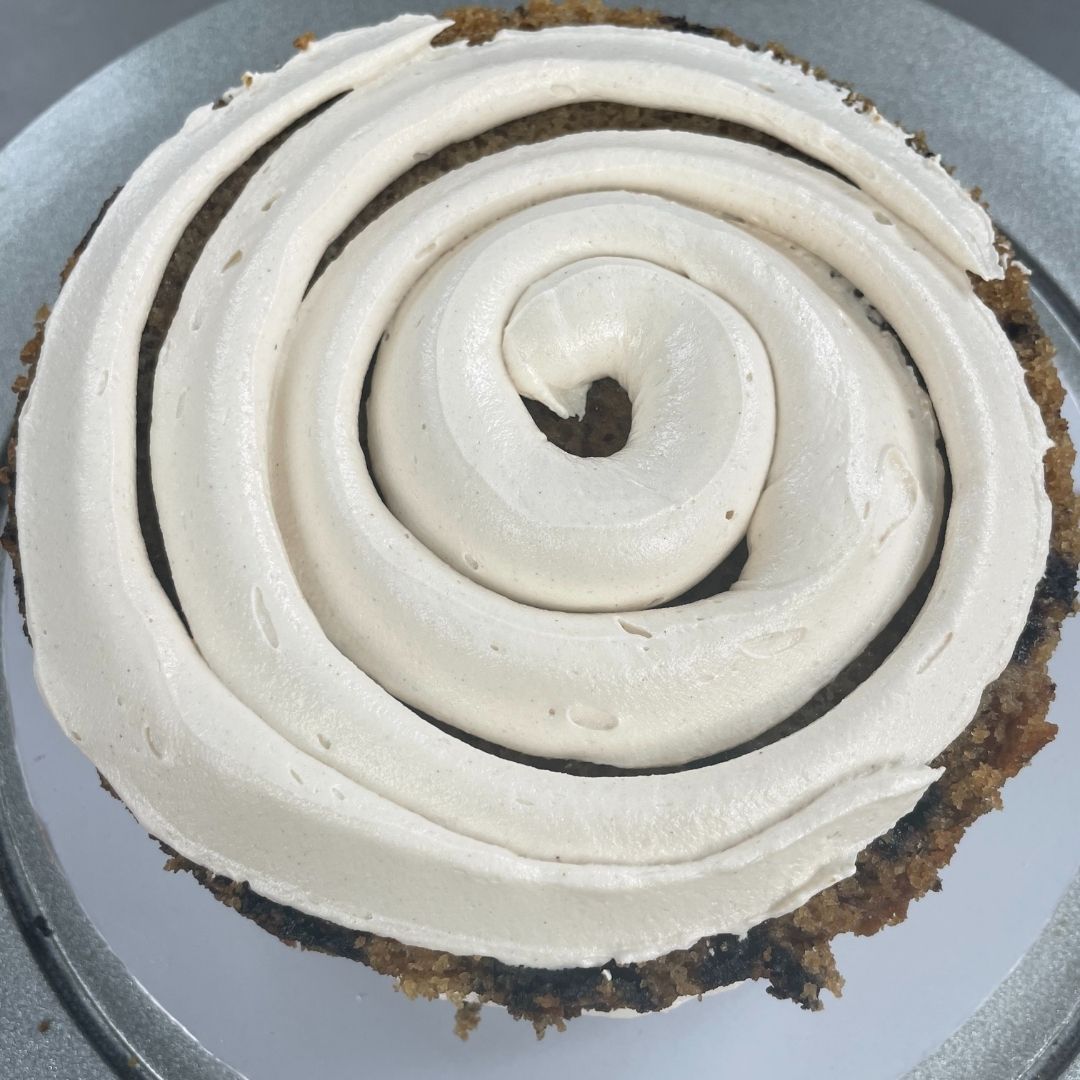
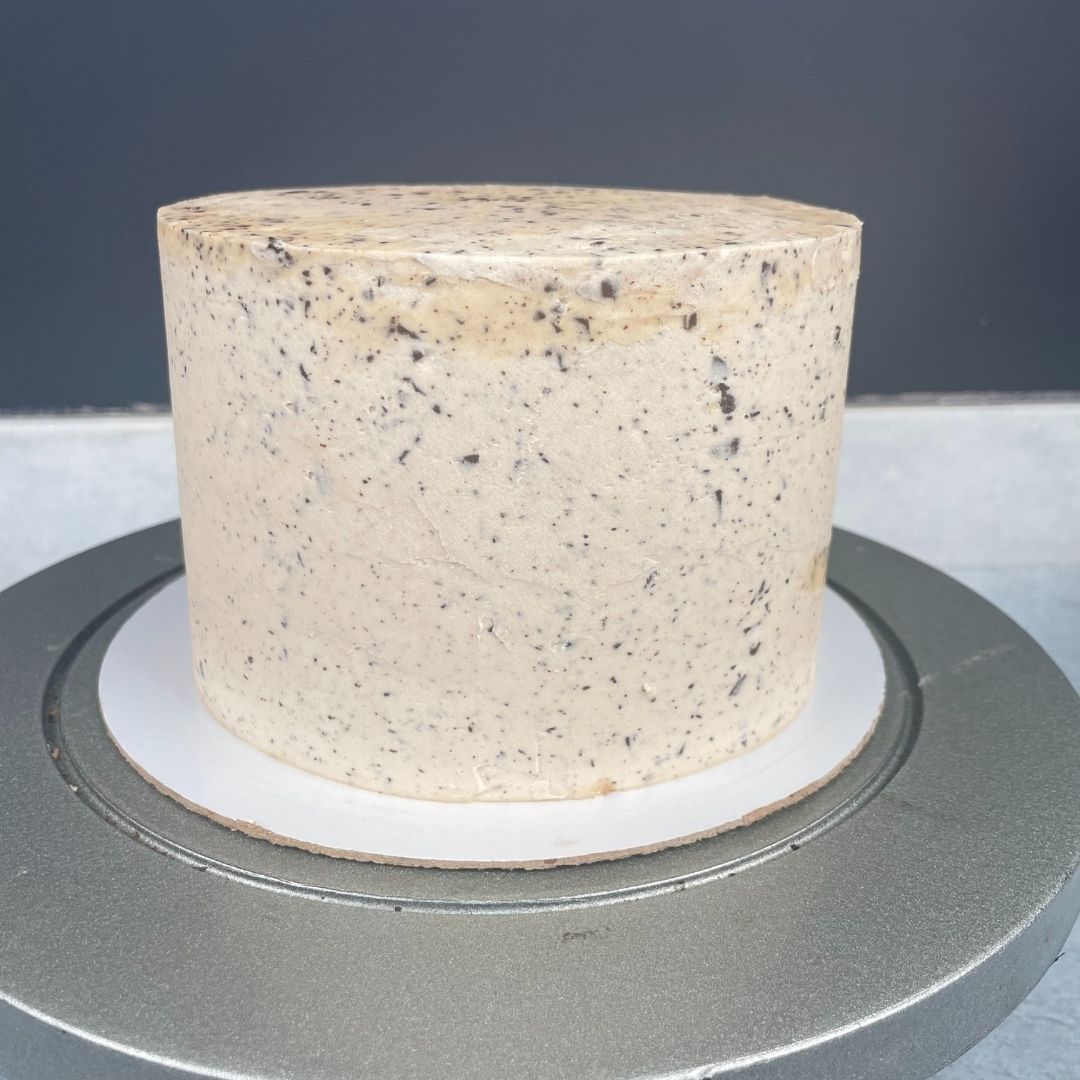
Final frosting: For the final frosting, add the finely chopped chocolate to the remaining buttercream and mix properly. After 15 – 20 minutes, take out the cake from the refrigerator, pipe thick layers of buttercream all over the cake, and smooth it out. Make sure that you have sharp edges on top.
Decorating: Now add the drip around the top edge of the cake first, then fill in the center with it. Lastly, place edible cookie dough pieces around the top edge of the cake. And you are done with the most delicious cookie dough cake.
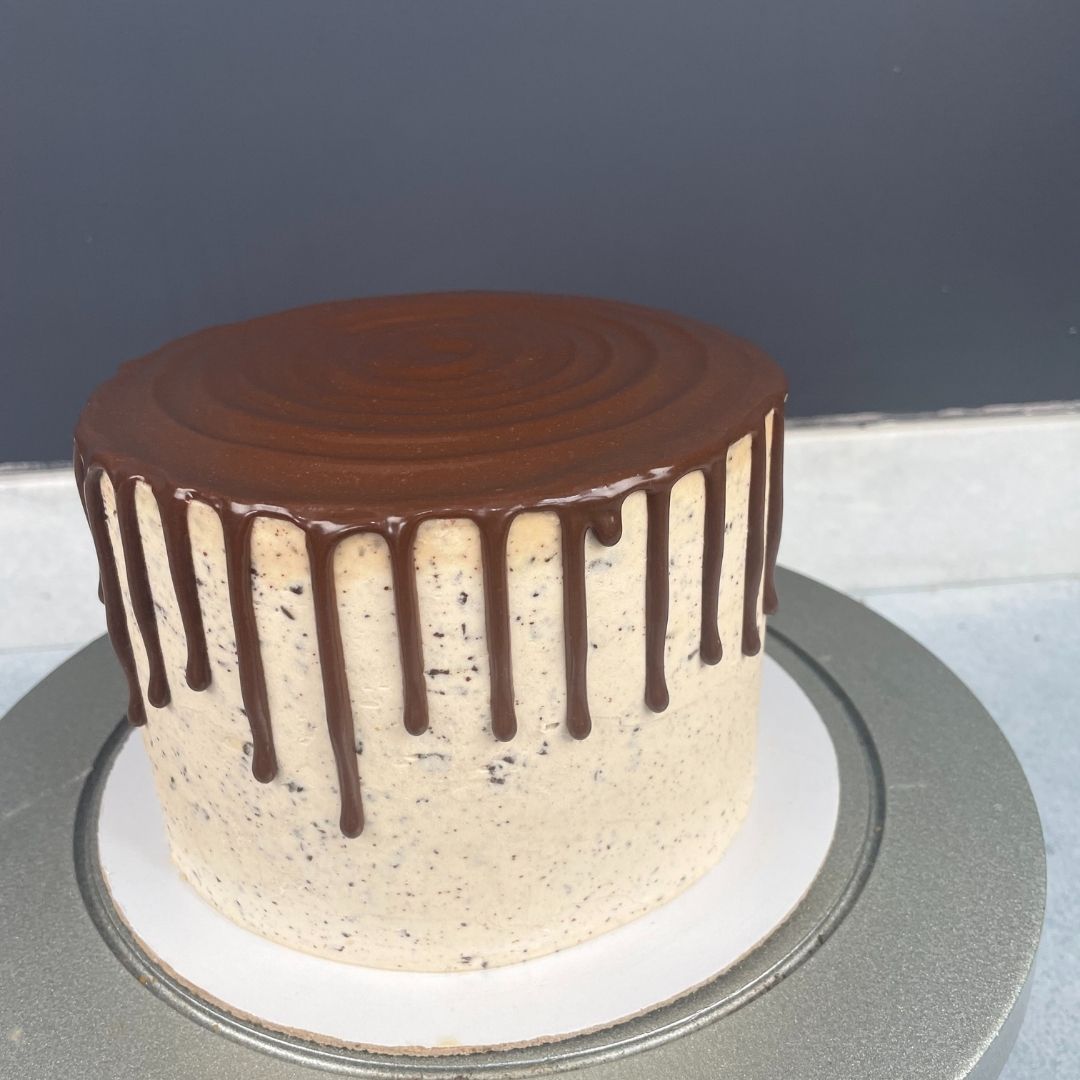
Our Edible Cookie Dough Cake is now ready!

Chef’s Tips For The Recipe
For Brown Butter
Make the brown Butter over low to medium heat to prevent it from burning.
Swirl the pan and keep yes on it as the Butter can go from brown to burnt pretty soon.
For Heat-Treating Flour
Heat treating the all-purpose flour is very crucial for this recipe, so while doing that, spread the flour in the baking tray evenly and bake it in a preheated oven.
For Edible Cookie Dough
Cream butter and sugar properly with an electric hand beater to make sure the sugar is mixed well. Add heavy cream to make sure that the dough is not too gritty.
For Buttercream
Add finely chopped chocolate in buttercream after you crumb coat the cake.
How To Store Cookie Dough Cake
You can store the cake in the refrigerator for 1 week if kept in an airtight container.
It can be stored in the freezer for 14 to 15 days.
I recommend consuming it on the same day if kept at room temperature.
More Easy Recipes
If you love edible cookie dough, check out other similar recipes:
Frequently Asked Questions
A cookie dough is a cake that consists of the classic edible chocolate chip cookie dough flavor. It typically has edible cookie dough filling and cookie dough frosting.
Yes, absolutely; you can make sponge chocolate flavor and add chocolate-flavored cookie dough in the layers as well.
Yes, you can use the store-bought edible cookie dough, but making it on your own gives us a satisfying bliss.
Yes, you can make the cake gluten-free and vegan by substituting dairy products and all-purpose flour with vegan-friendly and gluten-free flour.
Yes, you can make the cake with regular Butter, but the taste will be totally different from this cookie dough cake.