fbpx

Banana Split Cake Recipe

Home » Banana Split Cake Recipe

Banana Split Cake Recipe

Indulging in a classic banana split ice cream sundae is pure bliss. Now imagine having a cake with all the components of a banana split sundae, a heavenly combination of the best of both worlds.

I am in love with this banana split cake; it literally takes me back to those banana split sundaes that I used to have when I was a kid, one of the best desserts I used to have in summer. 

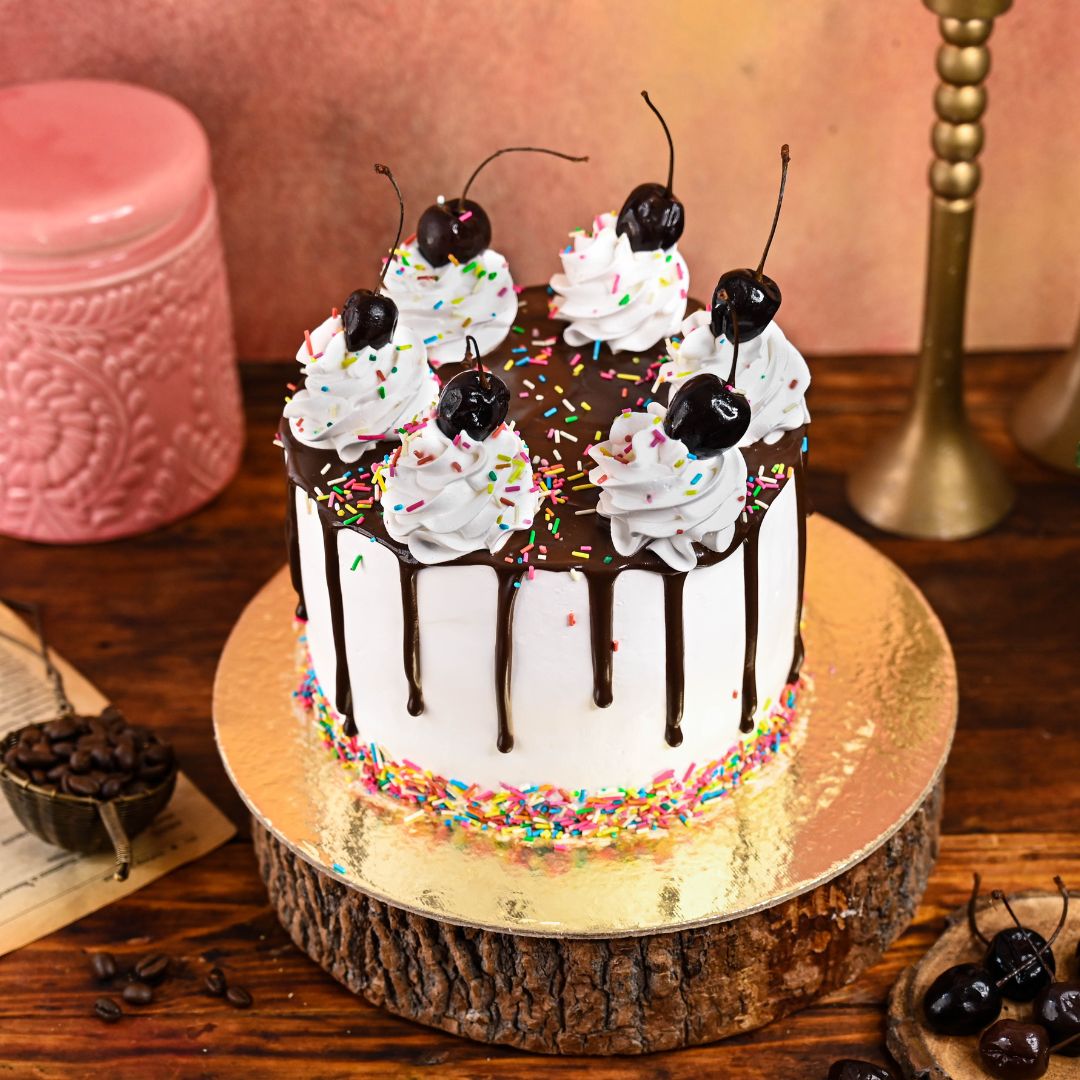
This cake is not only visually appealing but also delivers a burst of different flavours that will give you the same feeling as the sundae every time you take a bite into it.

Whether you are celebrating a special occasion or making it for yourself to satisfy your cravings, this recipe for banana split cake is a perfect choice.

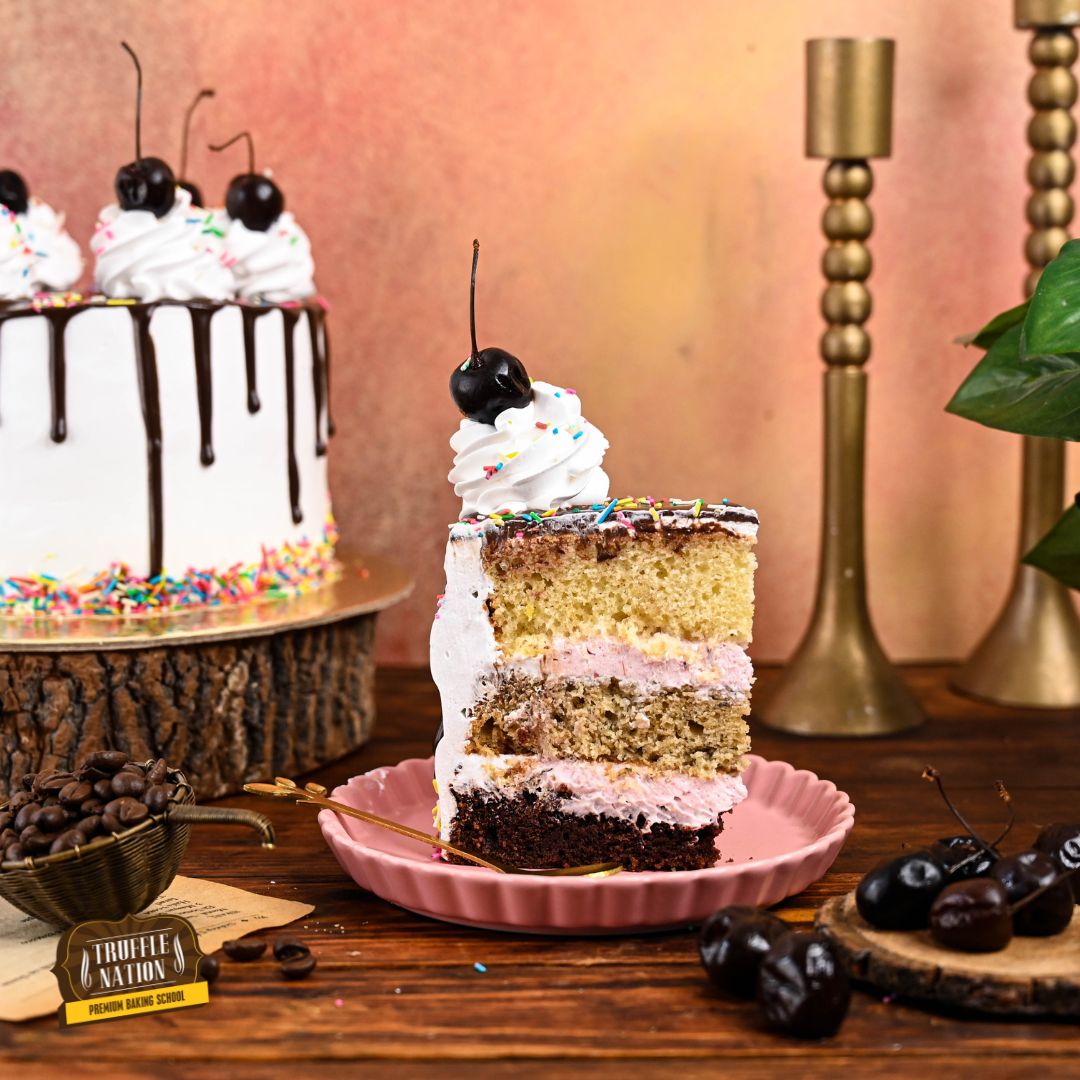
Its three cake layers, creamy filling, and decadent chocolate filling will surely be a hit among your loved ones at any gathering. Making this cake may take some time, but I can guarantee it is worth it; I’m sure you won’t be disappointed.  

Why You Will Love This Recipe?

There are millions of reasons to love this recipe for banana split cake, but obviously, I cannot list all of them here. So here are a few of them:

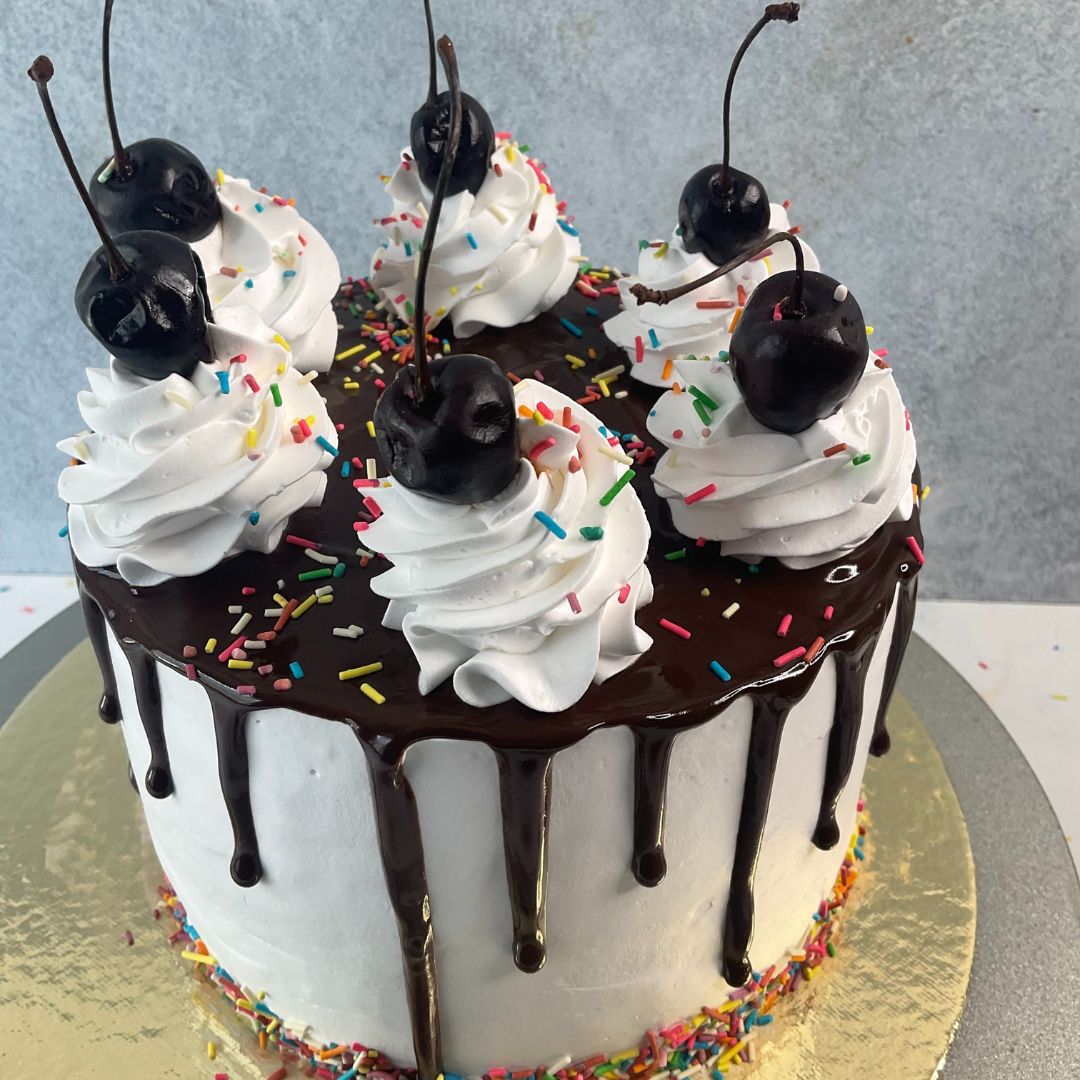
  • Flavour: The flavour of banana split cake can be described as a harmony of sweet, fruity and creamy combination that comes together flawlessly. Each bite offers a delectable flavour that will take you to a tropical paradise. This cake has vanilla, chocolate and banana-flavoured sponges, each layered with strawberry filling and frosted with sweet whipping cream. And decadent chocolate drip adds richness and depth, balancing the overall taste and complimenting the fruity flavour of banana and strawberry. The final touch comes from the toppings, which are fresh cherries and the vibrant colours of rainbow sprinkles. 
  • Texture: The texture of this cake is a delightful combination of soft, moist cake layers and creamy, velvety filling. The sponges have tender crumbs with a slightly springy texture. The strawberry filling adds a creamy, smooth and velvety texture that contrasts beautifully with the layers of sponges.
  • Versatile: While the core components of this recipe are ripe banana, vanilla, chocolate and strawberry, you can customize this with different flavours and toppings as well. Whether you want to add chopped fresh strawberries, chocolate nuts or other sprinkles, you can tailor this cake according to your taste.
  • Crowd pleaser: This cake is a total crowd-pleaser; it’s a dessert that gathers people together. It is a sweet delight that will bring joy and satisfaction to all who indulge in this delicious cake. 

Banana Split Cake

Important Ingredients Used In The Recipe

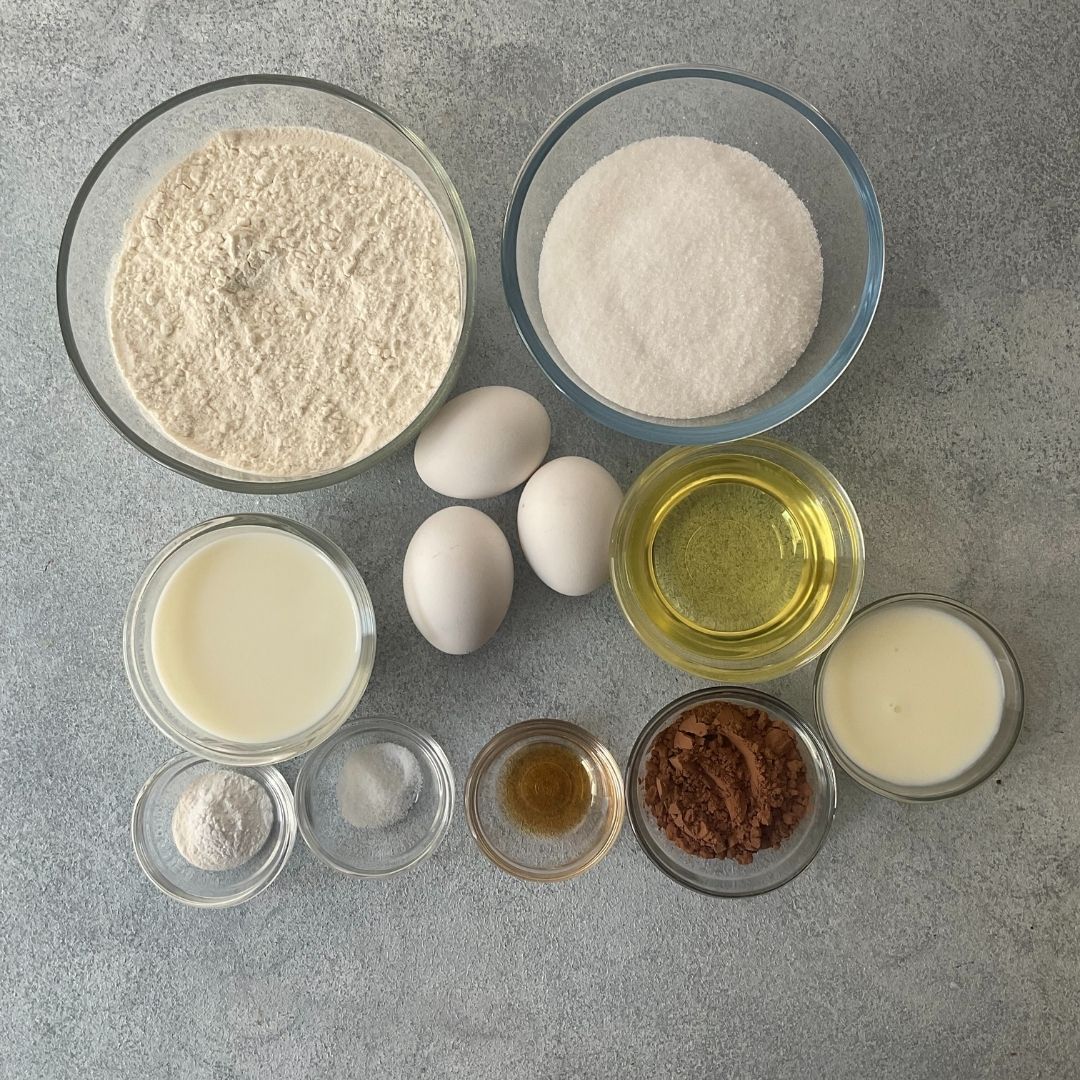
  • Ripe bananas: ripe bananas are the star ingredient of this recipe, providing fresh flavour and moistness to the cake. 
  • Egg: It adds flavour by adding a slightly savoury taste that complements the sweetness of the cake. It also acts as a binding agent that helps in mixing the batter. 
  • Cocoa Powder: natural cocoa powder is used to make the chocolate sponge for this cake, providing a decadent chocolate flavour.
  • Strawberry compote: this sweet and fruity ingredient makes the strawberry filling. 
  • Dark couverture Chocolate: I have used dark, semi-sweet couverture chocolate to make the chocolate drip. But if you do not have dark couverture, you can use milk or compound chocolate instead. But if you are using compound chocolate, the taste may differ a little.
  • Whipping Cream: sweetened whipping cream is used to frost the whole cake, complimenting the rest of the flavour of the banana split cake.

How To Make Banana Split Cake?

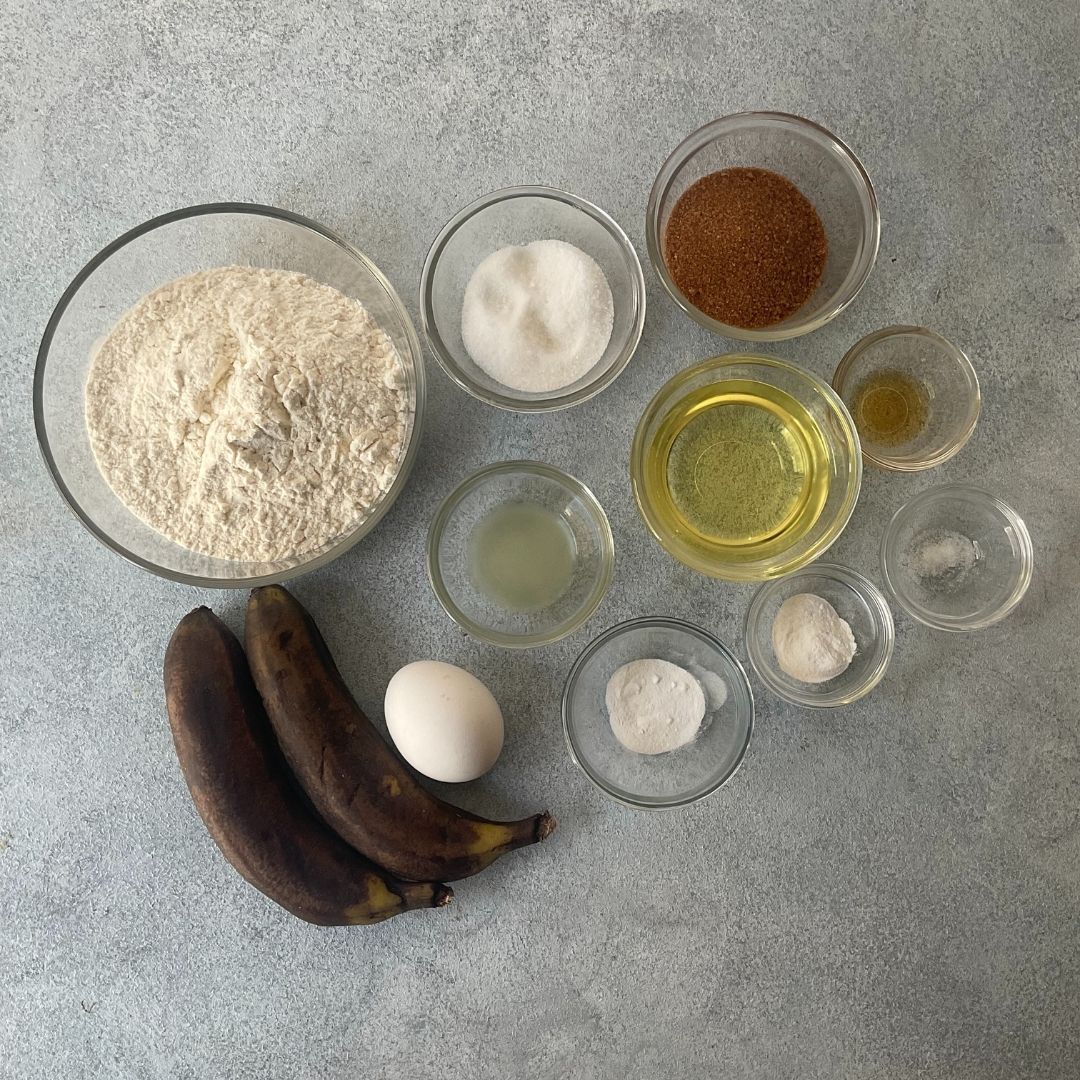
Preparation: prepare all the ingredients that are needed to make this cake. Grease three 6-inch round baking tin with oil, and place butter papers at the bottoms of each tin. Preheat your oven to 180°C or 350° (OTG mode: upper rod + lower rod + fan).

For vanilla and chocolate sponge

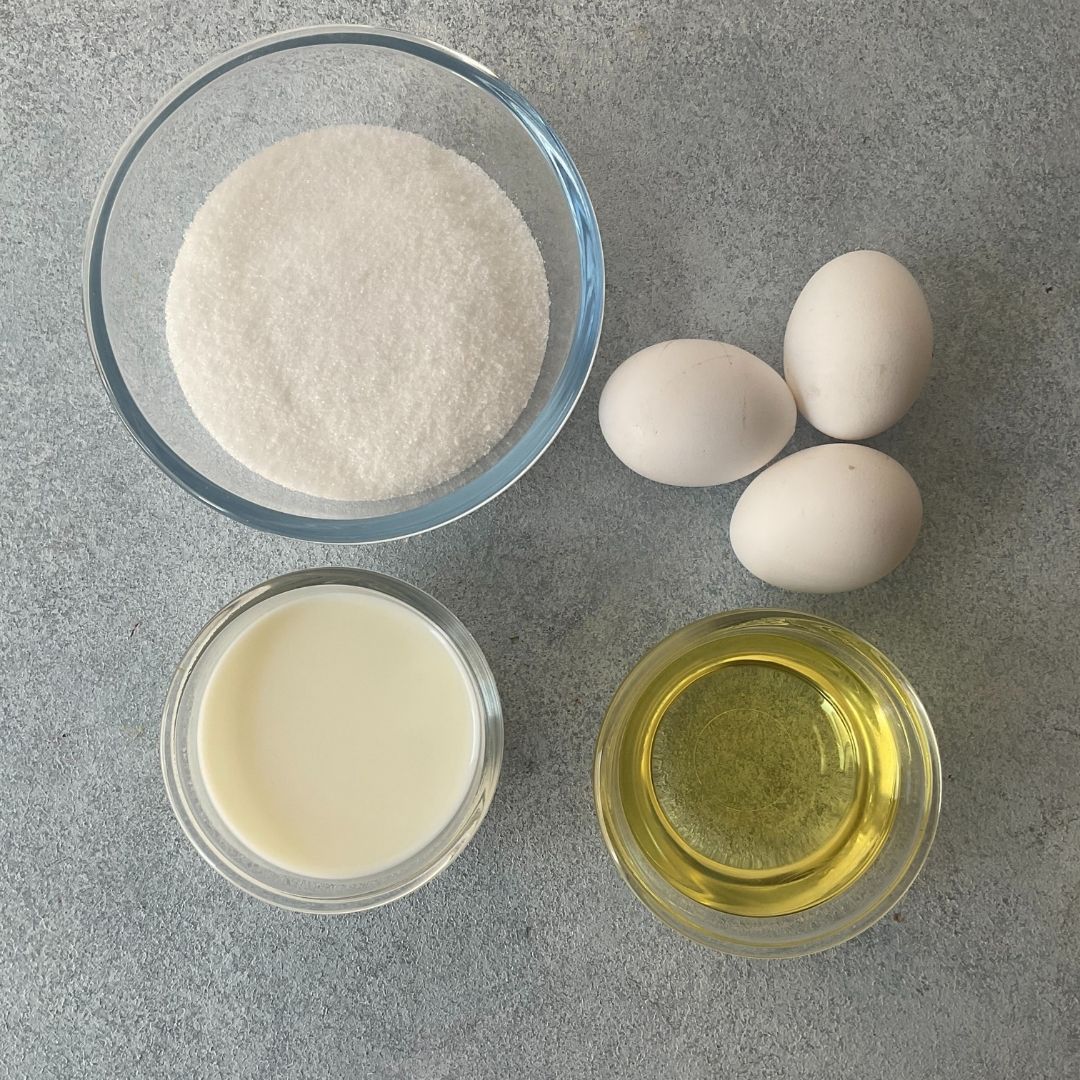
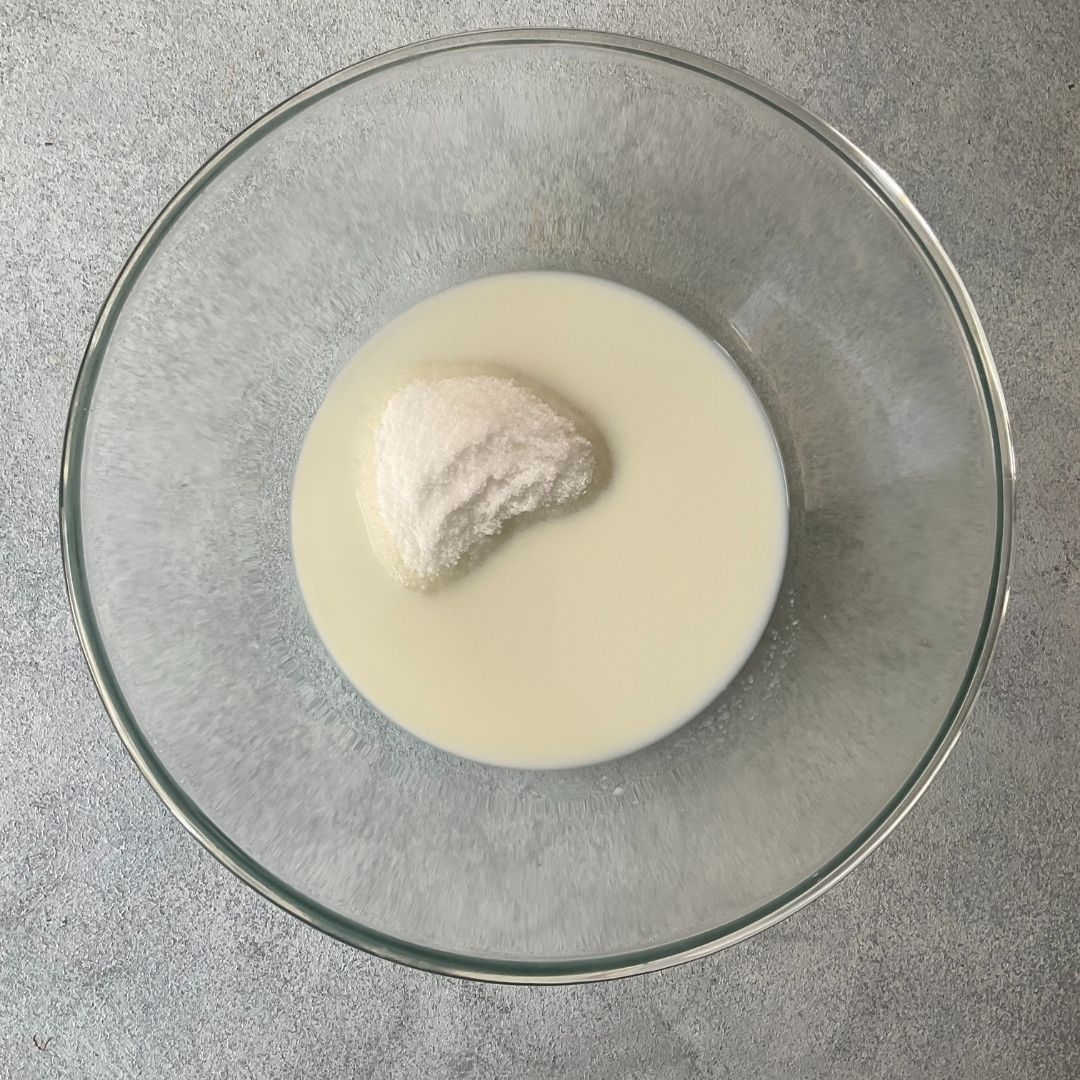
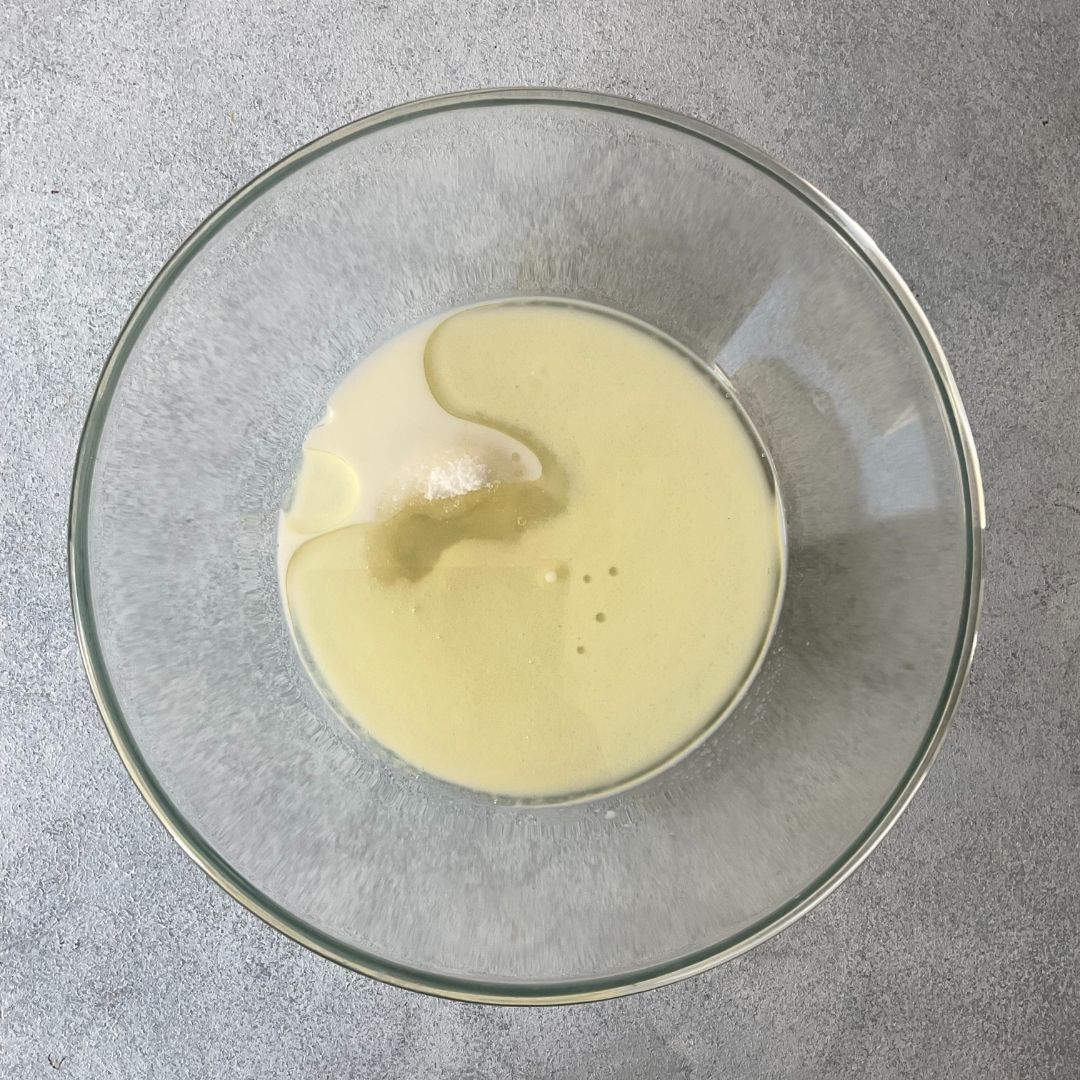
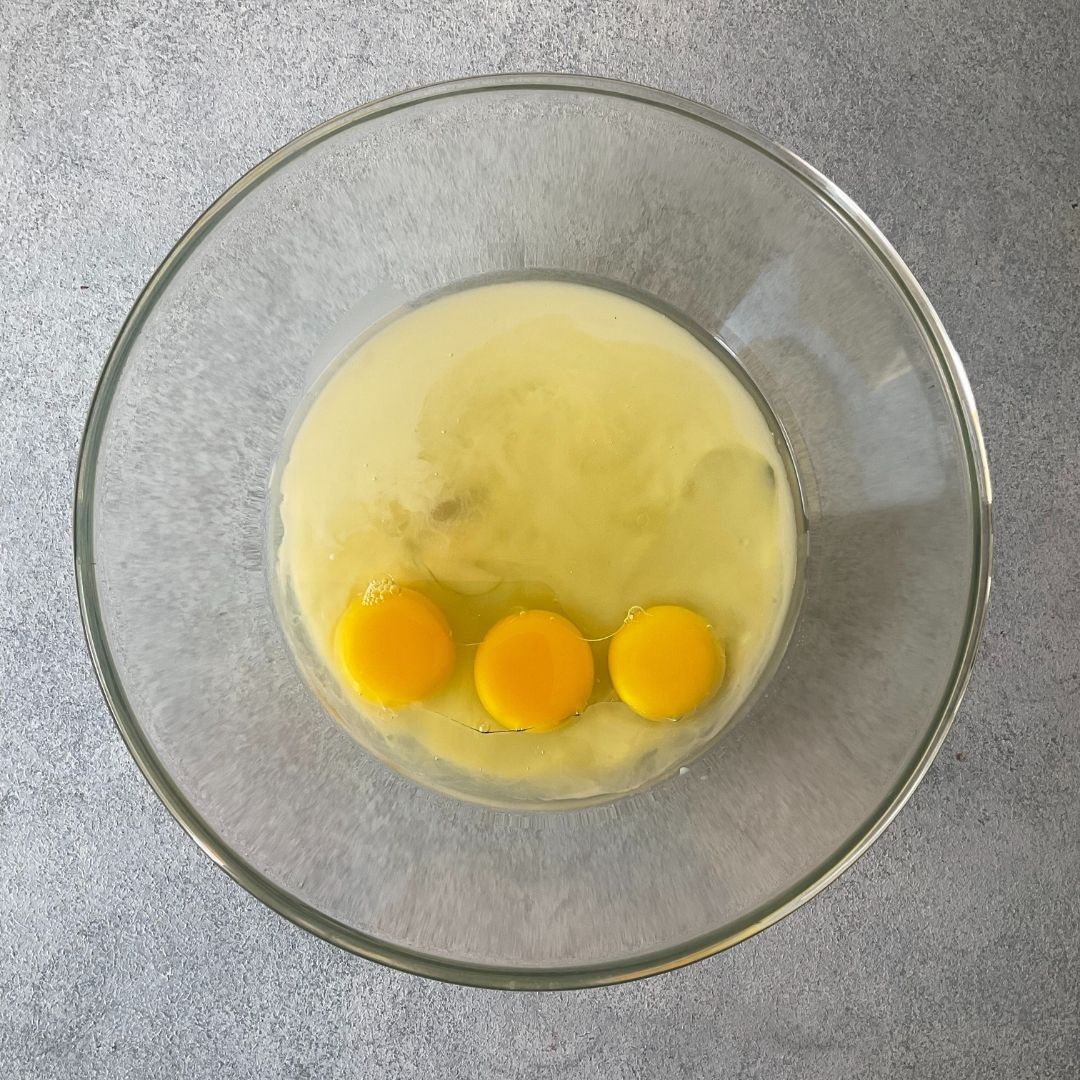
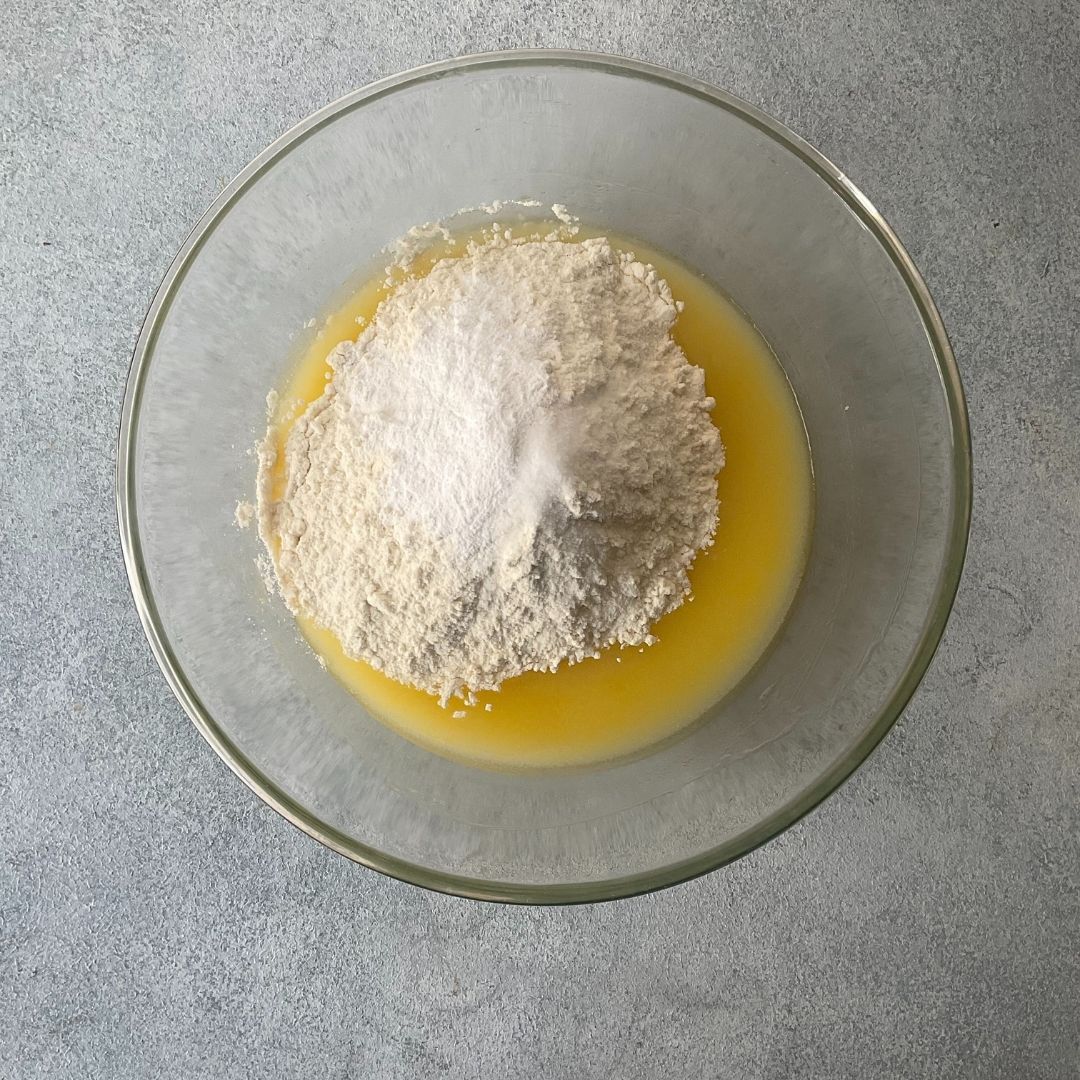
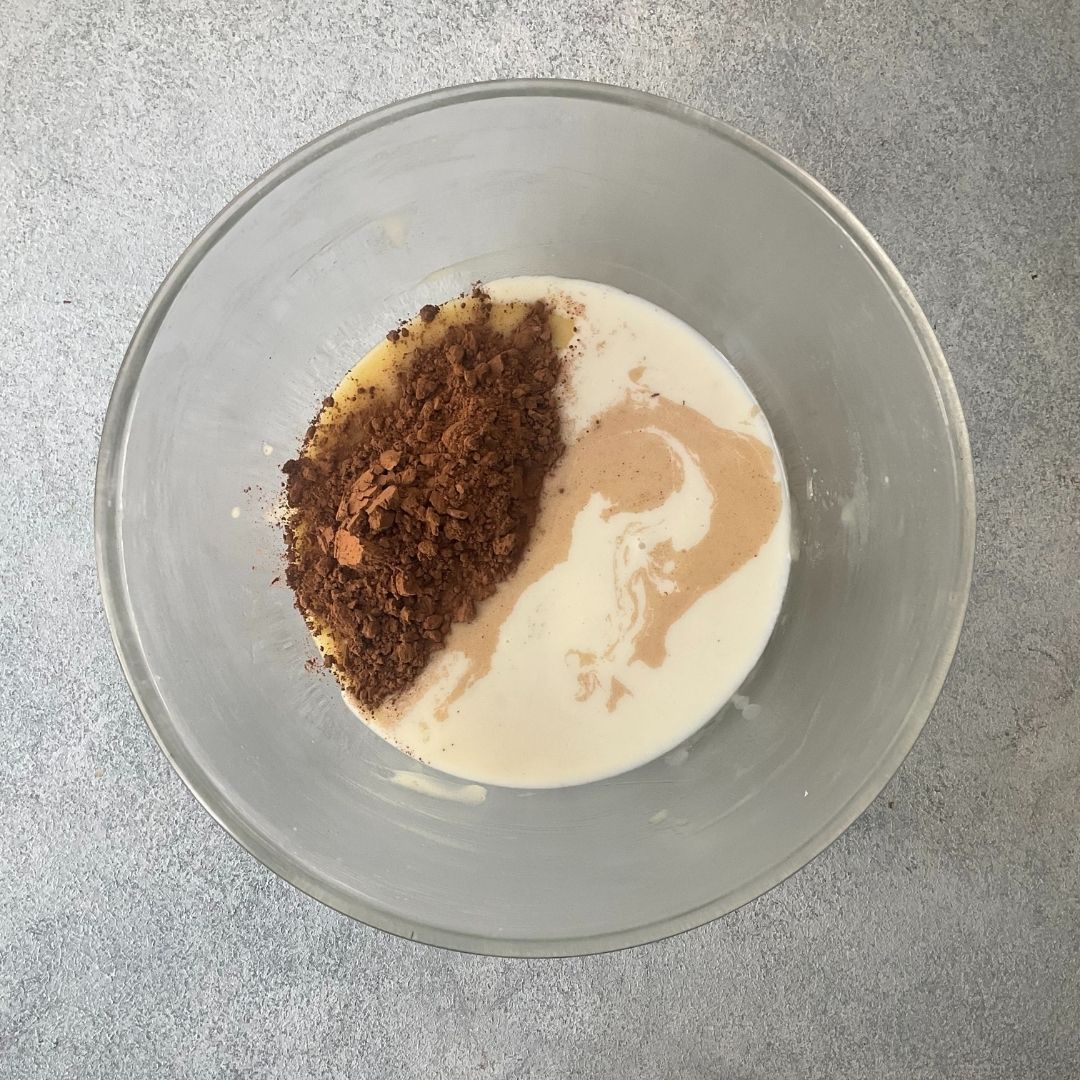
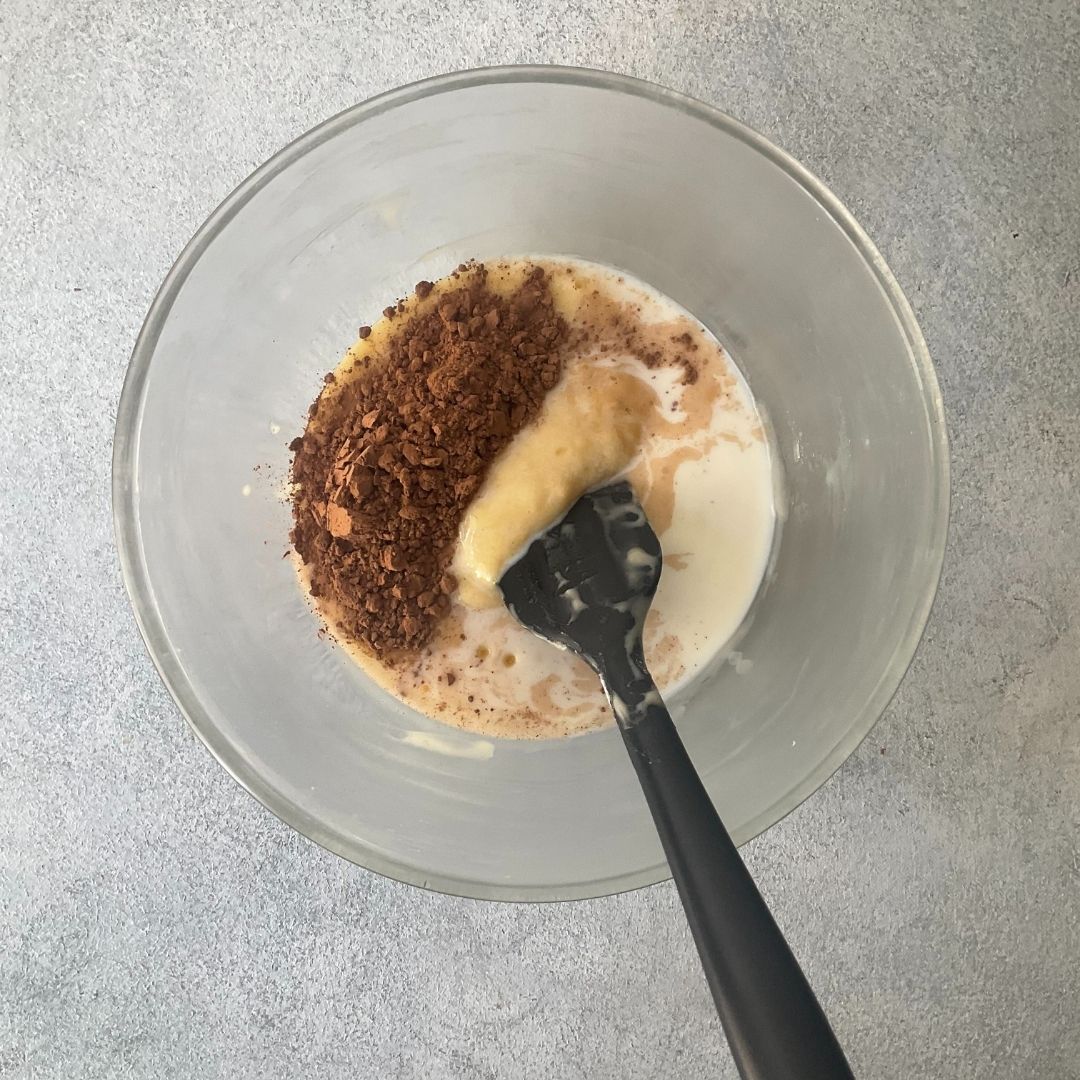
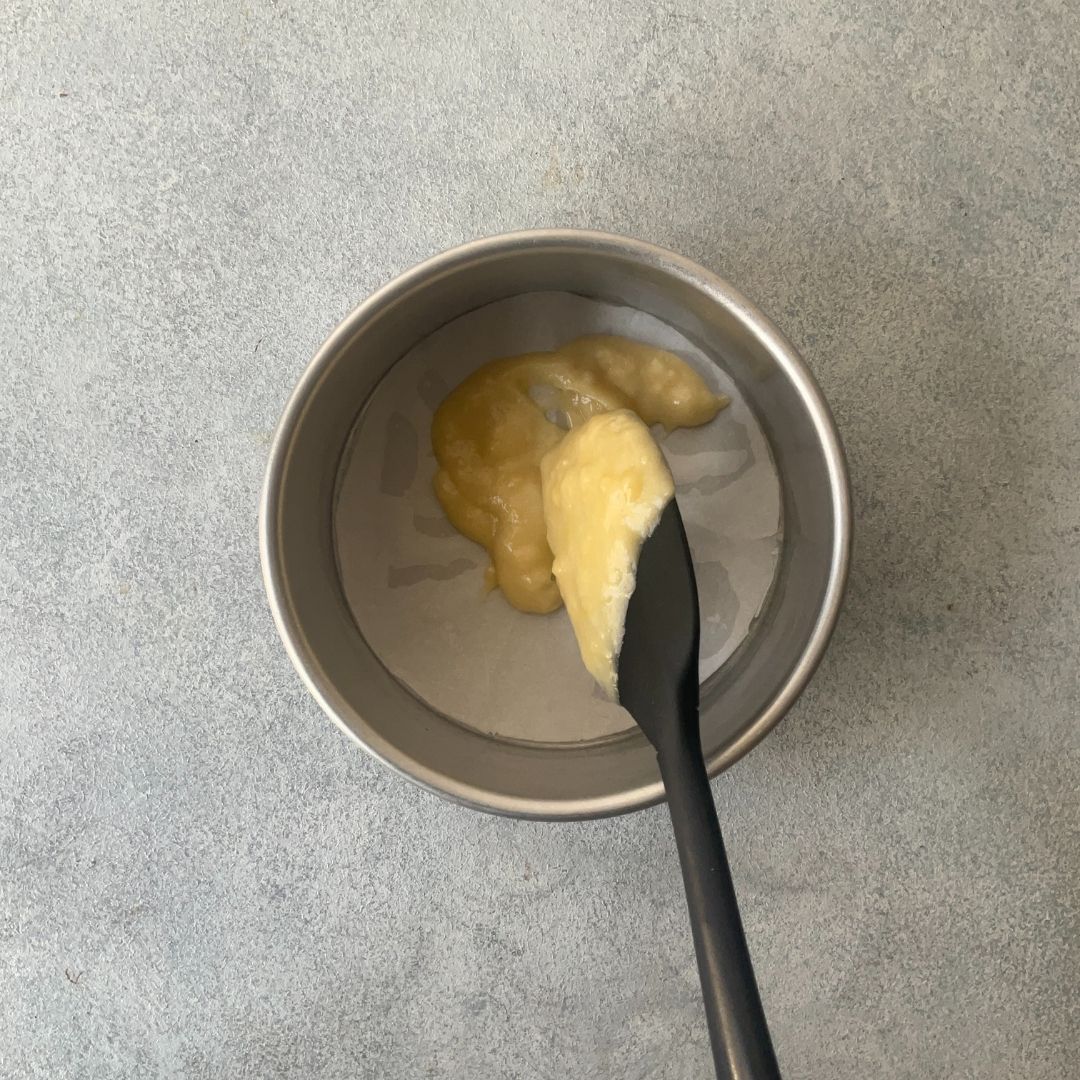
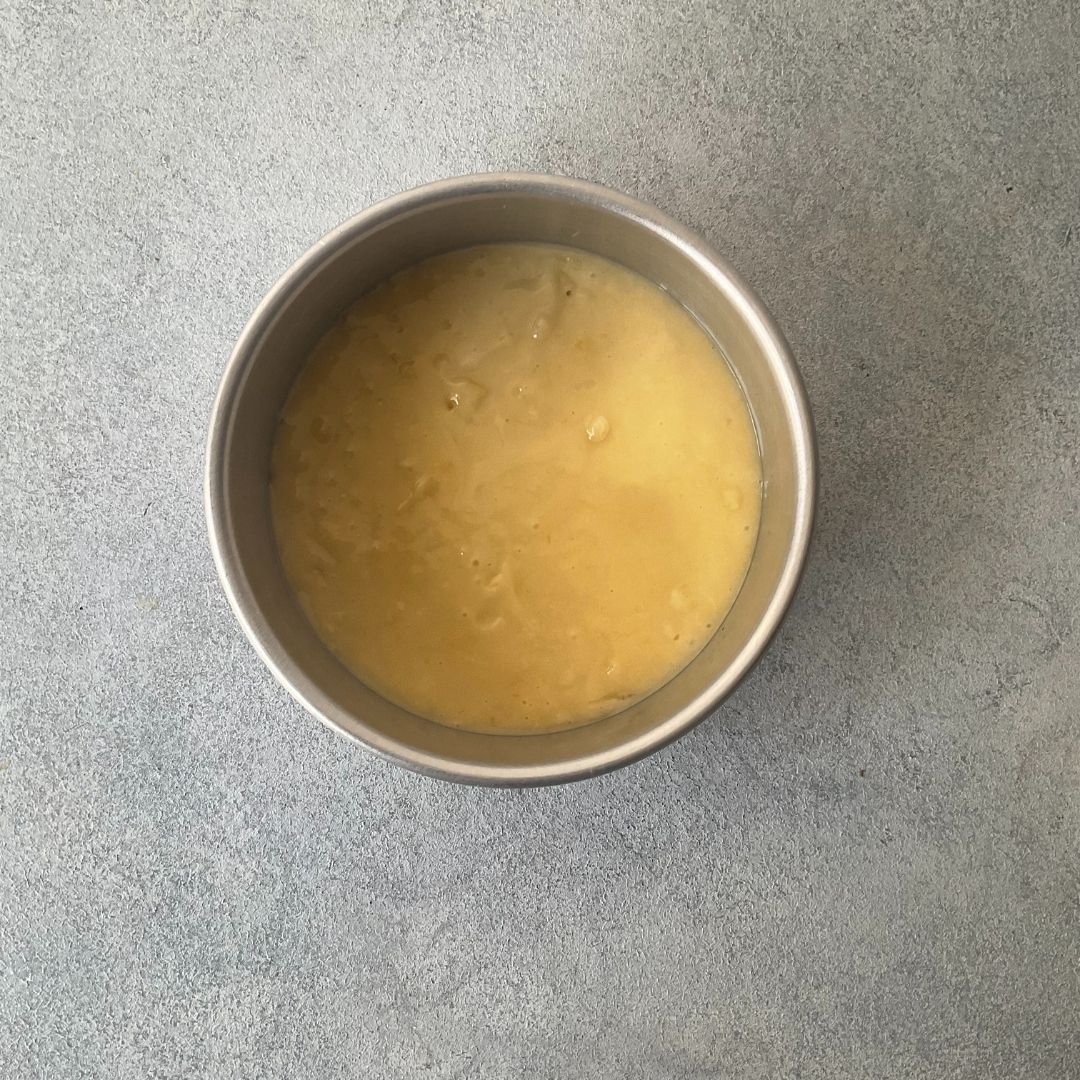
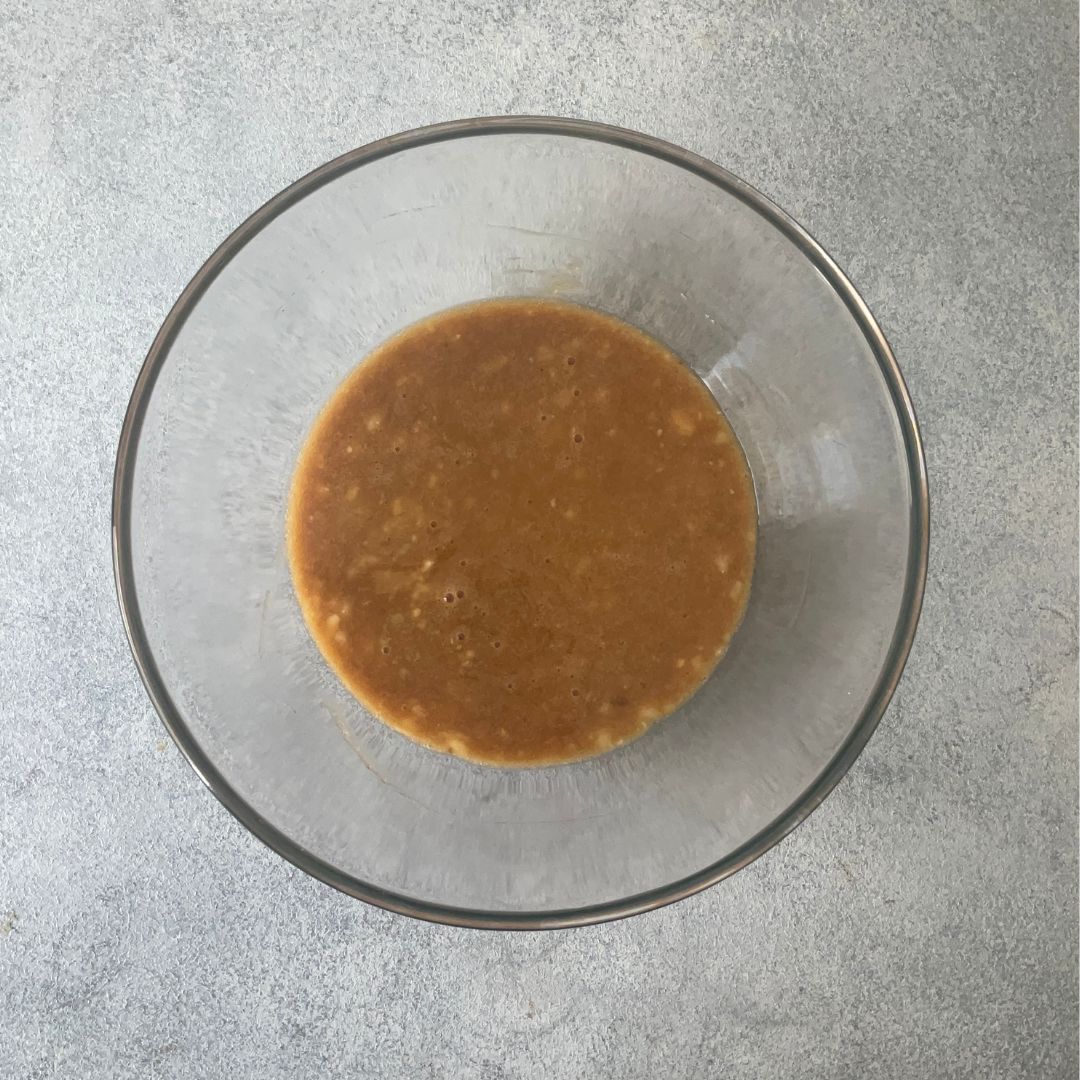
Mix Wet Ingredients and Sugar: In a bowl, add oil, eggs, milk (a), and sugar and give it a nice mix. Add Vanilla essence and combine.

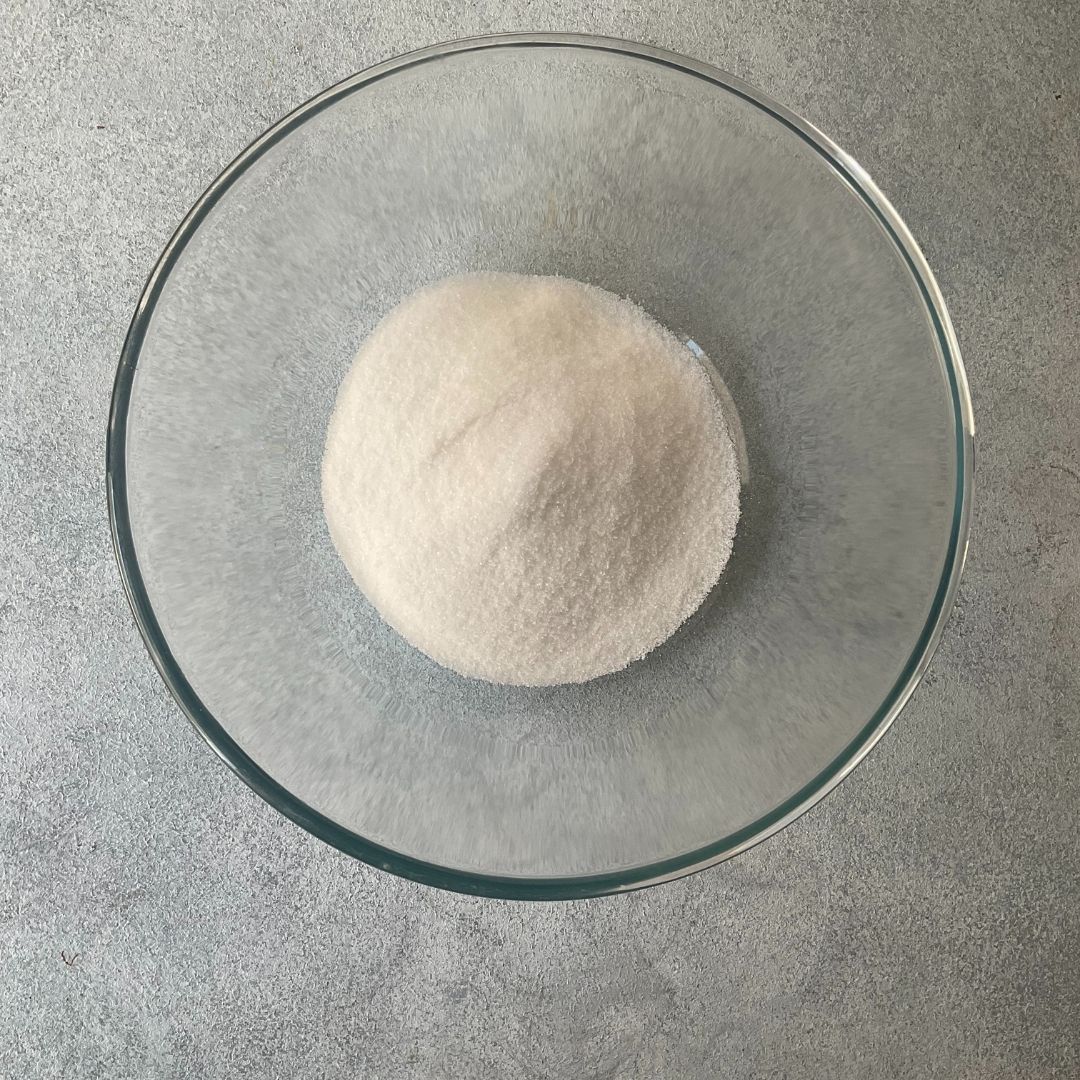
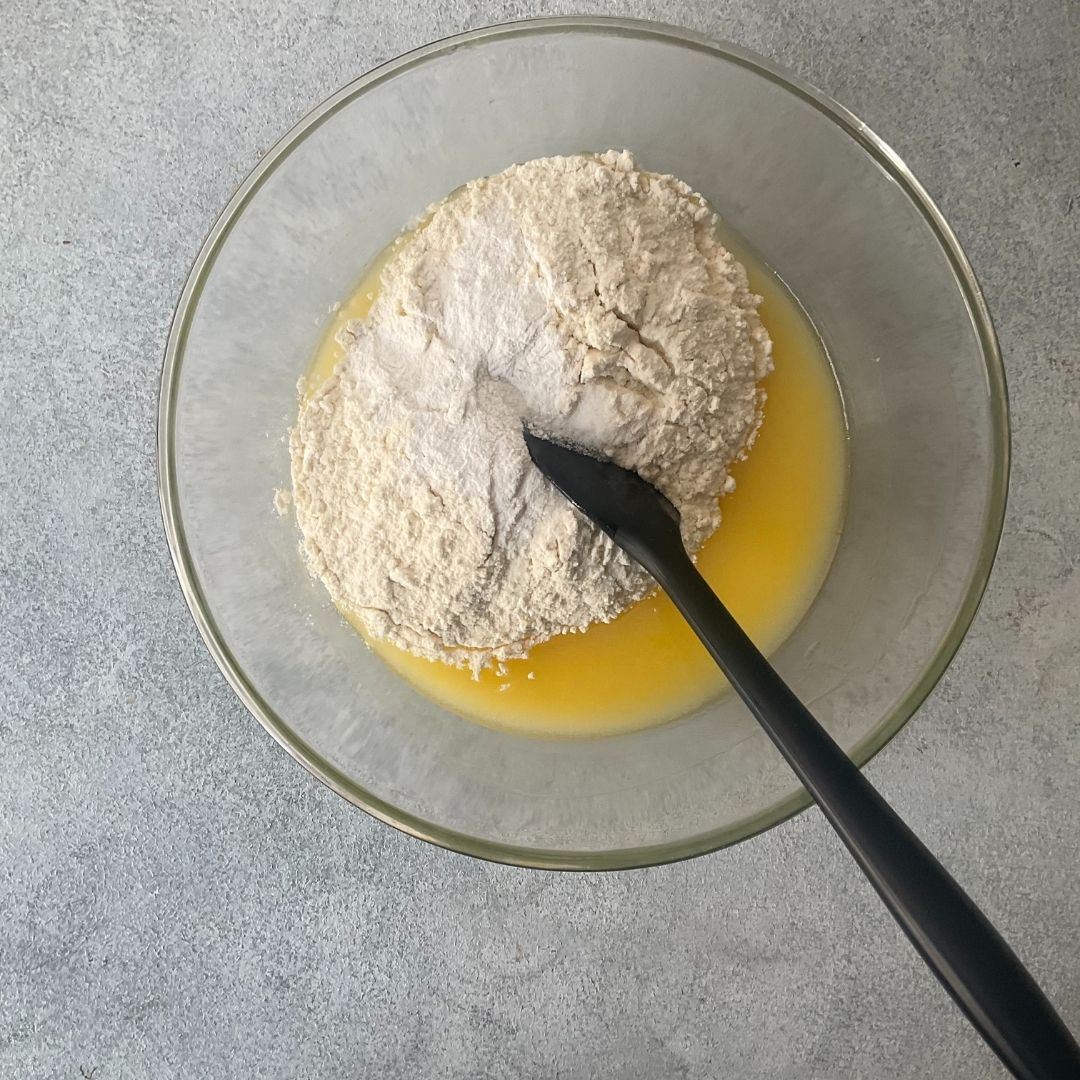
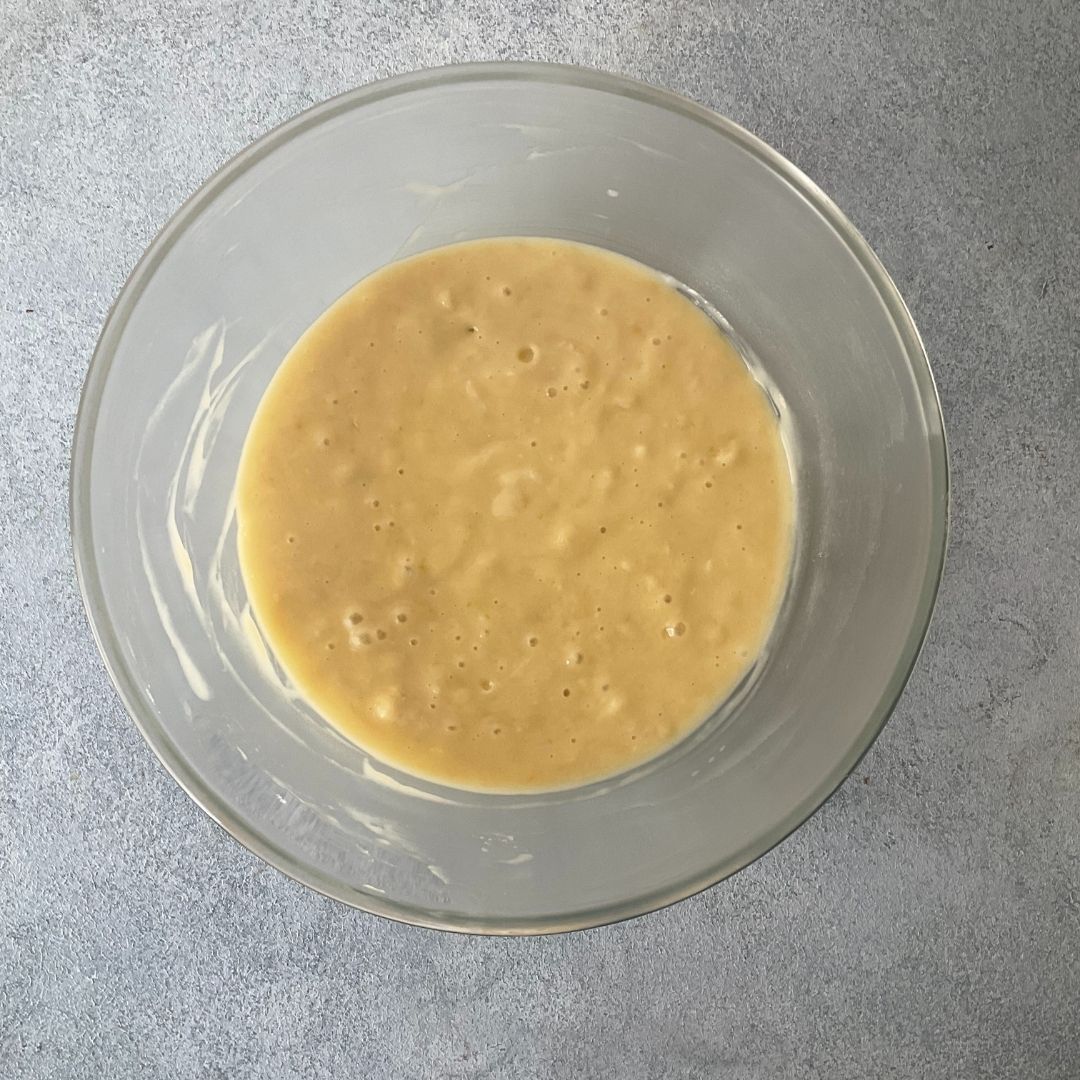
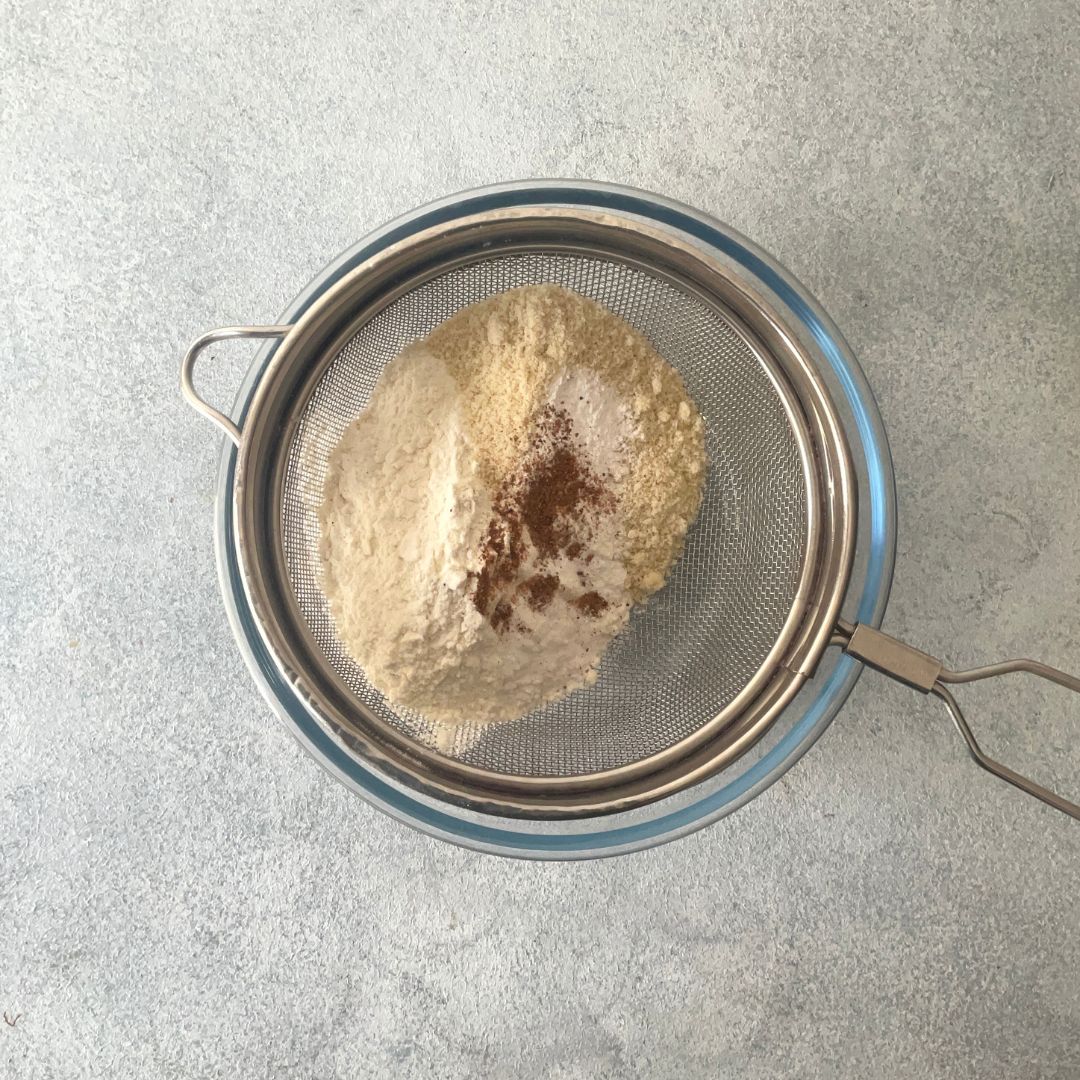
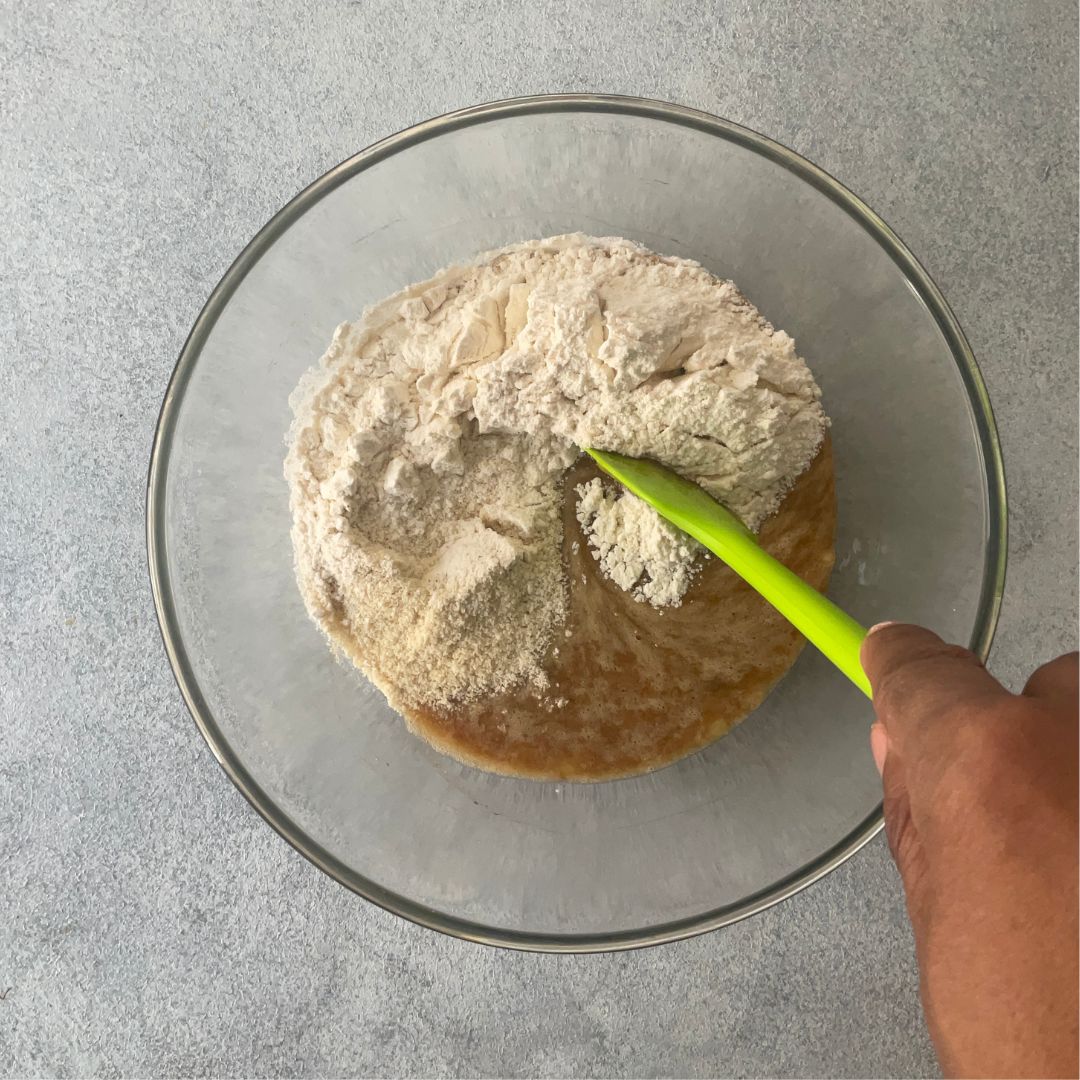
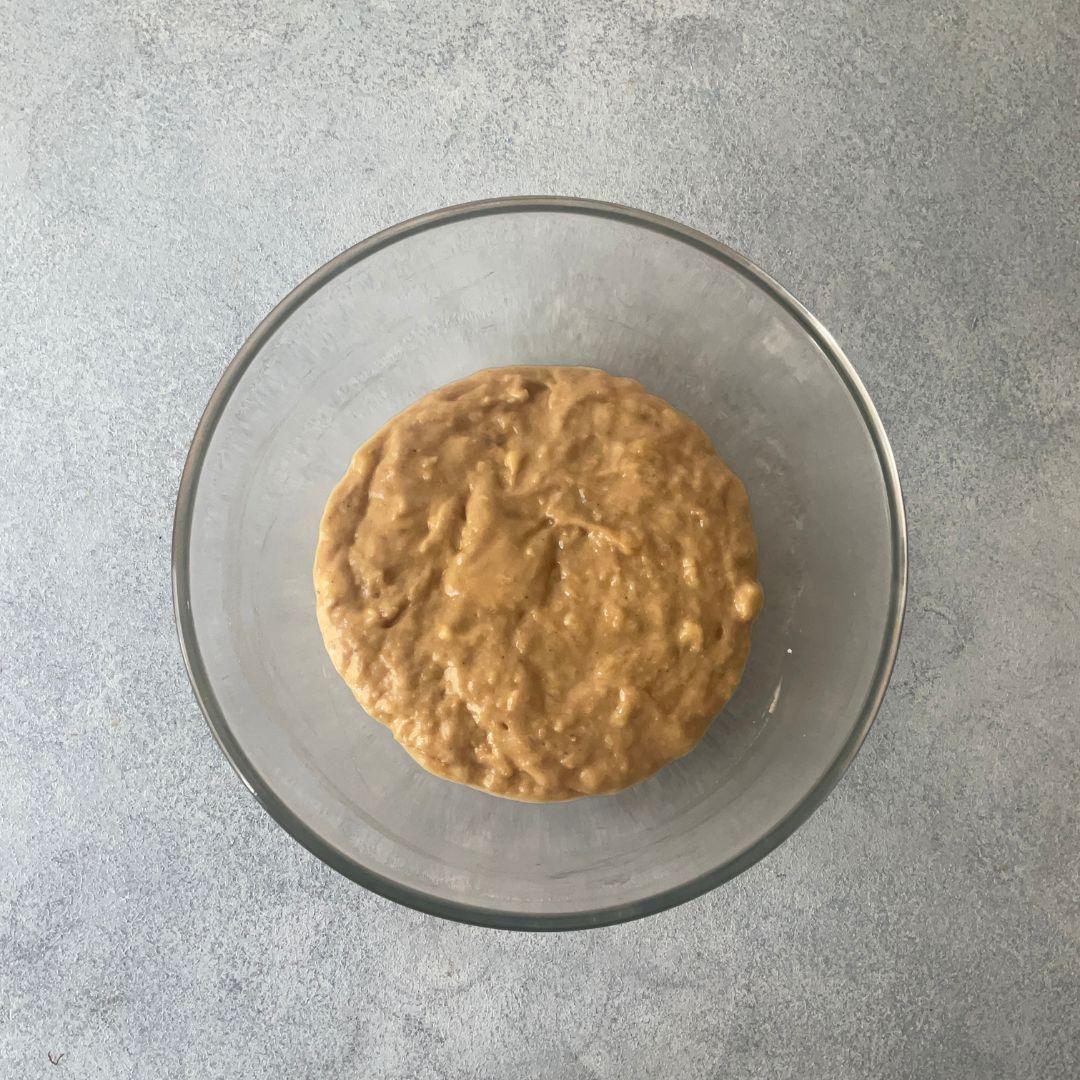
Add Dry Ingredients: sieve the dry ingredients: all-purpose flour, baking powder, and salt. Mix everything until all the ingredients are mixed properly and the batter is lump-free.

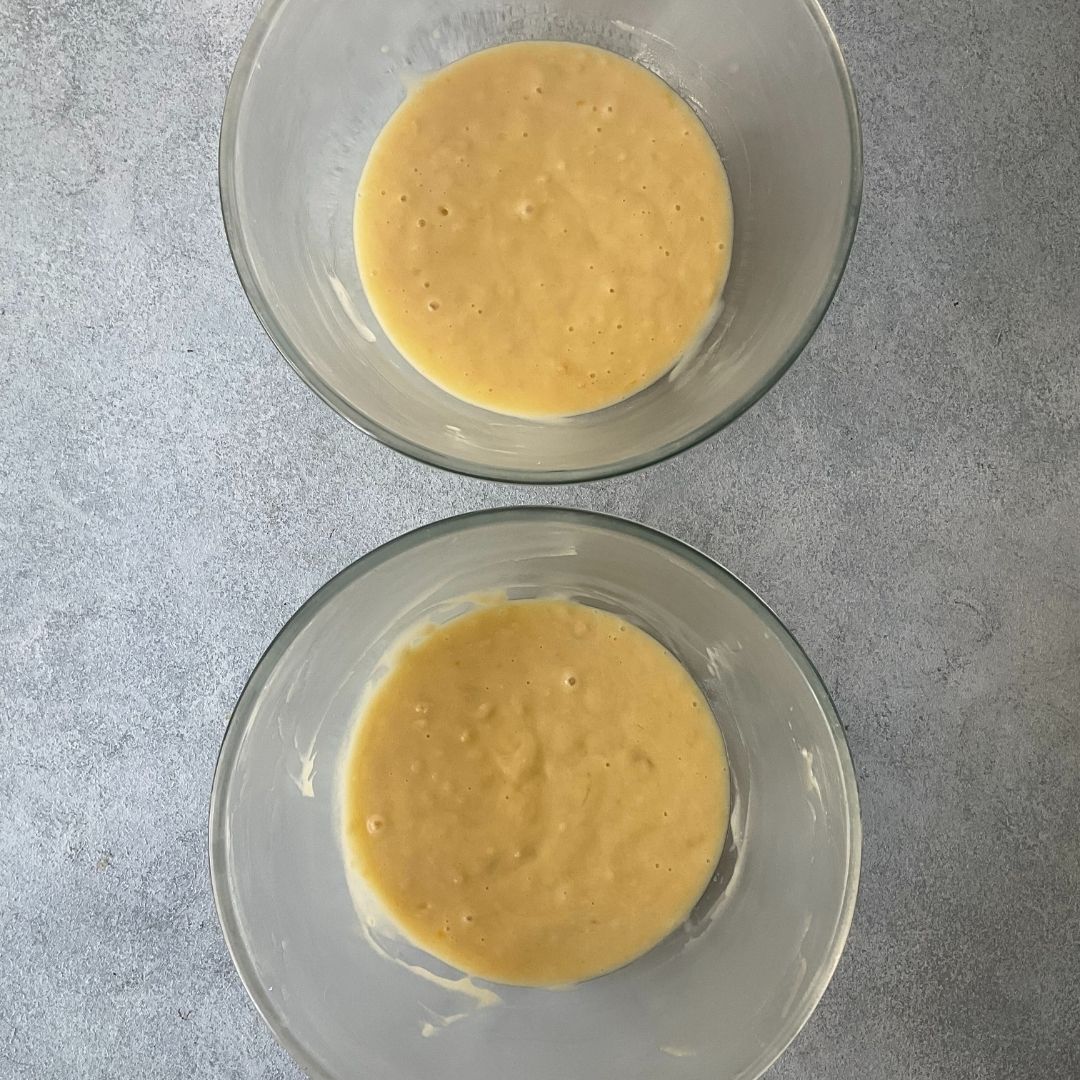
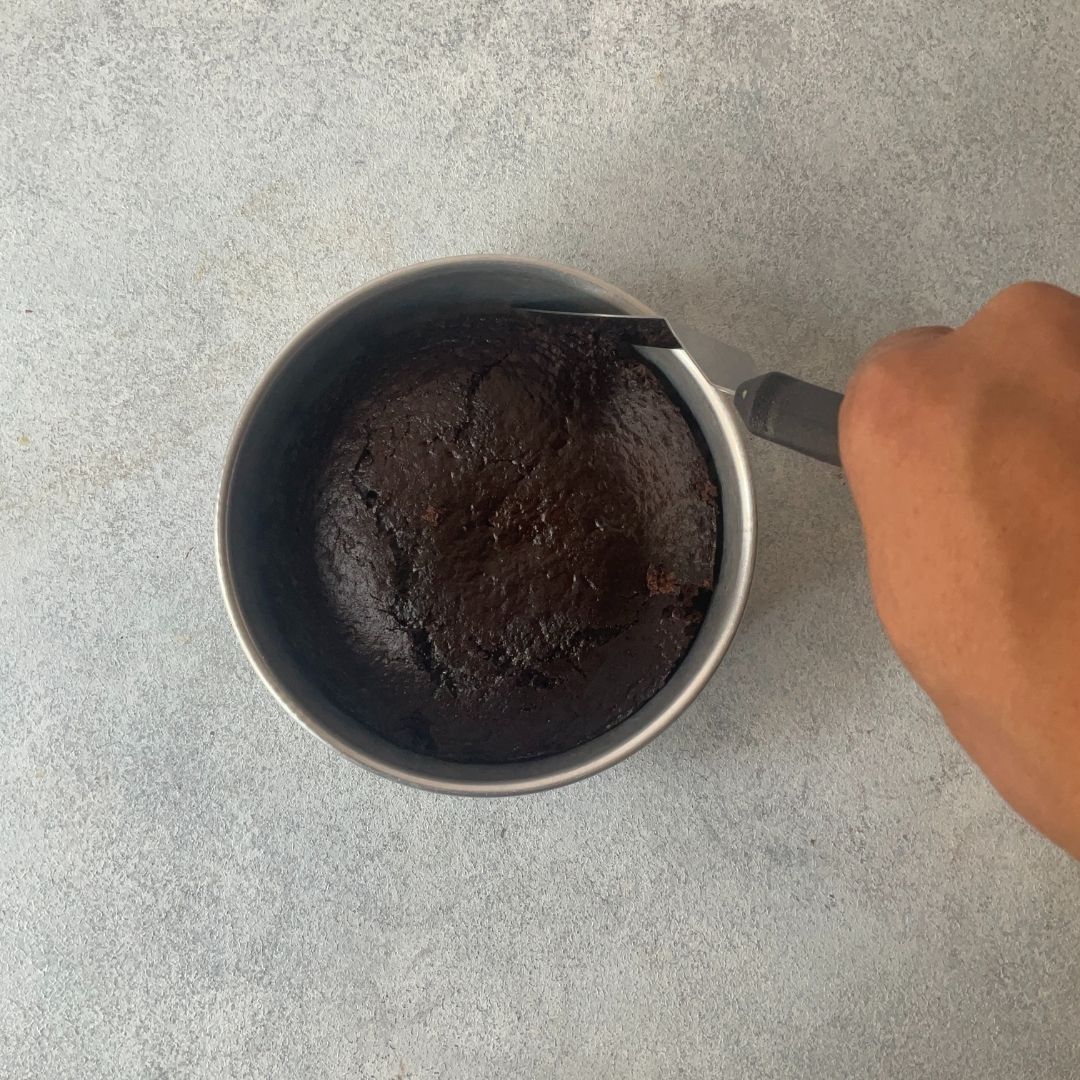
Make Chocolate Batter: Transfer ½ of the batter to a different bowl and mix in natural cocoa powder and milk (b). Mix it properly so that there is no lump in the chocolate batter.

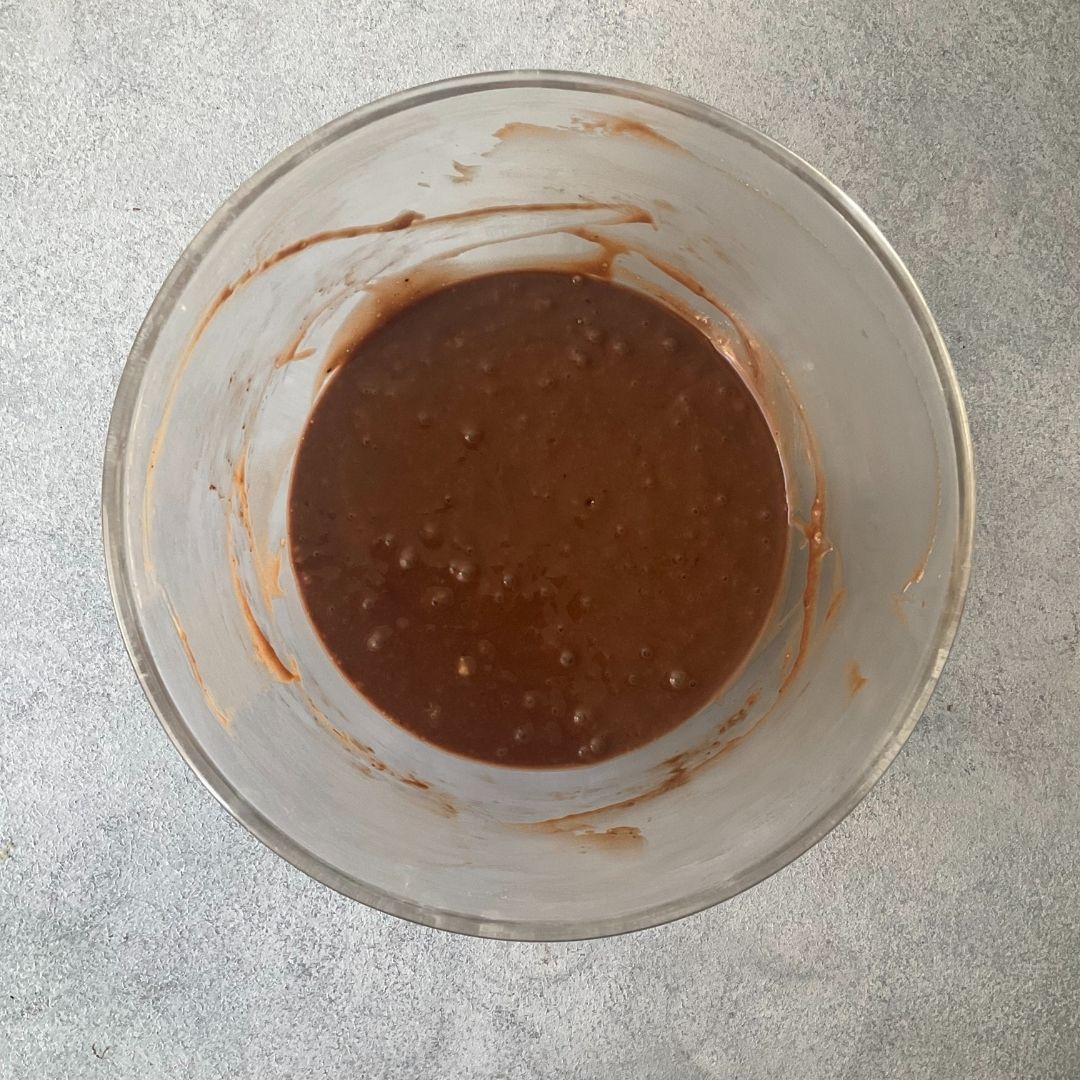
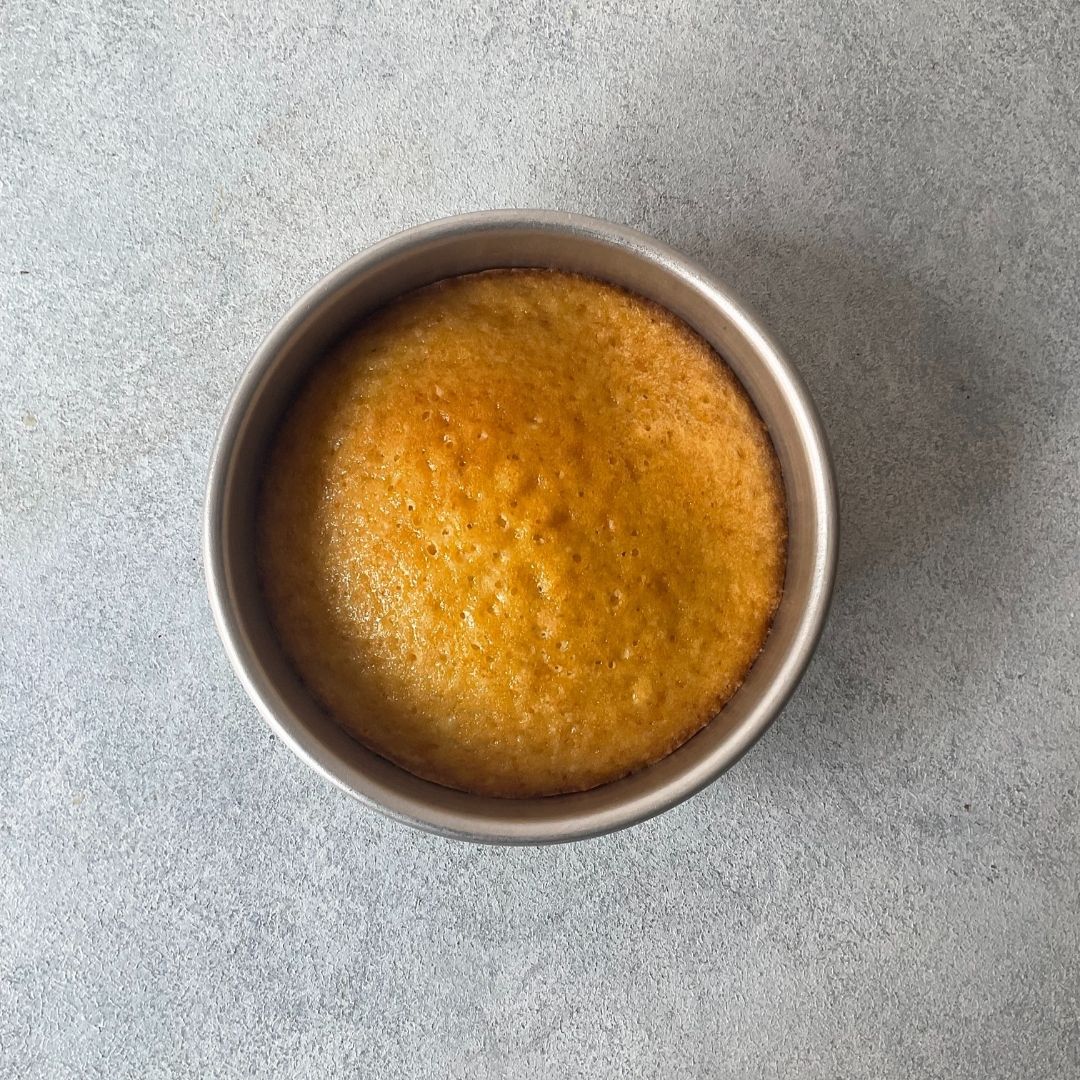
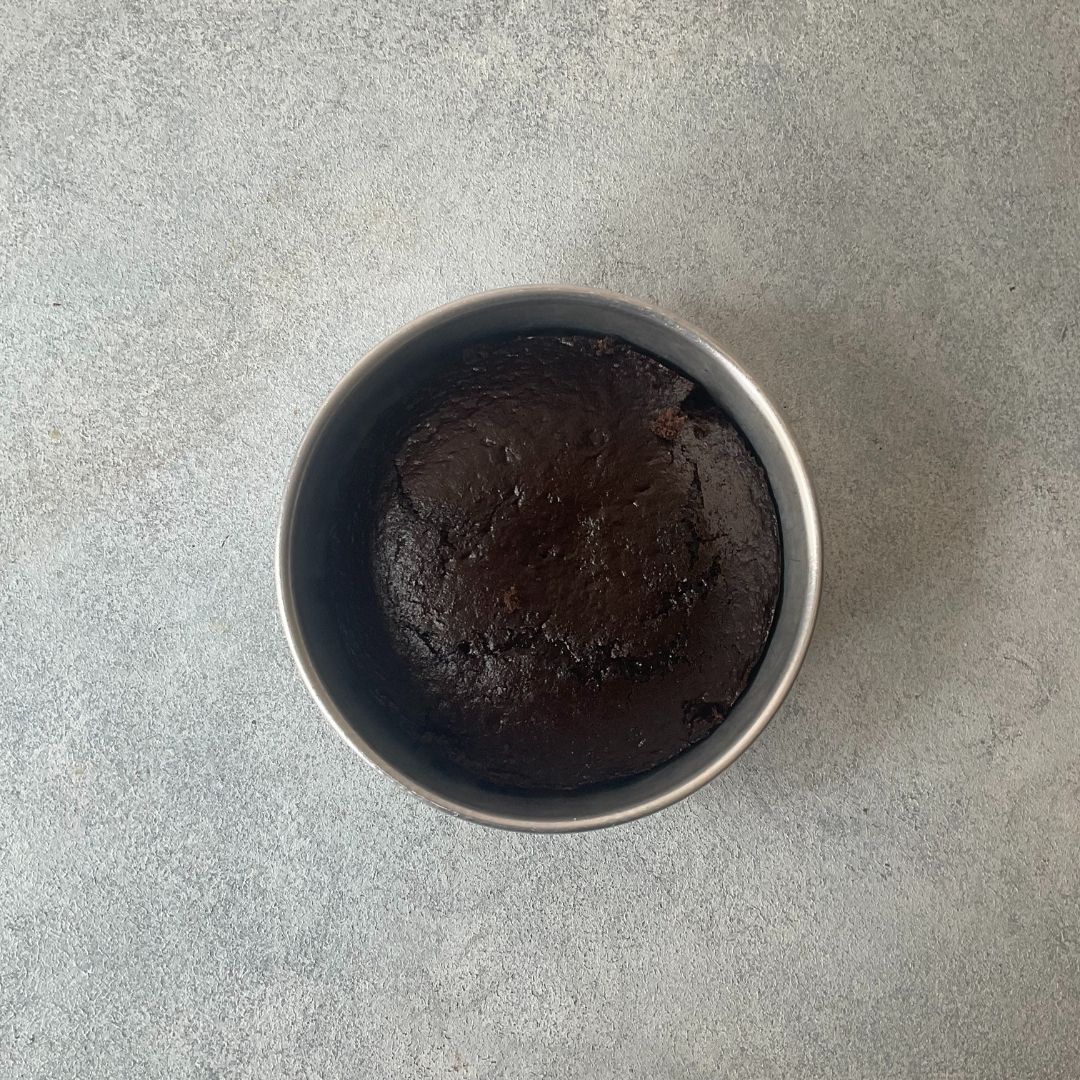
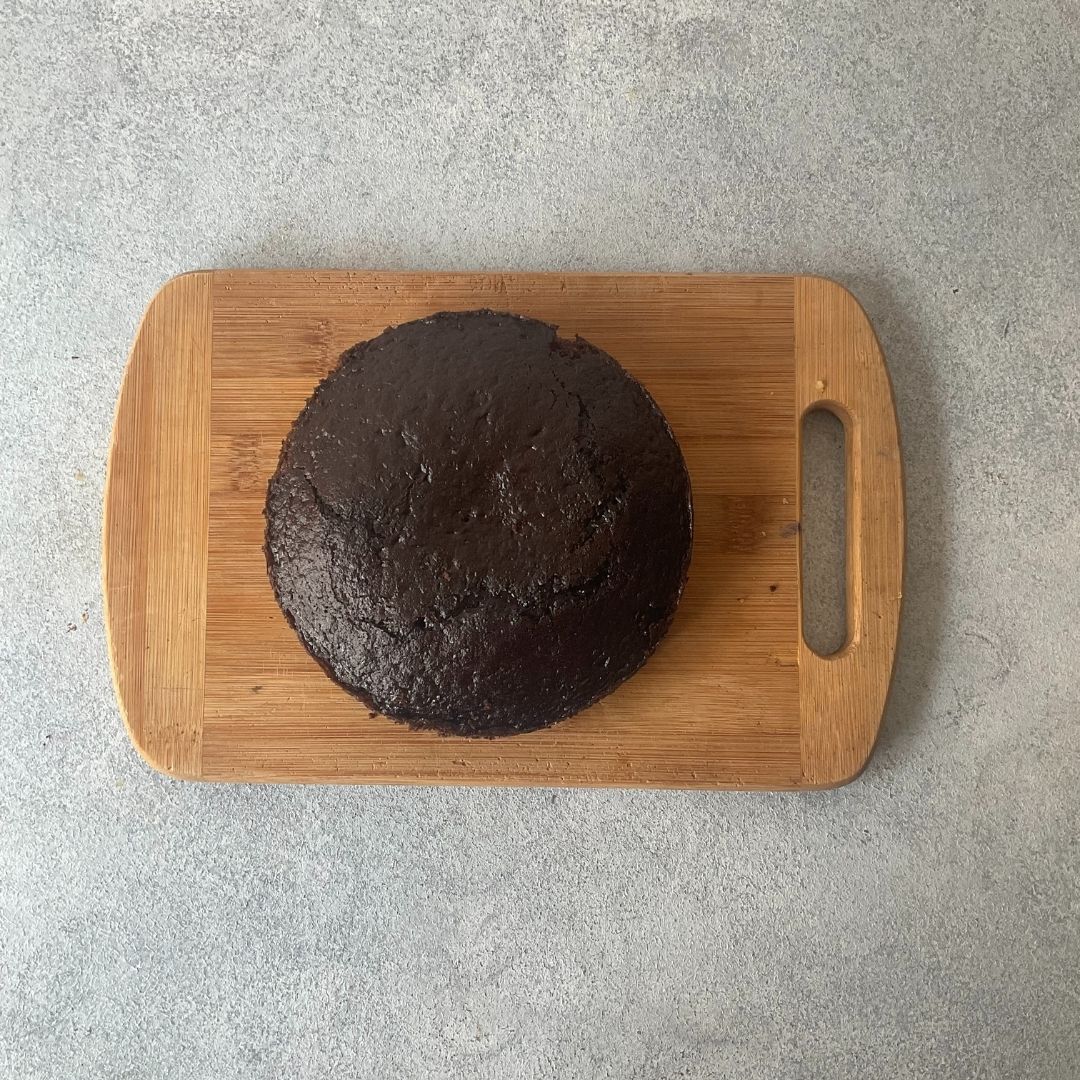
Bake: Transfer both batters into two different baking tins and bake them at 180°C or 350° (OTG mode: lower rod) for 30 – 35 minutes or until a toothpick inserted in the middle comes out clean.

For the Banana Sponge

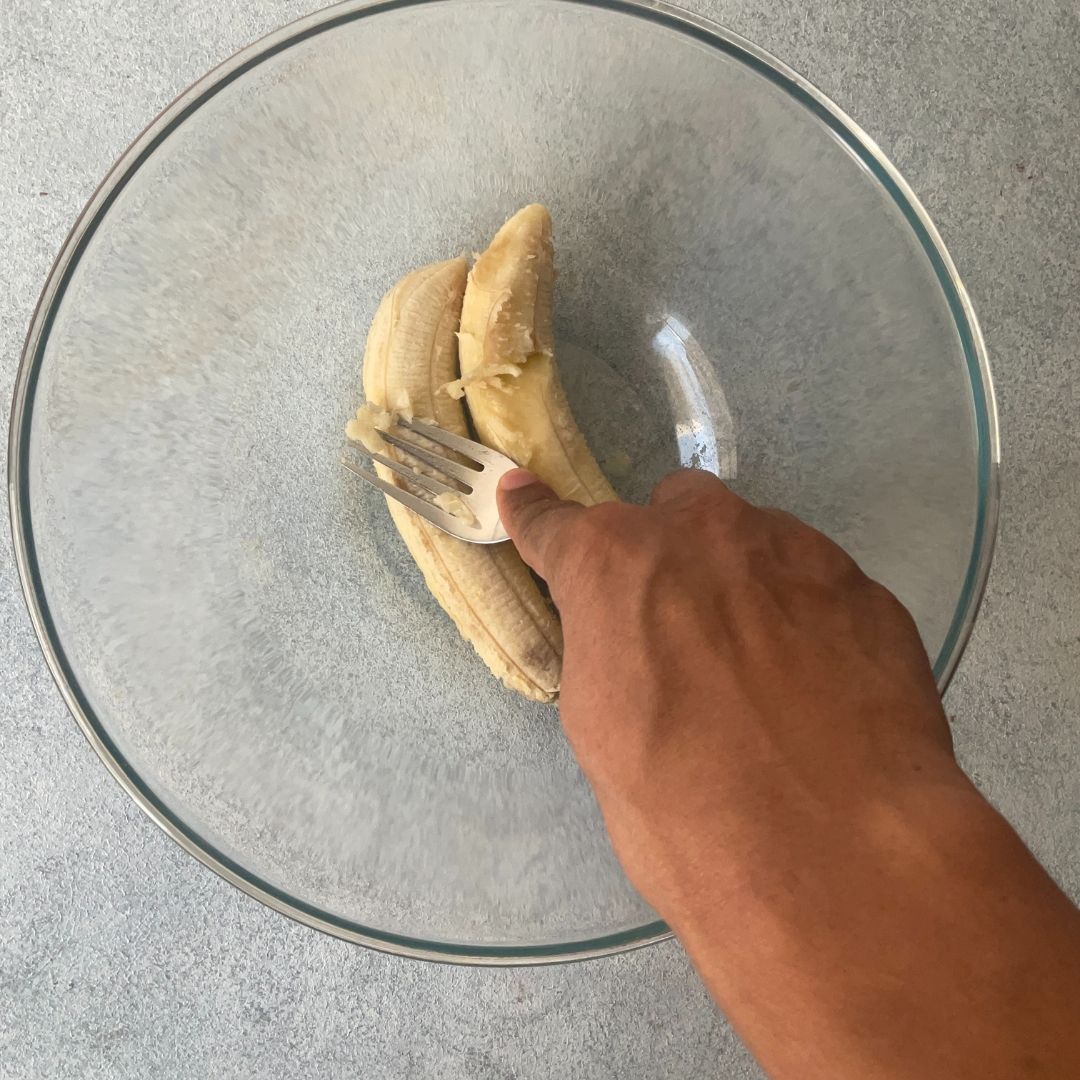
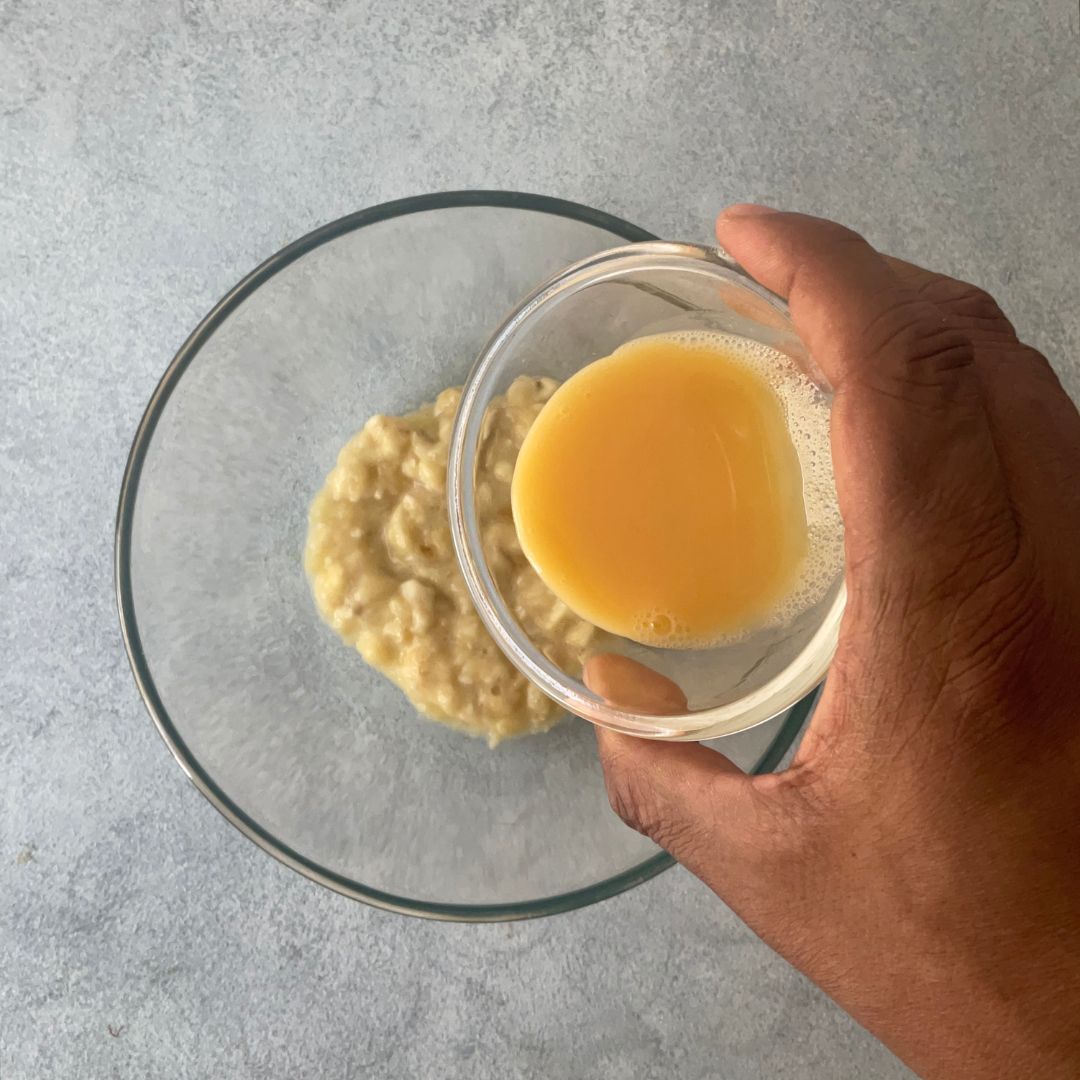
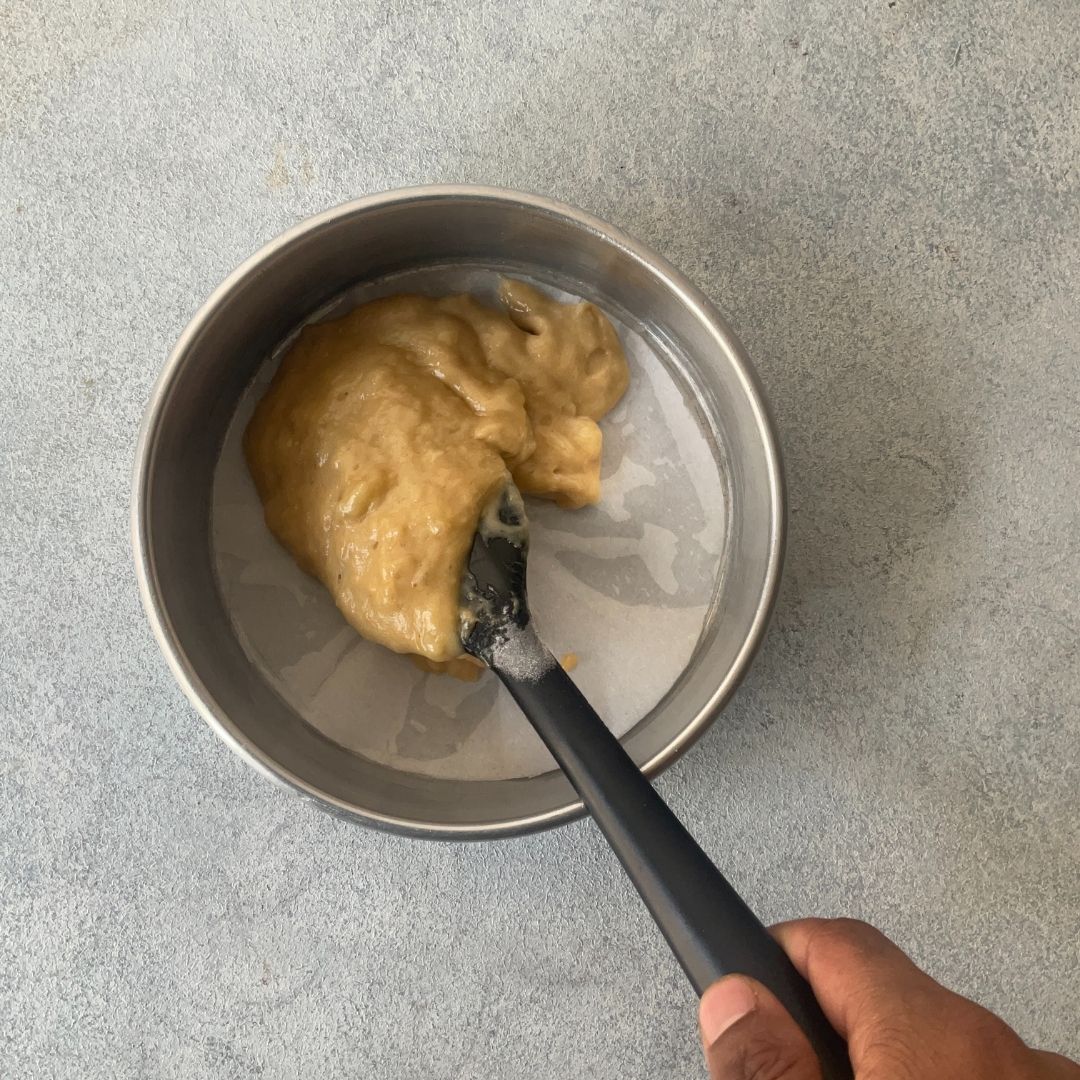
Mash Banana: In a bowl, take peeled ripe bananas and mash with a fork. You can use a masher as well.

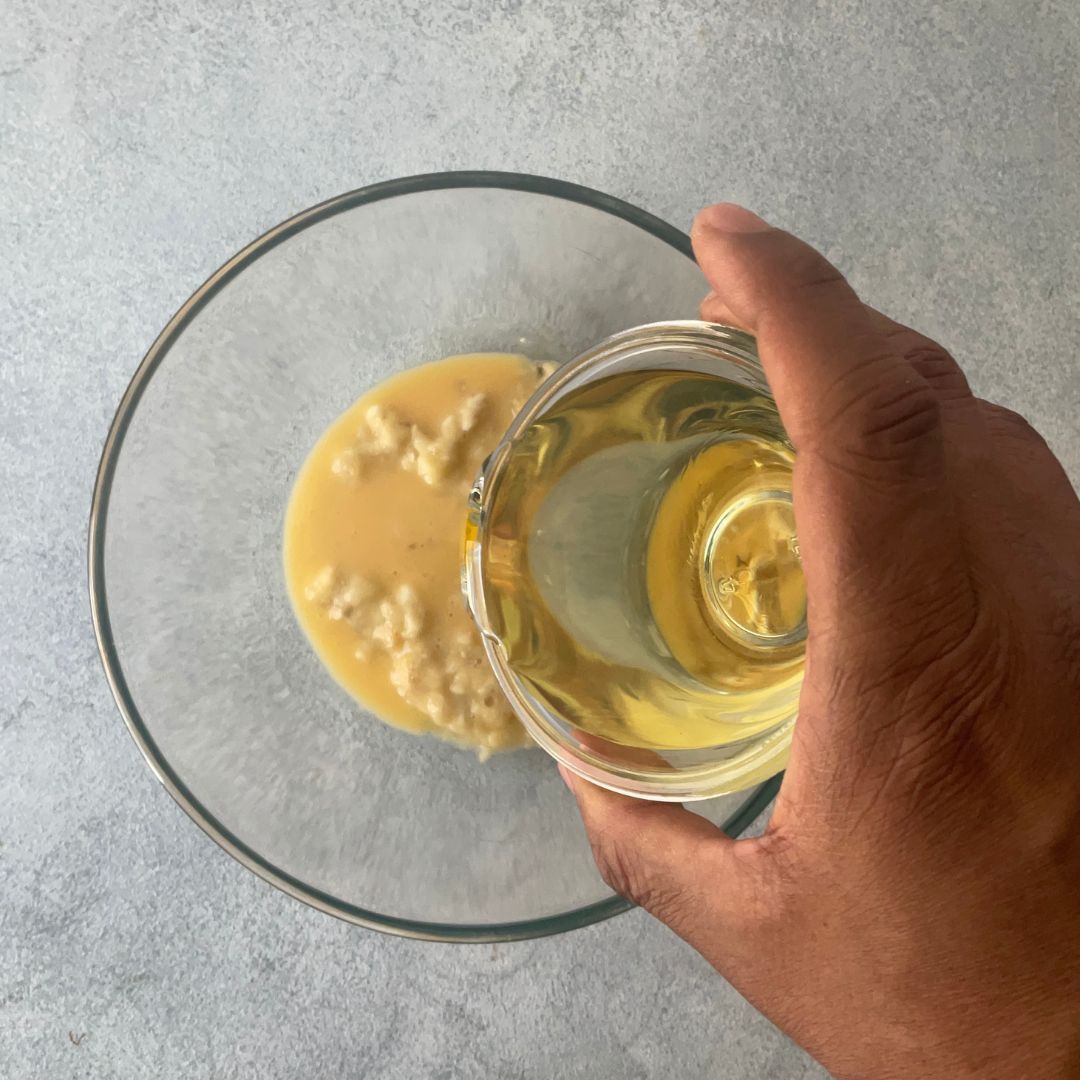
Add Wet Ingredients: Add lemon juice, eggs, oil, and vanilla essence, and give it a nice mix.

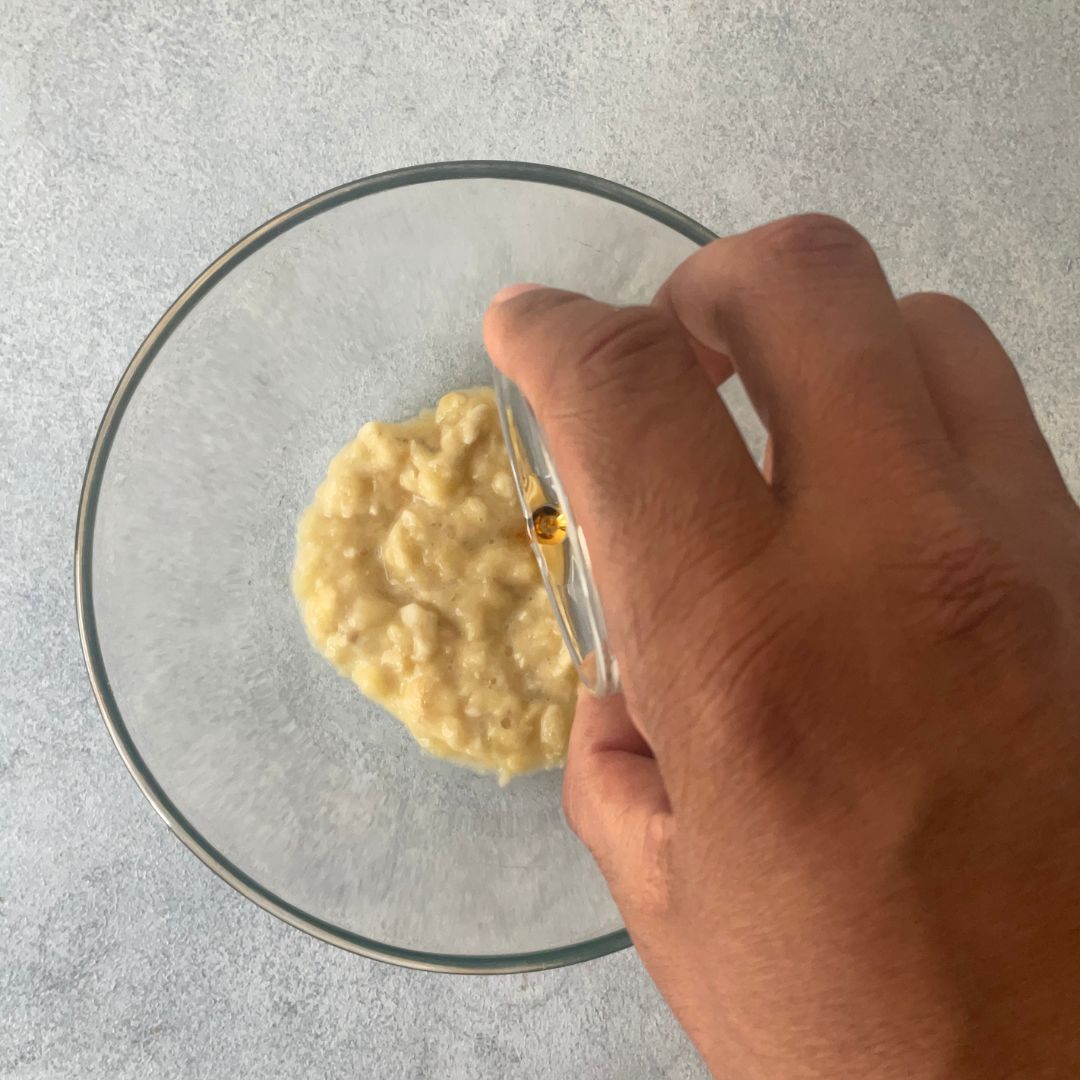
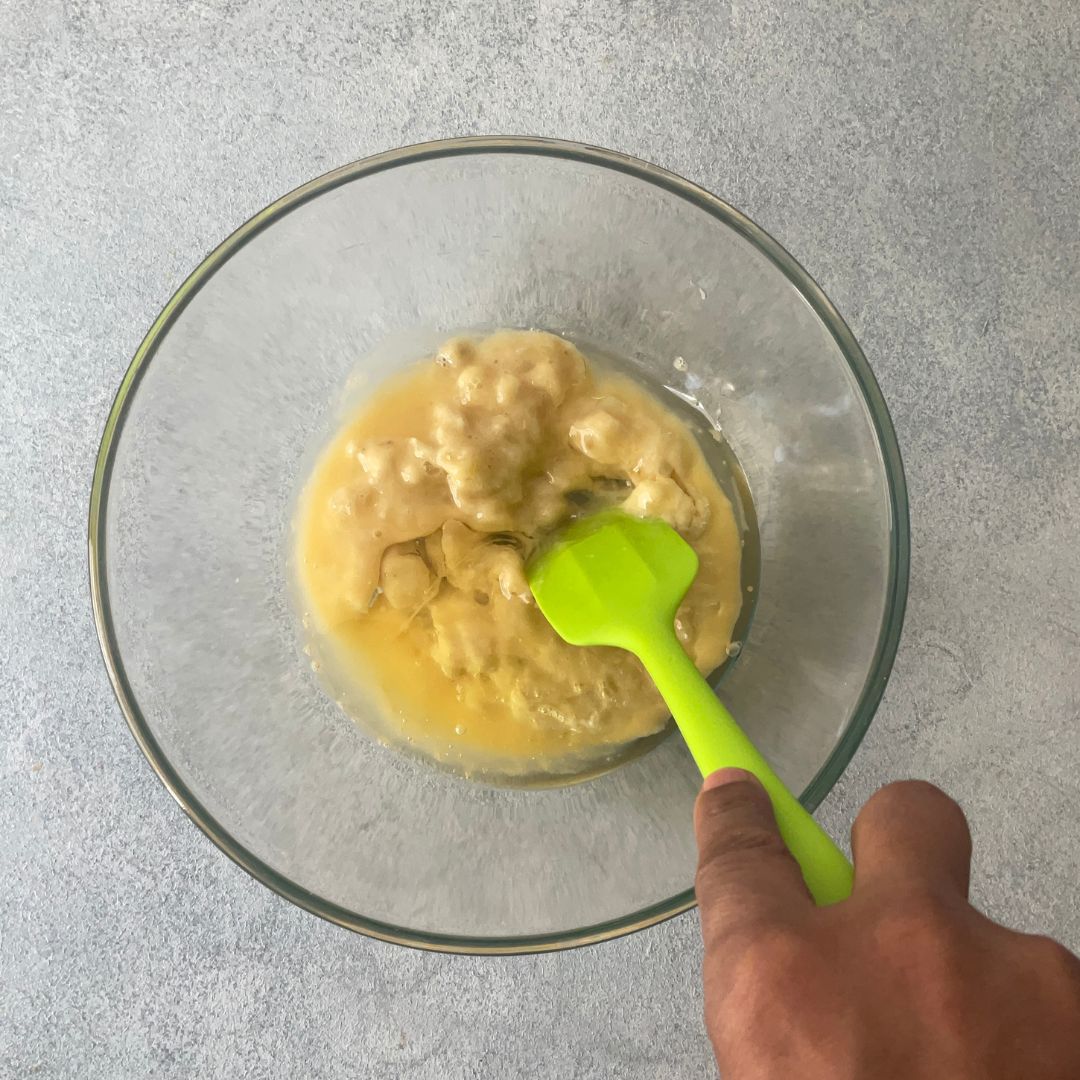
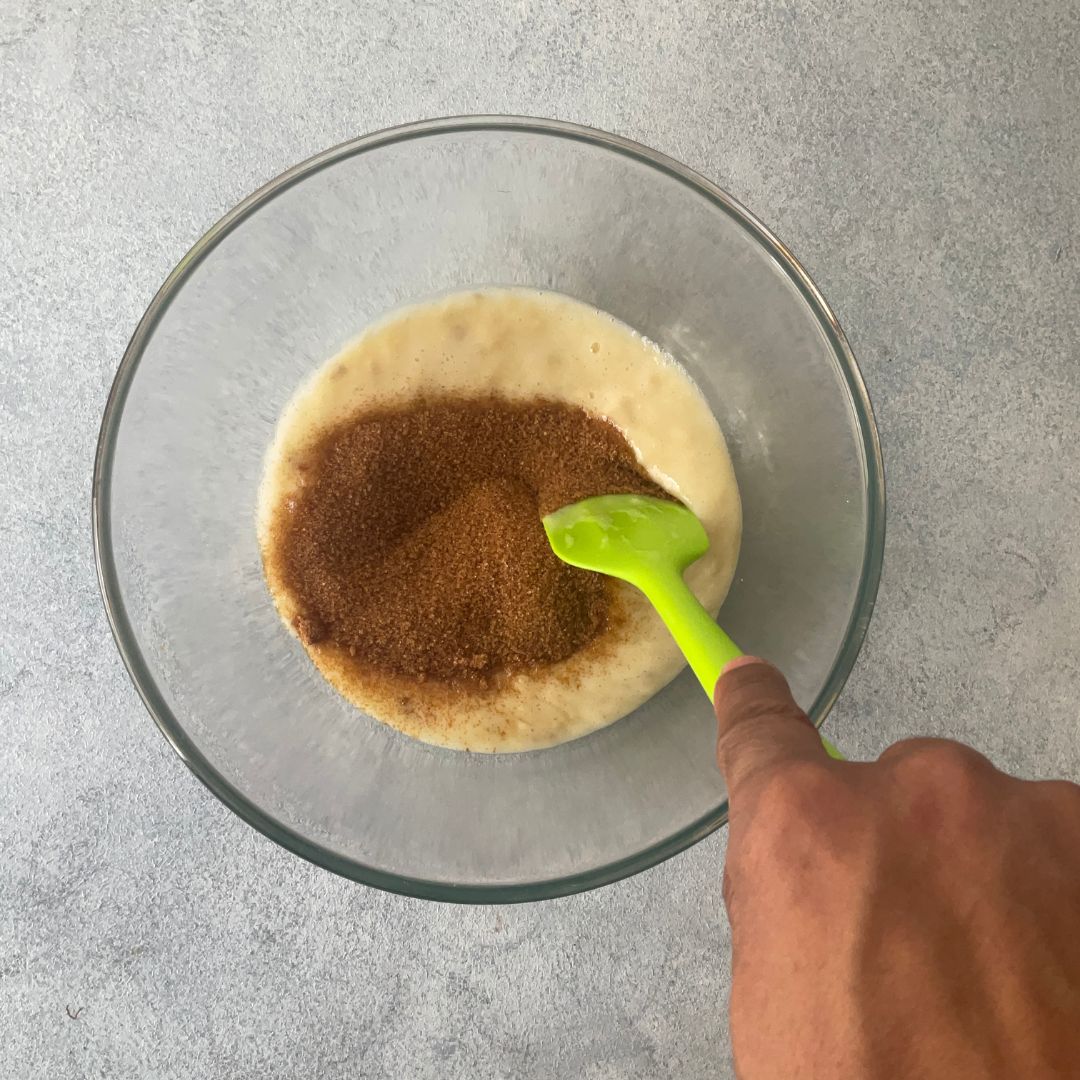
Add Sugar: Now add in both the castor and the brown sugar and mix again.

Add Dry Ingredients: Sift dry ingredients that are all-purpose flour, baking powder, baking soda, and salt into the same bowl using a sieve or sifter. Give everything a nice mix until there is no trace of any dry ingredients. Do not take bananas to be lumps and over-mix the batter.

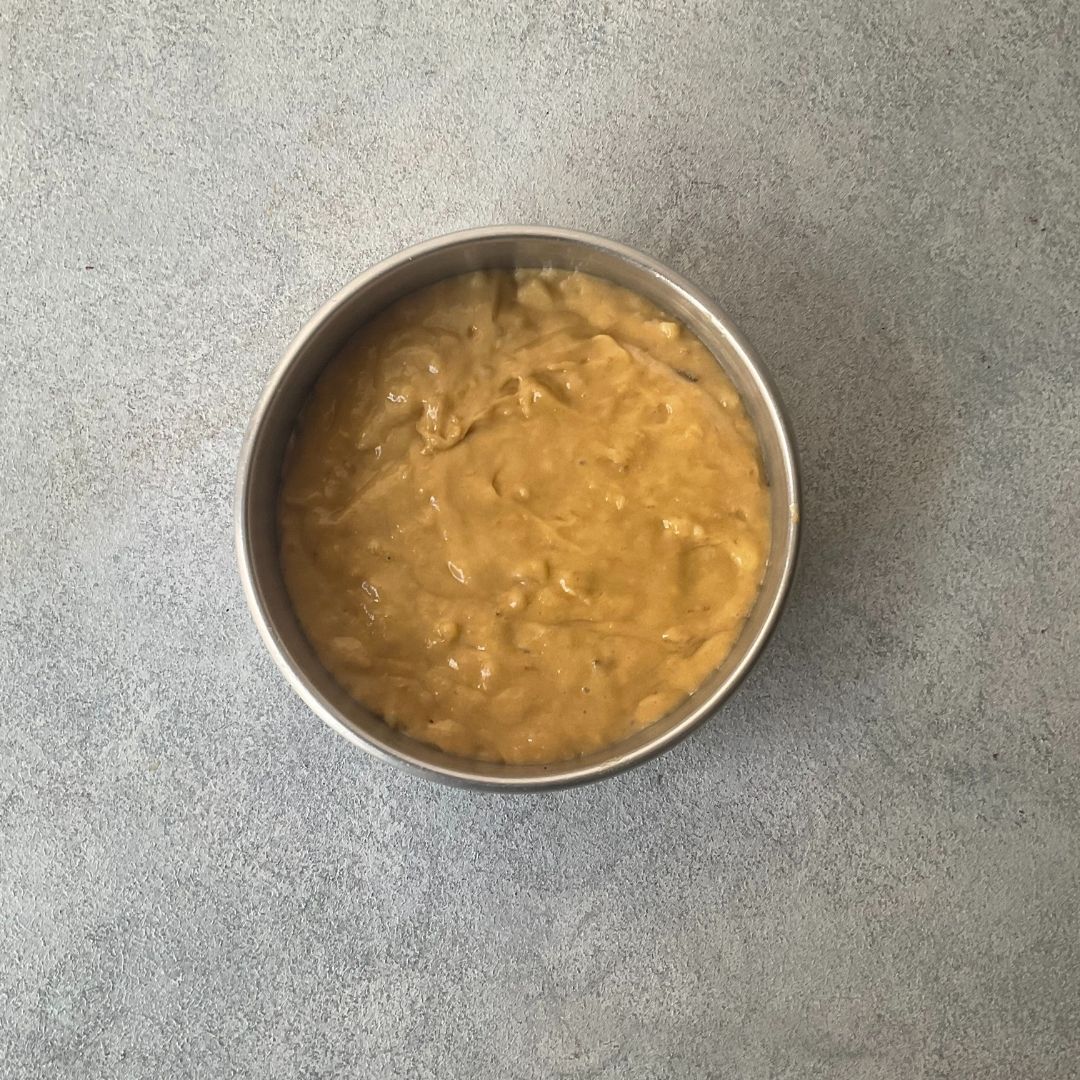
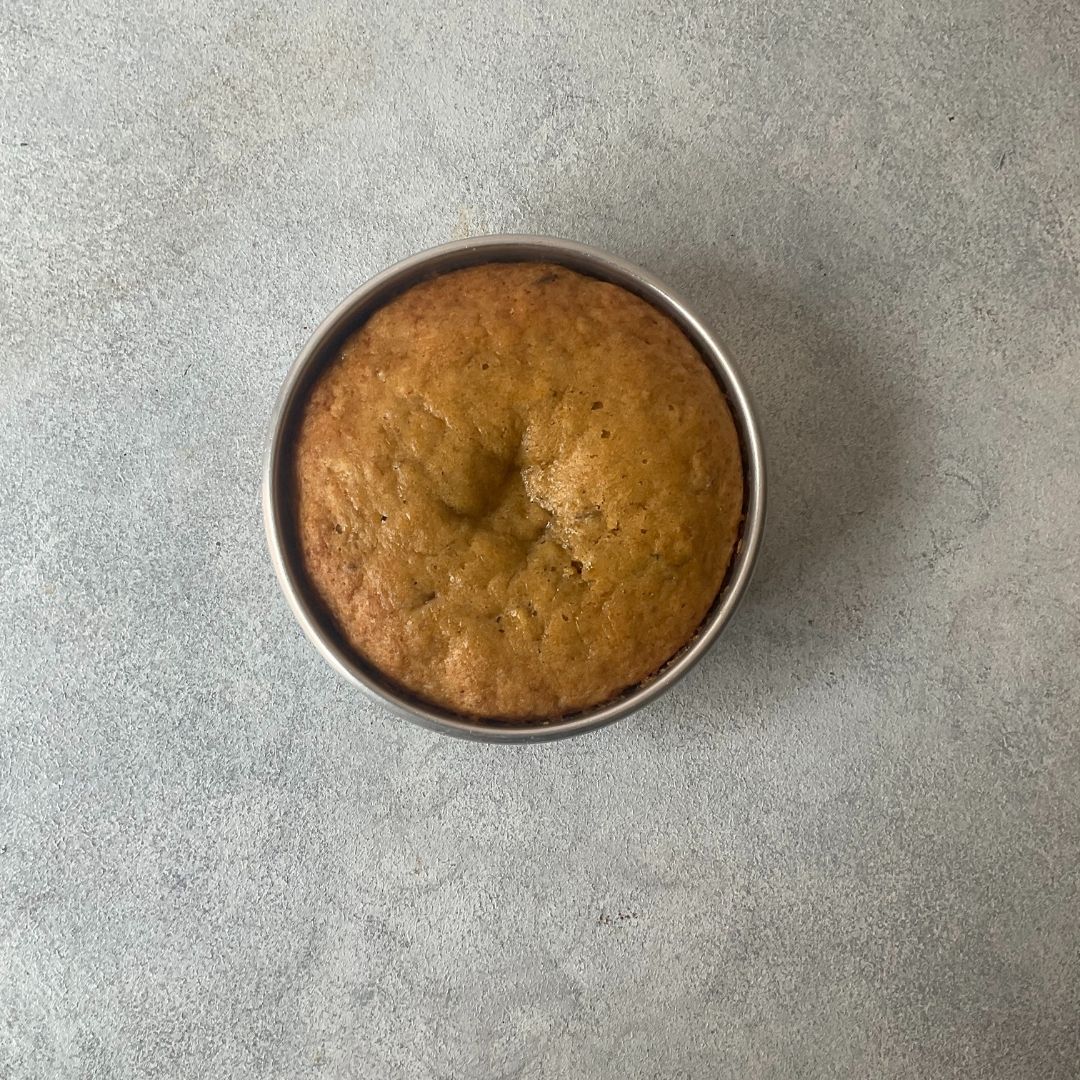
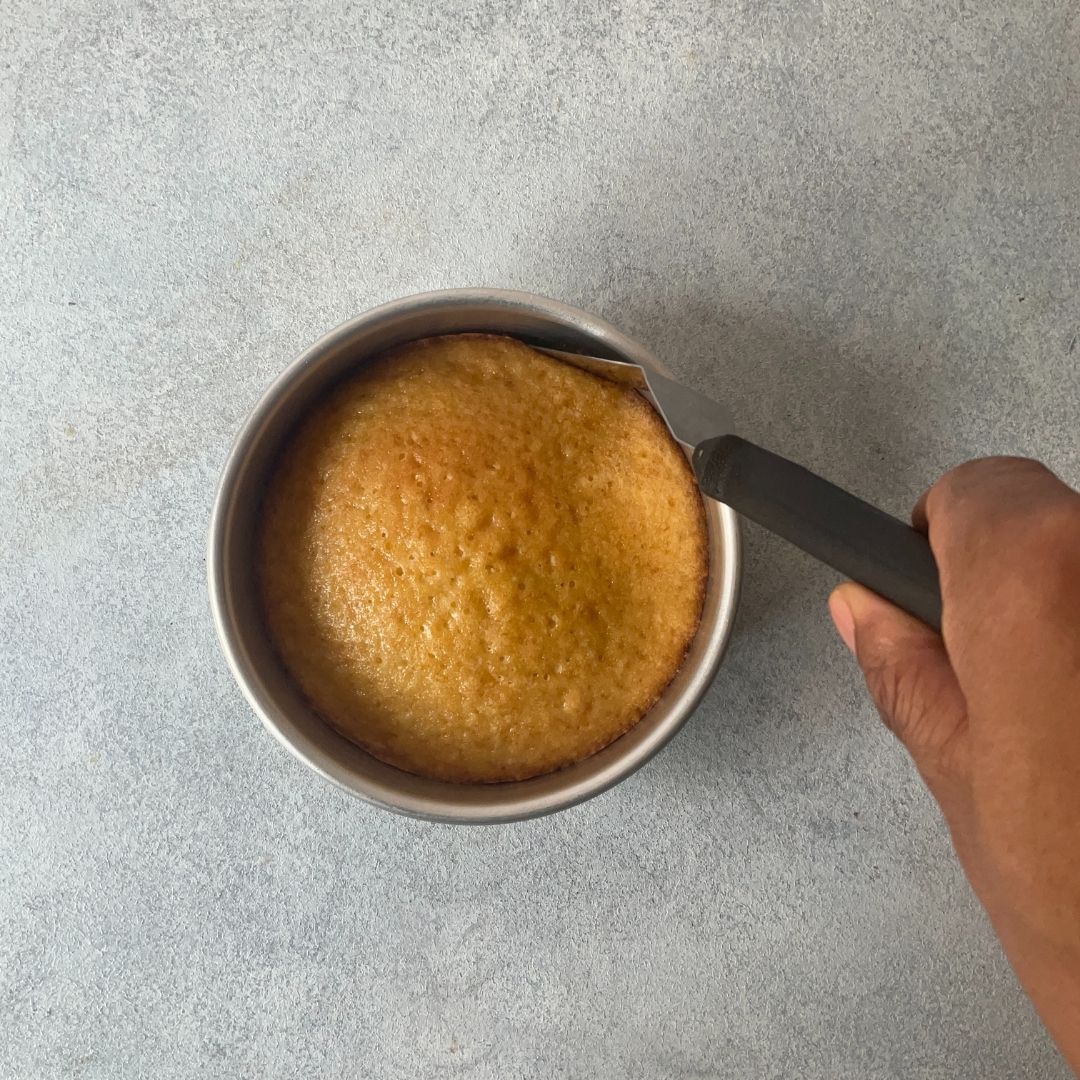
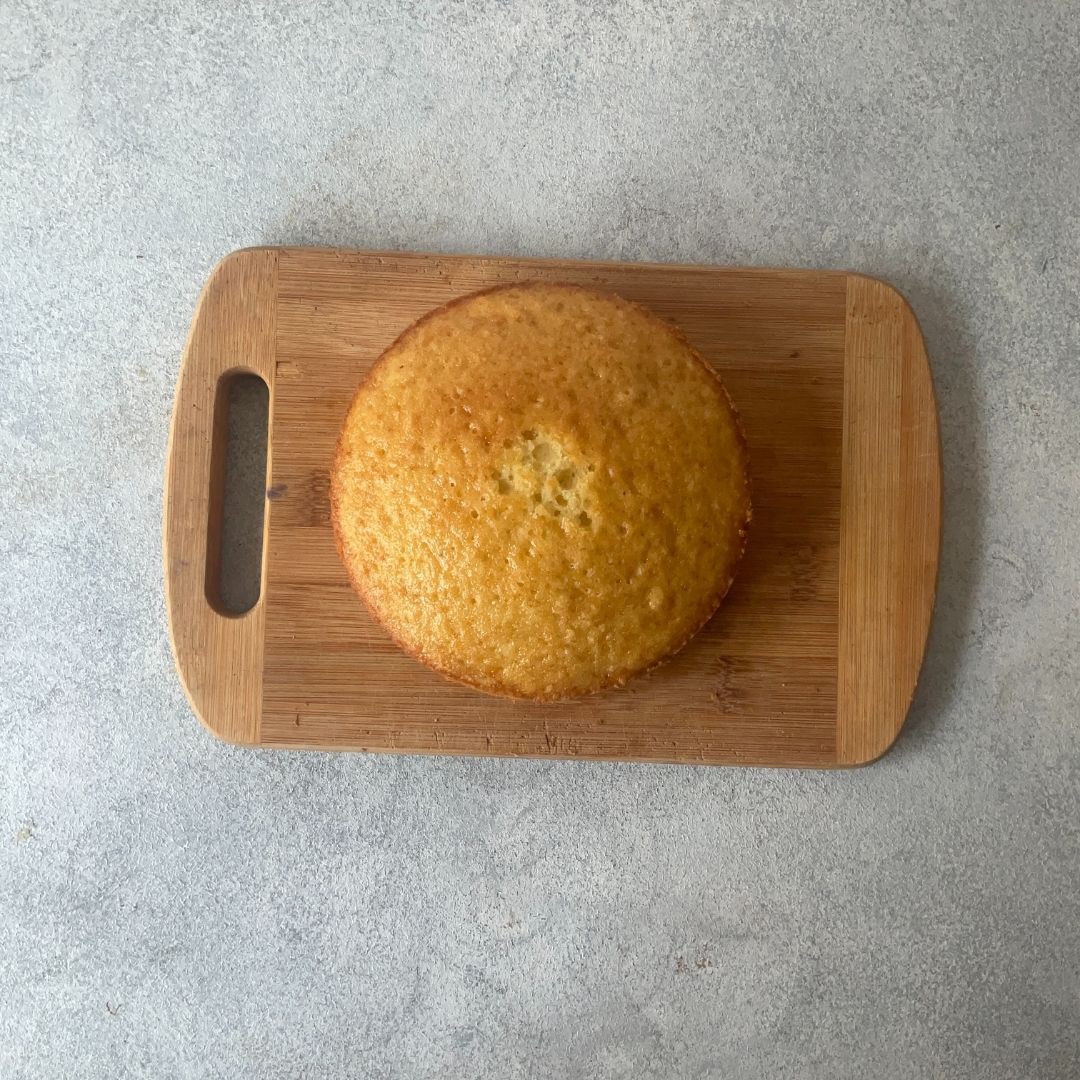
Bake: Transfer the batter to the remaining baking tin and bake at 180°C or 350° (OTG mode: lower rod) for about 25 – 30 minutes or until a toothpick inserted in the middle comes out clean. Ensure you do not take a lump of banana to be unbaked batter.  

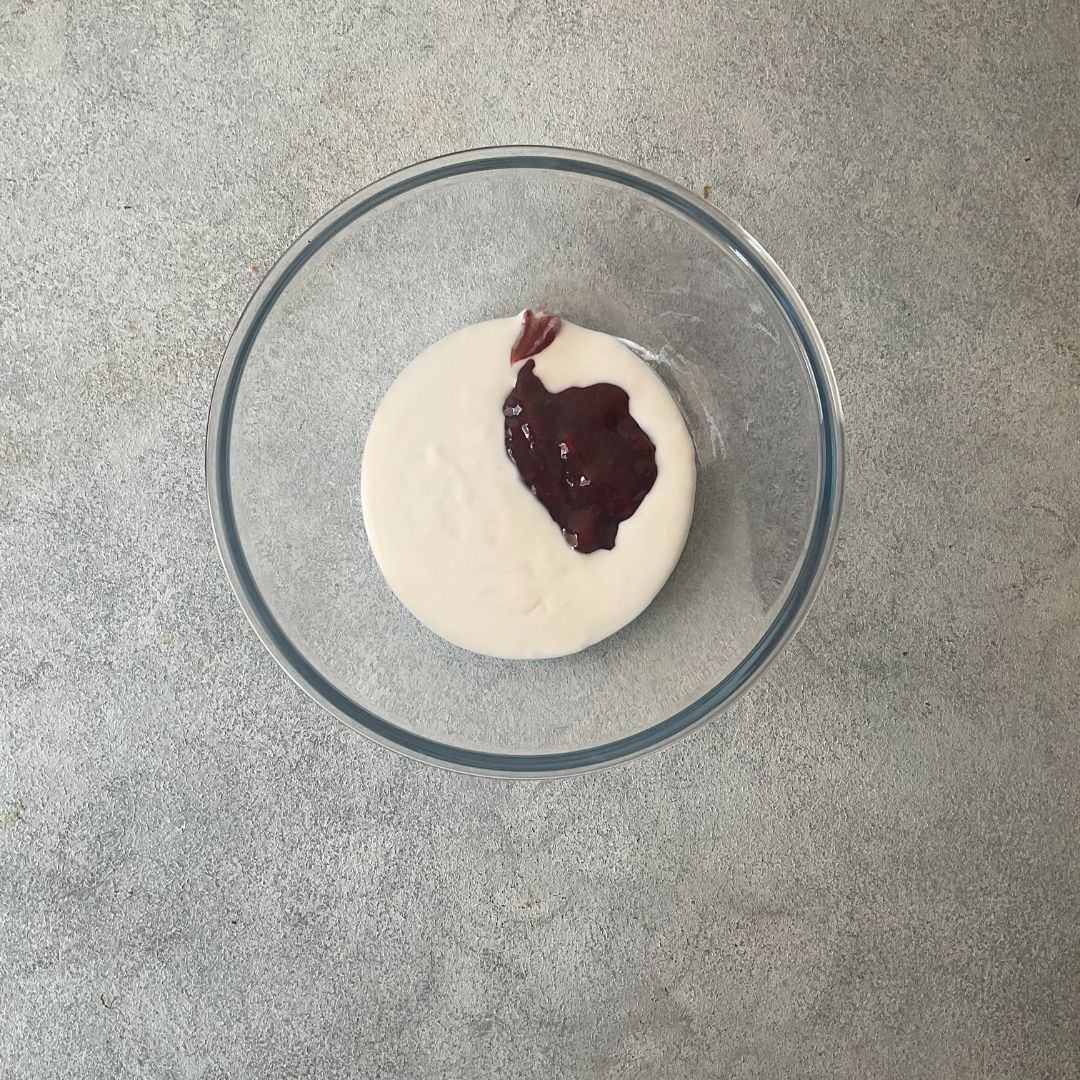
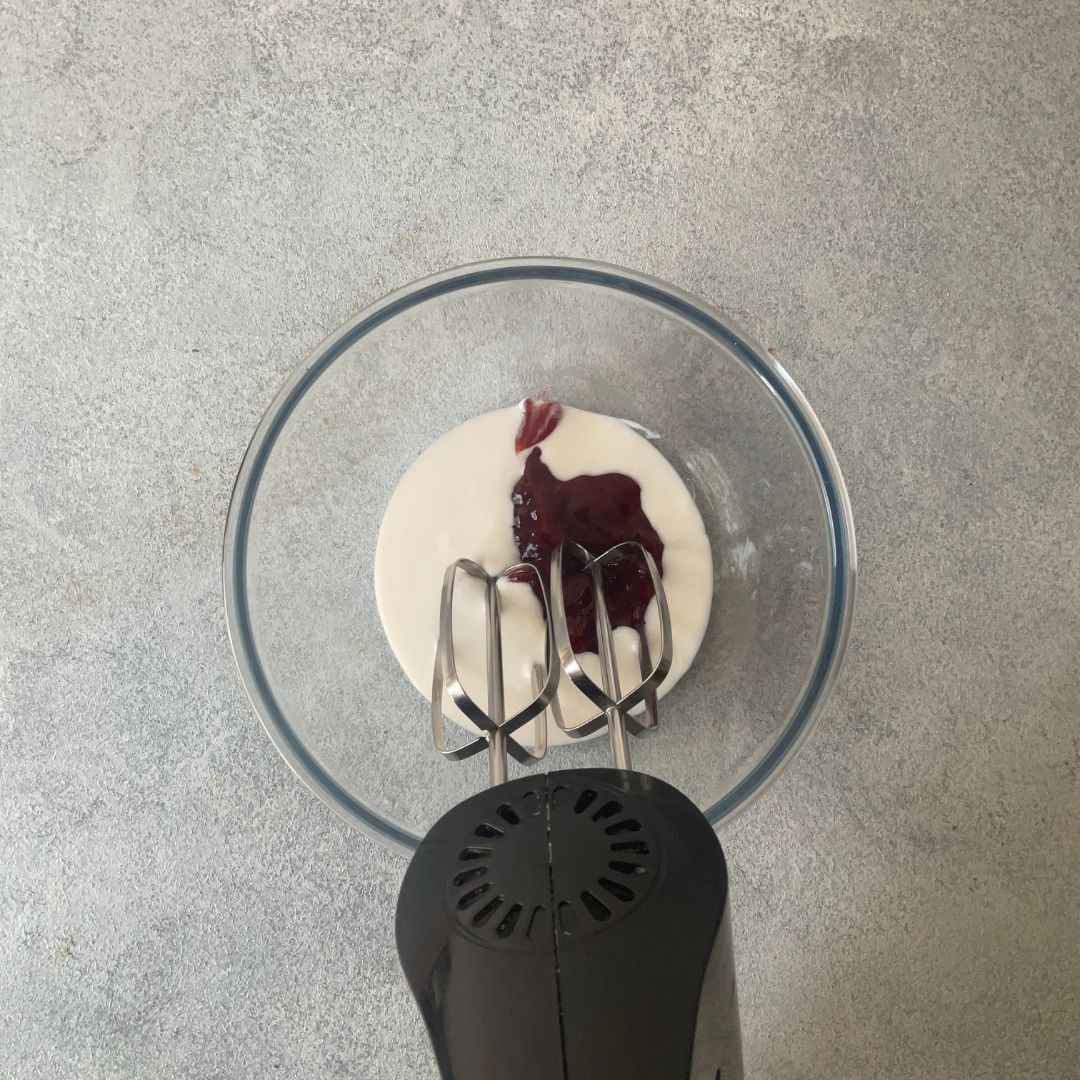
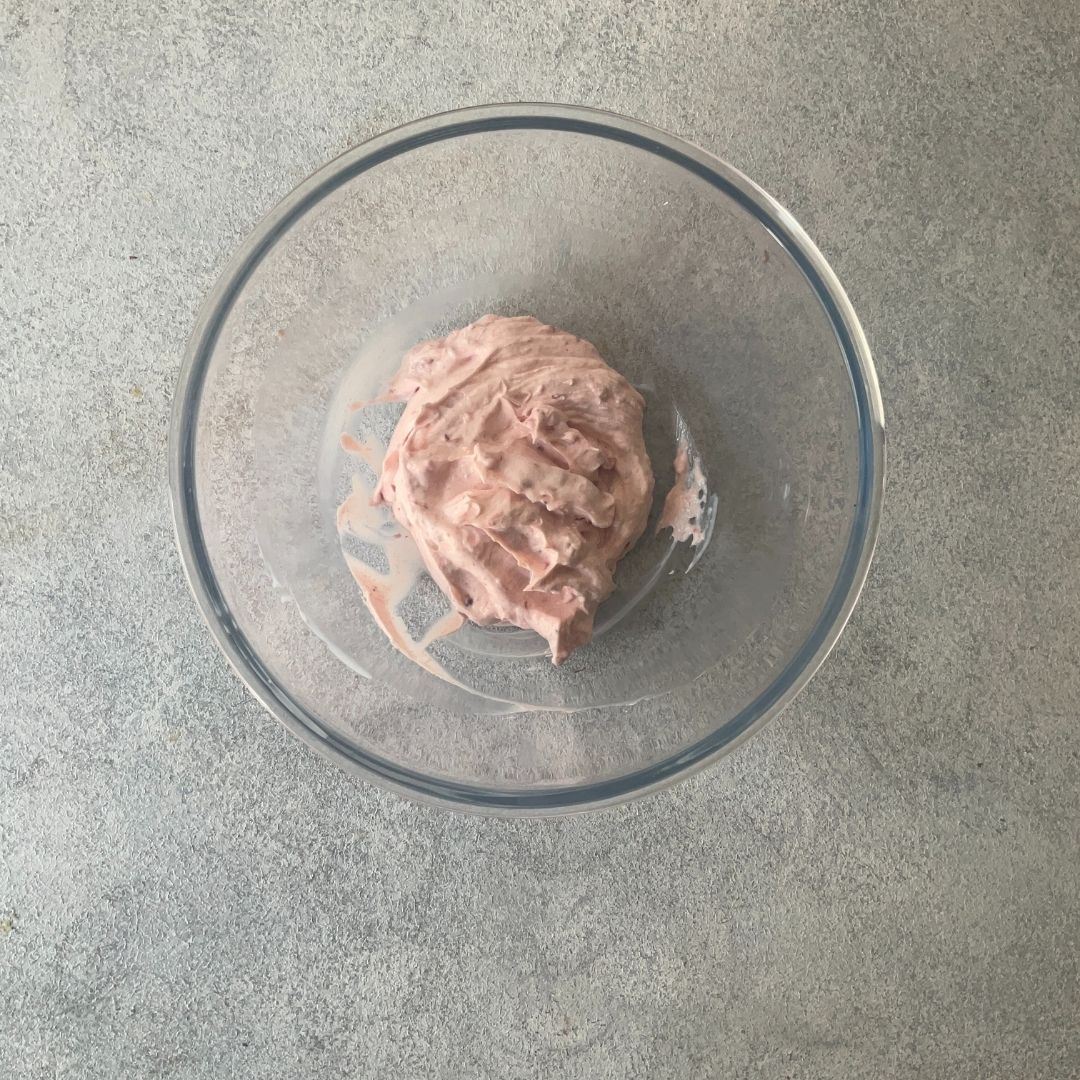
For the strawberry filling

Beat Whipping Cream with strawberry compote: In a bowl, add sweetened whipping cream and strawberry compote and whip them until you get a nice soft peppered whipping cream. Here I am, a store-bought strawberry compote. But you can also use homemade strawberry compote.

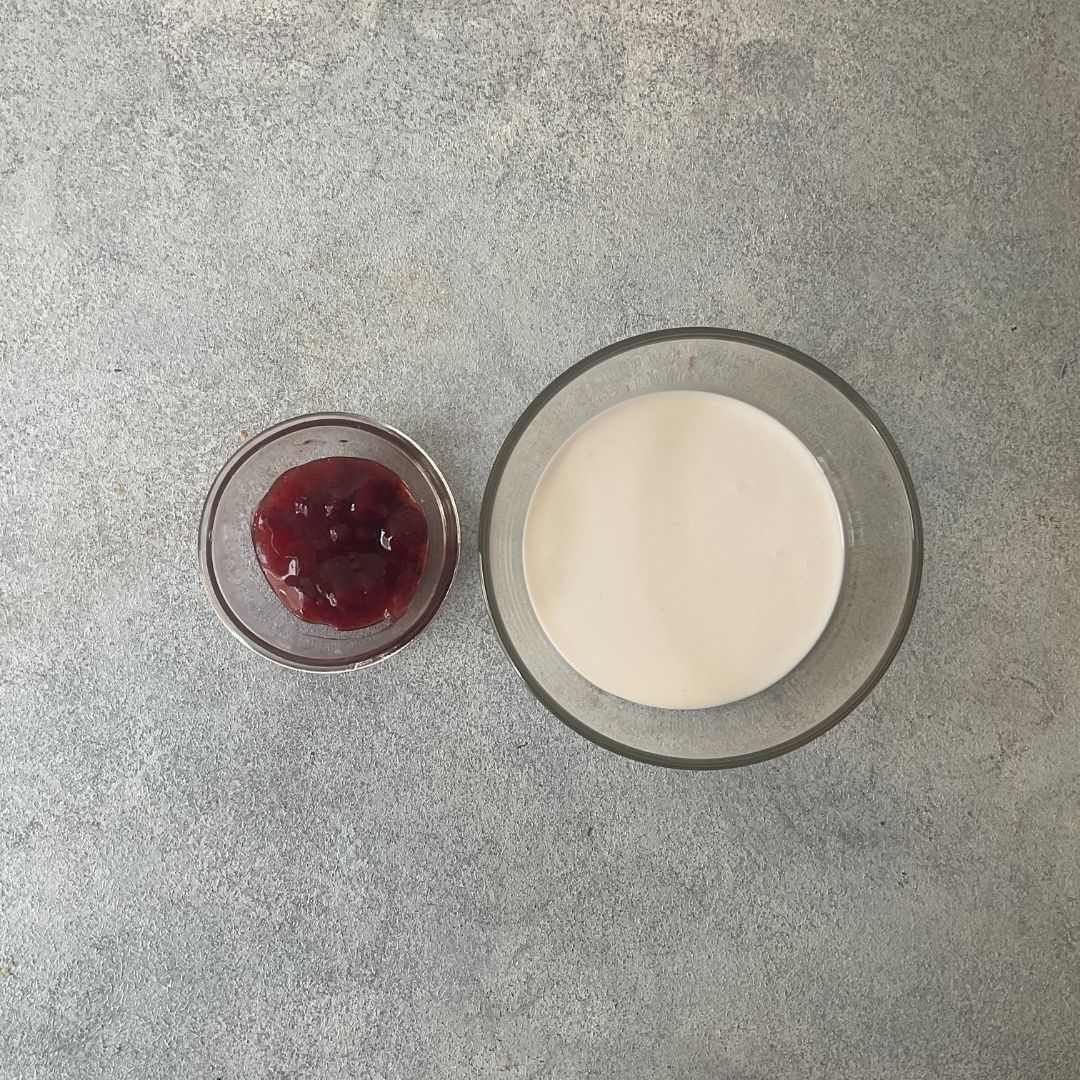
Transfer it to a piping bag and keep it aside to assemble the cake.
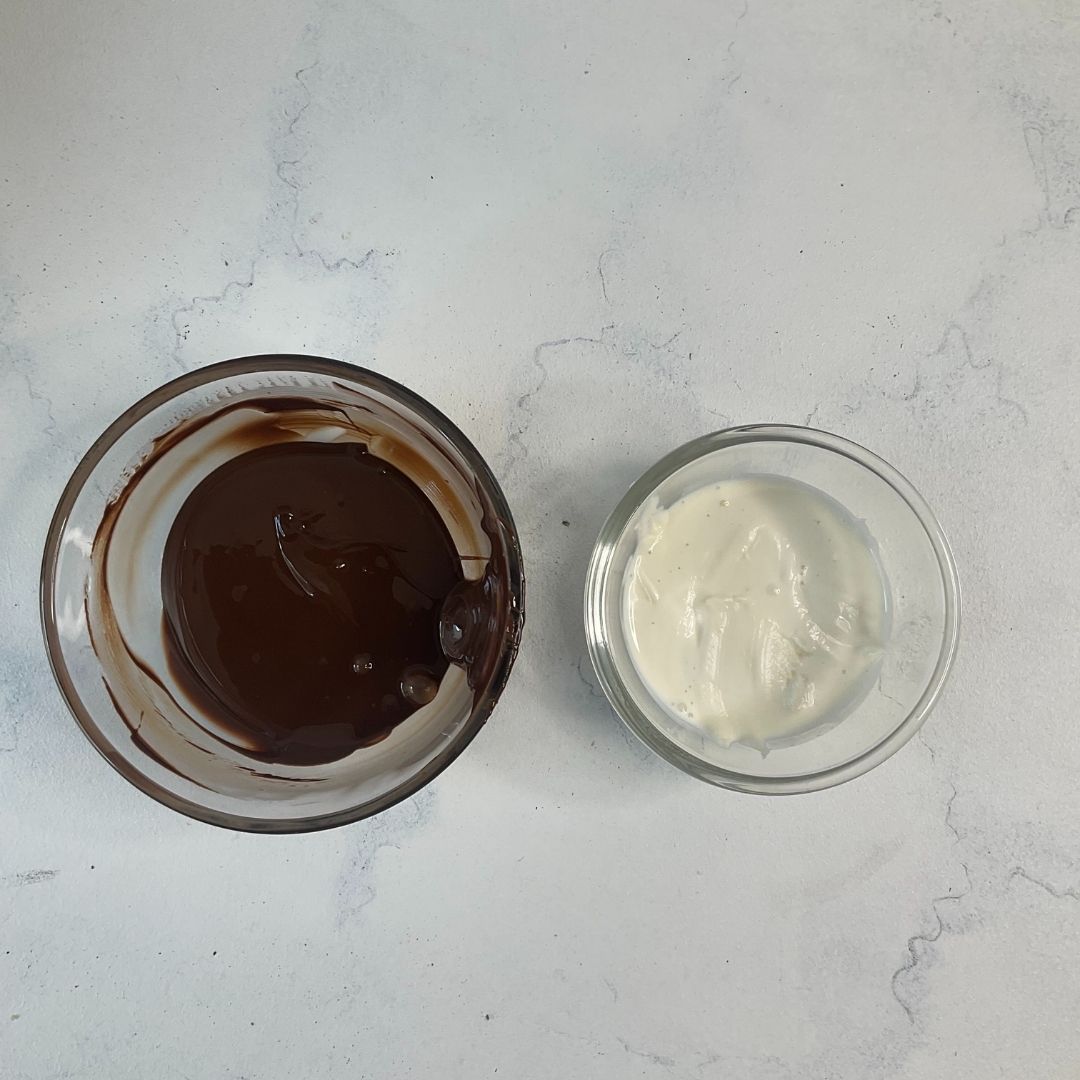
For chocolate drip

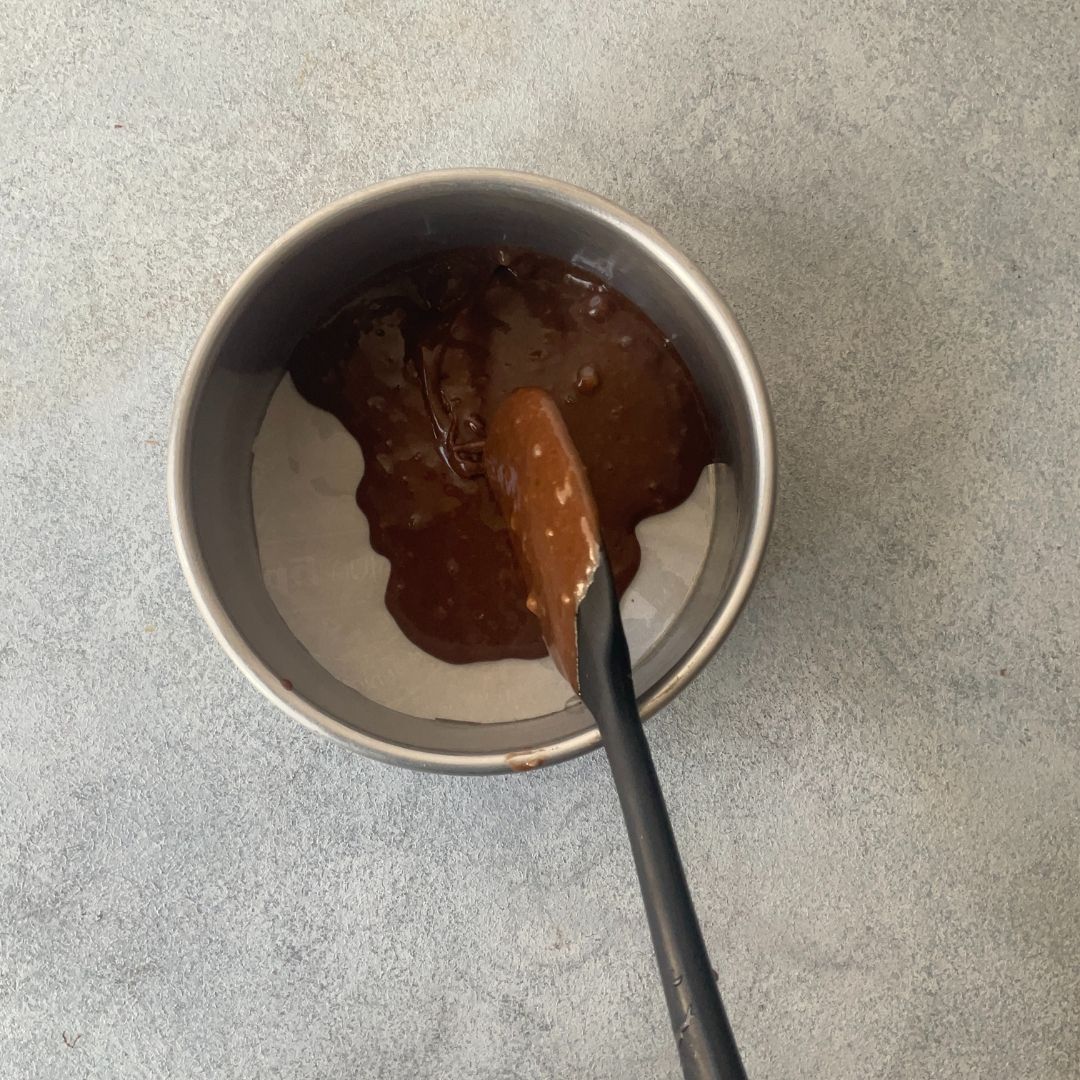
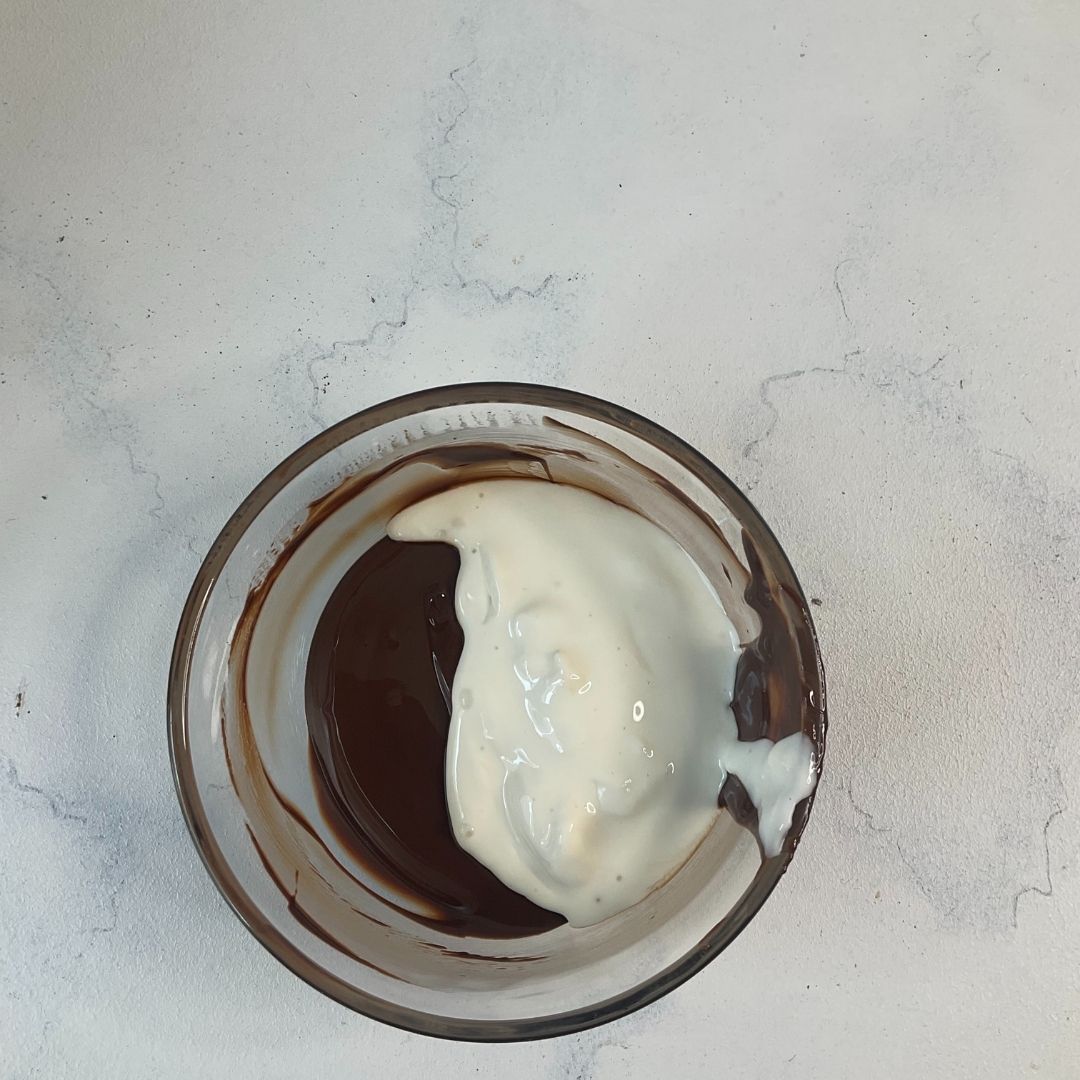
Warm cream and melt chocolate: Warm fresh cream and melt dark chocolate separately.

Make Ganache: Mix both of them to get a flowy ganache. Transfer this to piping as well so that it is easy to give the drip to the cake.

For frosting

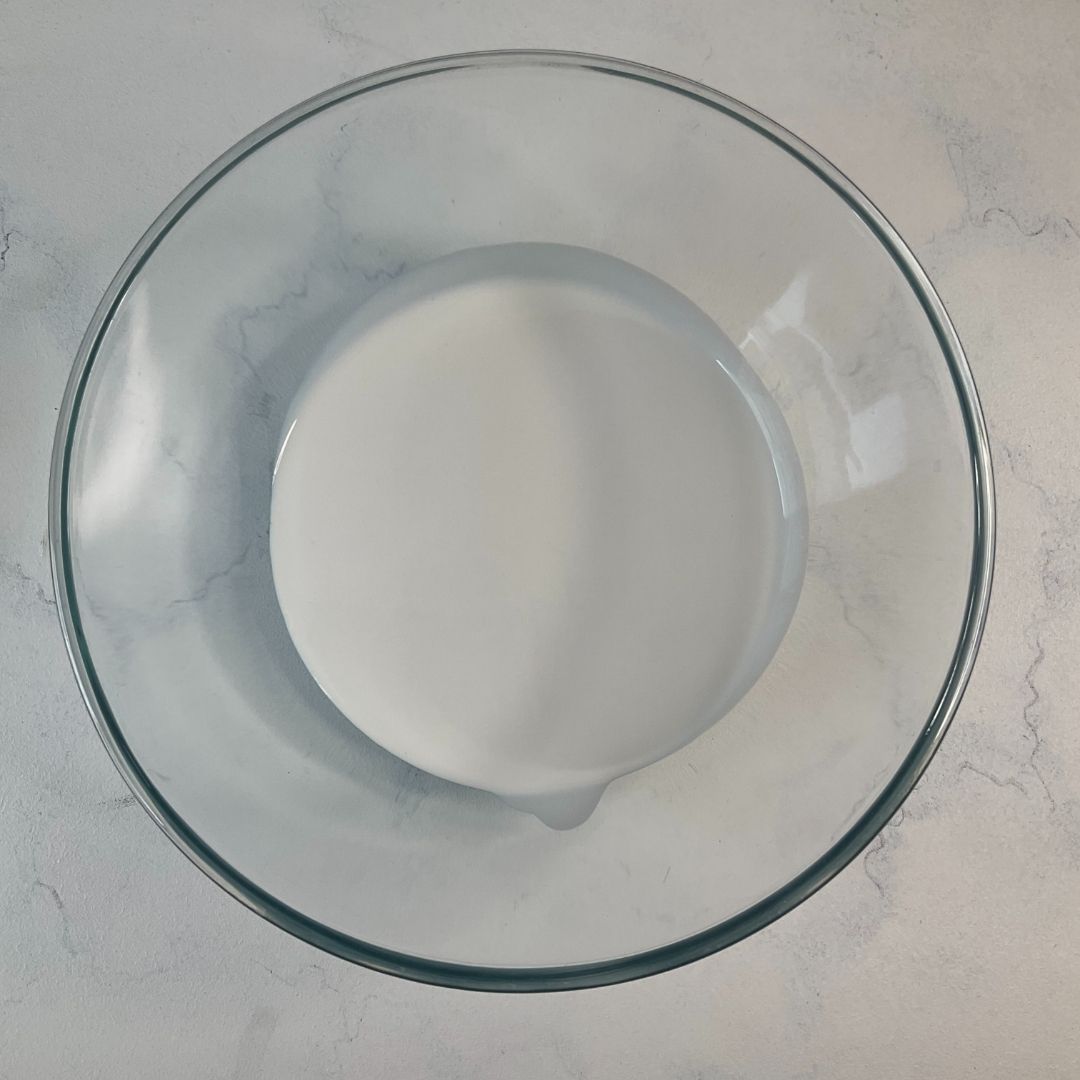
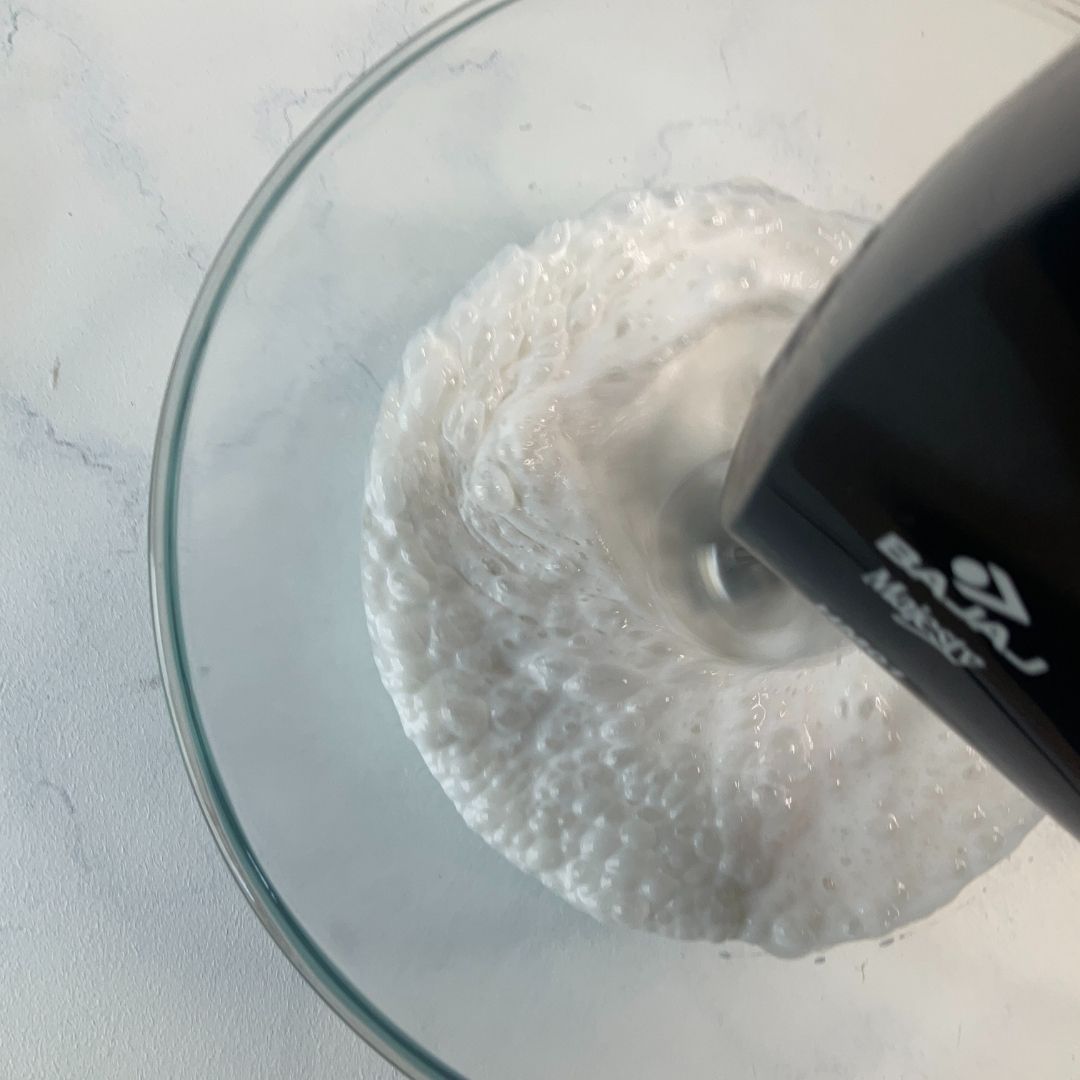
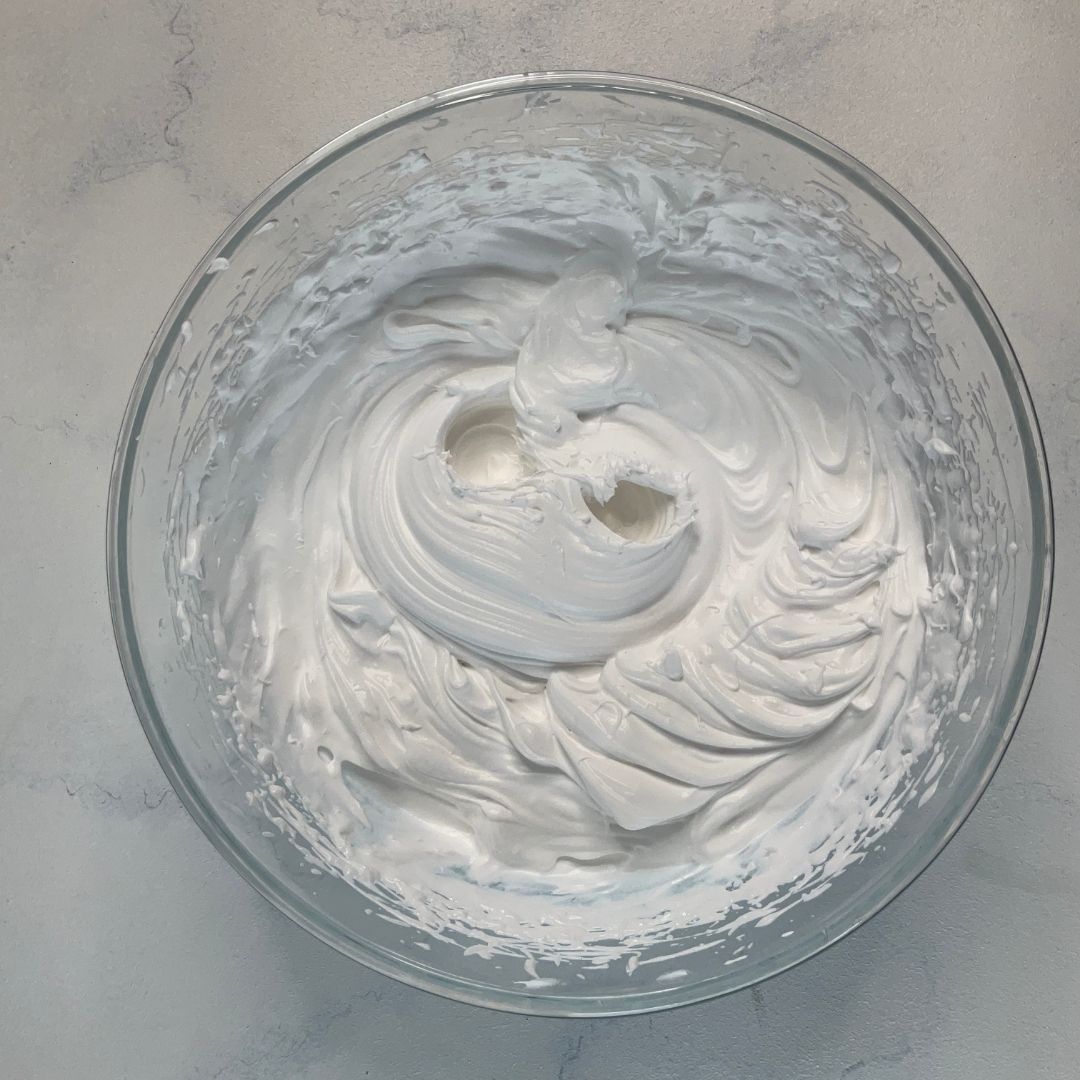
Beat Whipping Cream: In a bowl, whip sweetened whipping cream to a soft peak with an electric hand beater.

For the soaking syrup

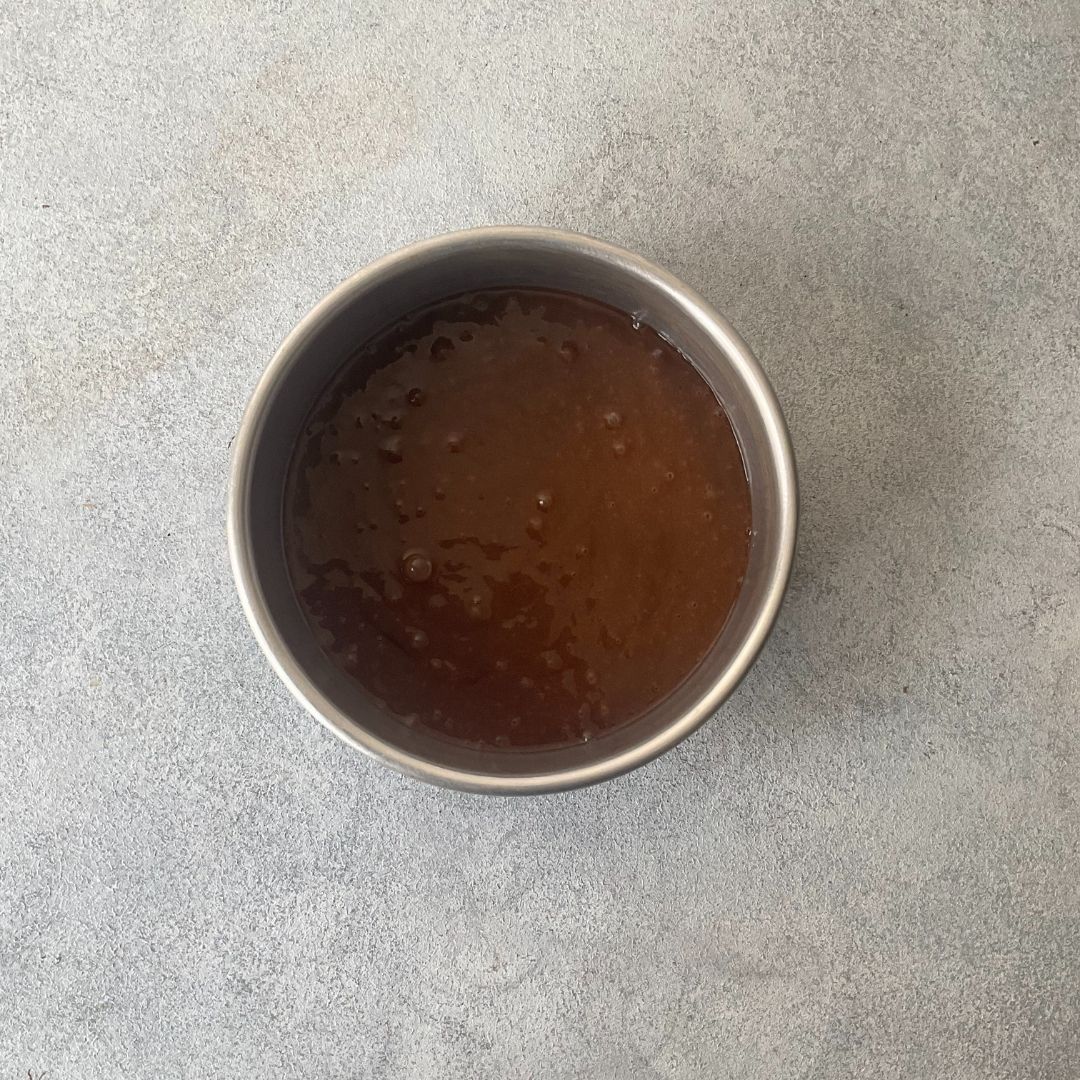
Mix Water and Vanilla: Mix the water and vanilla essence in a small bowl. I am using vanilla essence and Water for soaking syrup as it complements the banana split cake’s flavor.

Assembly

Keep all the elements ready before assembling the cake.

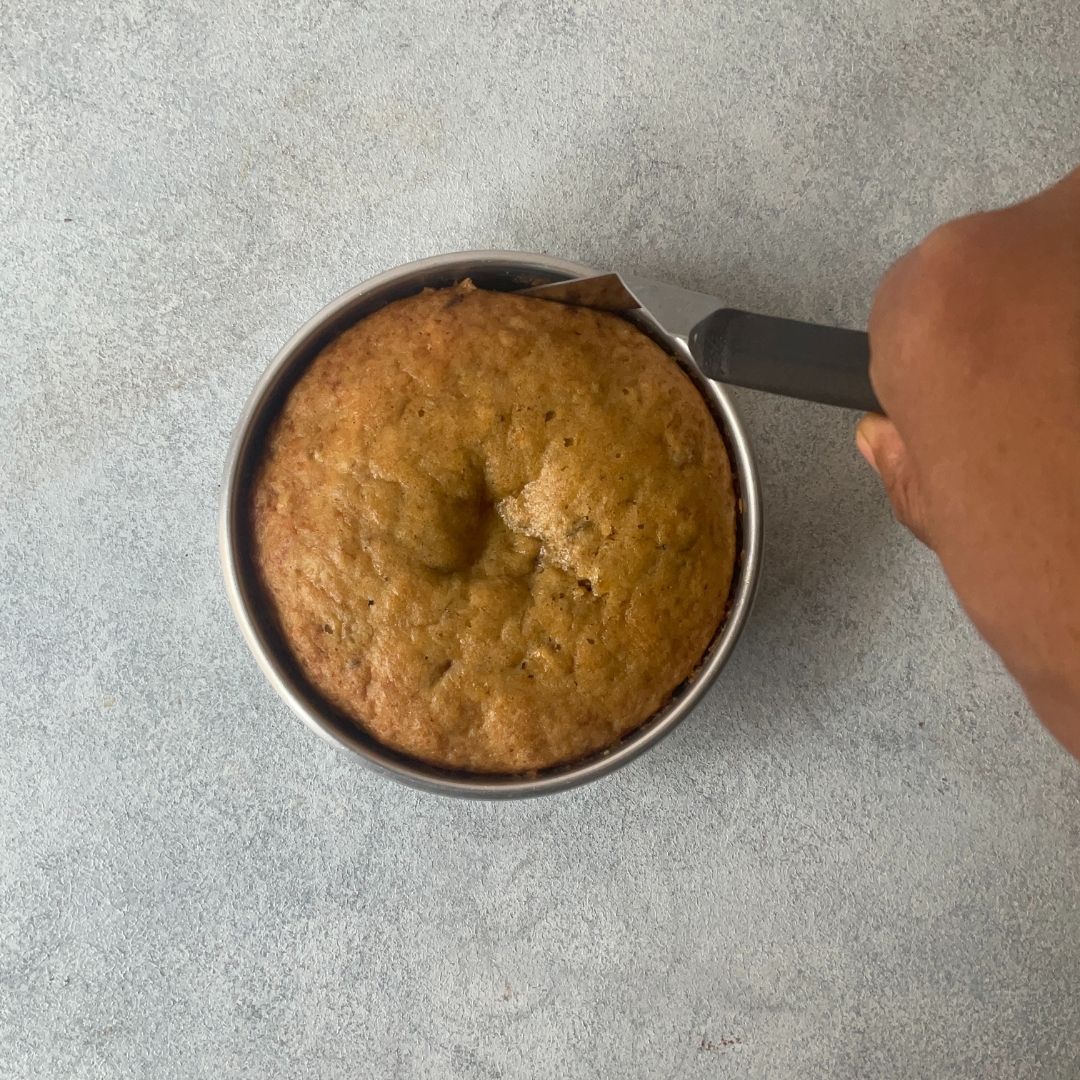
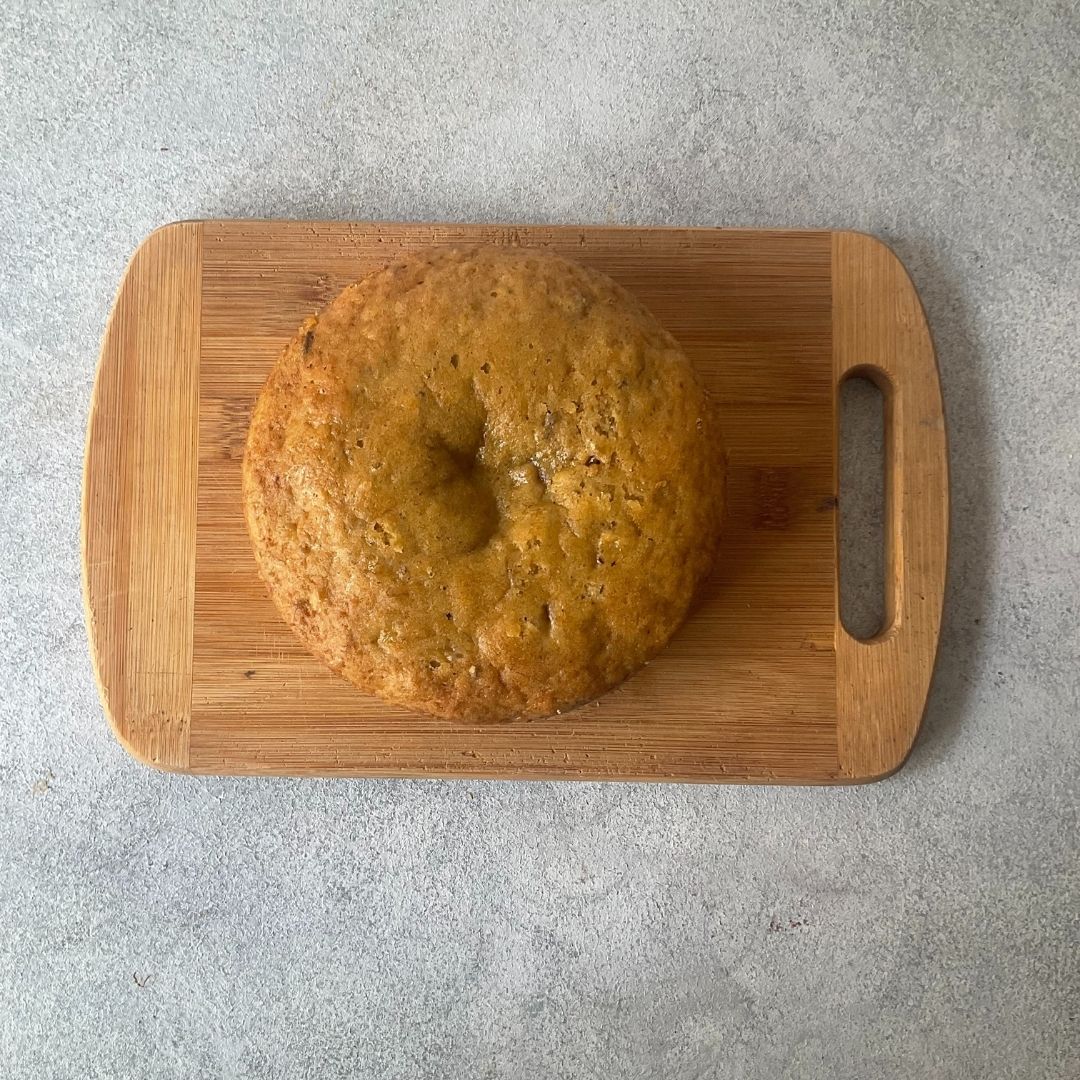
De-mould Sponges: De-mould the sponges from the tins with a bent palette knife. Make sure that the pressure is on the side of the tin while de-moulding. Ensure that the sponges have completely cooled down before de-moulding.

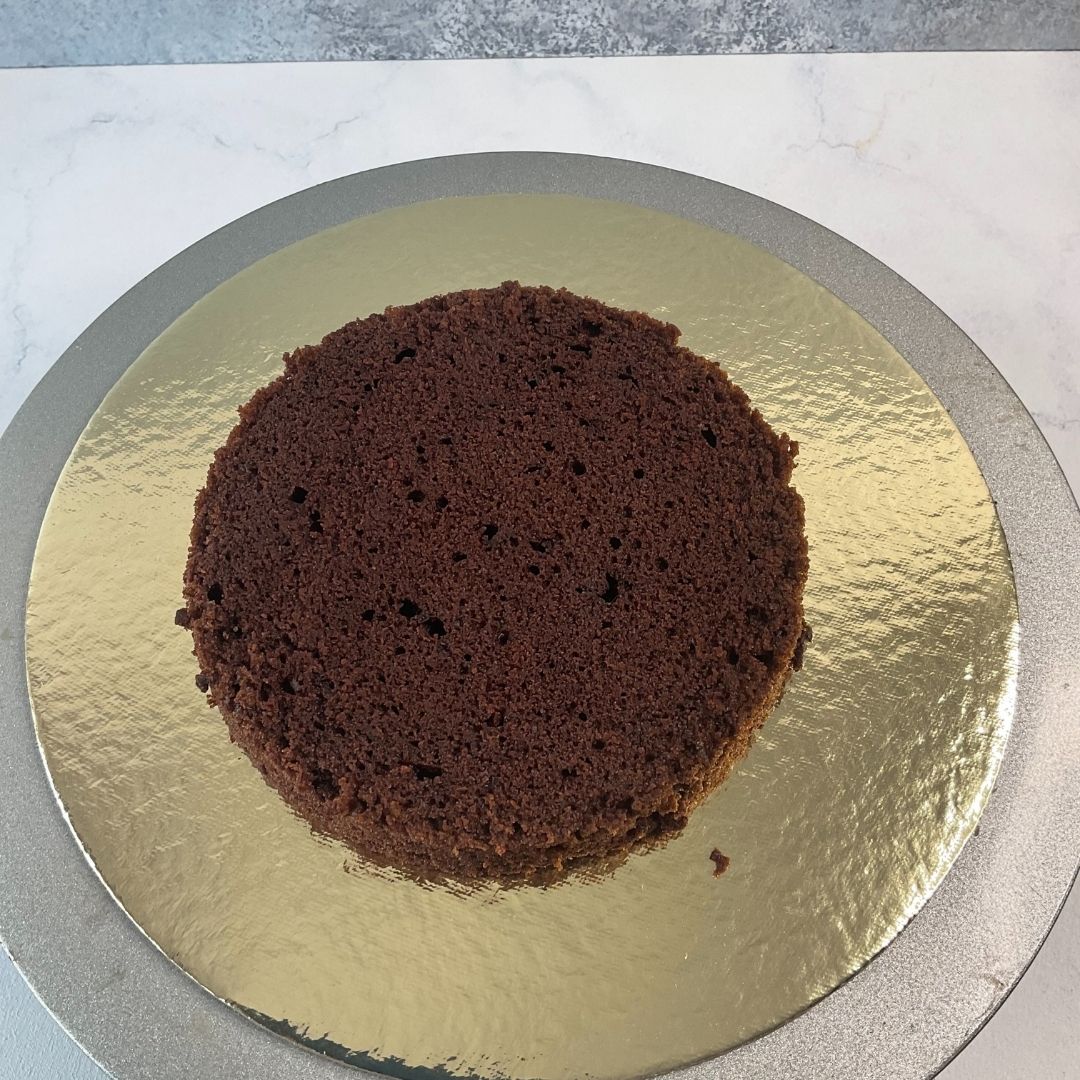
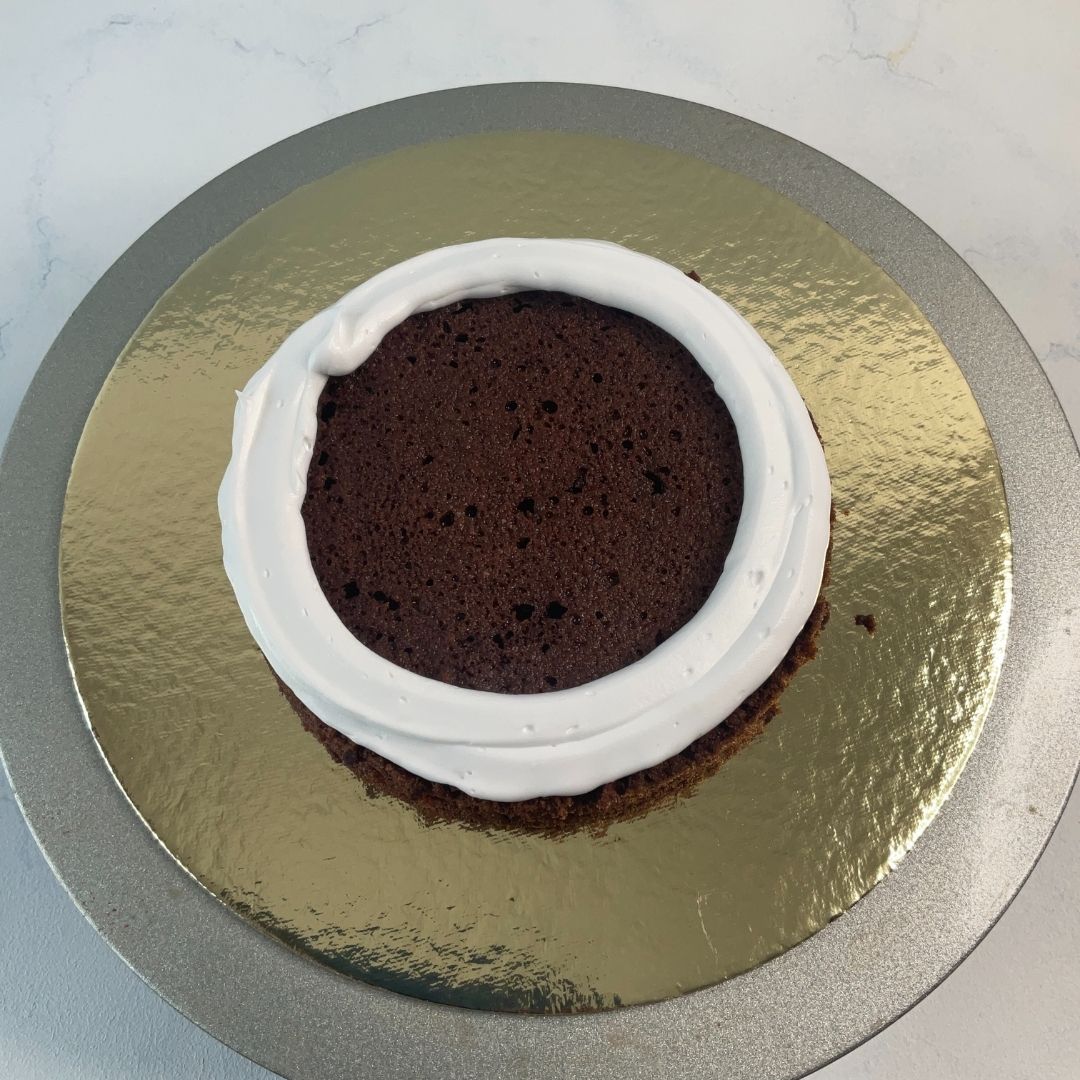
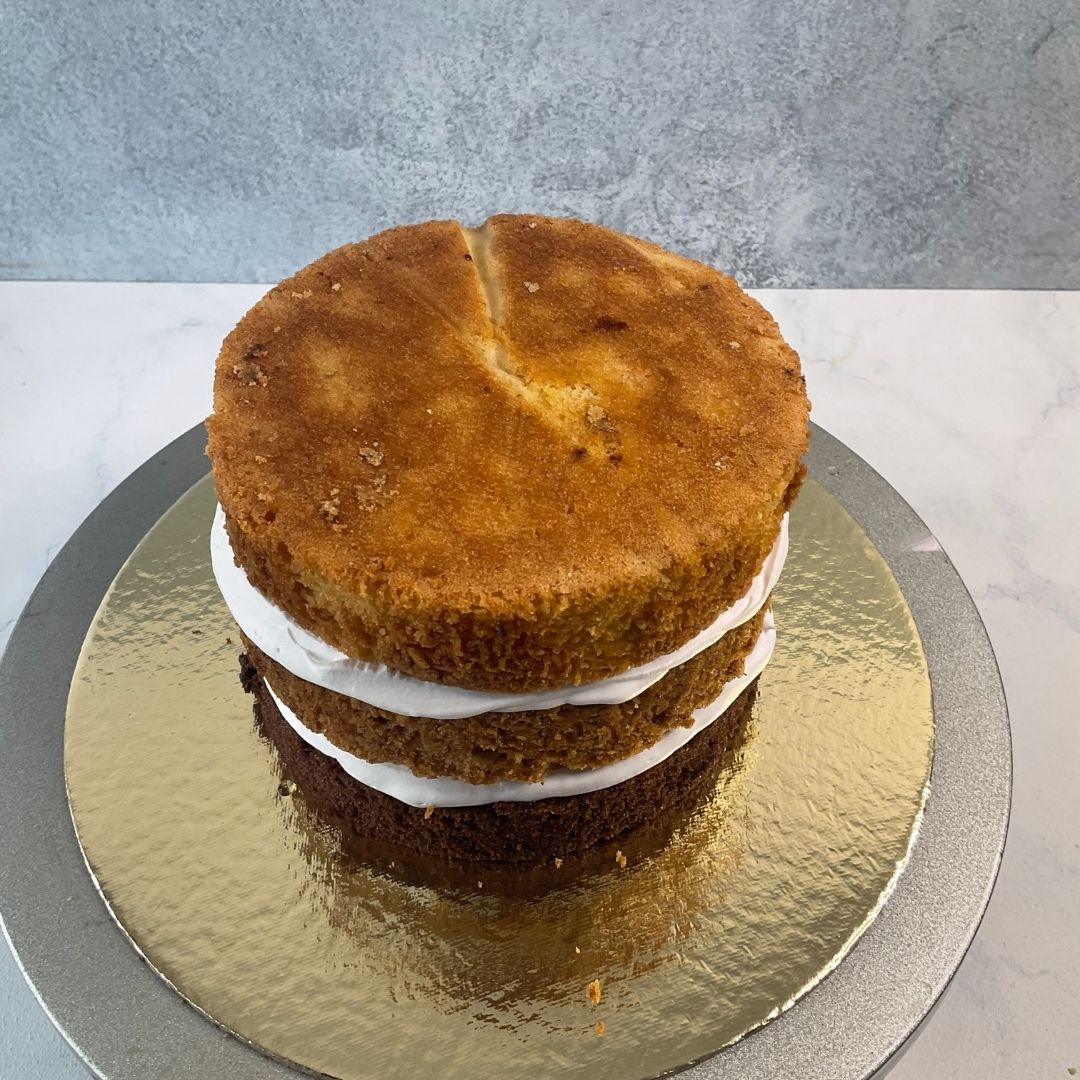
Add Frosting: Now, on a cake base, spread some frosting and place the chocolate sponge on top.

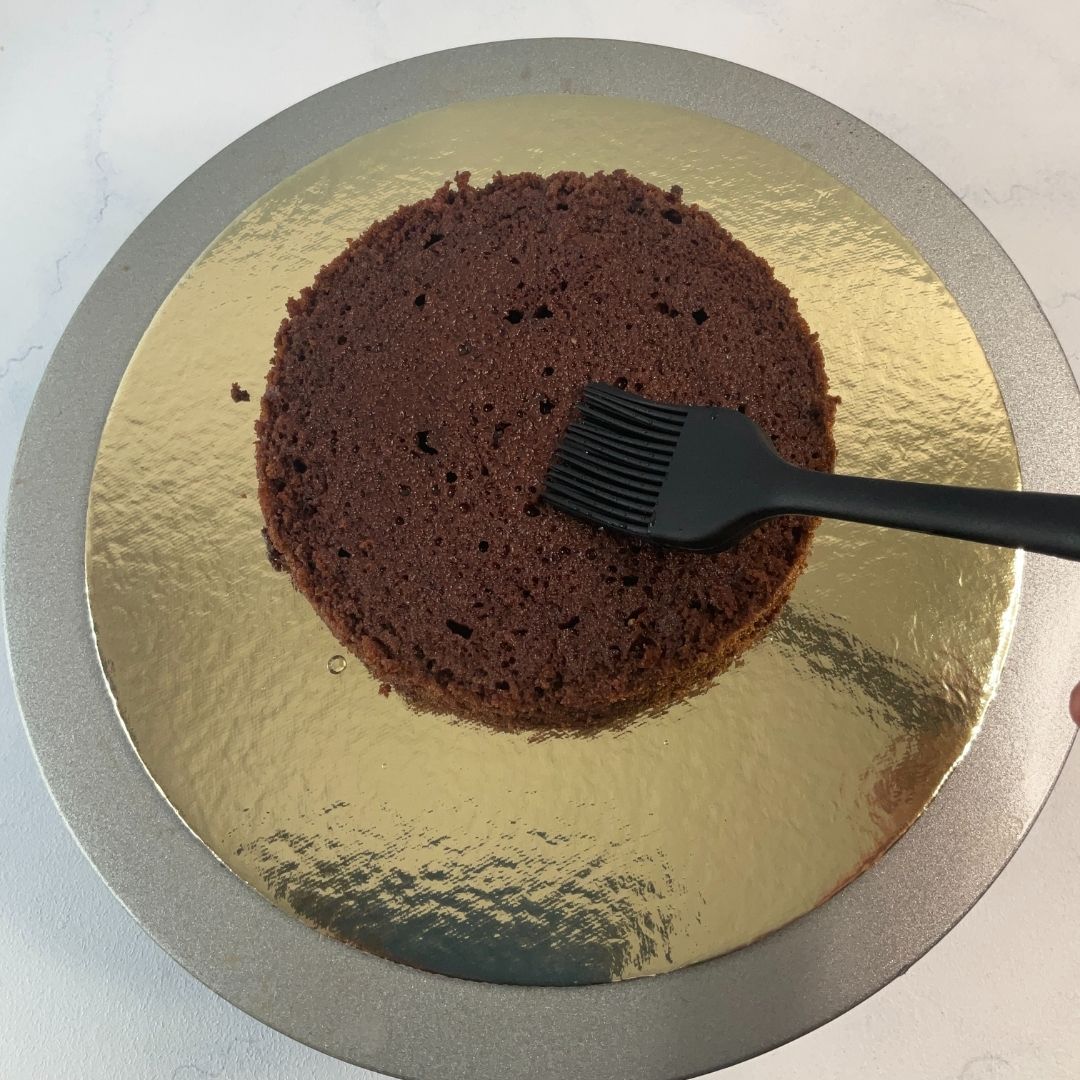
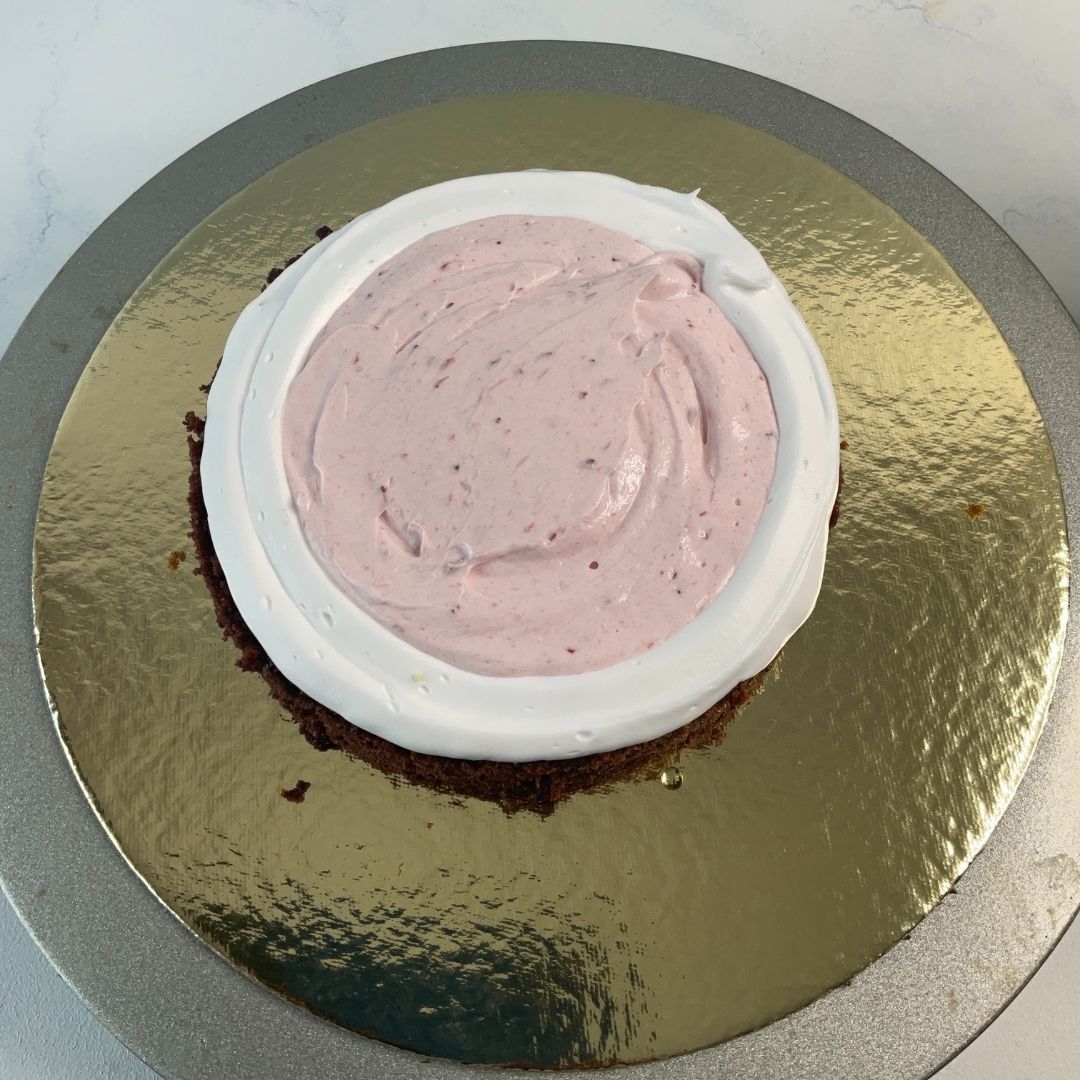
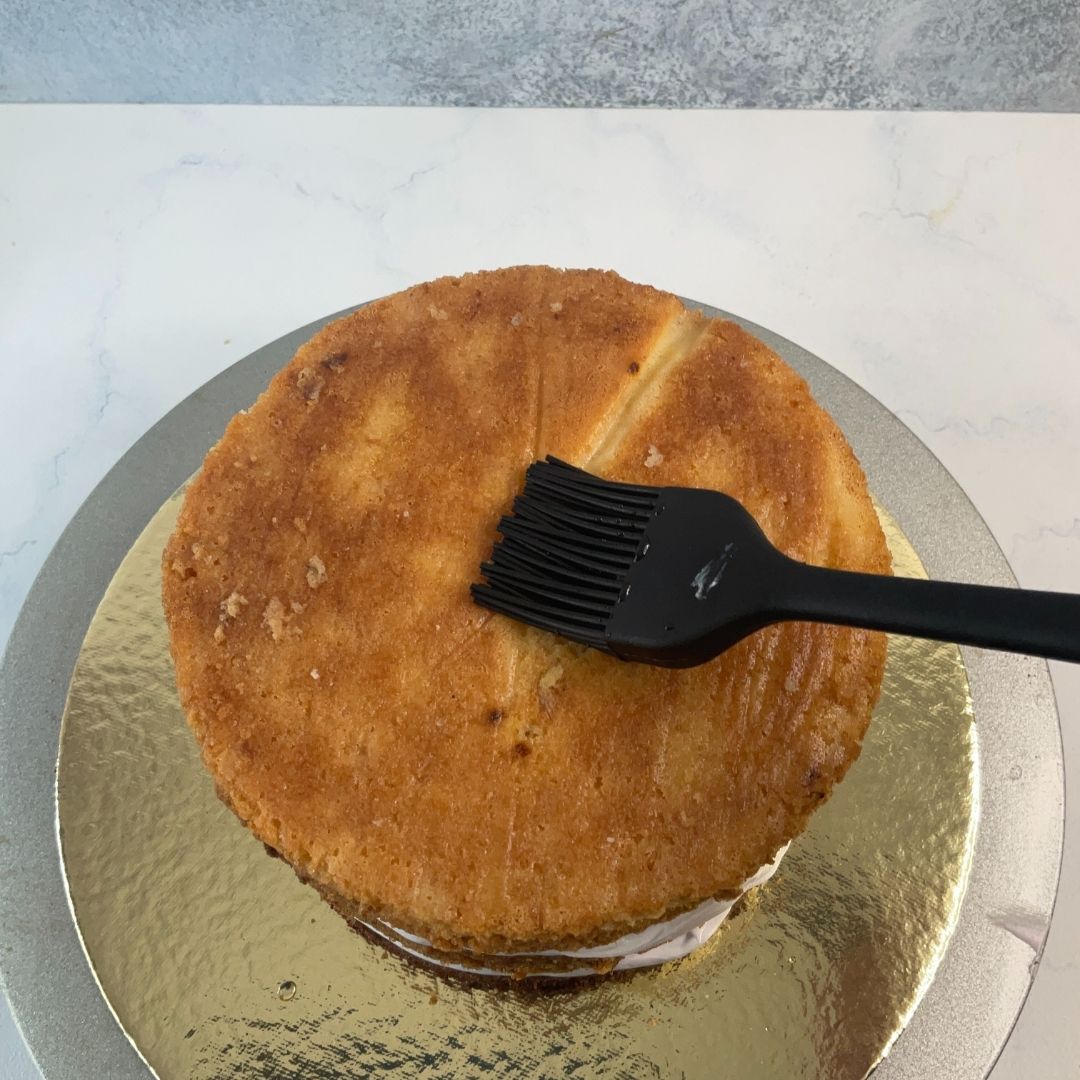
Soak And Frost: Brush the sponge with soaking syrup using a pastry brush. Now pipe the frosting around the edge of the sponge and fill the middle with the strawberry filling, then smooth out using a palette knife.

Add Banana Sponge: Place the banana-flavoured sponge on top and repeat the same process as we did with the ganache layer.

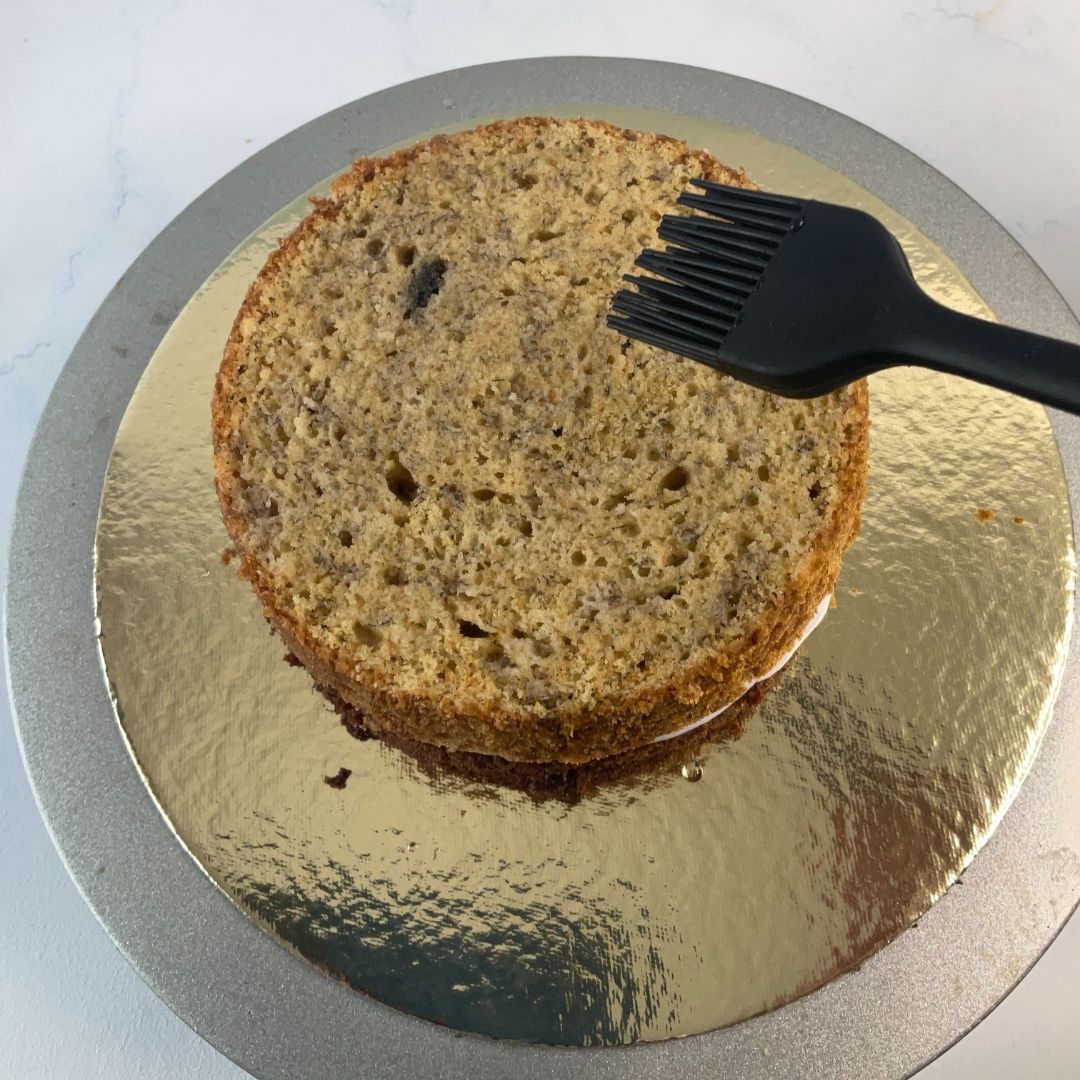
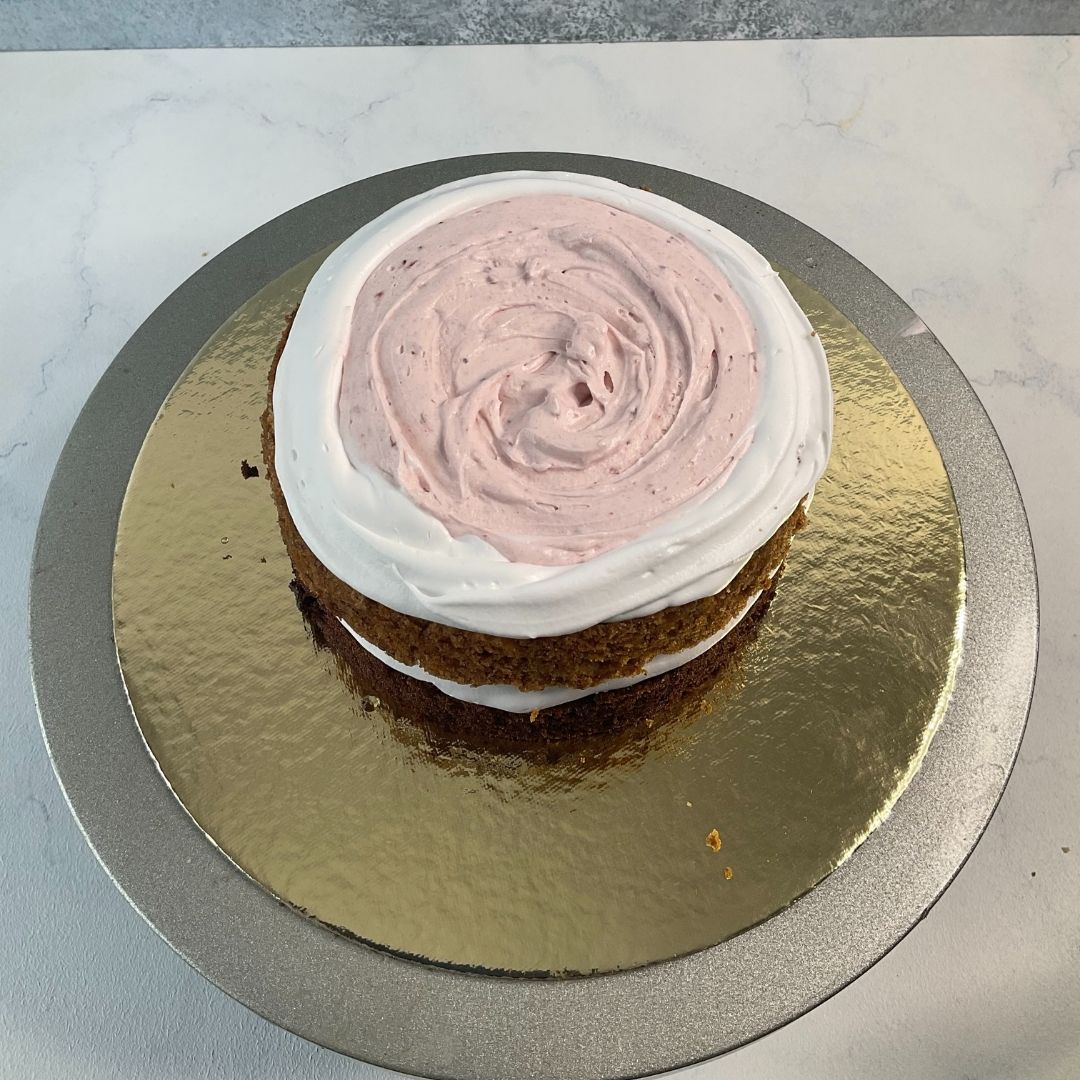
Add Vanilla Sponge: Place vanilla sponge on top and soak it with soaking syrup.

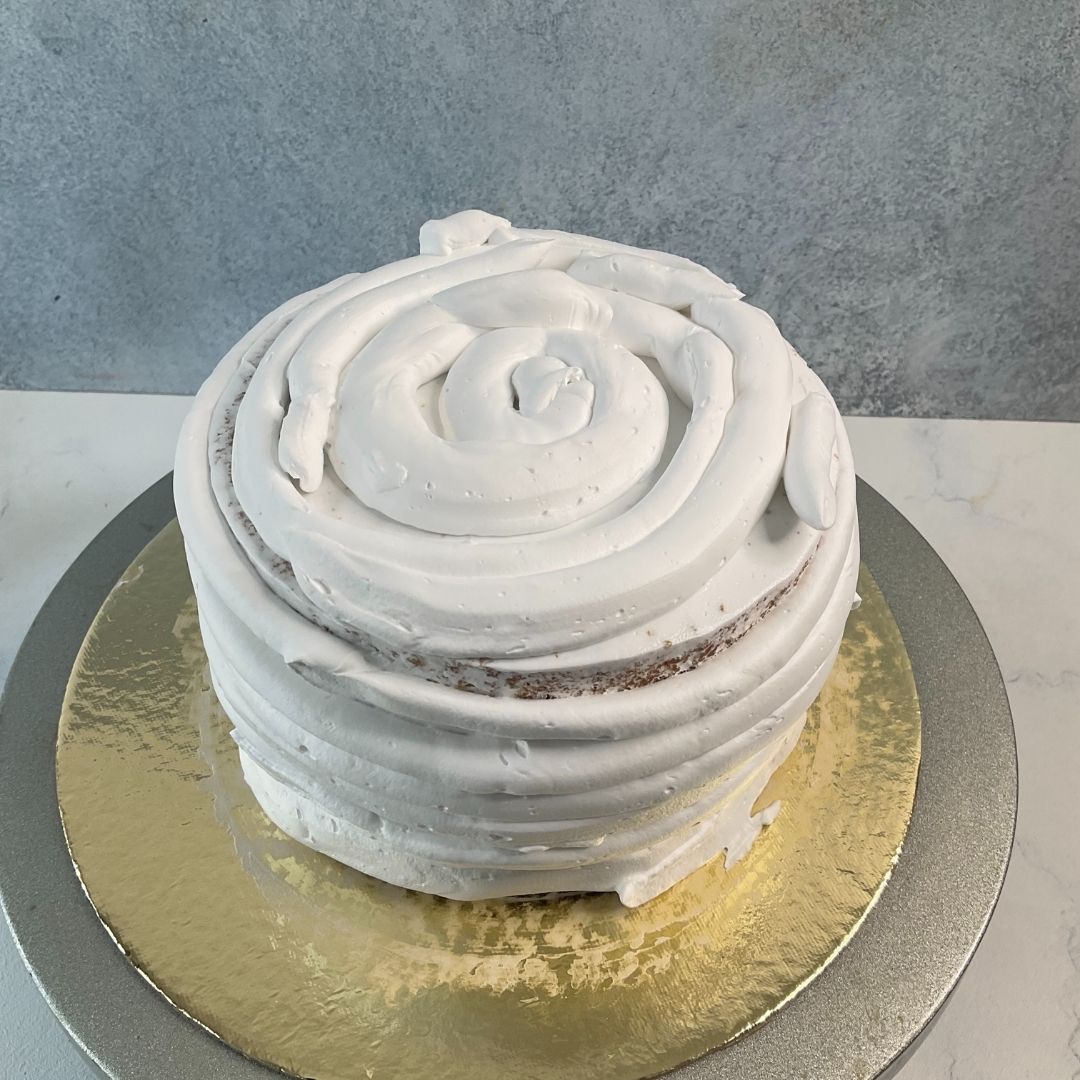
Crumb Coat: Crumb coat the cake with frosting by piping thin layers of frosting all over the cake. Smooth out and remove the excess with a metal or plastic scraper.

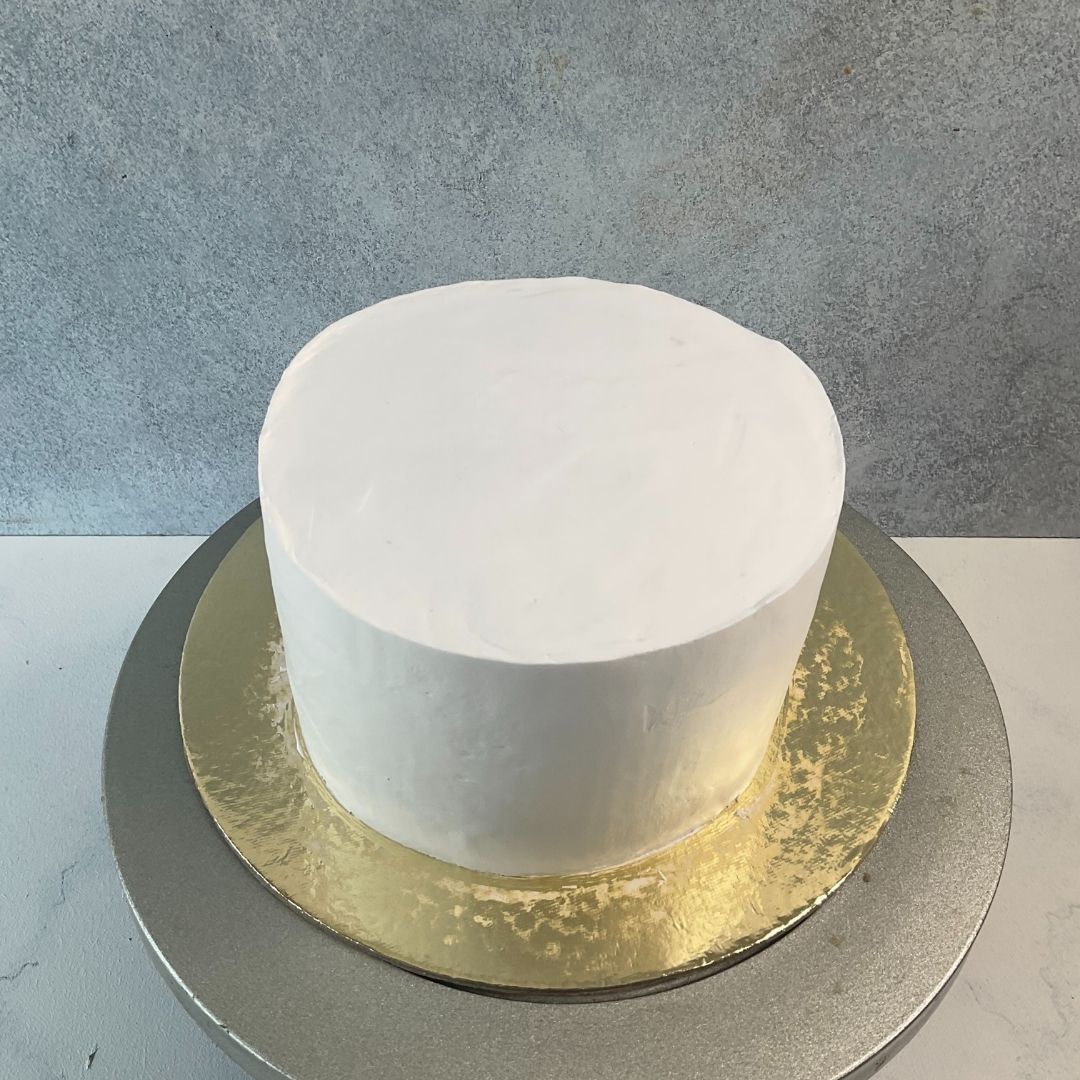
Freeze: Keep the crumb coated in the fridge for about 15-20 minutes or until the frosting sets a little.

Final Coating: Give the cake its final coating by frosting a thick layer of frosting all over the cake. Smooth the frosting with a palette knife.

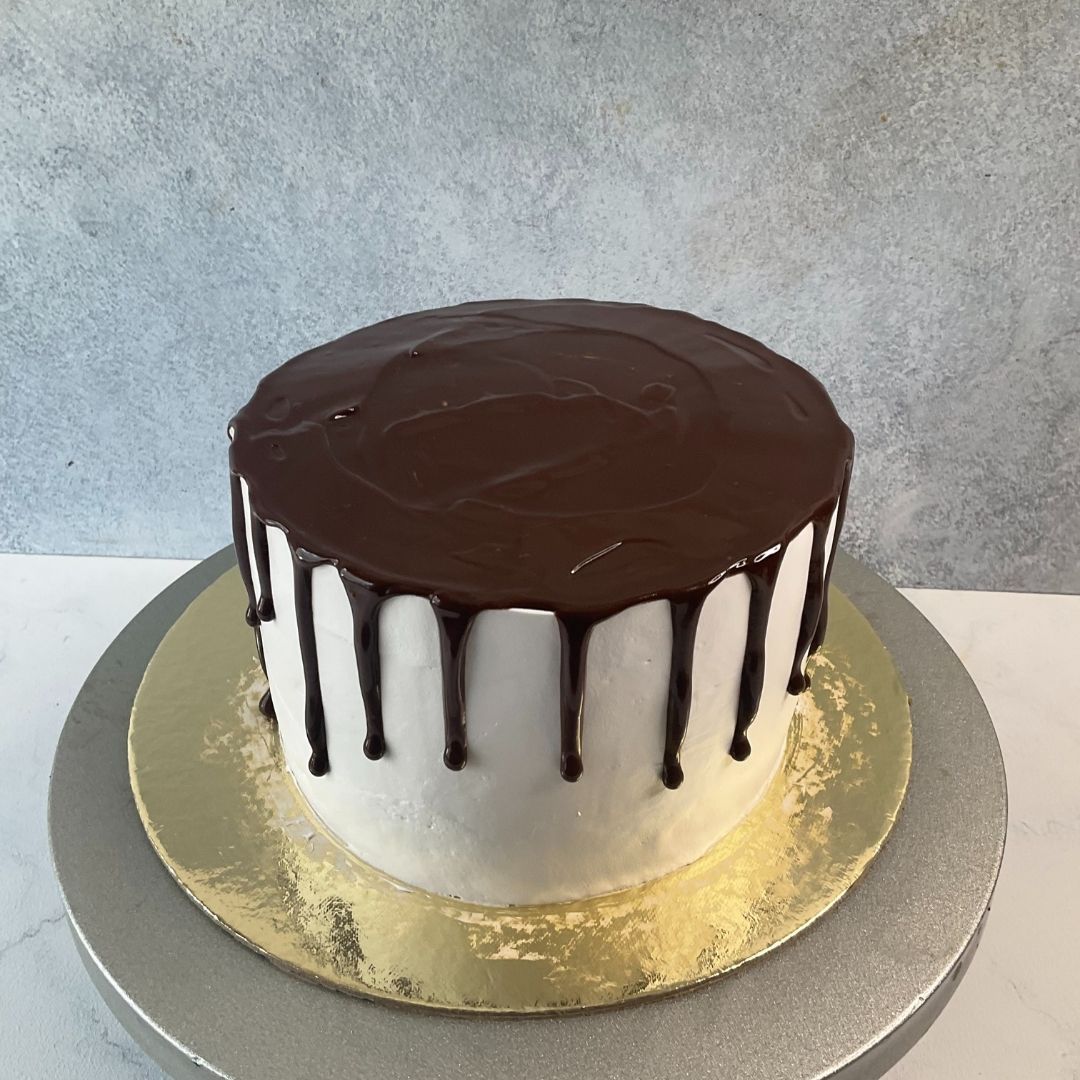
Decorate: Stick rainbow sprinkles on the base of the cake with your hands. Now apply the flowy ganache on top and give a drip effect. Ensure you do not apply too much pressure while giving a drip effect, or it will not look as pleasant as it should. If your ganache is too thick, you can add a little bit of warm milk to it. And if the ganache is too thin, add melted chocolate and mix.

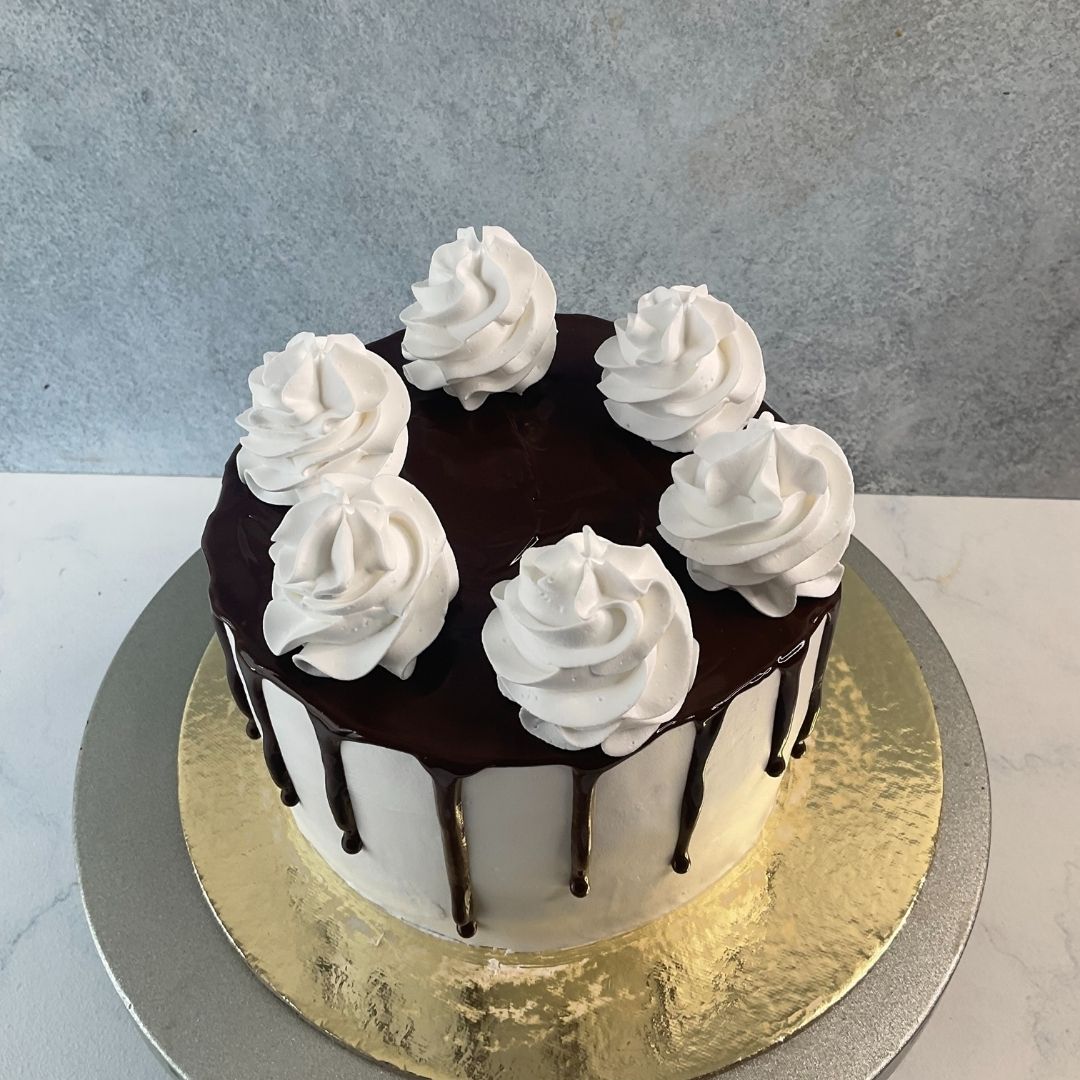
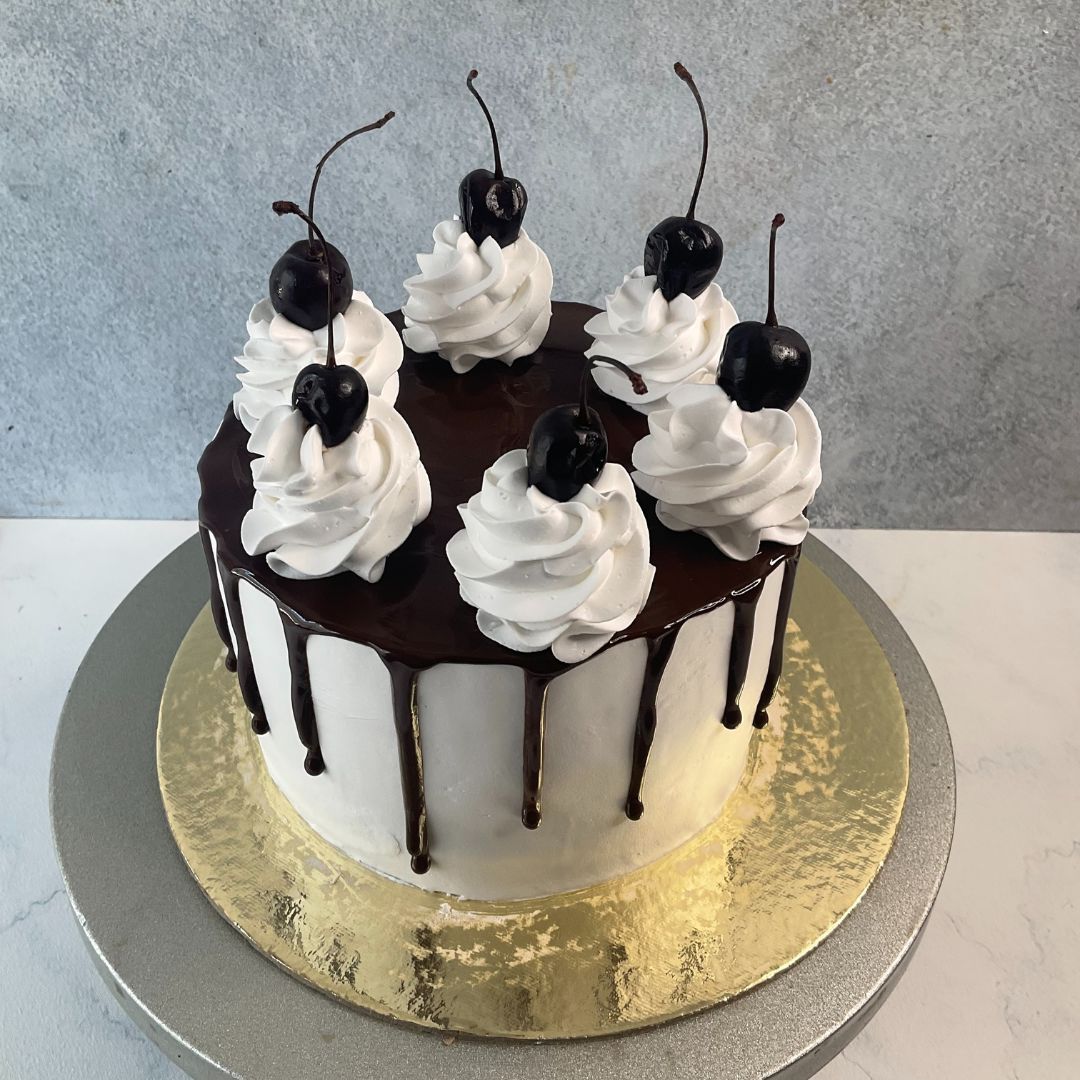
Pipe Frosting: On top, pipe swirl of frosting using a 1M nozzle. And top it with fresh cherries. You can maraschino cherries as well.

Garnish: Lastly, sprinkle the top with rainbow sprinkles, and your banana split cake is complete.

Chef’s Tip For Making Banana Split Cake

Use Right Bananas

Use ripe bananas for the best flavor and texture. Ripe bananas are easier to mash and add natural sweetness and moistness to the cake.

Tip For Whipped Cream

While whipping the frosting, make sure that you do not whip it till a stiff peak; otherwise, while frosting, it may create air bubbles.

Assembly Tip

While layering the cake and filling, it is important to spread each layer evenly to ensure consistent flavours and textures in each bite. Chill the cake for a minimum of 15 – 20 minutes before the final coating of the cake. This helps stray crumbs to stay in place. 

Tip for Garnish

Make sure you place the fresh cherries or maraschino cherries before serving. The fresh cherries will dry out, and maraschino cherries will bleed their colour if added in advance. Also, ensure you add sprinkles at the last moment, or they may lose their vibrant colour. 

How To Store Banana Split Cake?

Fully frosted cake can be stored in the fridge for at least three days. Make sure you keep it in an airtight container.

The sponges can be stored in the fridge for up to 15 days after wrapping it tightly with cling wrap. And in the freezer for about one month. 

More Easy Recipe

Check out our other delicious recipe that is as incredible as this Banana split Cake:

French Vanilla Cake

Chocolate Blueberry Cake

Black tie Mousse cake

Mango Crepe Cake

Frequently Asked Questions

Can I use frozen bananas instead of fresh bananas to make Banana Split Cake?

Although fresh bananas are typically used to make this cake, You can use frozen bananas; make sure you thaw them before mashing. Remember that frozen bananas have more moisture than fresh bananas, which can affect the cake’s texture. 

Can I customise the flavour and filling of Banana Split Cake?

Absolutely! You customise this cake according to your choice. While banana, chocolate and vanilla are the main components, you can also try adding pineapple flavour. 

Is Banana Split Cake a kid-friendly dessert?

Yes, Banana Split cake is kid-friendly and will surely be a hit amongst children and adults alike. The flavours and colourful presentation of the cake make it a crowd-pleaser for all ages. 

Can I substitute whipped cream with Vanilla Buttercream or any other frosting?

Yes, you can substitute whipped cream with Vanilla Buttercream. You can also try frosting the cake with strawberry frosting or chocolate frosting.

Print
clock clock iconcutlery cutlery iconflag flag iconfolder folder iconinstagram instagram iconpinterest pinterest iconfacebook facebook iconprint print iconsquares squares iconheart heart iconheart solid heart solid icon

Banana Split Cake Recipe

Indulging in a classic banana split ice cream sundae is pure bliss. Imagine having a cake with all the components of a banana split sundae, a heavenly combination of the best of both worlds.

  • Total Time: 105 to 130 minutes

Ingredients

Scale

For Vanilla And Chocolate Sponge

  • 225g All-Purpose Flour
  • 200g Castor Sugar
  • 1+1/2 Tsp Baking Powder
  • 1/2 Tsp Salt
  • 2 + 1/2 Tbsp Natural Cocoa Powder
  • 90g Oil
  • 3 nos. Eggs (medium sized)
  • 110ml Milk (a)
  • 2 Tbsp Milk (b)
  • 1 Tsp Vanilla Essence

For Banana Sponge

  • 150g All-Purpose Flour
  • 2 nos. Ripe Banana
  • 1 Tsp Lemon Juice
  • 75g Oil
  • 1 no. Egg (Medium Sized)
  • 1/2 + 1/4 Tsp Baking Powder
  • 2g Baking Soda
  • 50g Brown Sugar
  • 25g Castor Sugar
  • Pinch Of Salt
  • 1/4 Tsp Vanilla Essence

For Filling

  • 50g Strawberry Compote
  • 100g Whipping Cream

For Chocolate Drip

  • 80g Dark Couverture Chocolate
  • 80g Fresh Cream

For Frosting

  • 200g Whipping Cream

For Soaking Syrup

  • 50ml Water
  • 1 Tsp Vanilla Essence

For Garnish

  • Fresh Cherries As Required
  • Rainbow Sprinkles As Required

Instructions

For Vanilla And Chocolate Sponge

  1. Preheat your oven to 180°C or 350° (OTG mode: upper rod + lower rod + fan). Prepare two baking tins by greasing oil and placing butter paper at the bottom.
  2. Add oil, eggs, milk (a), and sugar in a bowl and give it a nice mix.
  3. In the same bowl, sieve in the dry ingredients: all-purpose flour, baking powder and salt. Mix everything.
  4. Transfer ½ of the batter to a different bowl and mix in natural cocoa powder and milk (b). Mix it properly until there are no lumps.
  5. Transfer both batters into two baking tins and bake them at 180° or 350° (OTG mode: lower rod only) for 30-35 minutes.
  6. After baking, let them cool down completely.

For Banana Sponge

  1. Prepare a 6-inch round tin by greasing it with oil and line the bottom with butter paper.
  2. Preheat your oven to 180°C or 350° (OTG mode: upper rod + lower rod + fan).
  3. In a bowl, take peeled ripe banana and mash with a fork.
  4. Add in lemon juice, eggs, oil and vanilla essence and give it a nice mix.
  5. Now add in both the castor and the brown sugar and mix again.
  6. Sift dry ingredients that are all-purpose flour, baking powder, baking soda, and salt into the same bowl using a sieve or sifter.
  7. Give everything a nice until there is no trace of any dry ingredients.
  8. Transfer the batter to the remaining baking tin and bake at 180°C or 350° (OTG mode: lower rod) for about 25 – 30 minutes or until a toothpick inserted in the middle comes out clean.

For Filling

  1. Add whipping cream and strawberry compote in a bowl, then whip them until you get a nice soft peaked whipping cream.
  2. Transfer it to a piping bag for further use.

For Chocolate Drip

  1. Melt chocolate and warm cream separately.
  2. Mix both of them until a flowy ganache is formed. 
  3. Transfer it to a piping bag and keep it aside.

For Frosting

  1. Whip the whipping cream with an electric hand beater until a soft peak is achieved.

For Soaking Syrup

  1. In a bowl, mix water and vanilla essence and keep it aside.

Assembly

  1. De-mould the sponges from the tins with a bent palette knife.
  2. Now on a cake base, spread some frosting and place the chocolate sponge on top.
  3. Brush the sponge with soaking syrup using a pastry brush.
  4. Now pipe the frosting around the edge of the sponge and fill the middle with the strawberry filling, then smooth out using a palette knife.
  5. Place the banana-flavoured sponge on top and repeat the same process as with the chocolate layer.
  6. Place the vanilla sponge on top and soak it with soaking syrup.
  7. Crumb coat the cake with frosting by piping thin layers of frosting all over the cake.
  8. Keep the crumb-coated cake in the fridge for about 10 – 15 minutes. 
  9. After 15 minutes, give the cake its final coating by frosting a thick layer of frosting all over the cake. Smooth the frosting with a palette knife.
  10. Stick rainbow sprinkles on the base of the cake with your hands.
  11. Now apply the flowy ganache on top and give a drip effect around the edge of the cake. 
  12. Pipe dollops of swirls on top using a 1M nozzle and place fresh cherries on top of them,
  13. Lastly, sprinkle the top with rainbow sprinkles.
  • Author: Chef Mansi Jain
  • Prep Time: 15 to 20 minutes
  • Assembly Time: 30 to 40 minutes
  • Cook Time: 60 to 70 minutes

Leave a Comment

Your email address will not be published. Required fields are marked *

Recipe rating 5 Stars 4 Stars 3 Stars 2 Stars 1 Star

“I achieved 10% of my short-term manifestation before my target date”
Before this program I knew a little about manifestations, but as I discovered during the program, I had a lot of limiting beliefs that kept me from fully embracing and accepting myself as a manifestor.
During this program I became more aware of what manifestation is and how powerful I am. I become more aware of my guides, of my highest self and that I can pull the best of my highest self into my present. Since this program I no longer wrestle with trying to convince myself that what I desire will happen. I know that it has happened, it is done and it is mine, here and now. I achieved 10% of my short-term manifestation before my target date, my eyesight has improved and I no longer need glasses for distance vision, only for reading, I gave myself a make-over as part of my commitment to my renewal and I began to de-clutter my space.
Trevor Buikies
Entrepreneur
Durban, South Africa
“My professional and personal life has seen significant positive changes”
Joining “The Art of Manifesting” was a life-changing decision for me. This is now the third time going through the quest and focusing on different areas of manifestation.
Regan is a powerful guide and she walks the talk.
This 28-day journey was a blend of practical techniques and profound energetical activations. I learned to visualize my goals clearly, expand my possibilities, and overcome the limitations holding me back from living a life i desire. The quest’s unique approach to identity hacking helped me align my inner self with my aspirations, making the manifestation process more effective and authentic.
The biggest takeaway for me was the acceleration of manifestation by bending time and tapping into the highest frequencies. The techniques taught in the quest enabled me to see results much faster than I expected. My professional and personal life has seen significant positive changes, and goals that once seemed unattainable are now within reach.
I’m beyond grateful for the wisdom and tools I’ve gained from this quest and Regan. It’s not just about manifesting; it’s about transforming your entire lifestyle. I highly recommend “The Art of Manifesting” to anyone looking to turn their dreams into reality.
Till Infinity
D
Dijana Llugolli
Coach
Stockholm, Sweden
“This course and listening to Regan’s podcasts gave me the tools to acknowledge my blocks and mindsets around drinking”
I have so enjoyed this journey with Regan, I am a new person as a result of this quest. I now have new beliefs & mindsets that I keep working on daily, hourly. A kinder and more compassionate version of me has emerged over this journey, and I love her!
This quest has resulted in me finding the lost me, the me that has been hidden under the voices of doubt, fear or just lack of awareness that I get to run my life not the other voices in my head or family and people around me. When we wire ourselves to the future version of us, then we make different choices and we are already a different person!
Thank you Regan, thank you Mindvalley, thank you tribe!!!! ❤❤, I love you all and wish you a magical Christmas and hope our paths may cross one day at Mindvalley events.
Rachael Courtenay
Orthopedic Physical Therapist
Royal Tunbridge Wells, United Kingdom
“My family’s net income unexpectedly increased while I was taking the quest”
Before taking this Quest I believed that the prerequisites of success were hard work, long hours, timing and a degree of luck; “1% inspiration and 99% perspiration” was my mantra. Trying to achieve success with this mindset was exhausting, frustrating and unsustainable.


I then discovered The Art of Manifesting … and was blown away.


The foundational teaching of focusing on your inner world to achieve has been transformative in the way I live my life. I now know that cultivating the feeling of already being in possession of that which you want, accelerates the manifestation of what you desire.


My family’s net income unexpectedly increased while I was taking the quest, and have discovered a path to manifest greater abundance in the year to come. But perhaps the biggest shift I experienced during this quest now knowing that I am worthy and deserving of abundance. Regan, I am eternally grateful to you, thank you :-)
Rahim Kassam
Financial Risk Analyst
Toronto, Canada
“Now, my manifestation is showing up right before my eyes in ways I hadn’t even considered”
Before this program, I believed somewhat in manifestation but never knew how to do it, or if it was real, and the little bit I did know ended up being completely wrong! This Quest has not only taught me how to manifest and put me on the path to doing it the right way, but I was actually able to manifest what I had set at the beginning.
I never thought it would actually come true, but I committed myself to the process and gave it 100% every day. And now, my manifestation is showing up right before my eyes in ways I hadn’t even considered. It’s truly blowing my mind.
I had a financial goal for the end of the Quest, and different opportunities for selling my artwork started coming up, and the deals are coming out almost to the exact number I had set.
Not only that, but I have truly transformed into a better version of myself in these short weeks, more than I had in the last few years, that my spouse has even noticed.
I’m so excited for what’s to come next and so grateful for this program. Thank you.
Hannah McGuire Silva
Artist
Olney, United States
“I have written a 50,000-word book, that is now in design”
I joined Mindvalley on New Year’s 2023. I am excited to share how life has significantly changed in the first 90 days of the year. Beginning with the Silva Method, I envisioned and transformed a dysfunctional personal relationship, into a loving, caring separation, allowing me the peace and serenity to follow my path, and my partner to choose his. In February while on the Art of Manifesting Quest I listed my intent to have a book written by May 2023, and have a speaking engagement booked by December 2023.
I have written a 50,000-word book, that is now in design, and a journal for Women seeking a deeper connection with themselves, also in design. Both will be uploaded via KDP Amazon self-publishing by May 1st.
I have booked a speaking engagement for May with the intent of having published books with me for sale.
Most importantly – this morning I changed my profile from ‘Document writer’ to ‘Author.’
Gratitude abounds!!!
Sharr L
Author
Kelowna, Canada