
Chocolate cake can never disappoint people. Whether it’s a birthday celebration, small kitty party or family get-together, chocolate cake is always there to save your day regarding desserts.
But in almost every recipe, we need buttermilk to make this delicious cake. And what if you do not have buttermilk to whip up a cake at that moment? No worries, I am here to save the day and give you the recipe for the perfect chocolate cake made without buttermilk.
Through this blog post, I will tell you how you can make this simple chocolate without buttermilk that has a rich and velvety texture with a deep chocolaty flavour.
And with the frosting, the cake lifts itself to a whole new level. You can make this cake with just a few simple ingredients and satisfy your sweet cravings anytime, week or month.
Even without the frosting, this cake is as delicious as it should be!
Why You’ll Love This Recipe
- Flavor: The absence of buttermilk doesn’t lessen the flavour of the cake. Even without the buttermilk, the cake has a rich and deep chocolaty flavor.
- Texture: Contrary to popular belief, even without buttermilk, this cake has a soft, tender and velvety crumb texture.
- Simple ingredients: This cake requires very simple ingredients that can be found easily and are probably in your kitchen already.
- Easy: Making this cake is pretty easy with simple steps. Mix the liquid with the dry ingredients, and your chocolate cake is ready in just a few hours.
Important Ingredients Used to Make Chocolate Cake Without Buttermilk
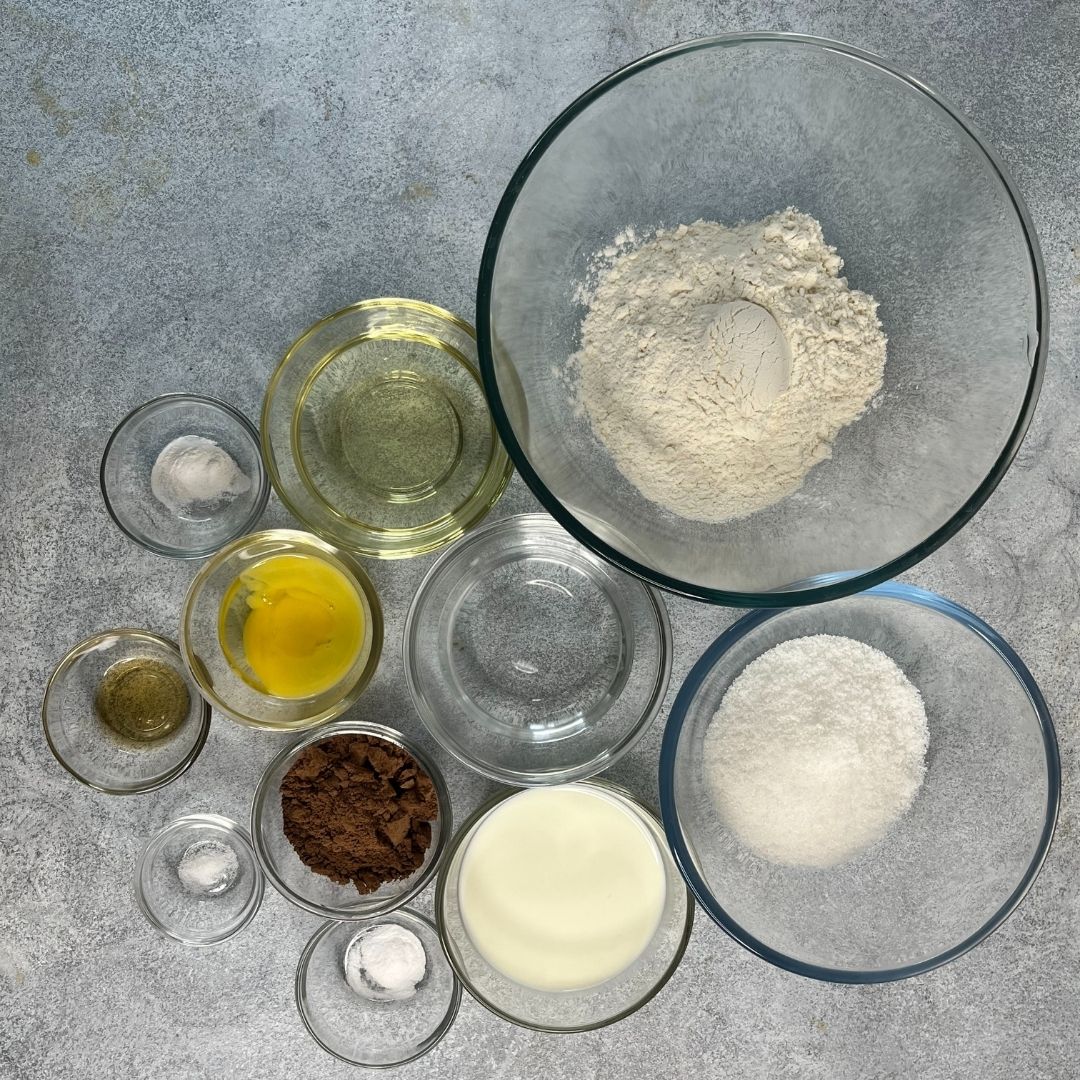
- All-purpose flour: All-purpose flour provides the structure and texture of the cake. It also serves as a natural base that lets cocoa powder shine.
- Cocoa powder: Natural cocoa powder is the main source of getting the chocolaty flavour of the cake. It also prides itself on a deep, dark brown colour that gives the cake its classic look.
- Sugar: Castor sugar adds sweetness and helps create tender crumbs of the cake.
- Egg: The egg adds structure and contributes to the rich and velvety texture.
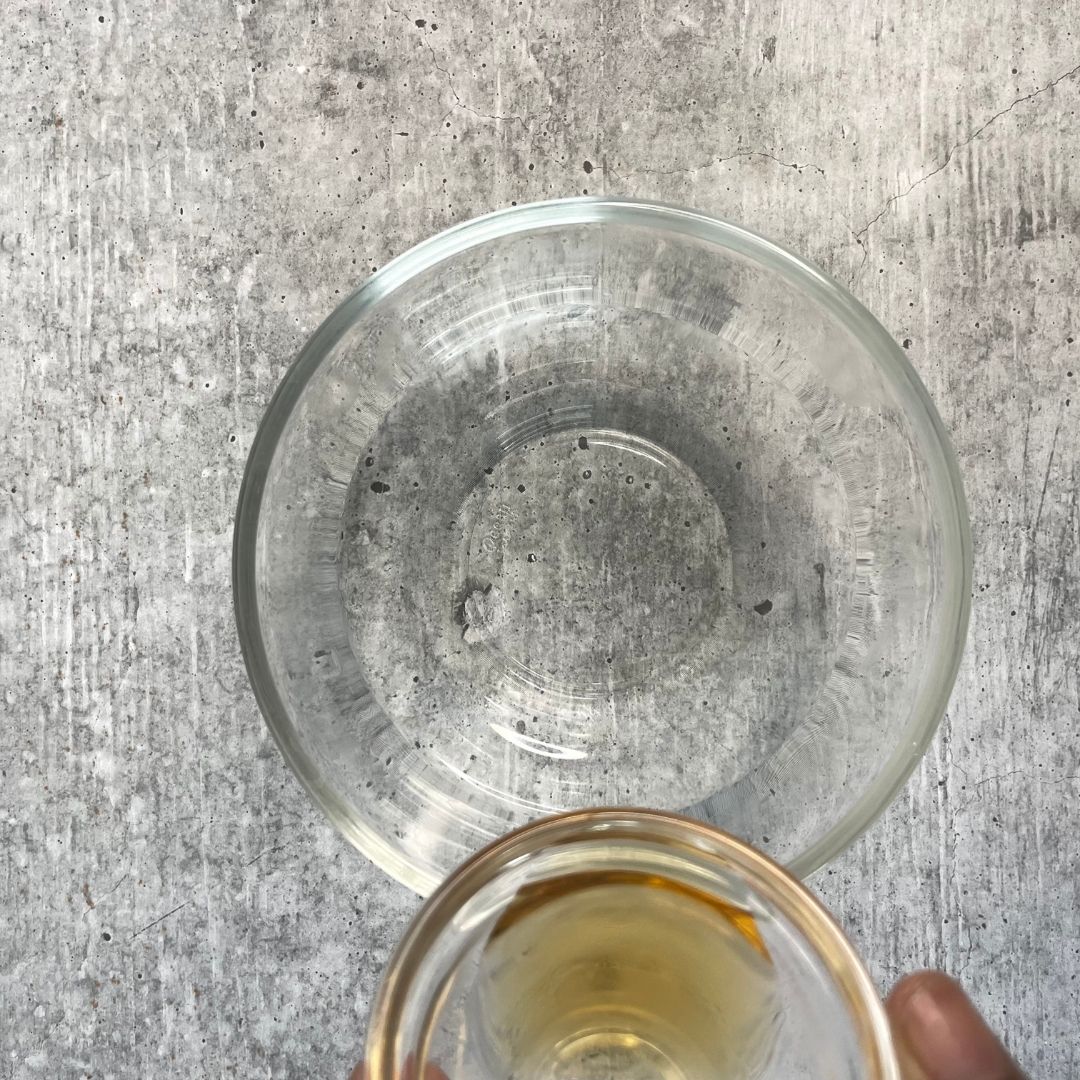
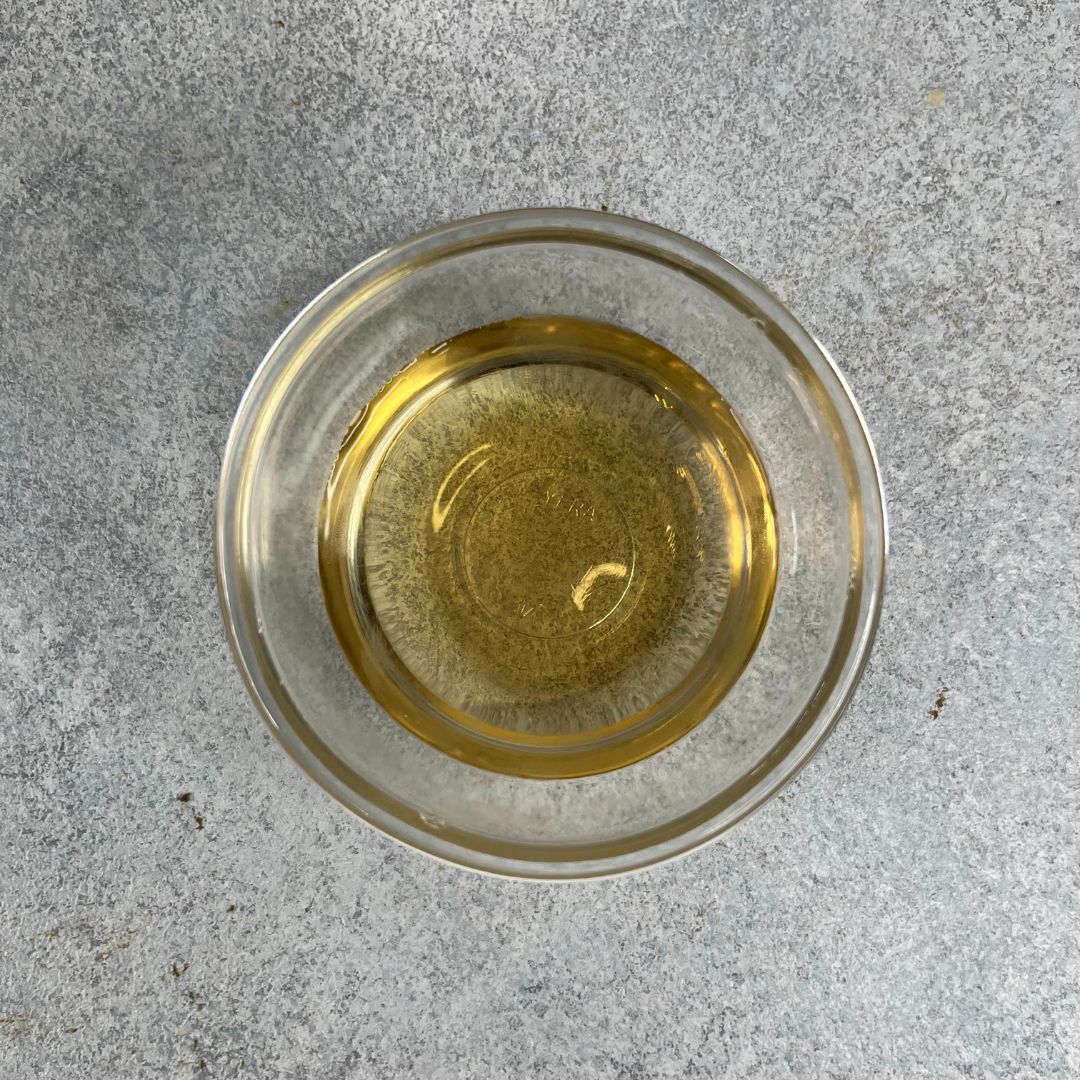
- Fat: Vegetable oil is the primary source of fat in this recipe. It also helps in maintaining moisture and contributes to the texture.
- Hot water: Hot water helps enhance the cake’s texture, flavour and quality. It intensifies the chocolate flavour, creating a smoother and richer chocolate flavour of the cake.
- Salt: Adding salt is crucial for the recipe as it enhances the overall taste profile of the cake. Without the salt, the sponges may taste slightly more sweet than normal.
How to Make Chocolate Cake Without Buttermilk
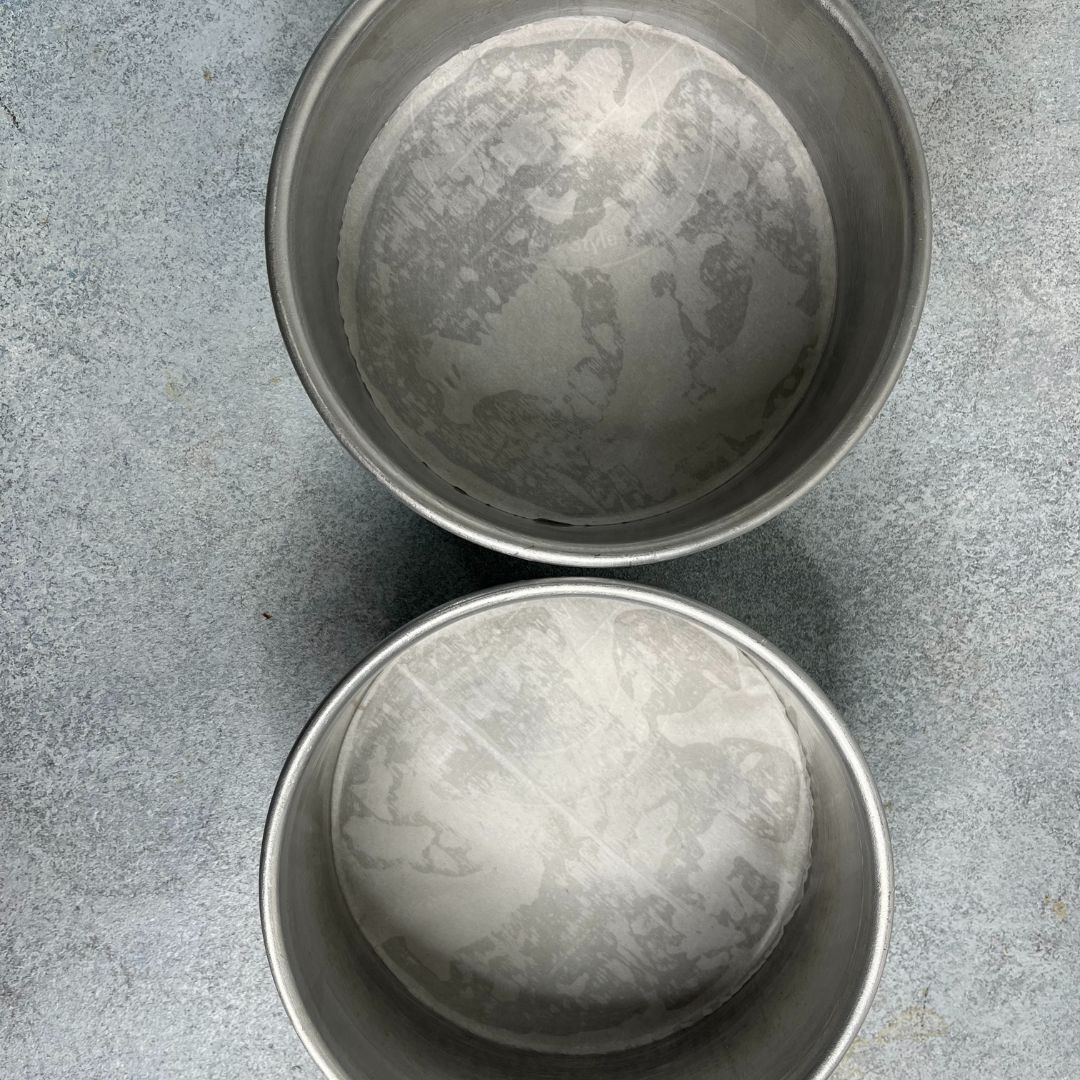
Preparations: Gather all the ingredients that are needed for the recipe. Weigh them through a kitchen weighing scale for better measurement. Grease two 6-inch round tins with oil and place butter paper at the bottom. Also, preheat your oven to 180° C or 350° F (OTG mode: lower rod + upper rod + fan).
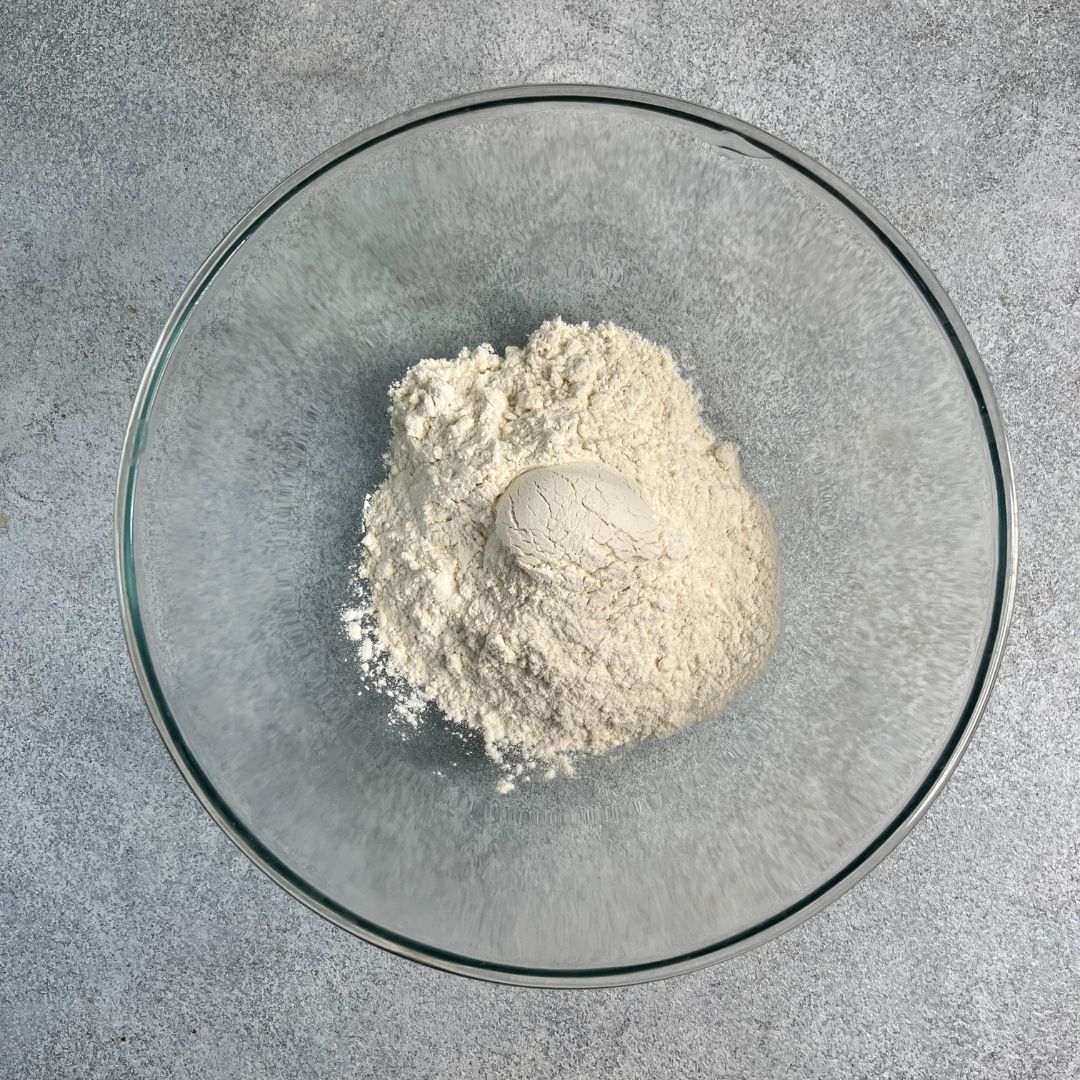
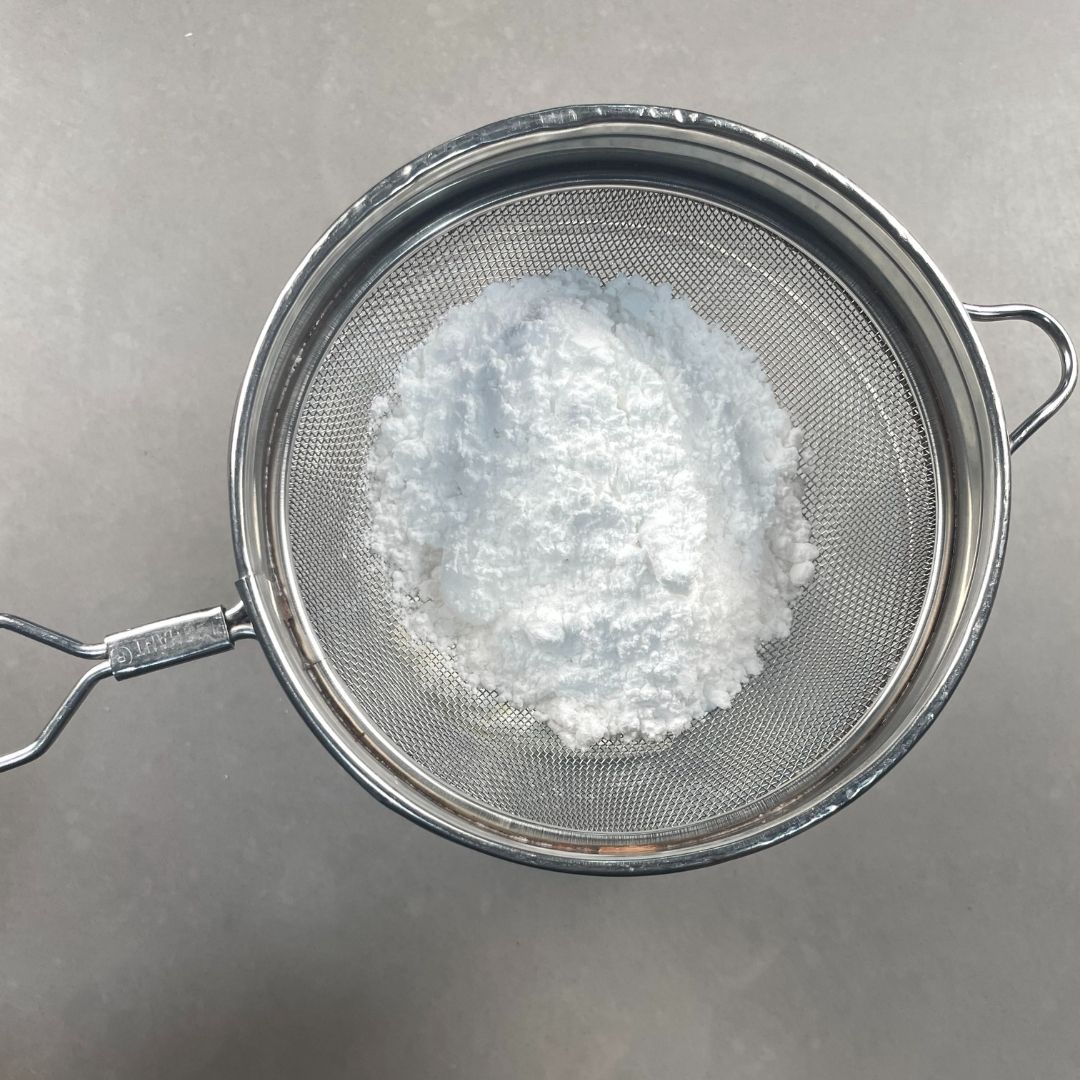
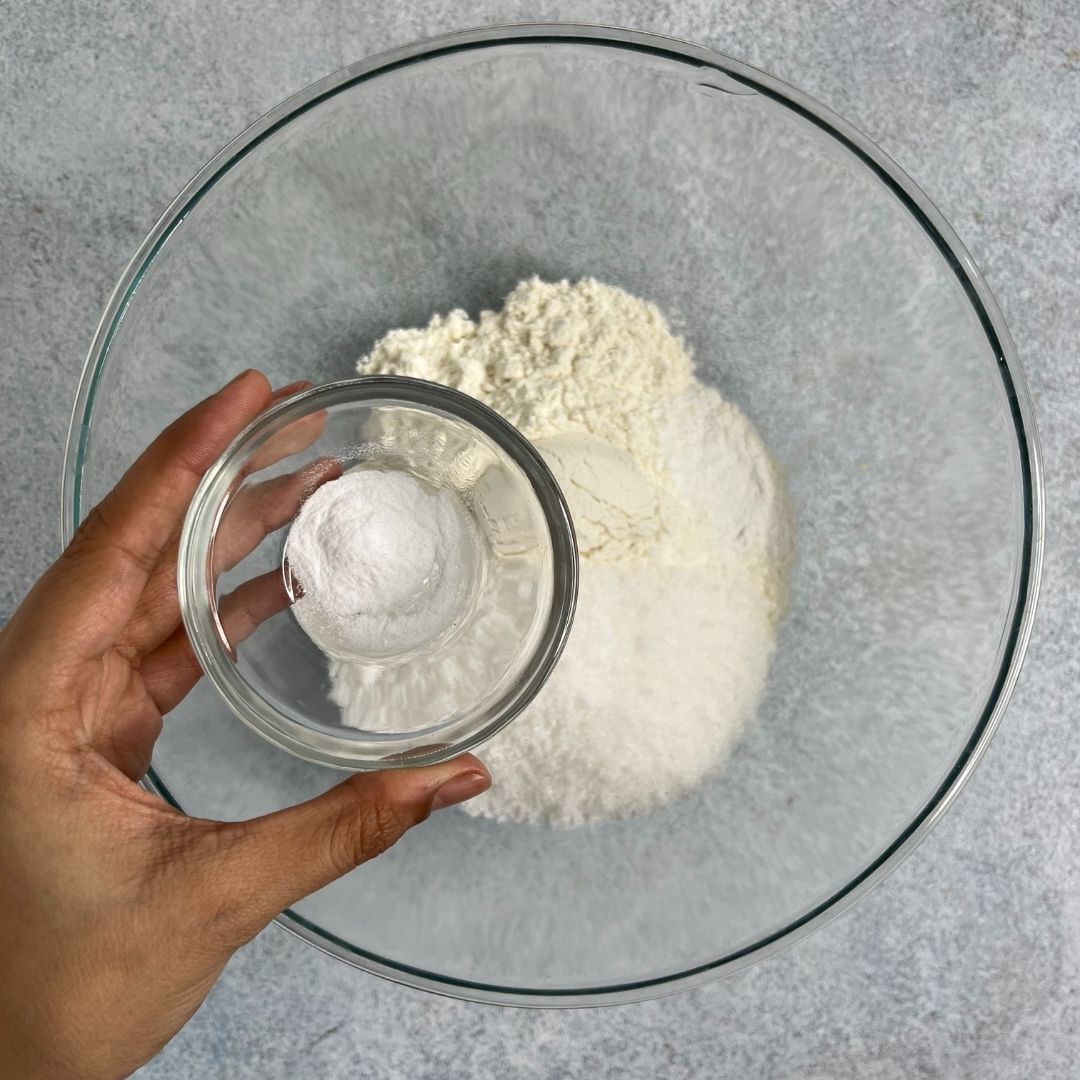
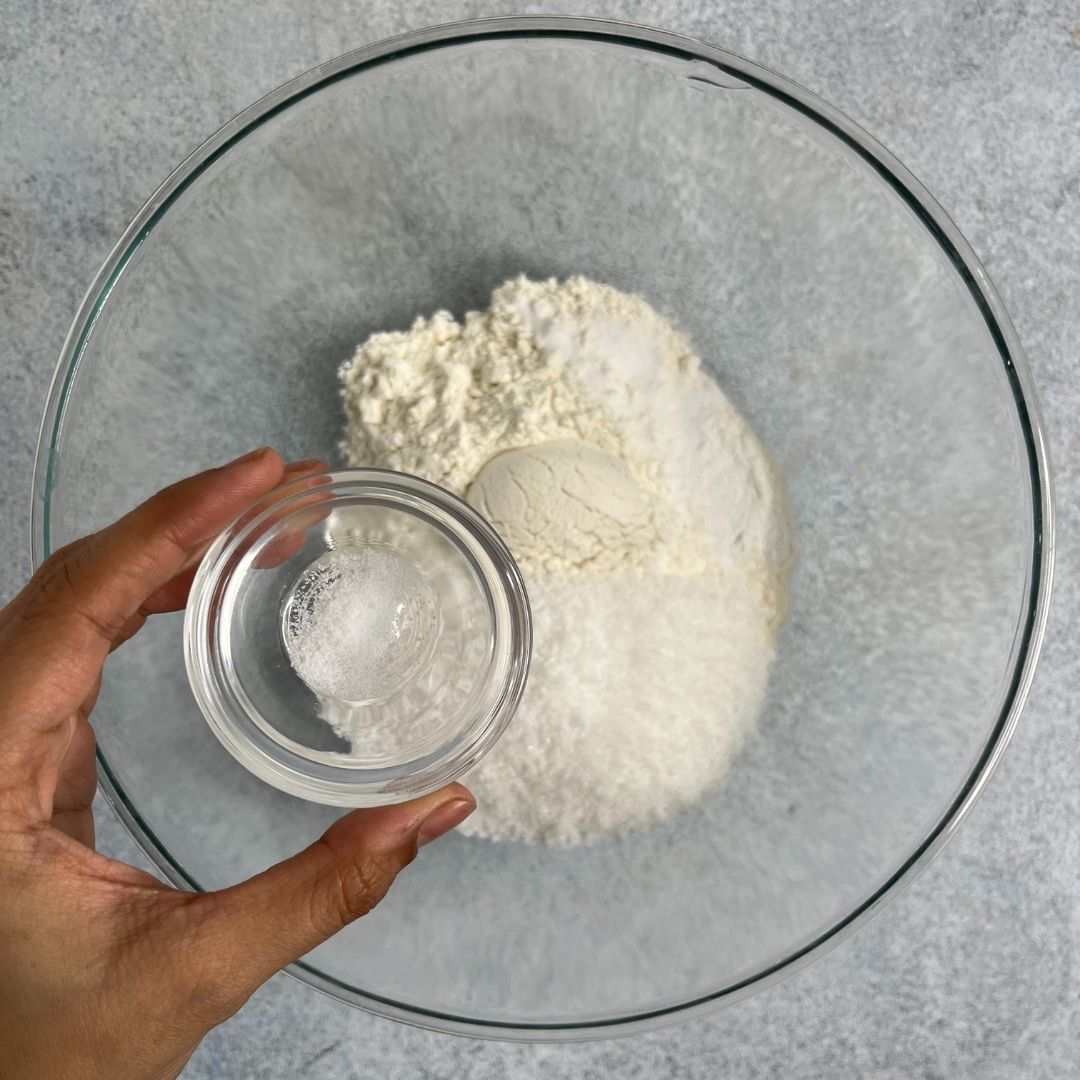
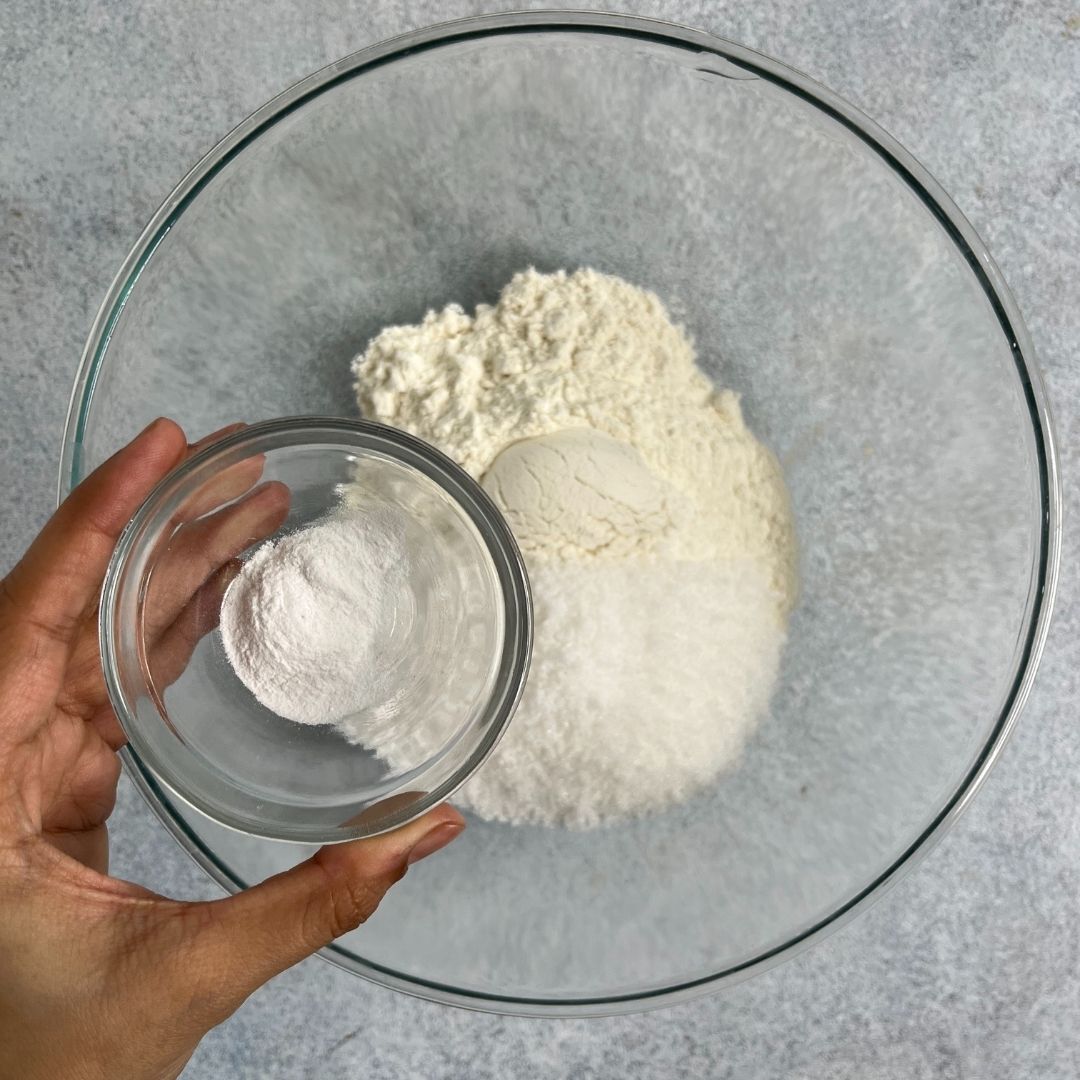
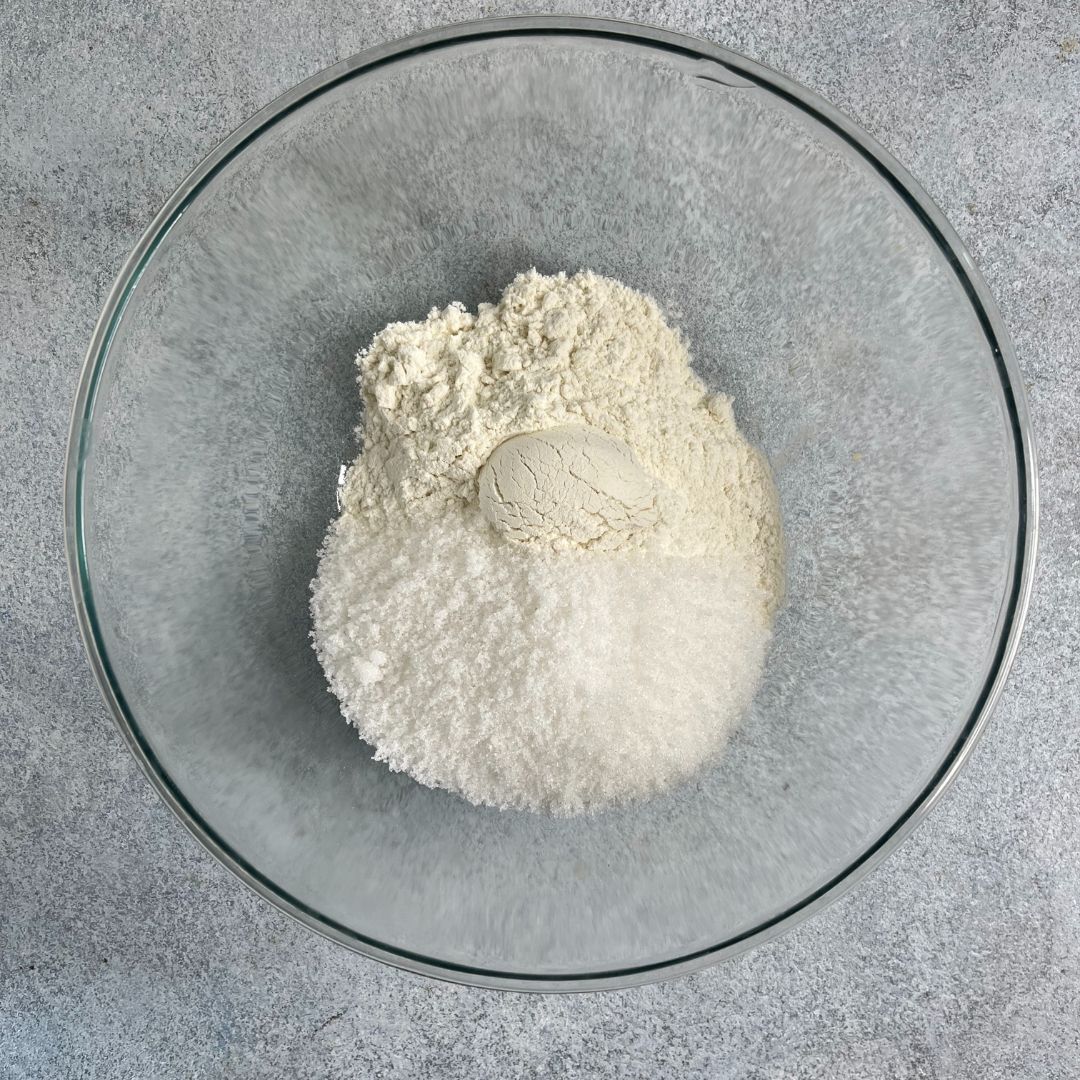
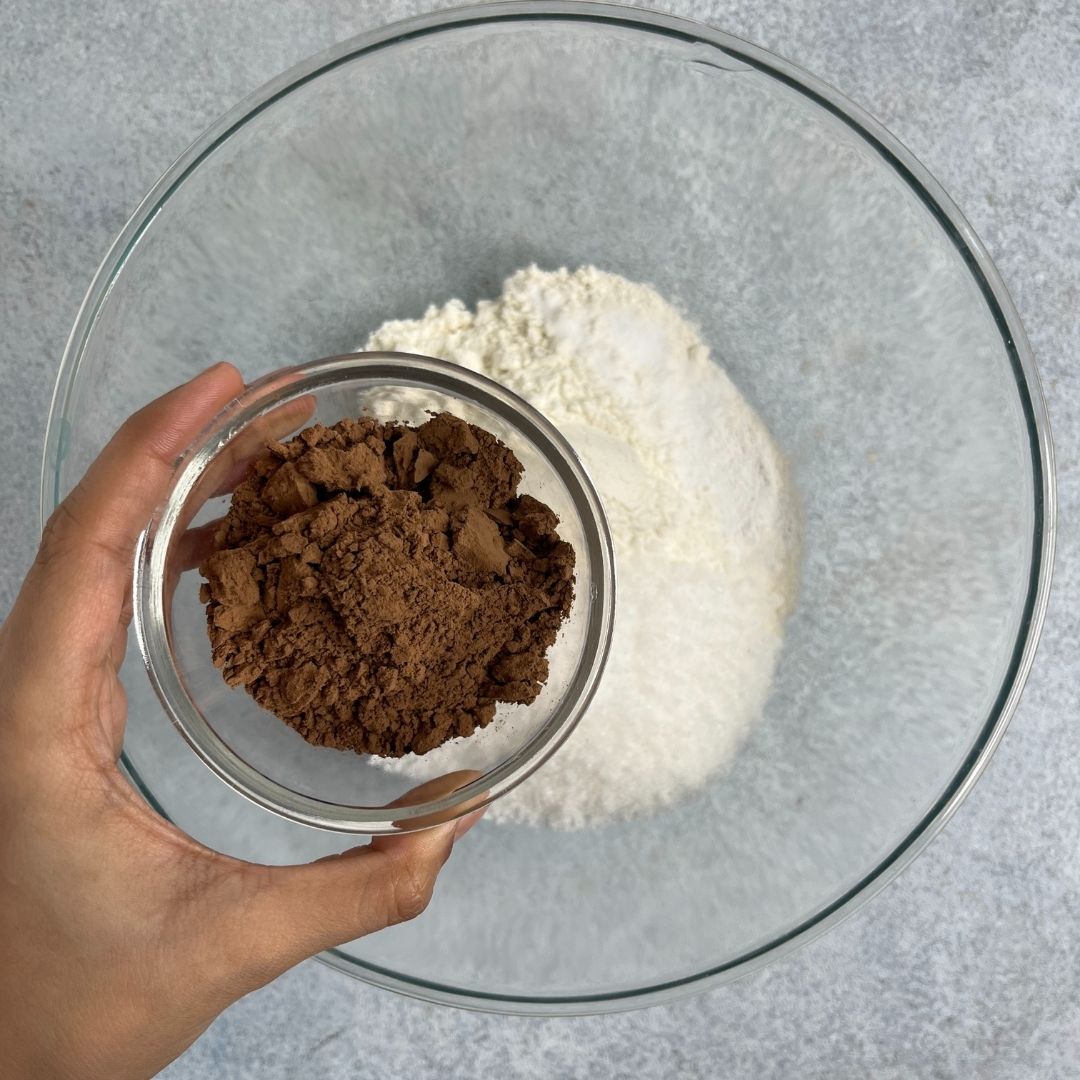
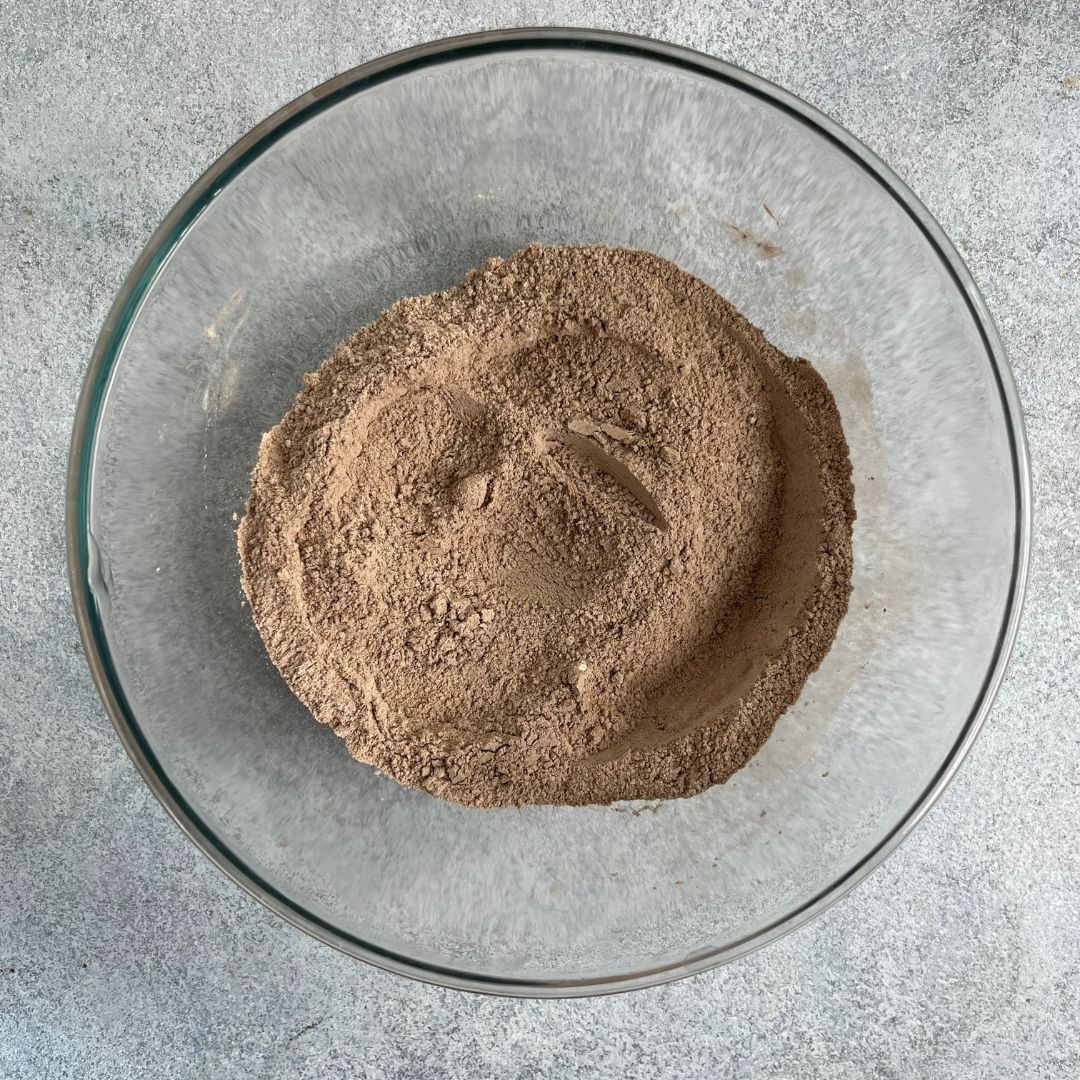
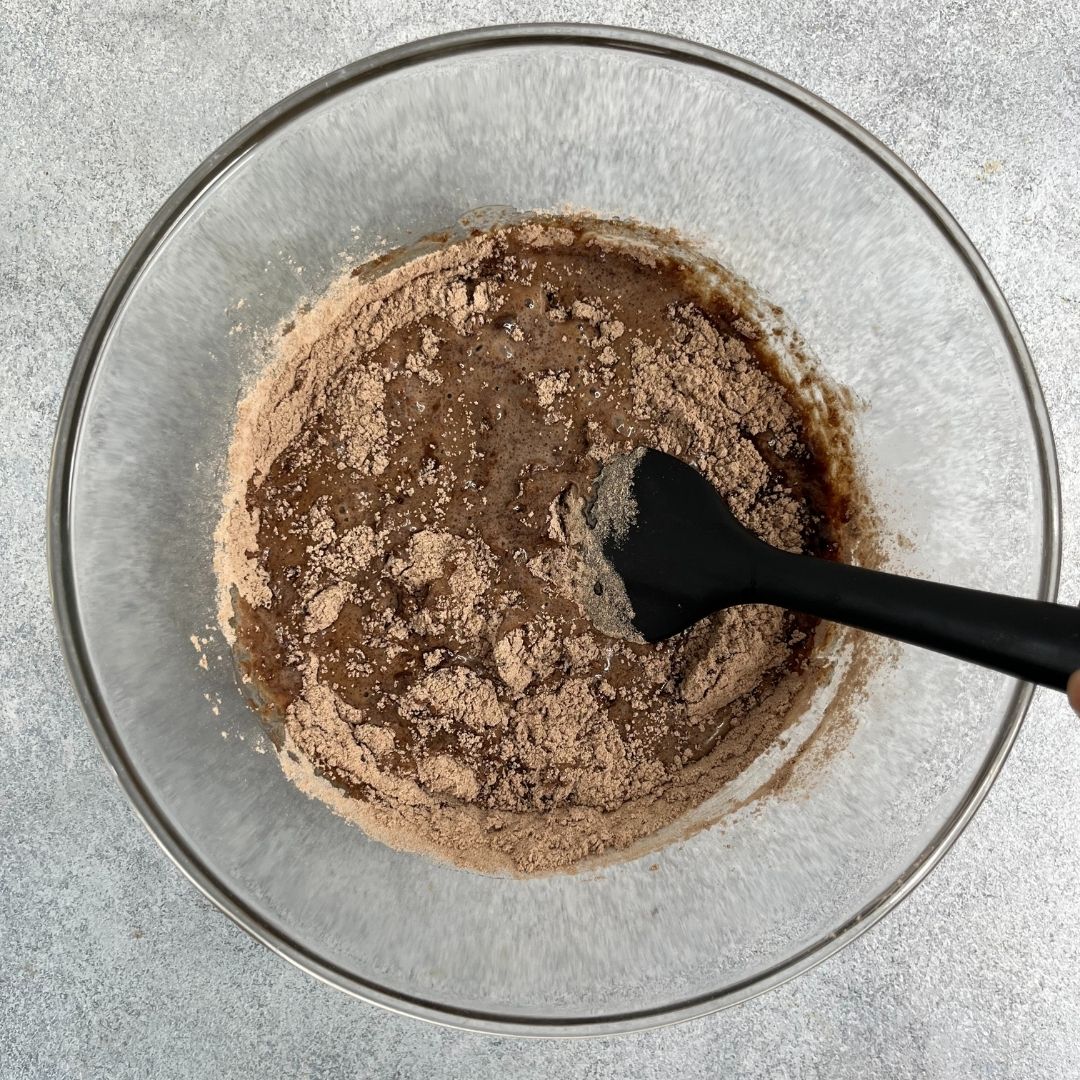
Sift the dry ingredients: In a bowl, sift all the dry ingredients, that are all-purpose flour, natural cocoa powder, sugar, baking powder, baking soda and salt. Like I always say, do not skip sifting the dry ingredients before making the batter; it helps prevent lump formation and removes unwanted residues.
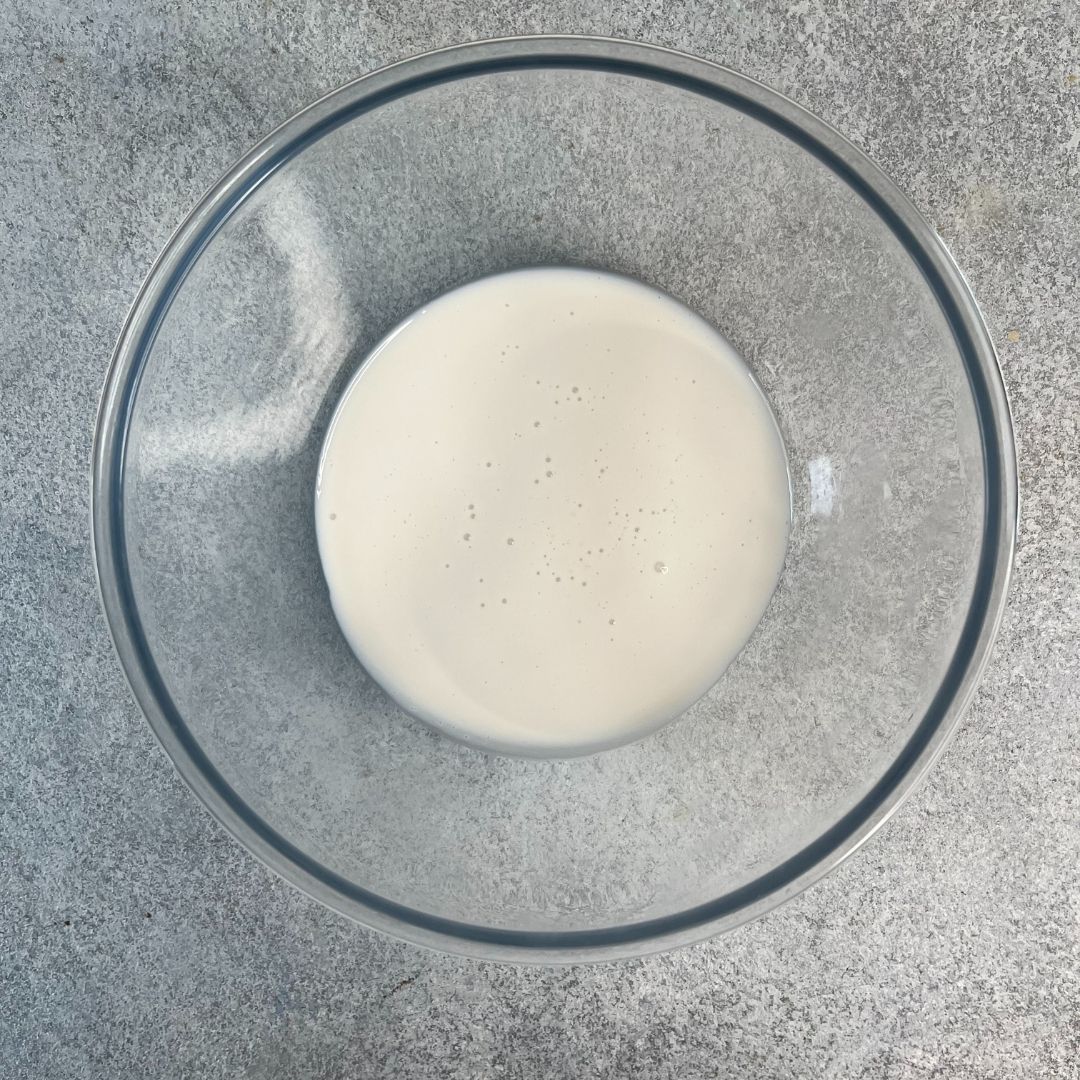
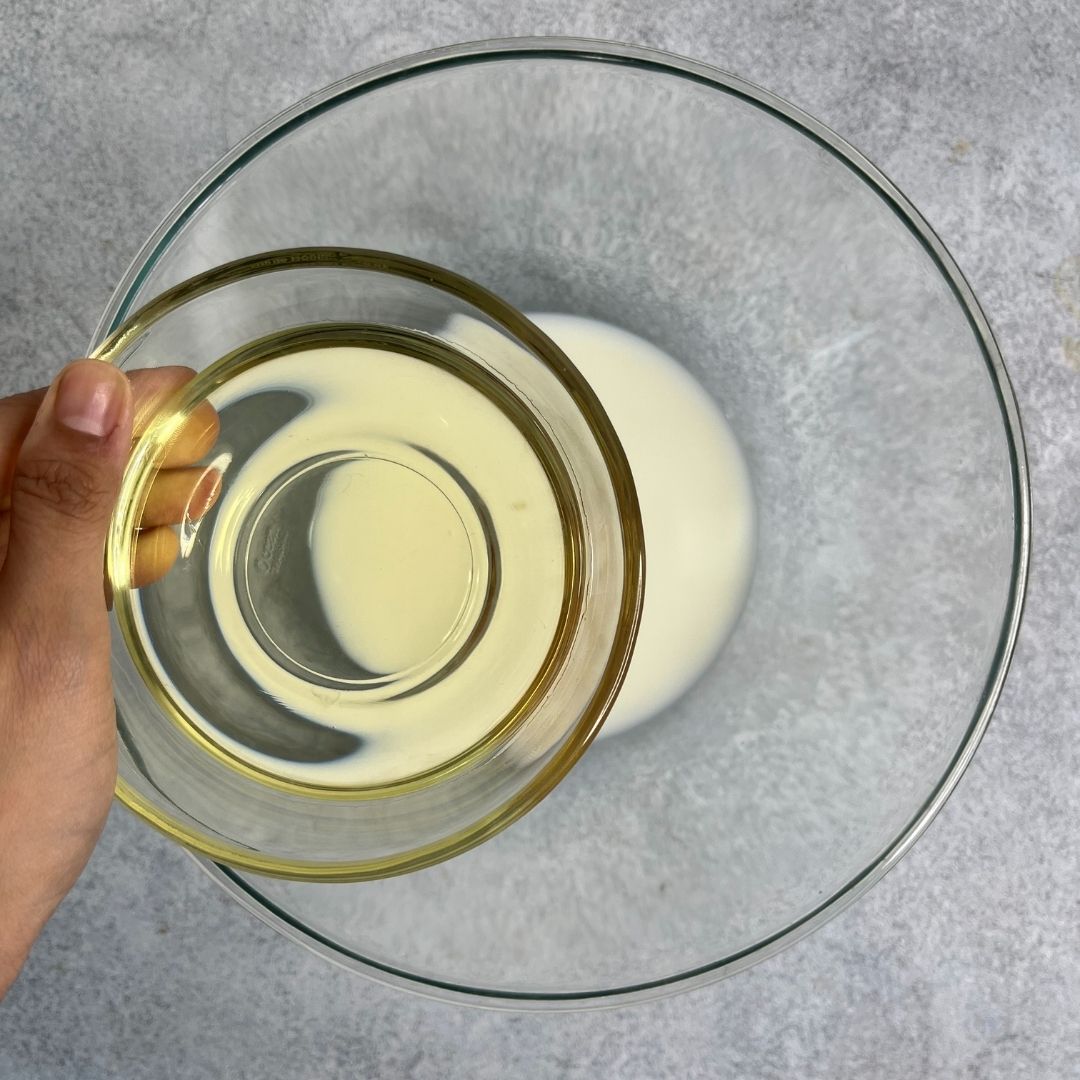
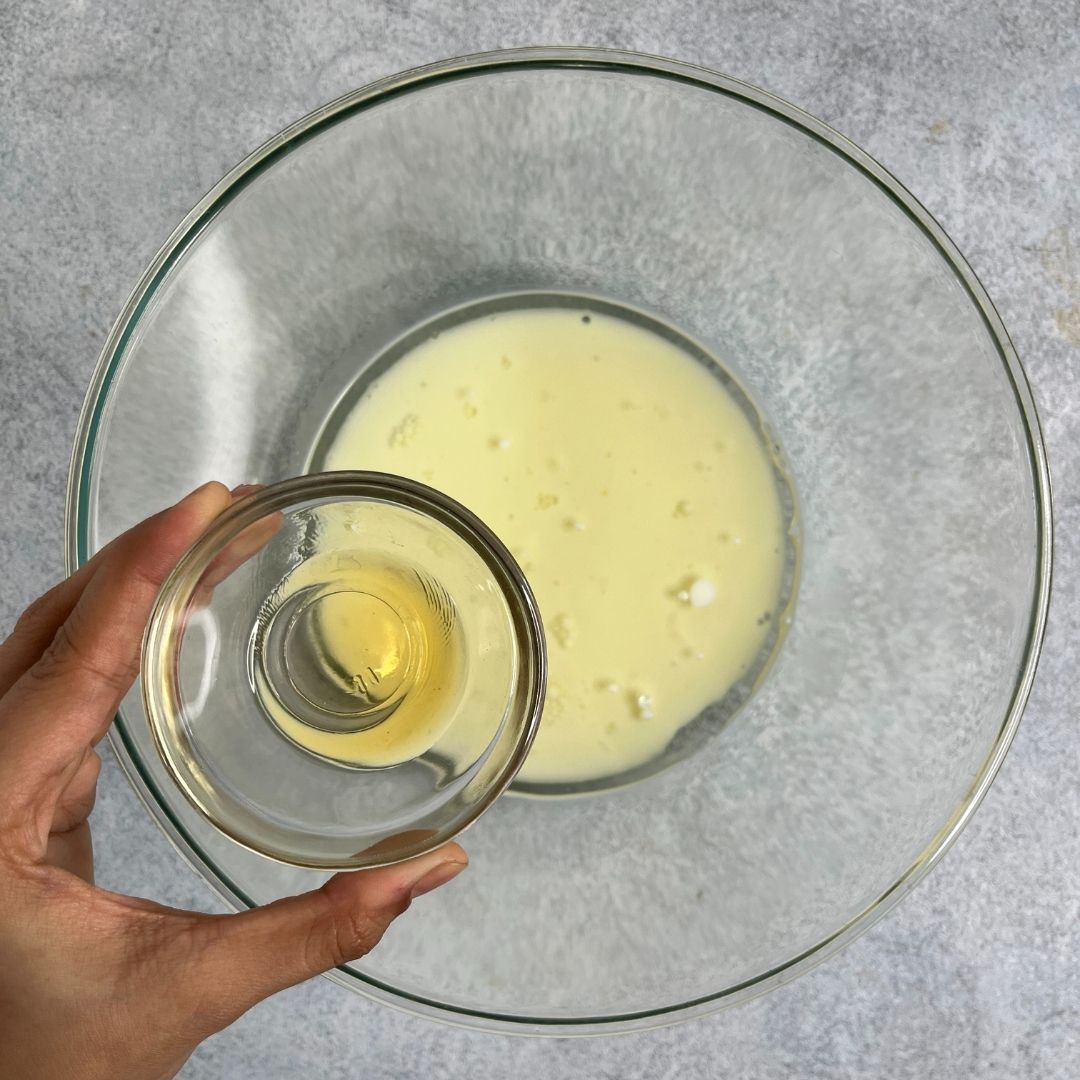
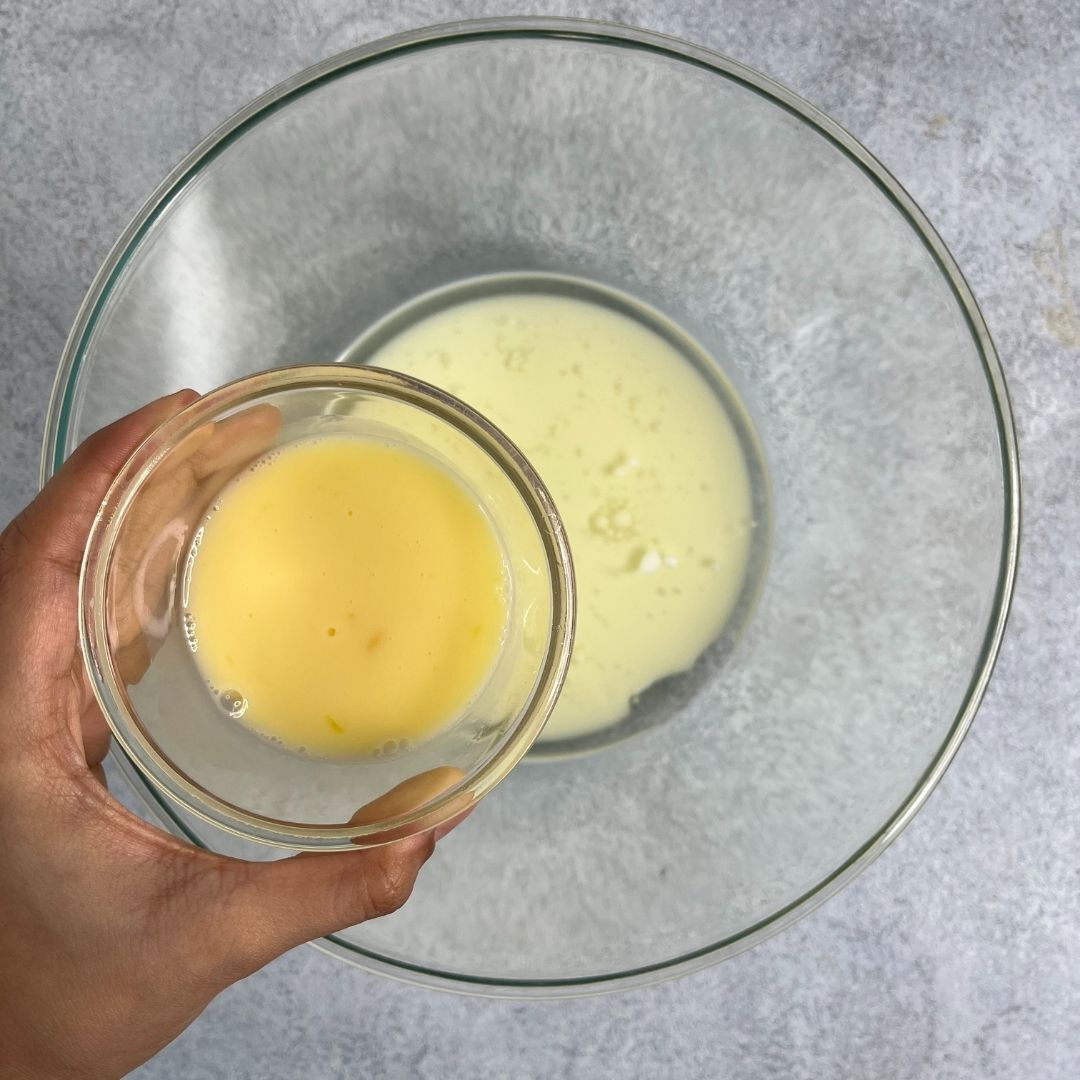
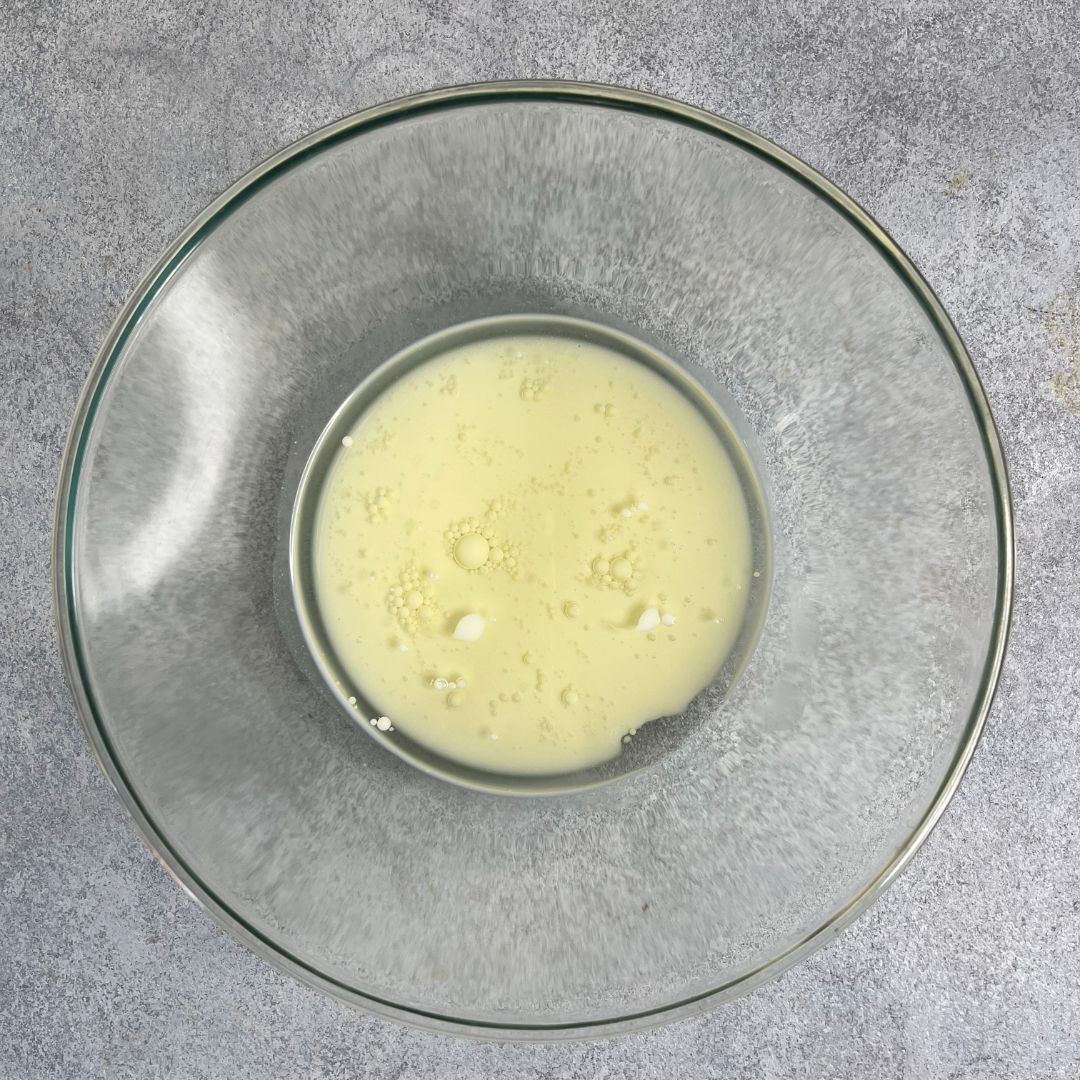
Mix liquid ingredients: Now, in a separate bowl, mix all the wet ingredients like eggs, oil, milk, vanilla essence, and hot water.
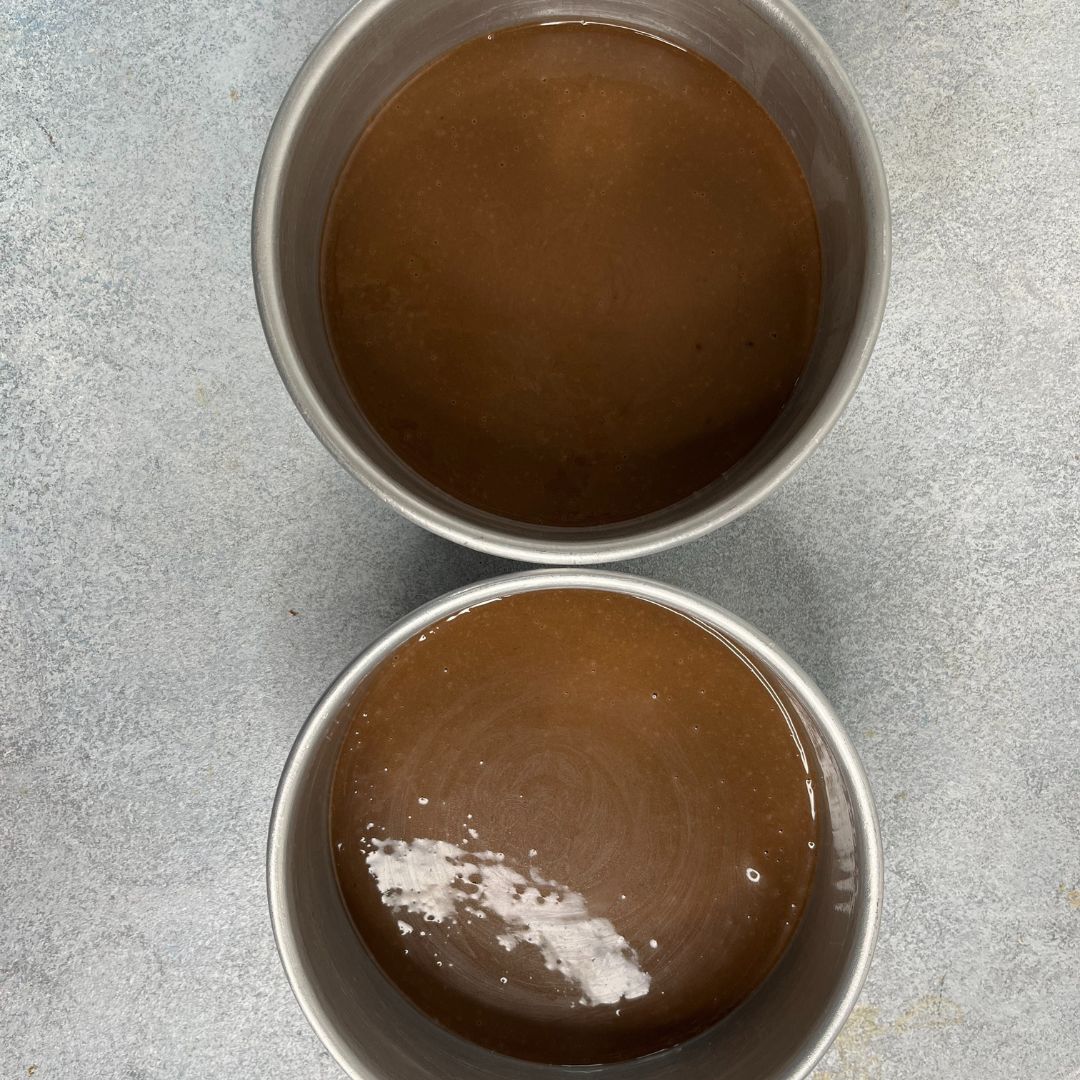
Make the batter: Gradually add the liquid mixture to the dry ingredient mixture. Mix all the ingredients properly until there are no traces of dry ingredients in the batter. Make sure that you do not over-mix the batter, or the cake may sink from the middle.
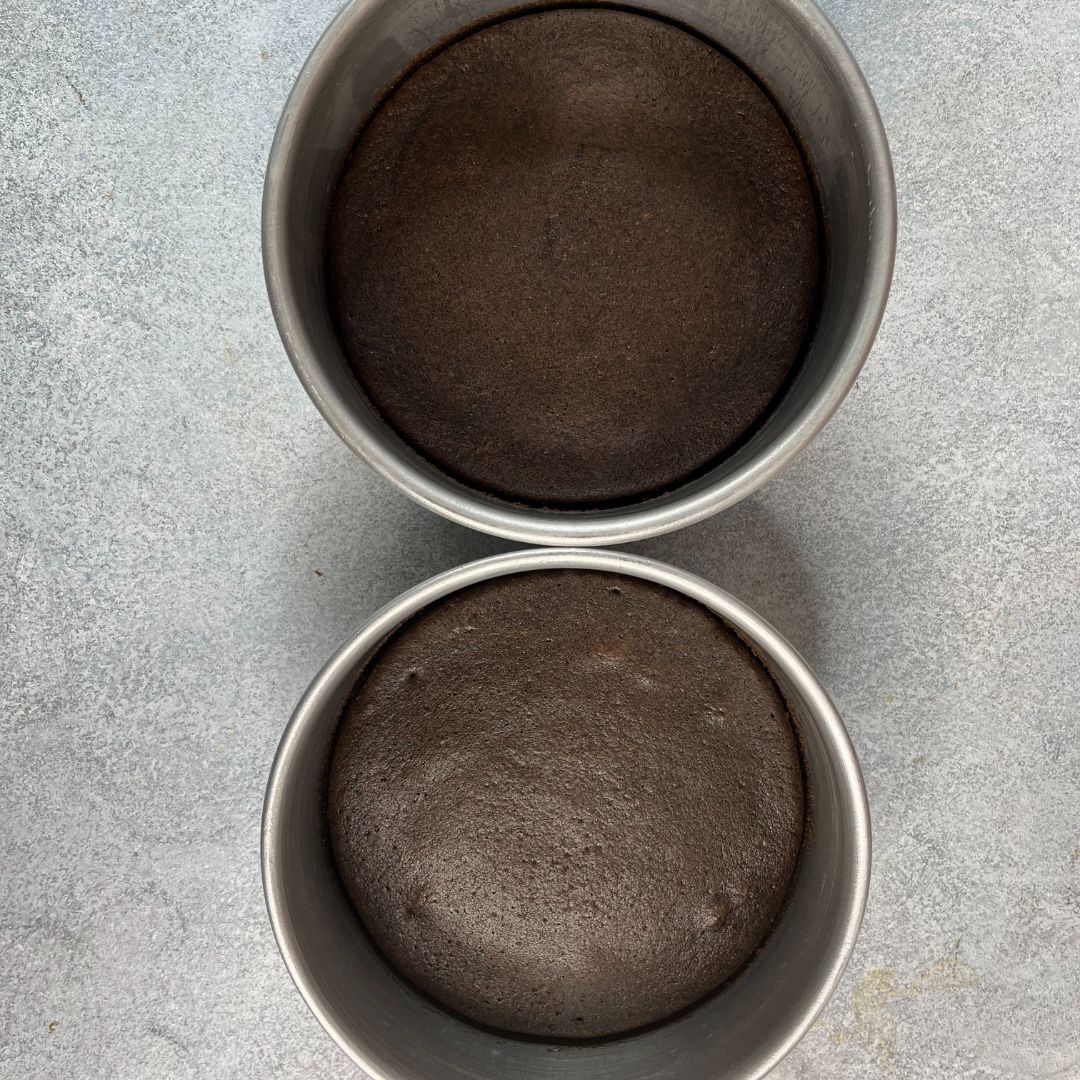
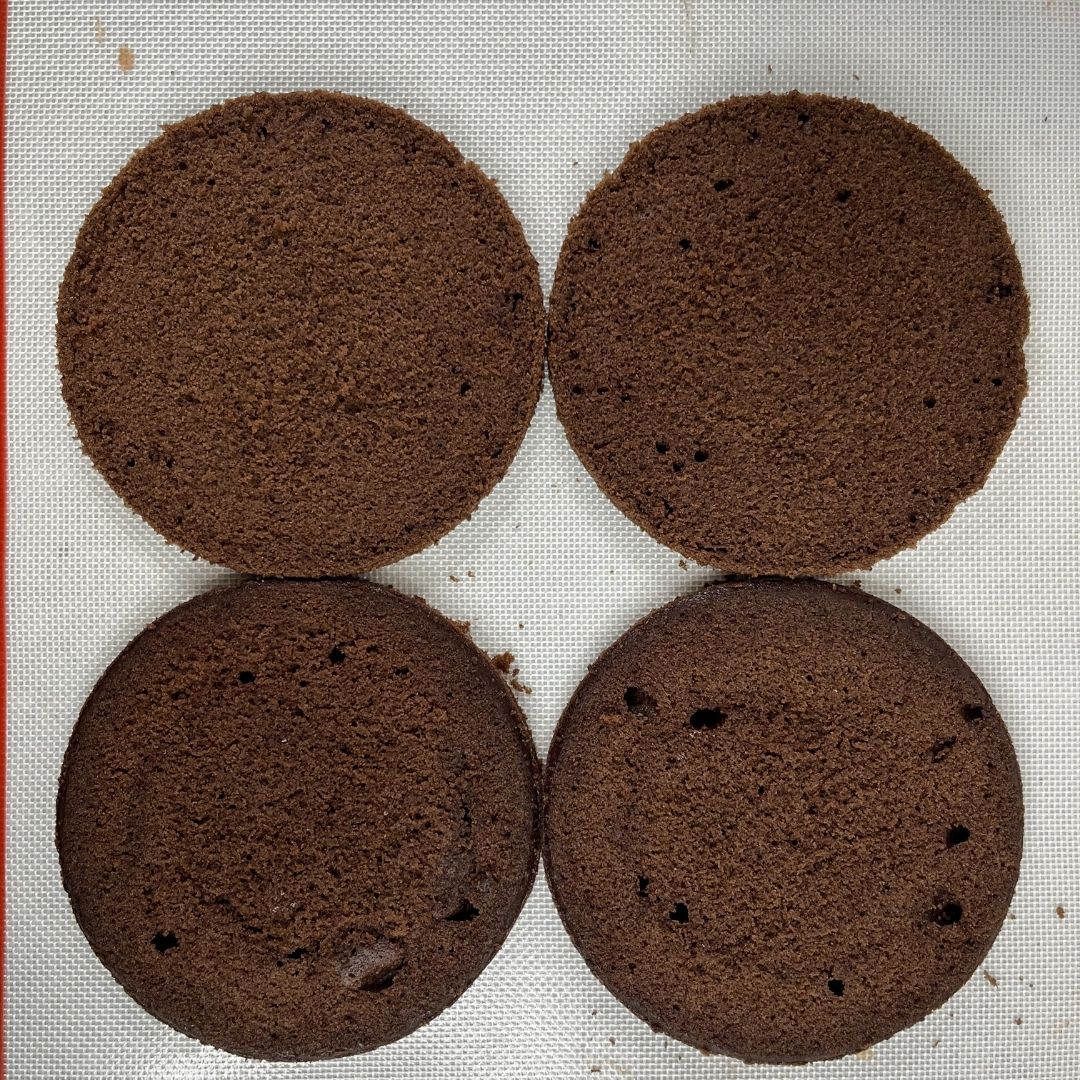
Baking: Now, pour the batter into the prepared round baking tins equally. If you feel skeptical about the batter not being poured equally, measure it in a kitchen weighing scale, then divide it equally into the tins. Bake them at 180° C or 350° F (OTG mode: lower rod mode only) for 30 – 35 minutes or until the toothpick inserted in the middle comes out clean.
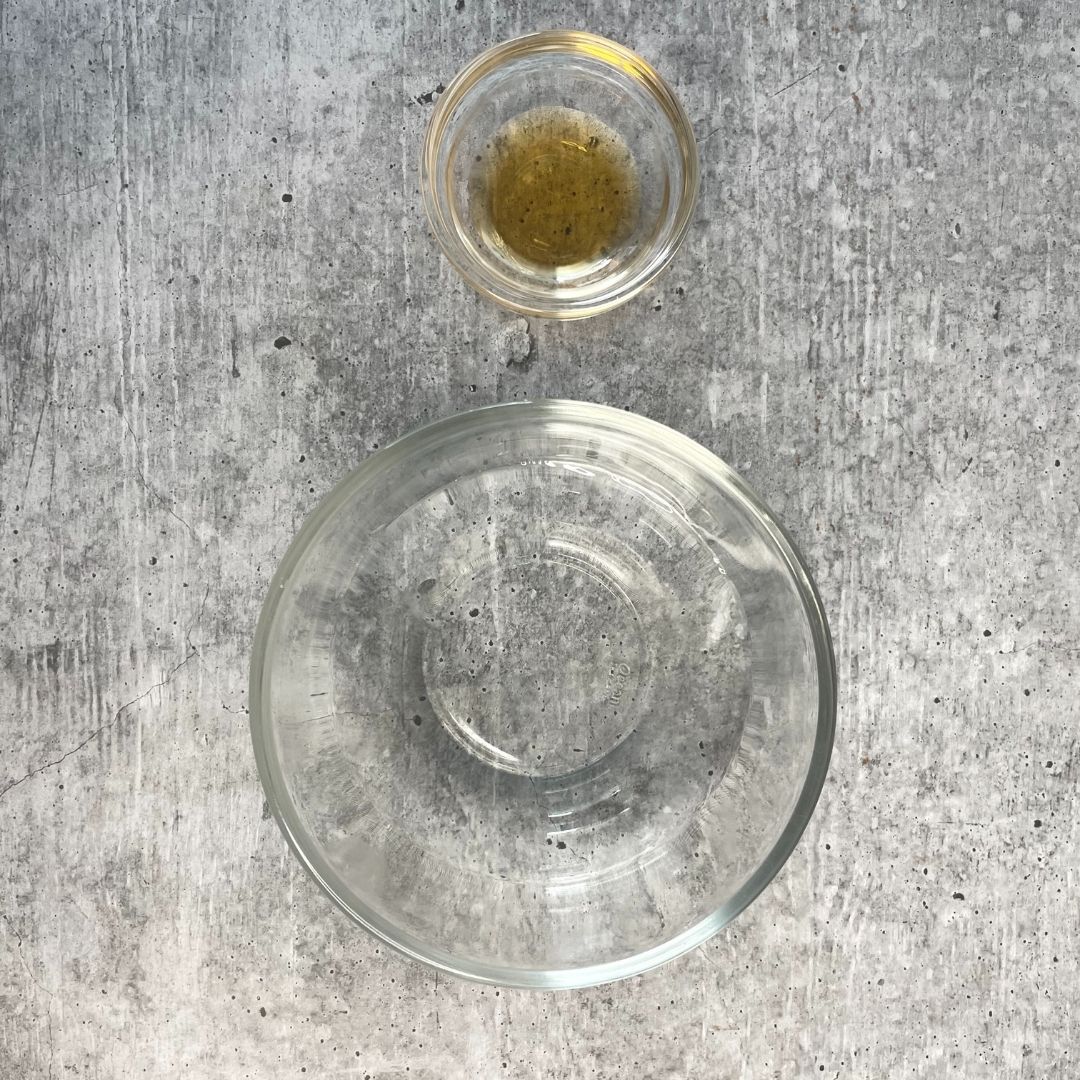
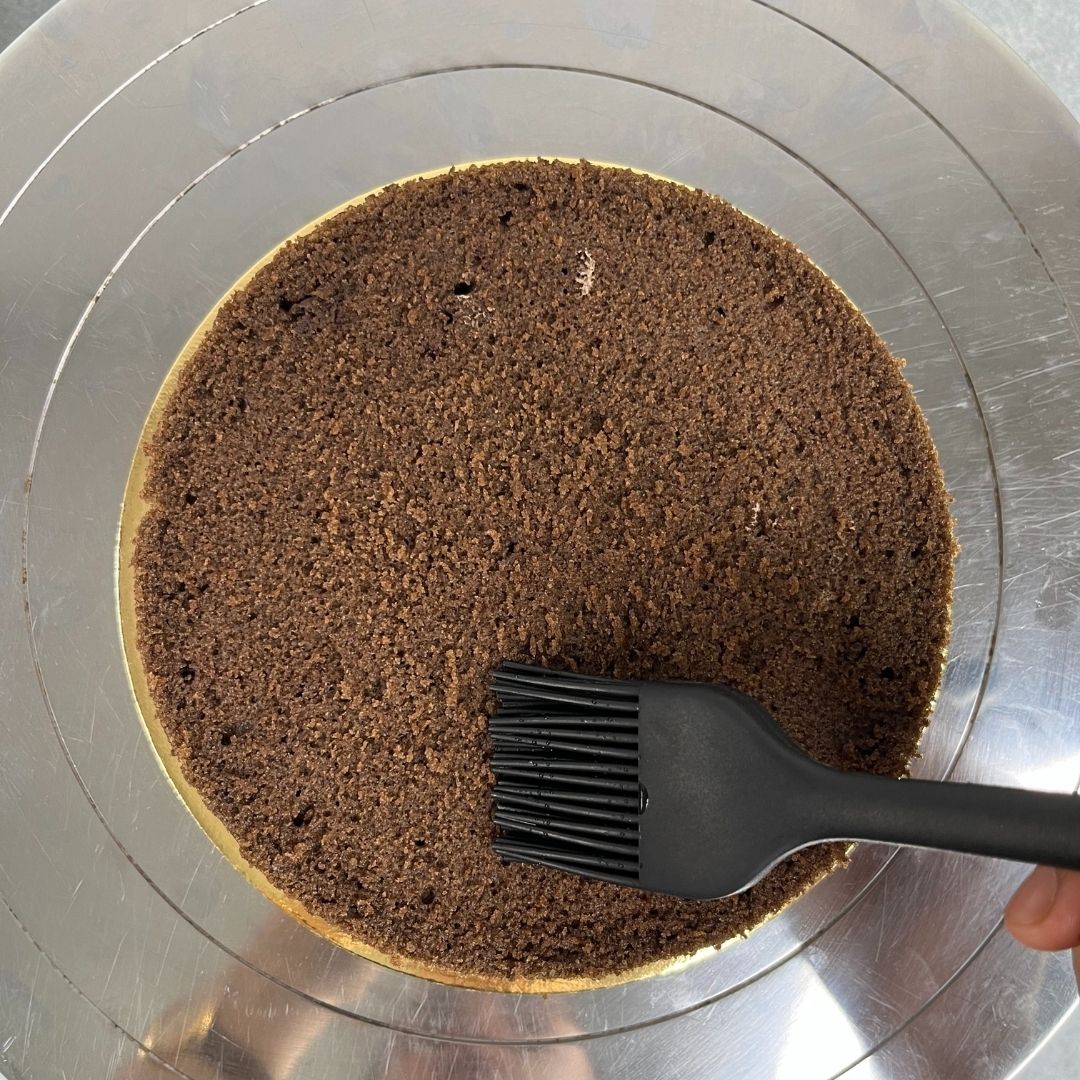
Make the soaking syrup: Meanwhile, make soaking syrup by mixing water and vanilla essence. Soaking the sponges with simple vanilla soaking syrup makes the cake super moist.
Make The Frosting
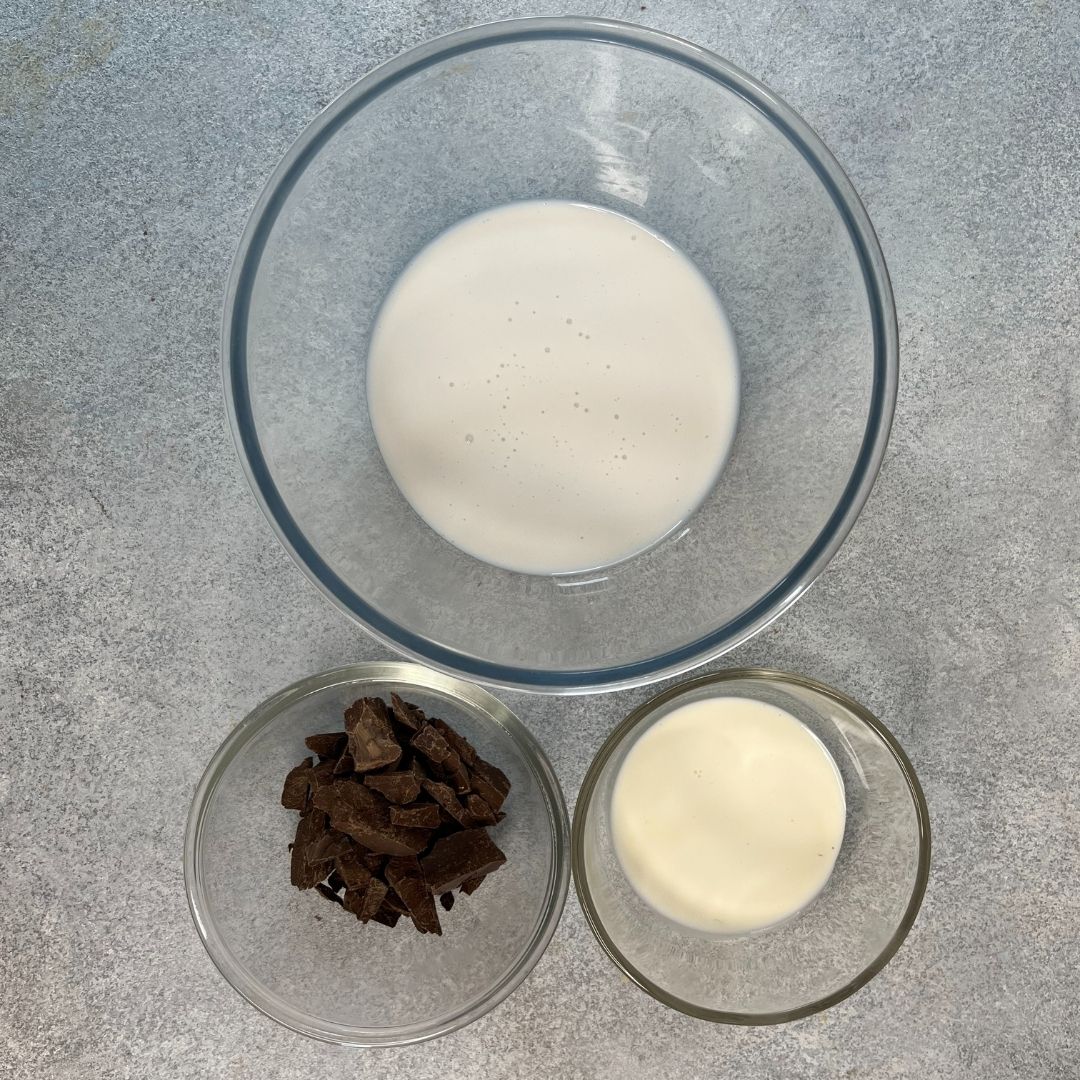
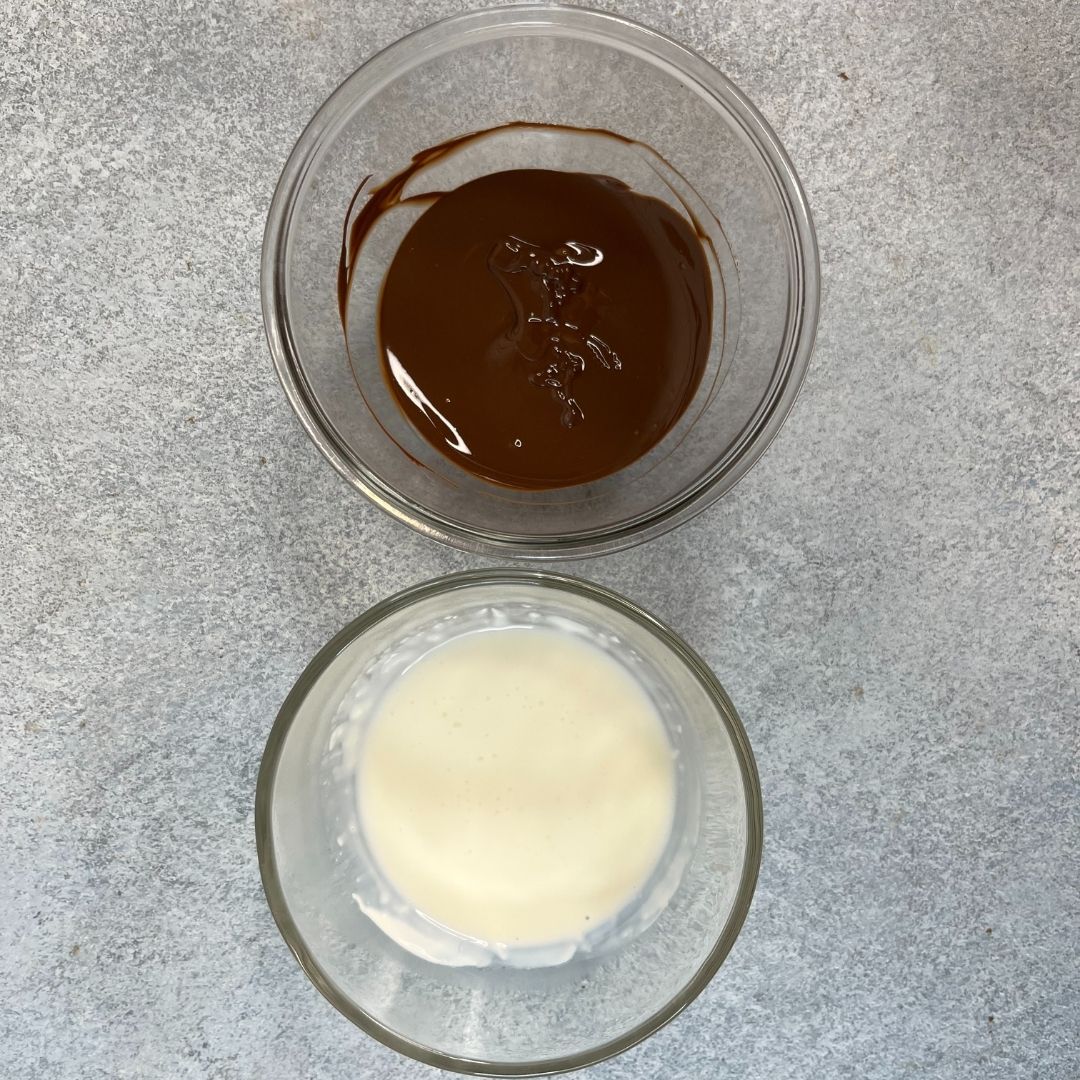
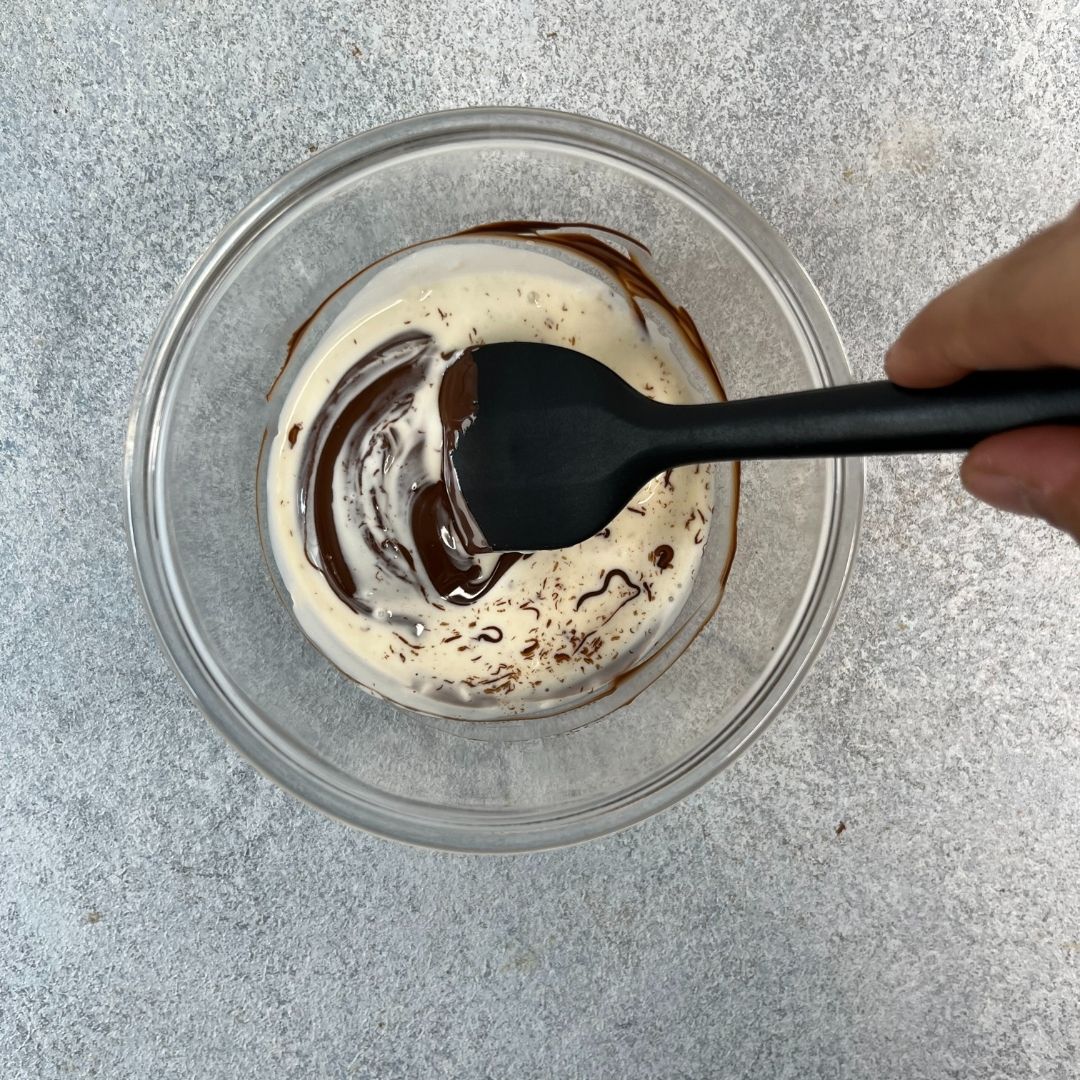
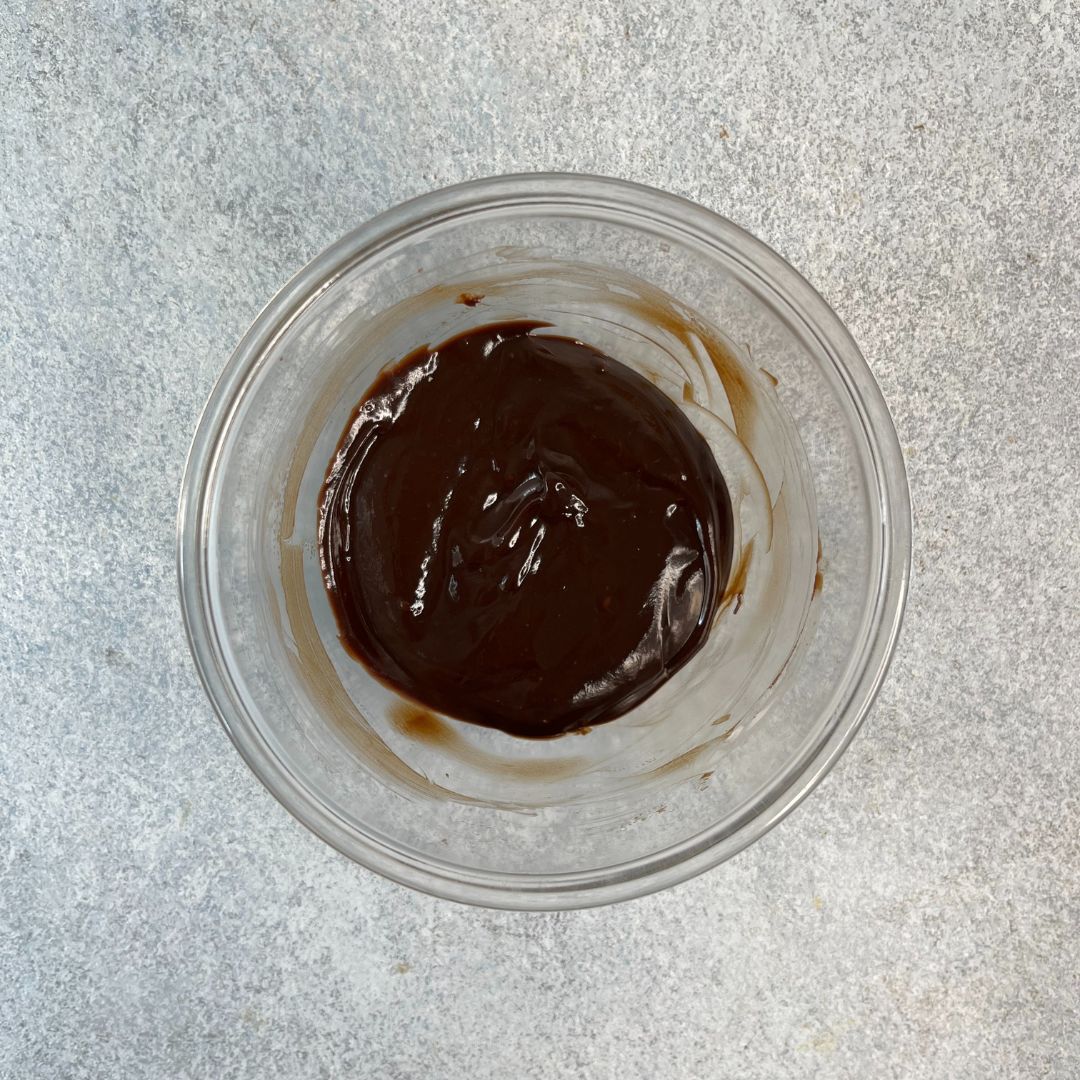
Make ganache: For the frosting, first, make ganache the ganache by melting dark couverture chocolate and warming fresh cream separately. While melting chocolate, keep an eye on it and microwave it in a short burst of time to prevent it from burning. Once the chocolate has melted and the fresh cream is warm, add fresh cream to the melted chocolate and mix both of them to create a smooth and glossy ganache. Let it cool down completely.

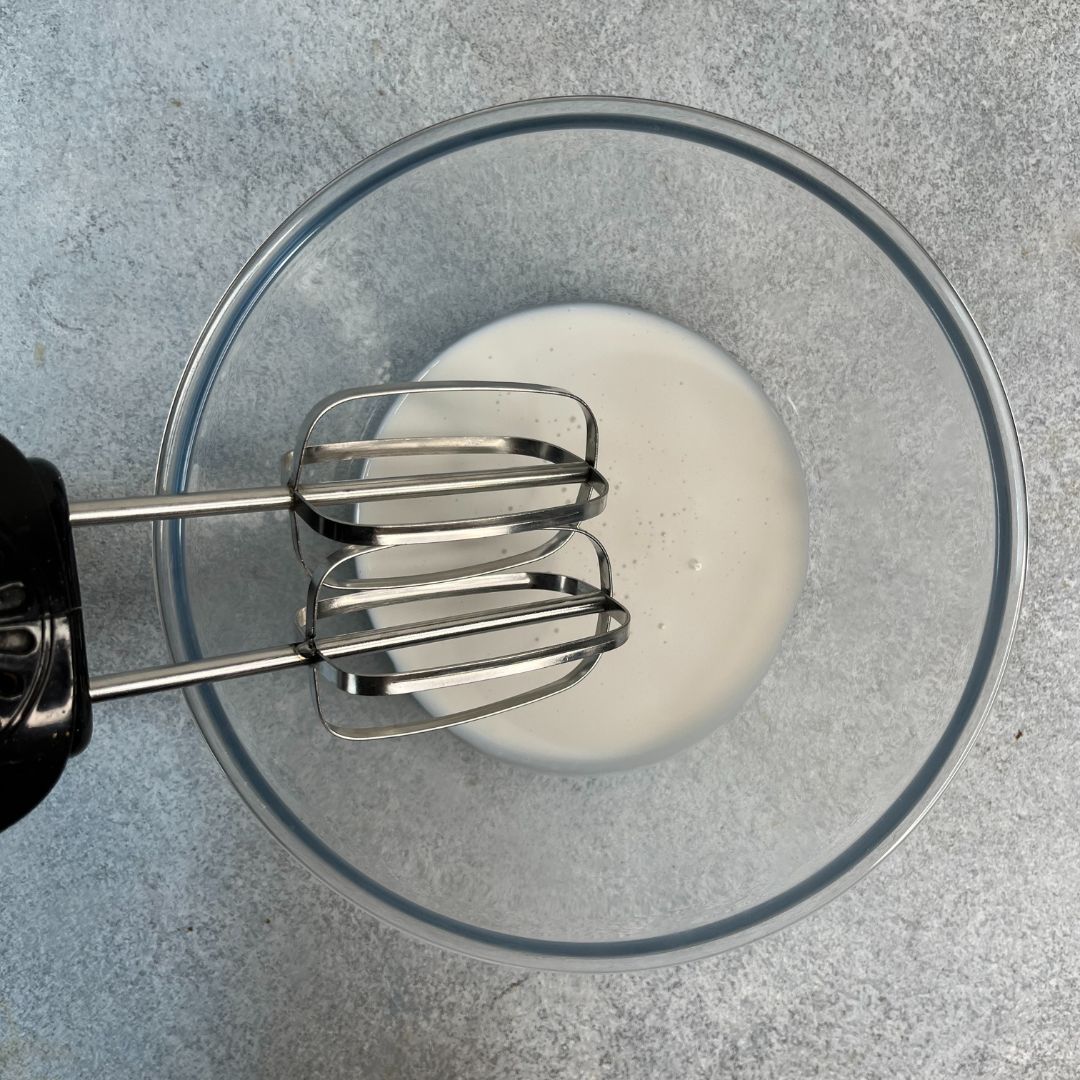
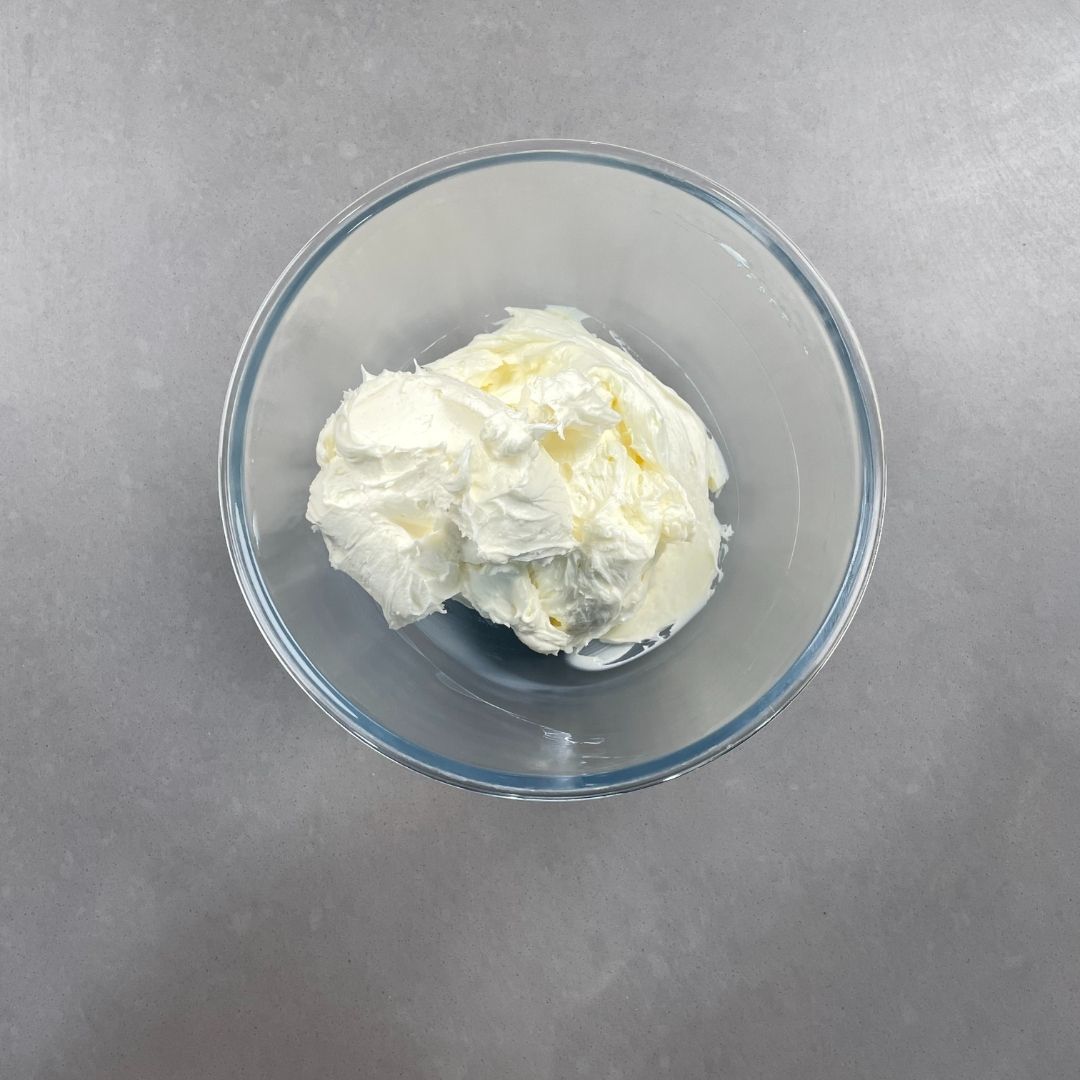
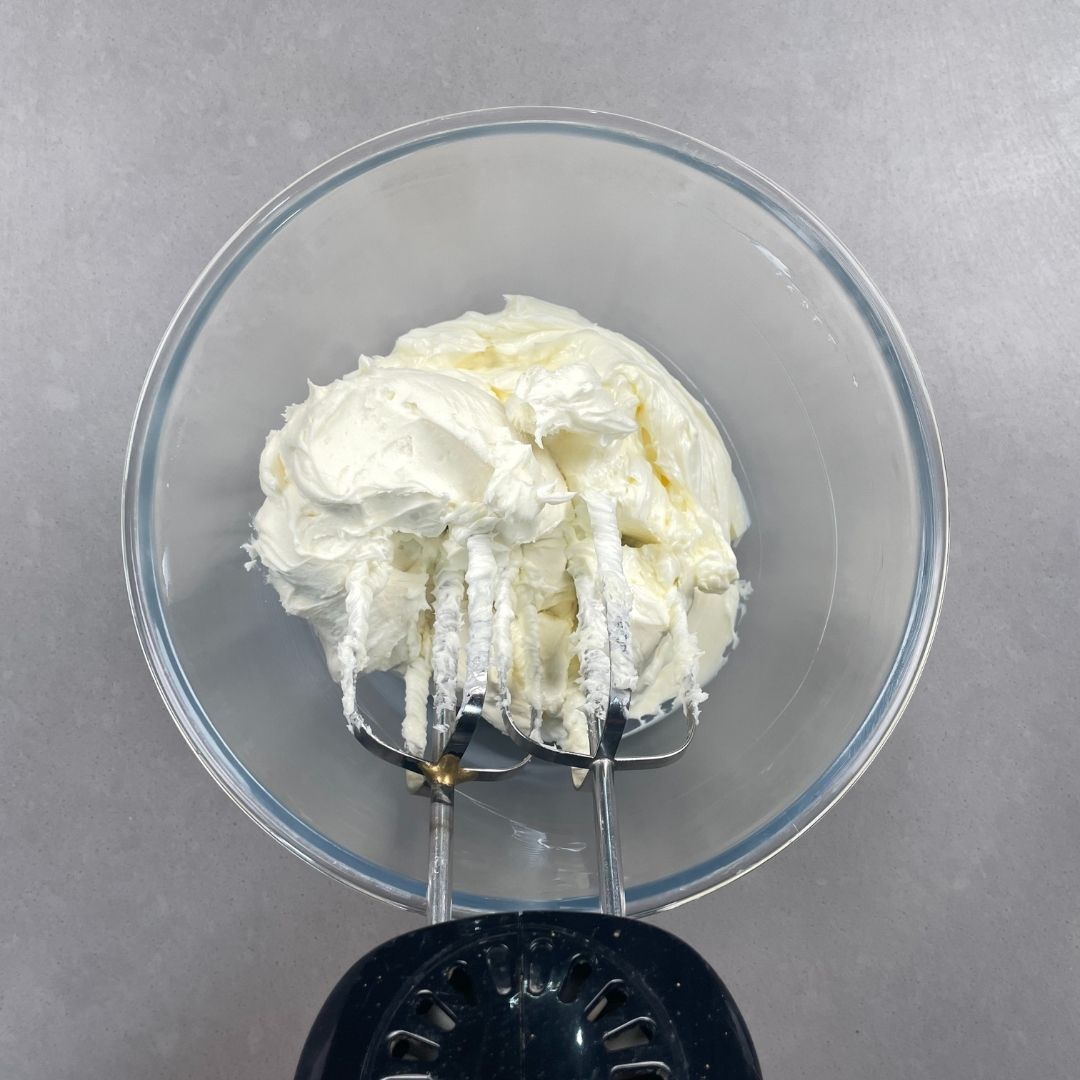
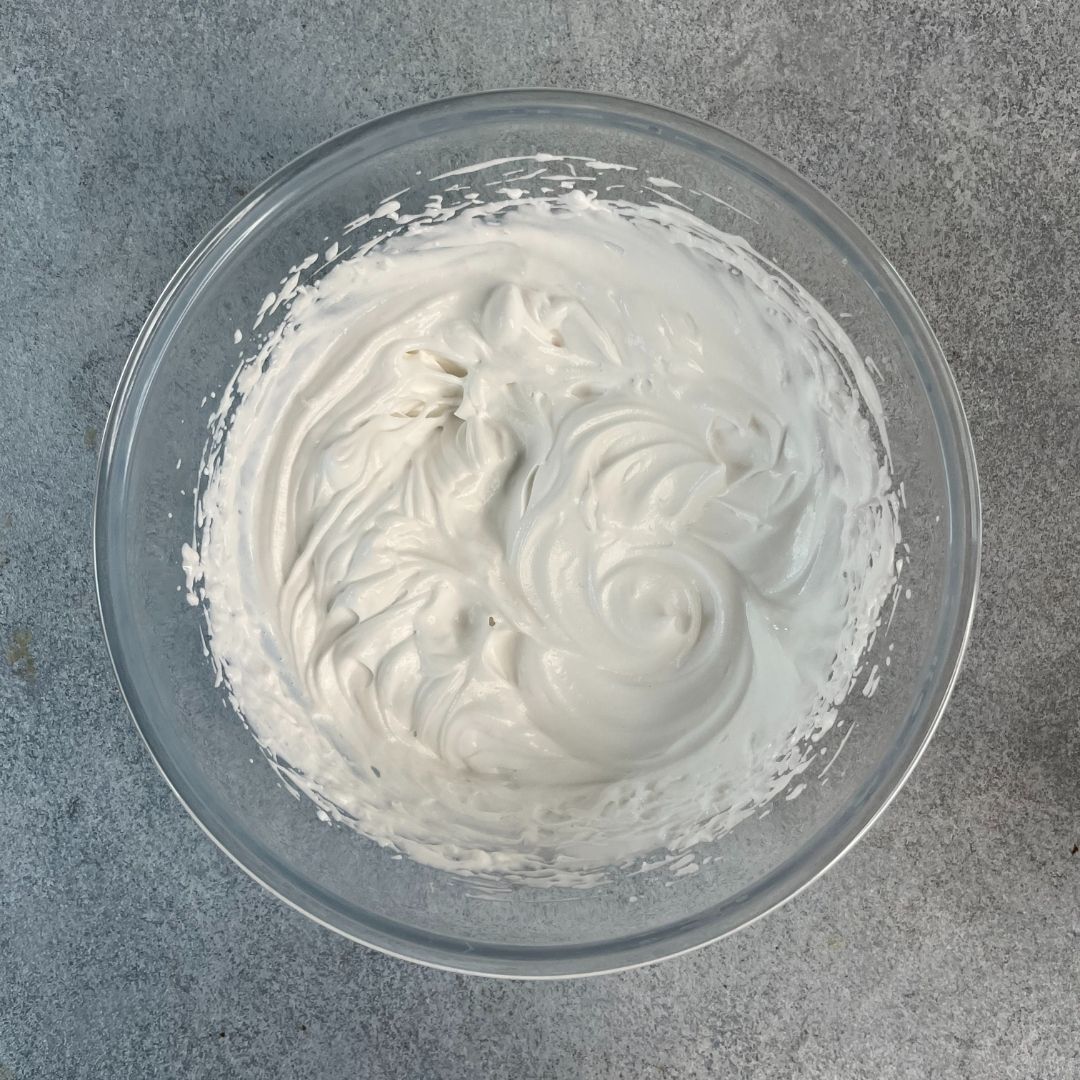
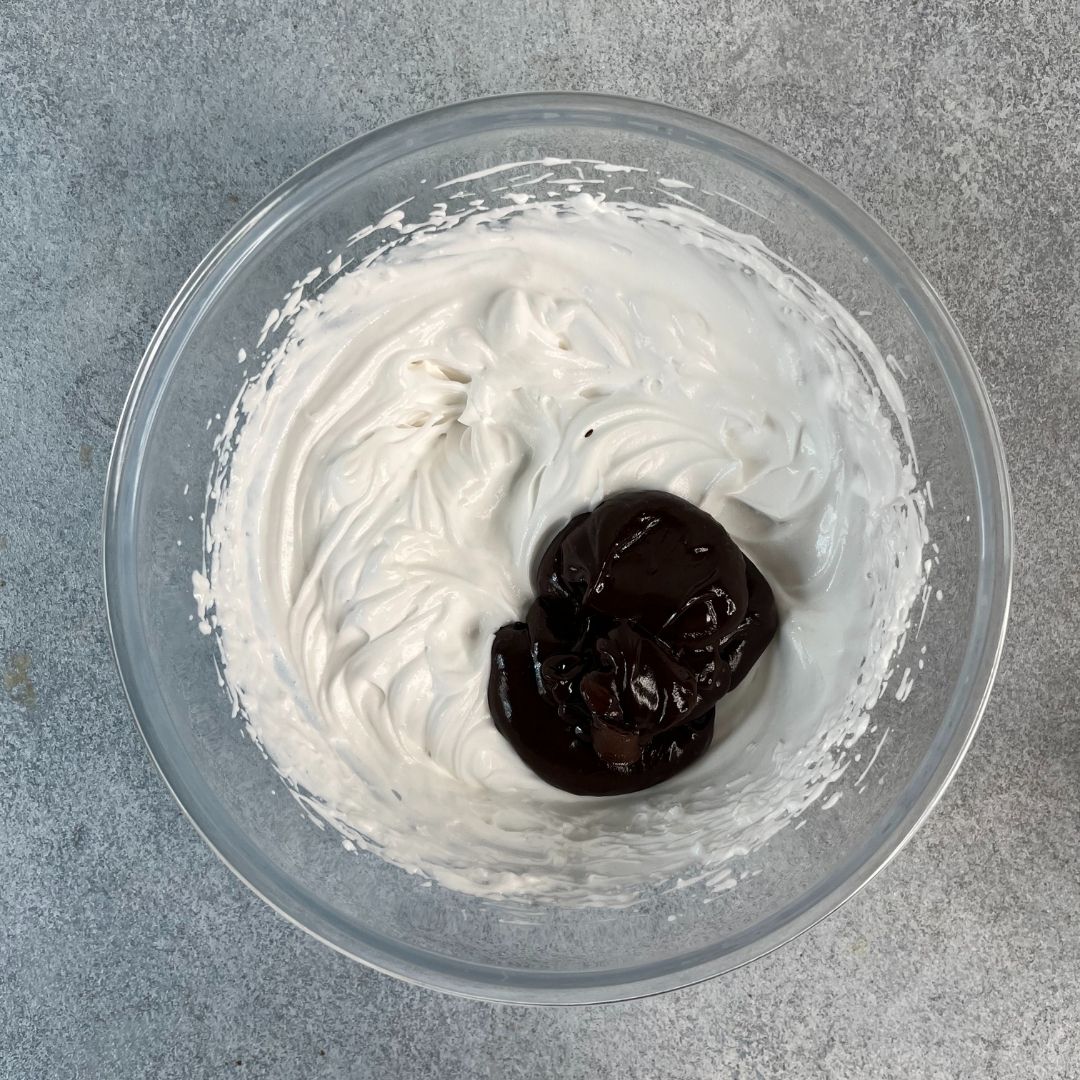
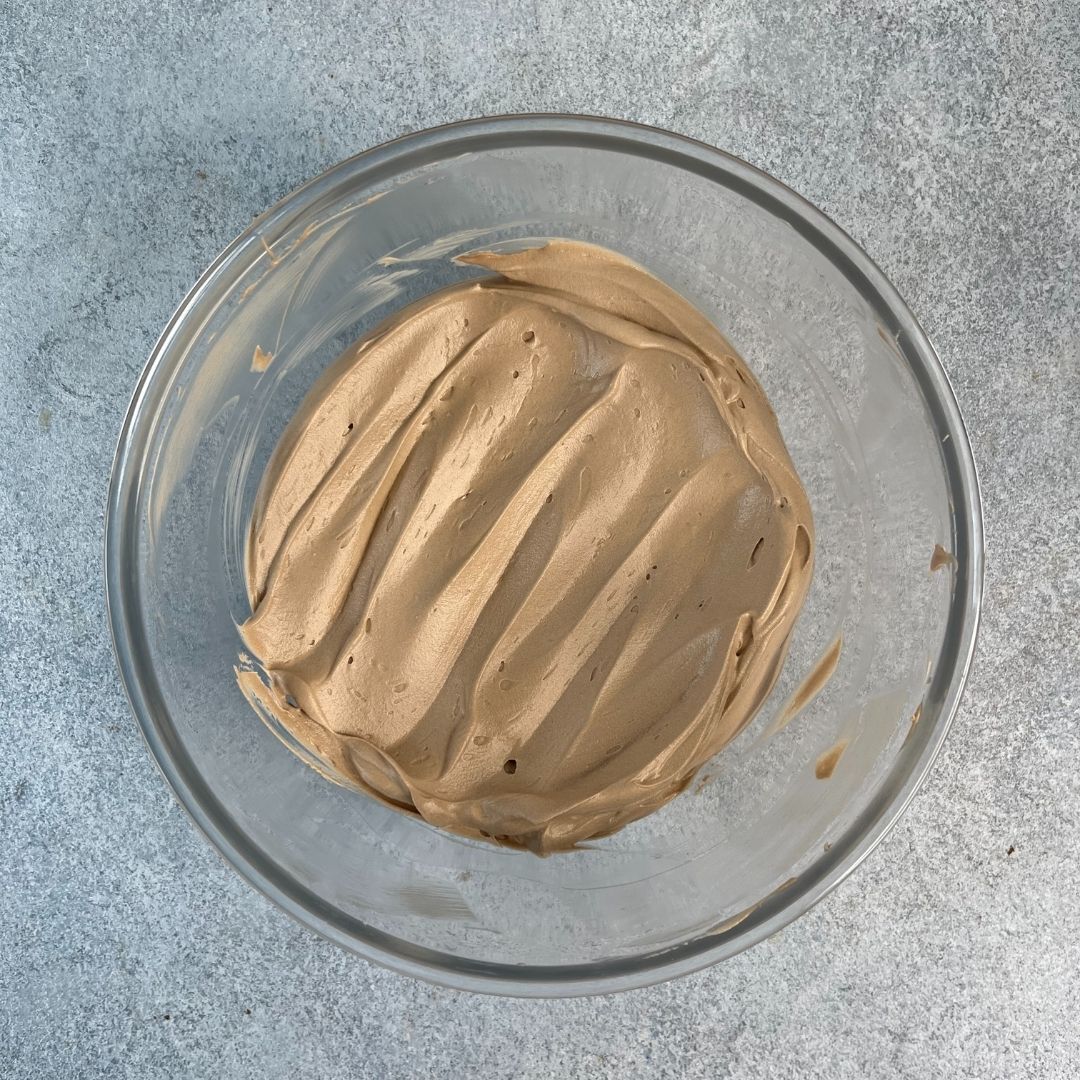
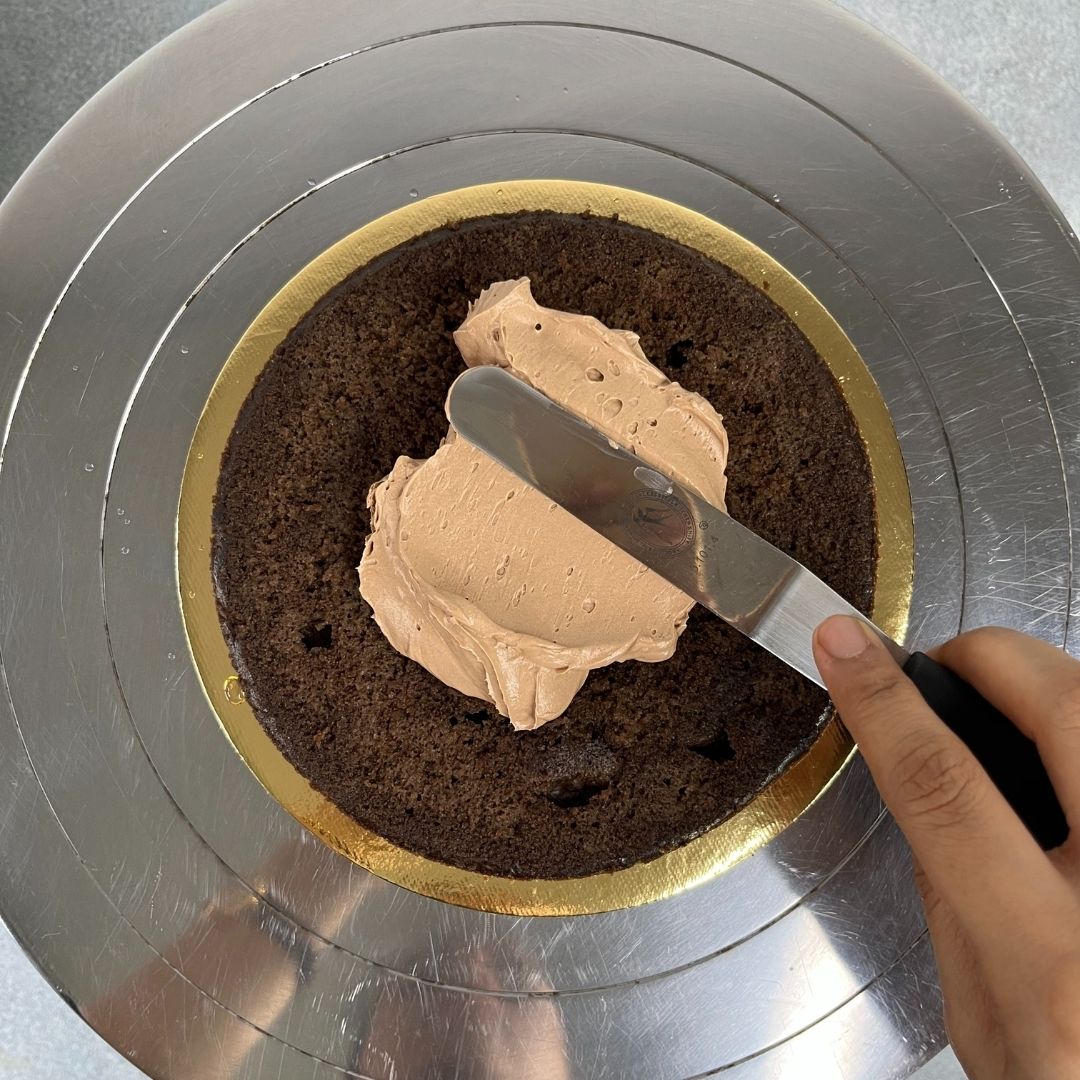
Beat whipping cream: In a big bowl, start beating whipping cream with an electric hand beater or in a stand mixer until it reaches the soft peak stage. Once it reaches the soft peak stage, fold in the cooled ganache with a spatula. Mix properly until fully incorporated. Transfer it to a piping bag and keep it aside to assemble the cake.
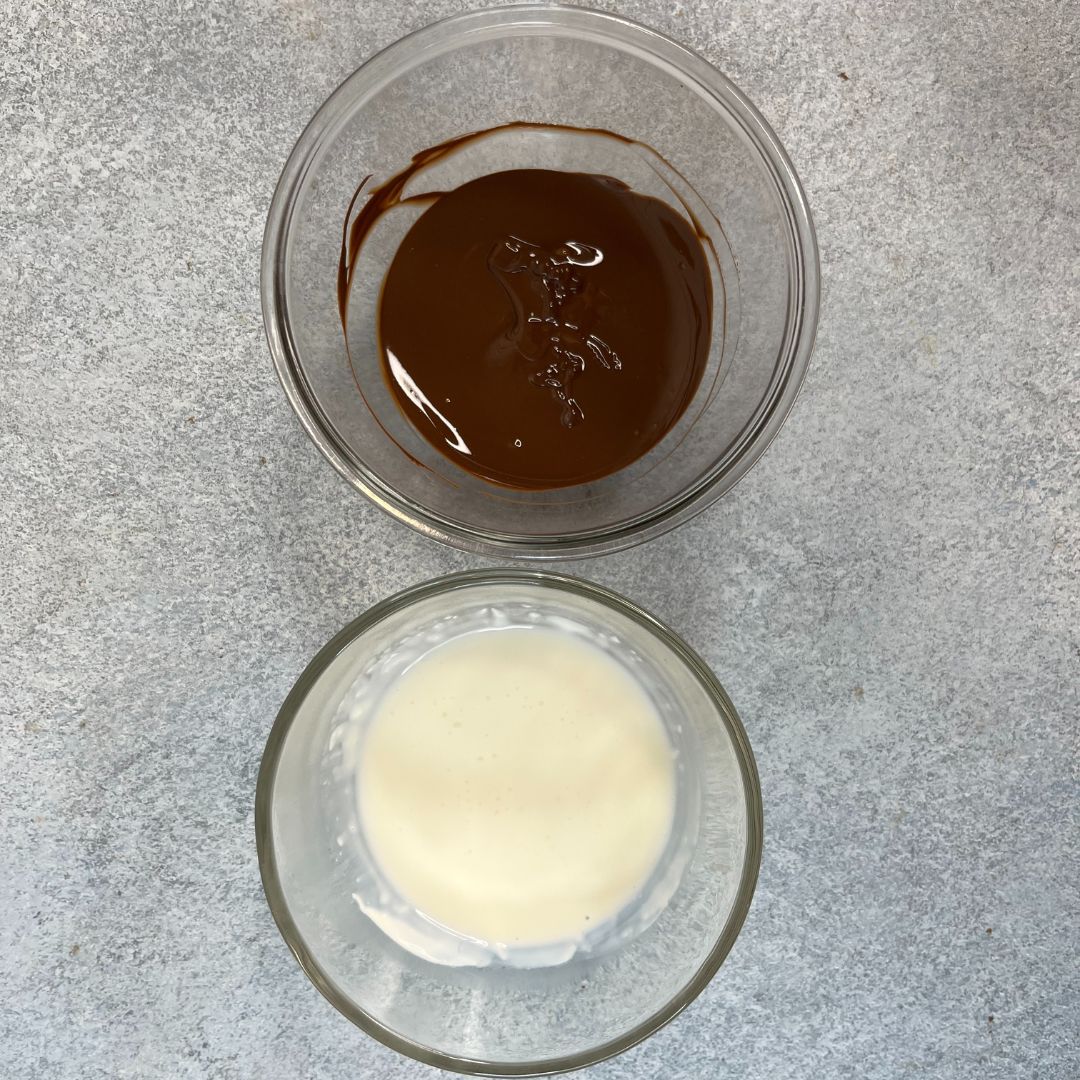
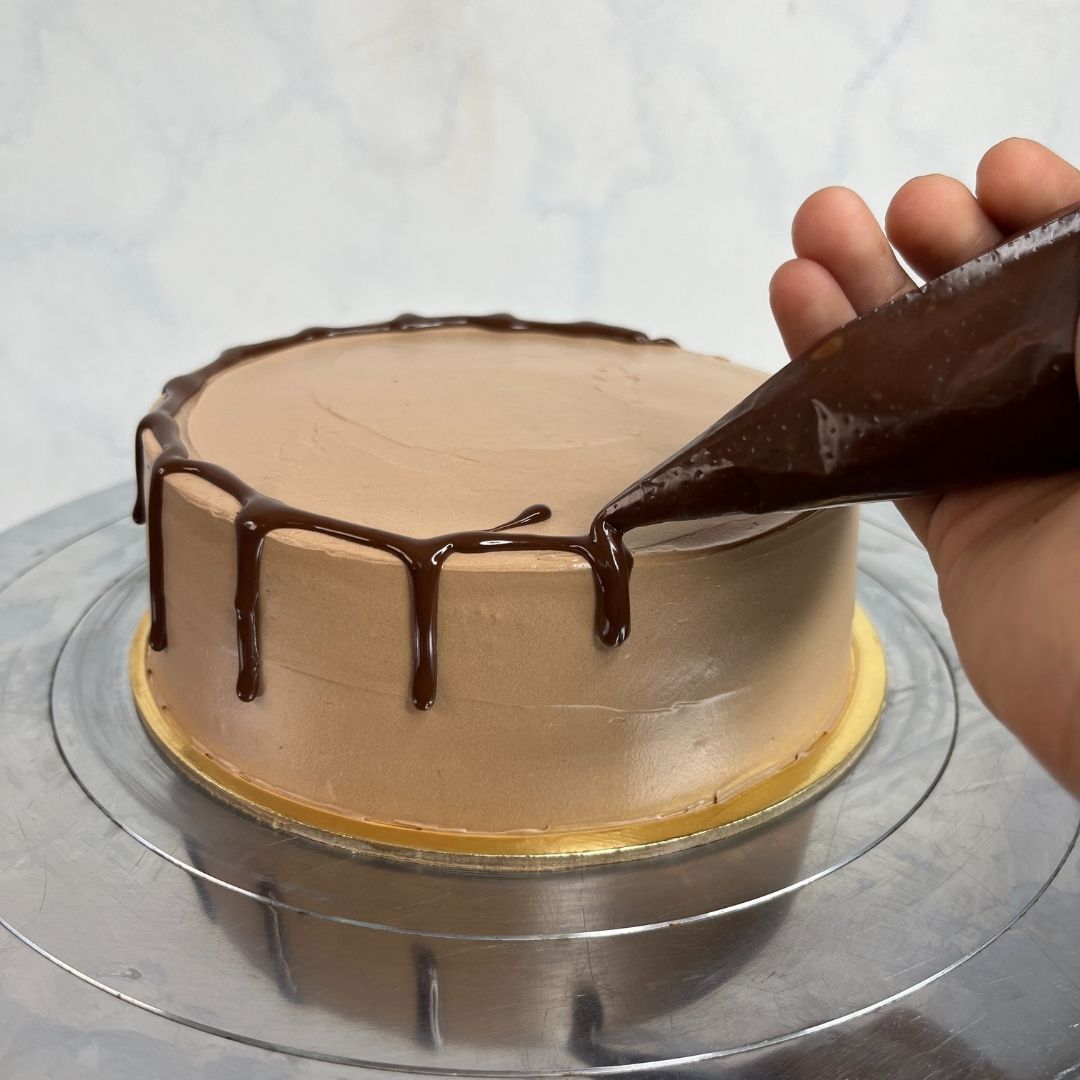
Make the dark chocolate drip: For the drip, melt dark couverture chocolate and fresh cream as we did with the ganache. So, for the drip, I am using a 1:1 ratio, which means if I add 50 grams of chocolate, I will also add 50 grams of fresh cream. Now, mix both ingredients to make the drip. Transfer it to a piping bag as well and keep it aside.

Assembly
De-mould and divide: After baking, let the cakes cool down completely before de-moulding. Once they are cooled enough, mold them using a palette knife by running around the cake from the inside edge. At the same time, de-moulding applies pressure towards the tin and not the cake. After de-moulding, divide it into 2 layers using a serrated knife or a cake leveller. Remove the butter paper as well.
Layering: Now, on the cake base, apply the frosting and place one layer of sponge on top. Soak the layer with simple vanilla soaking syrup and pipe the frosting on top. Smooth out the frosting using an offset spatula or bent palette knife. Place another layer of sponge on top and repeat the same process until we get four layers of sponges. Soak the top layer as well.

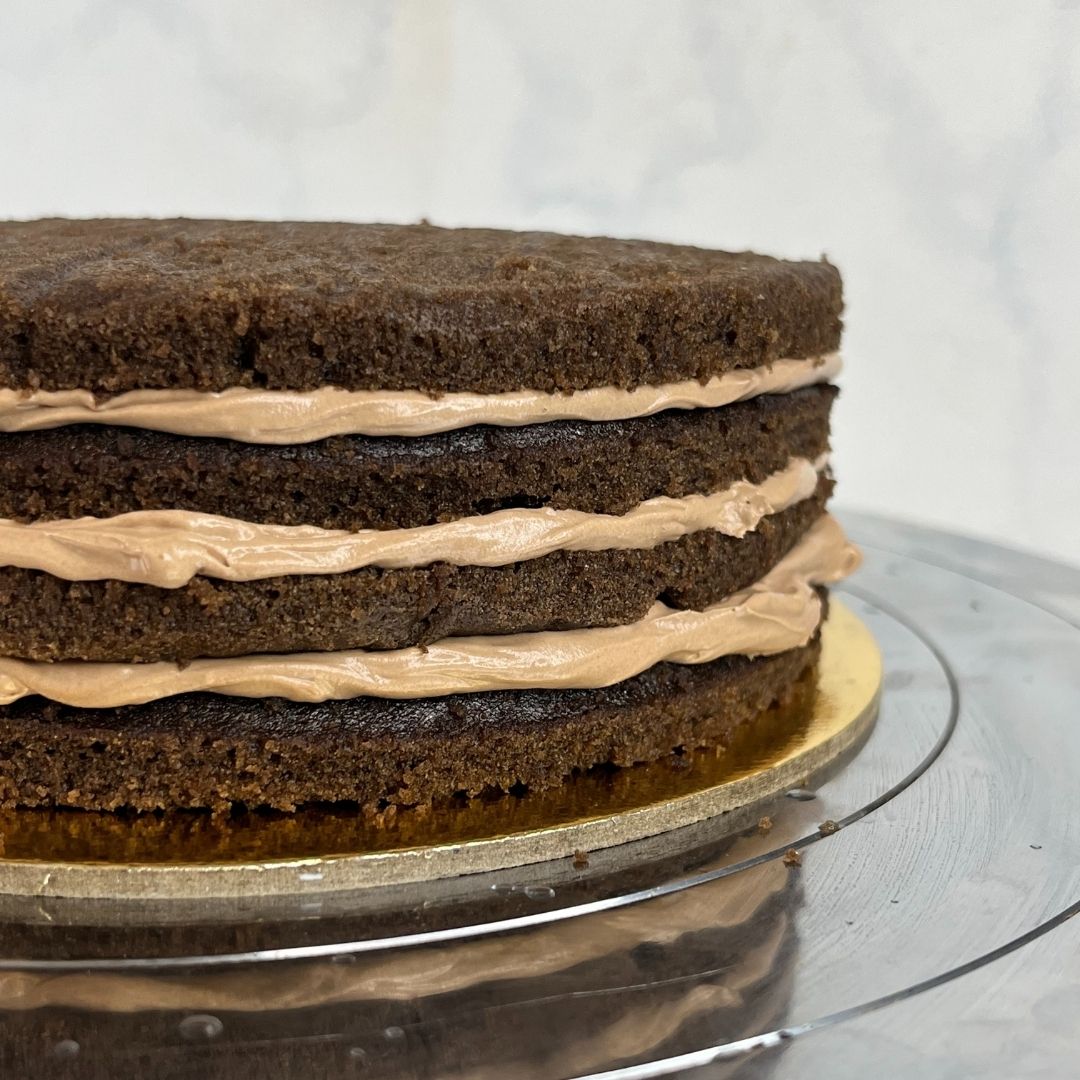
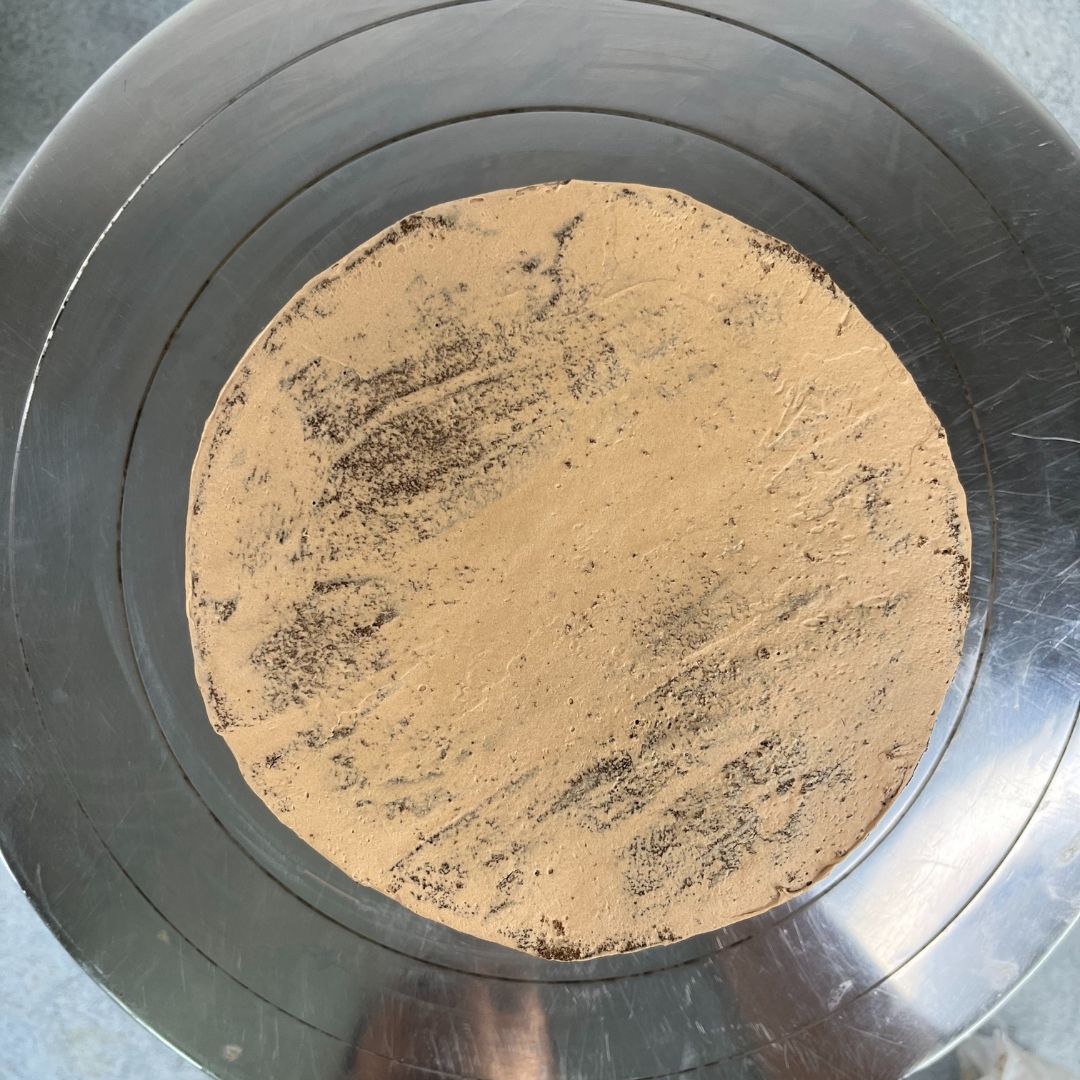
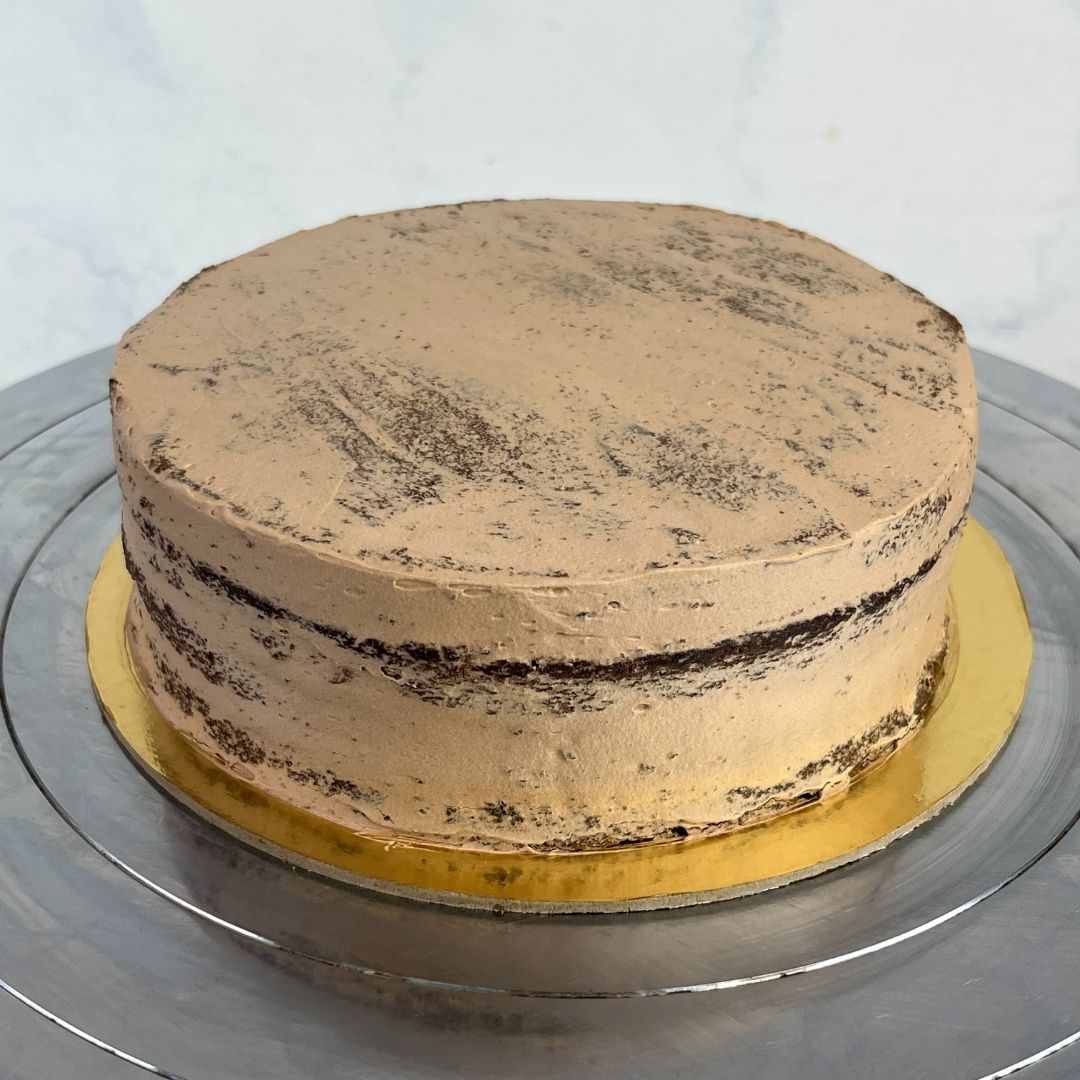
Crumb coating: Pipe thin layers of frosting all over the cake for the crumb coat. Since it is a crumb coat, the cake does not need to be fully covered by the frosting as it helps the stray crumbs to stay in place. Smooth out the frosting using a palette knife and remove the excess. Keep it in the freezer for 15 – 20 minutes.
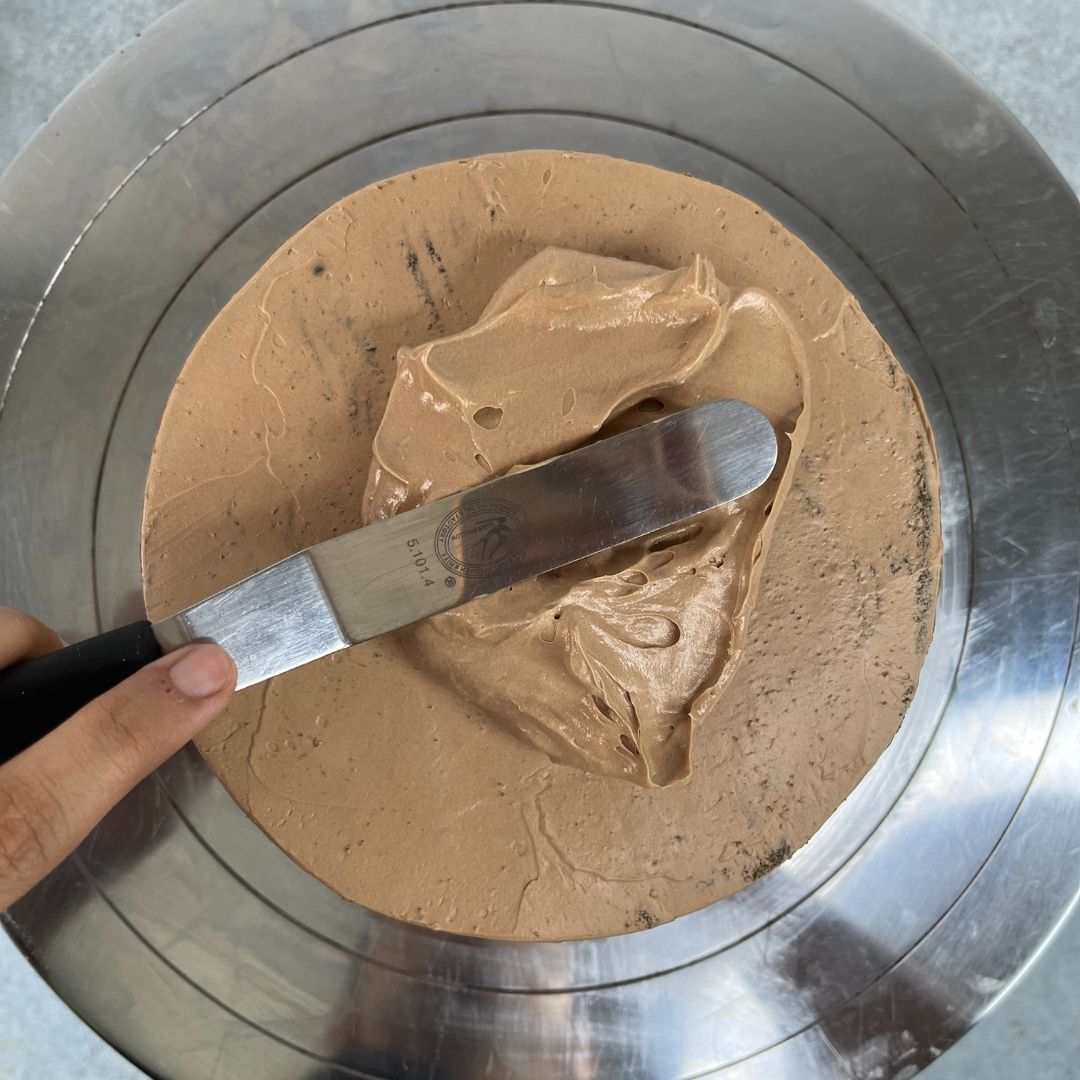
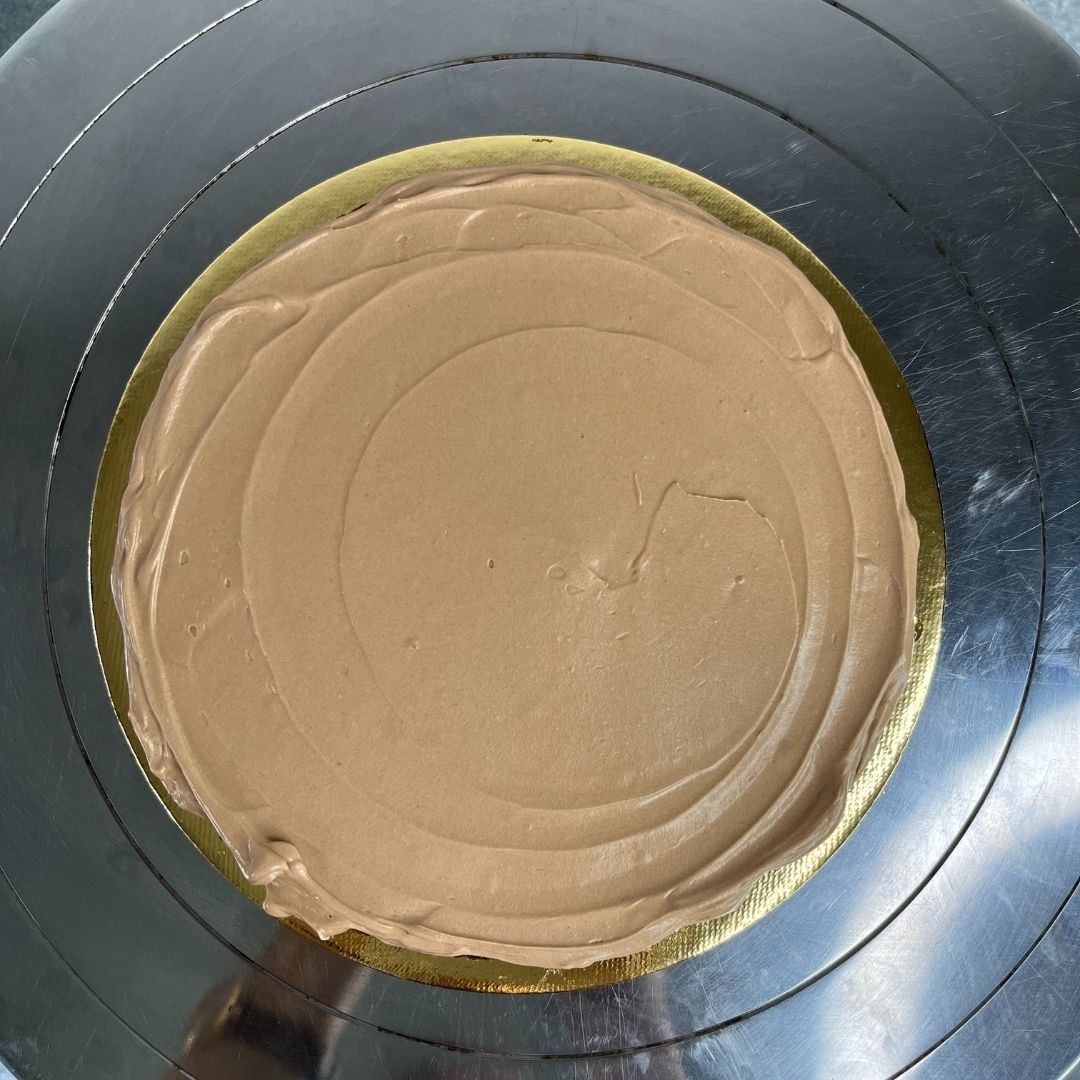
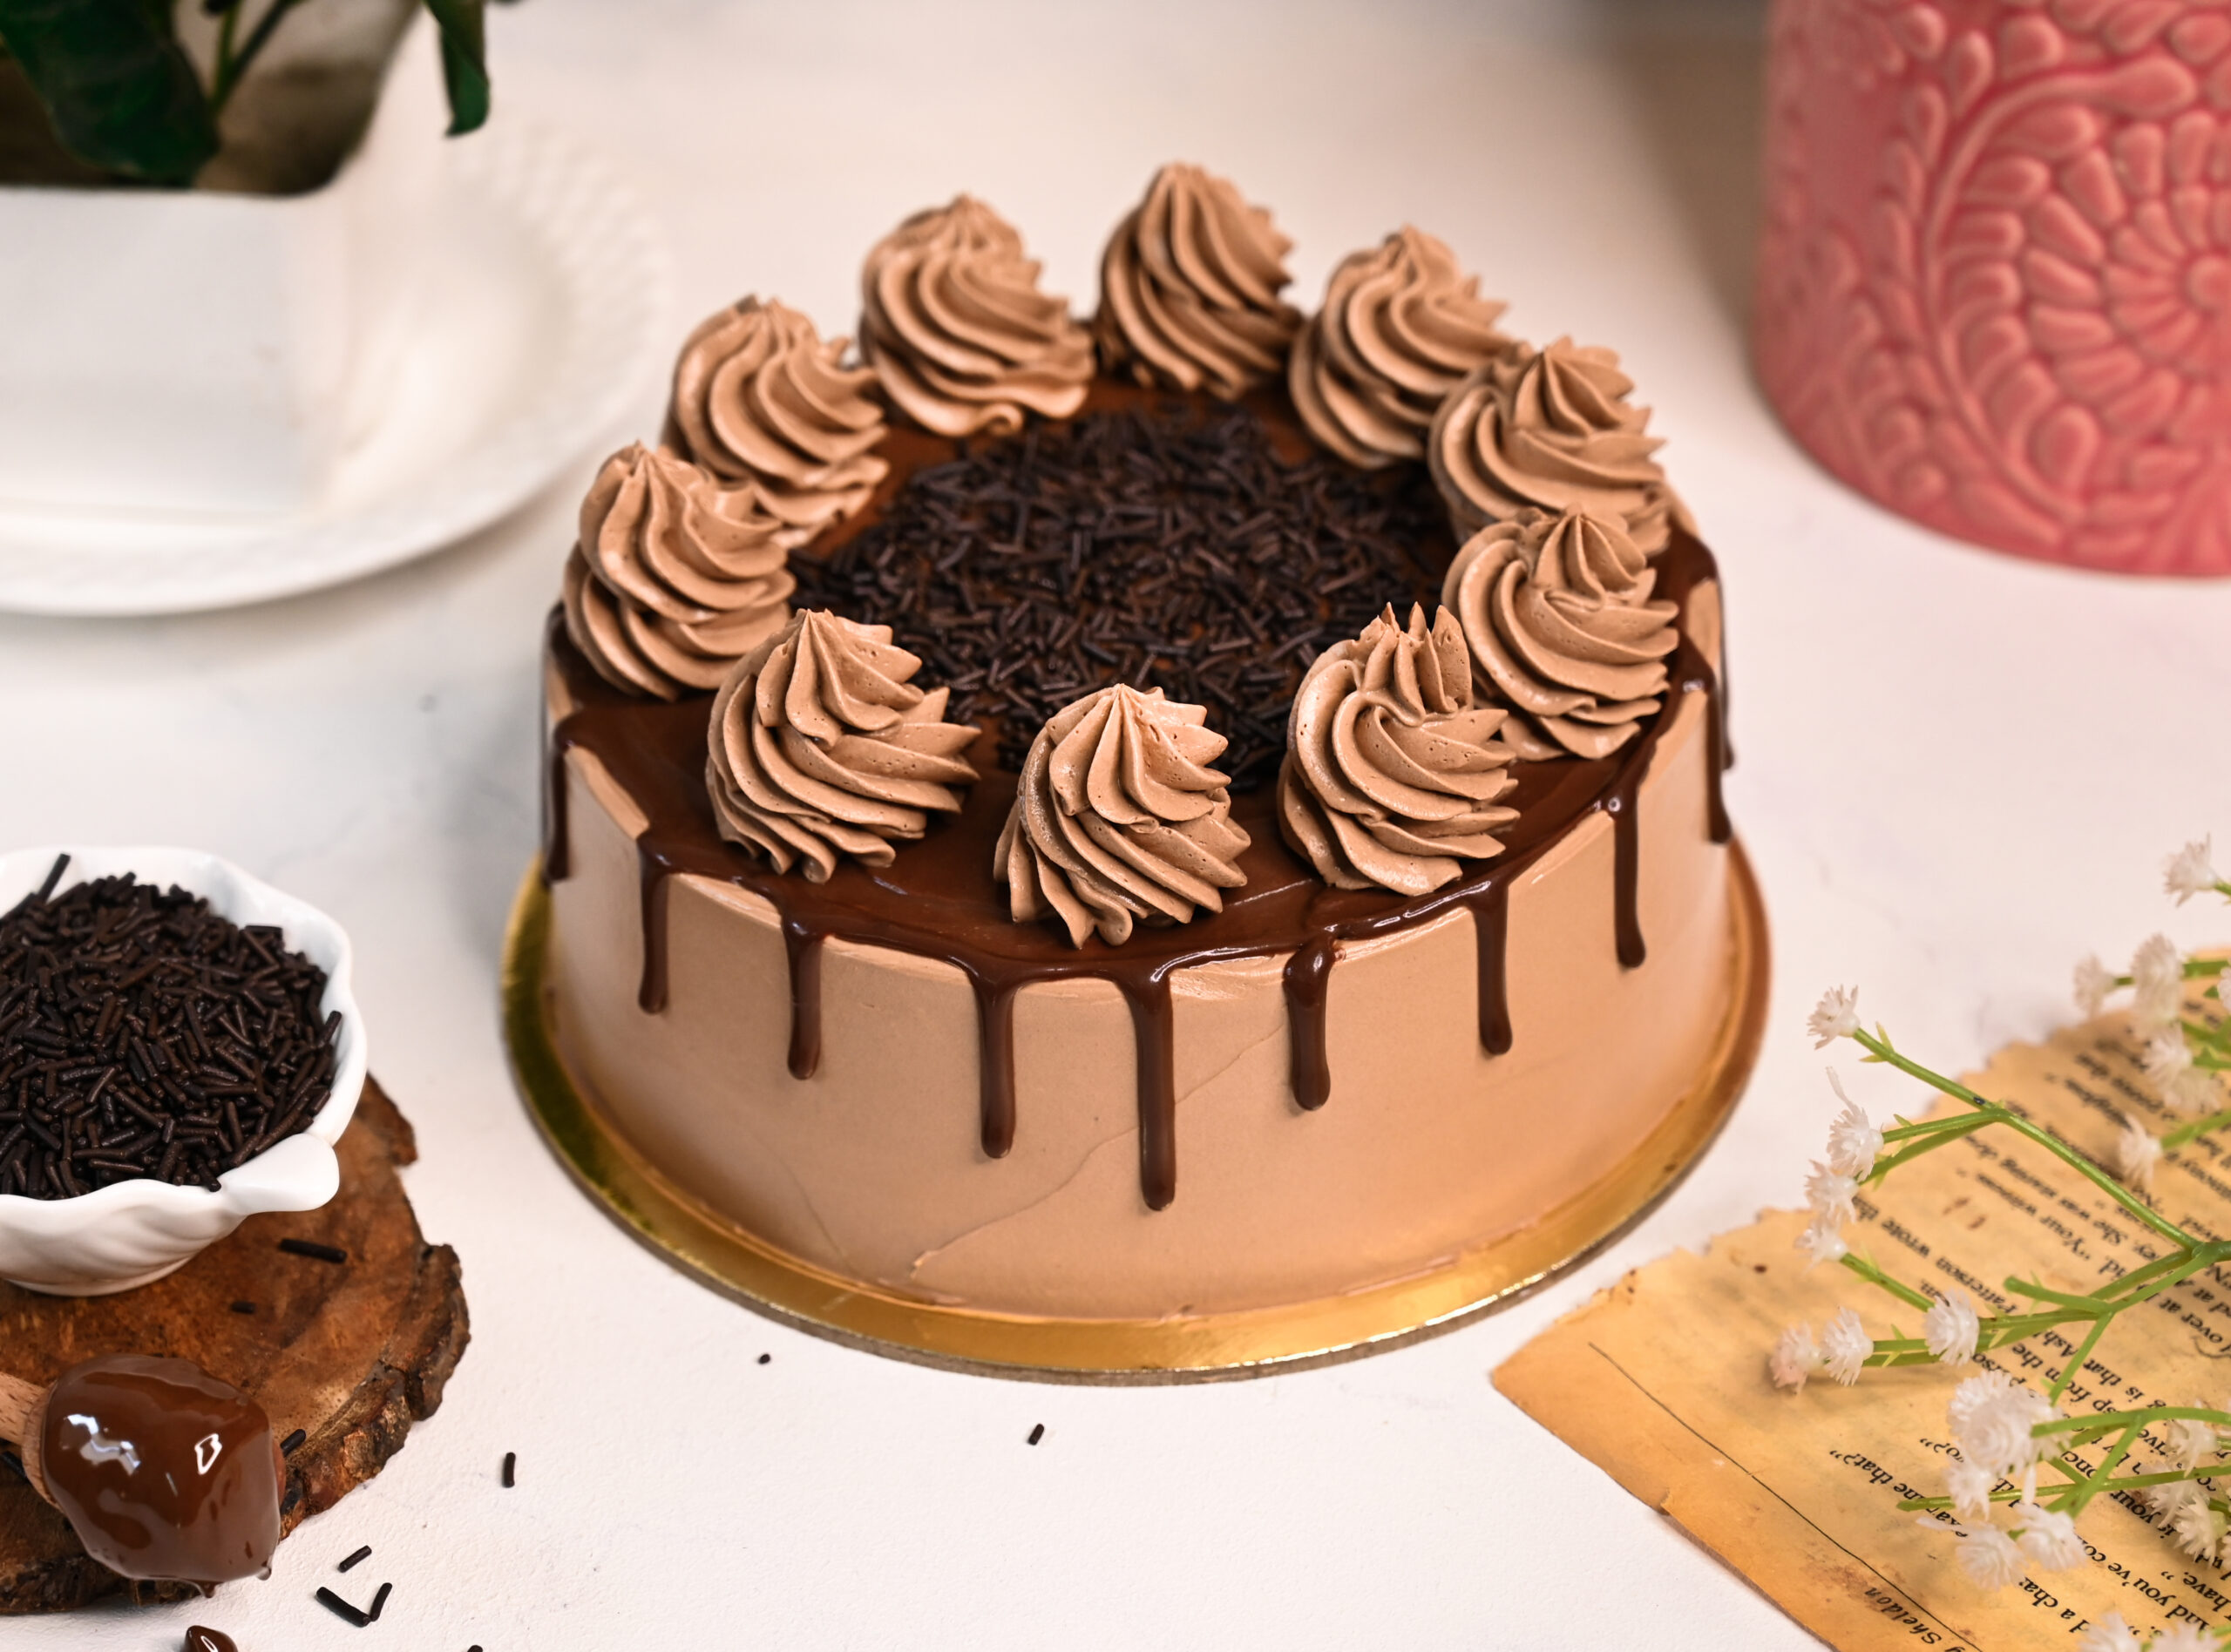
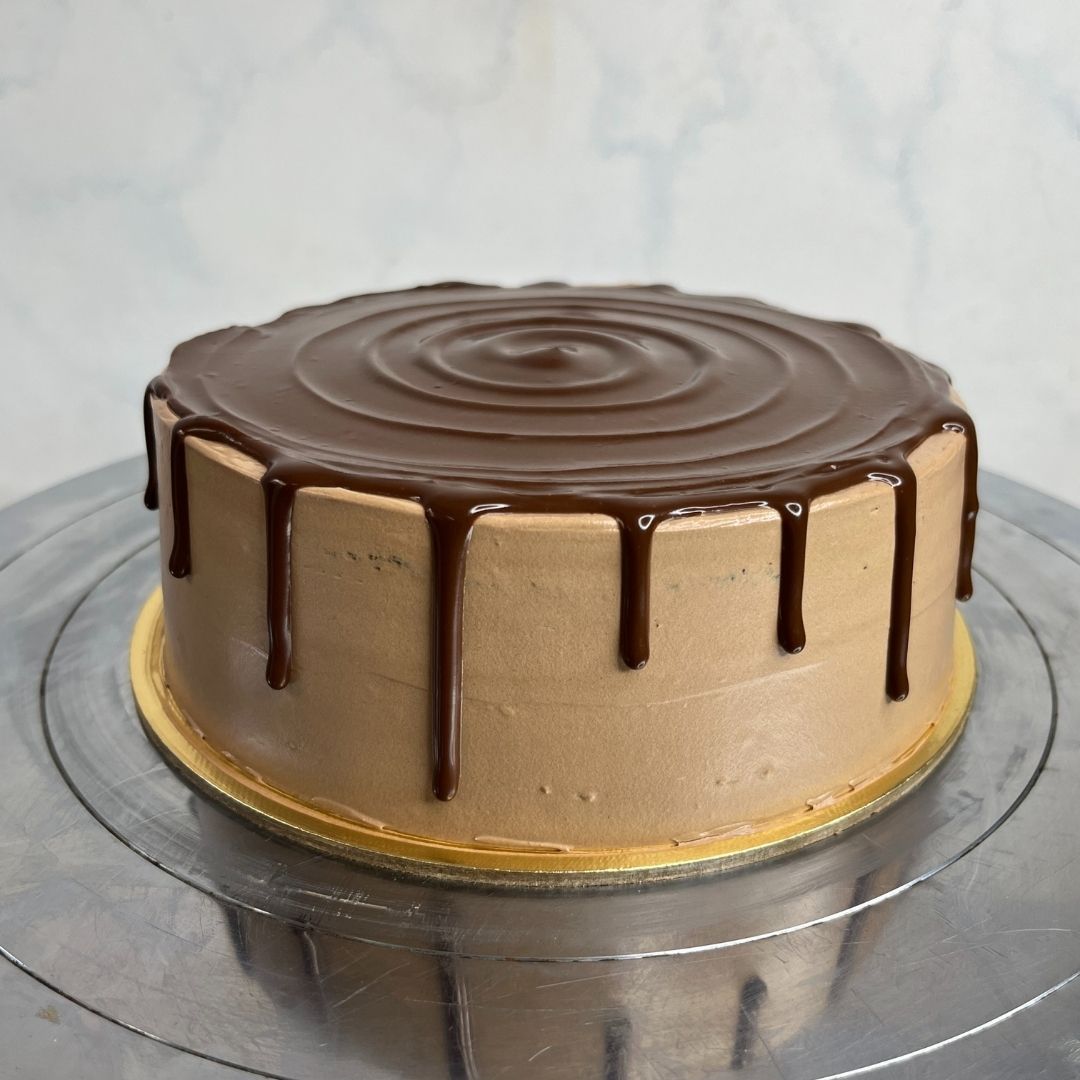
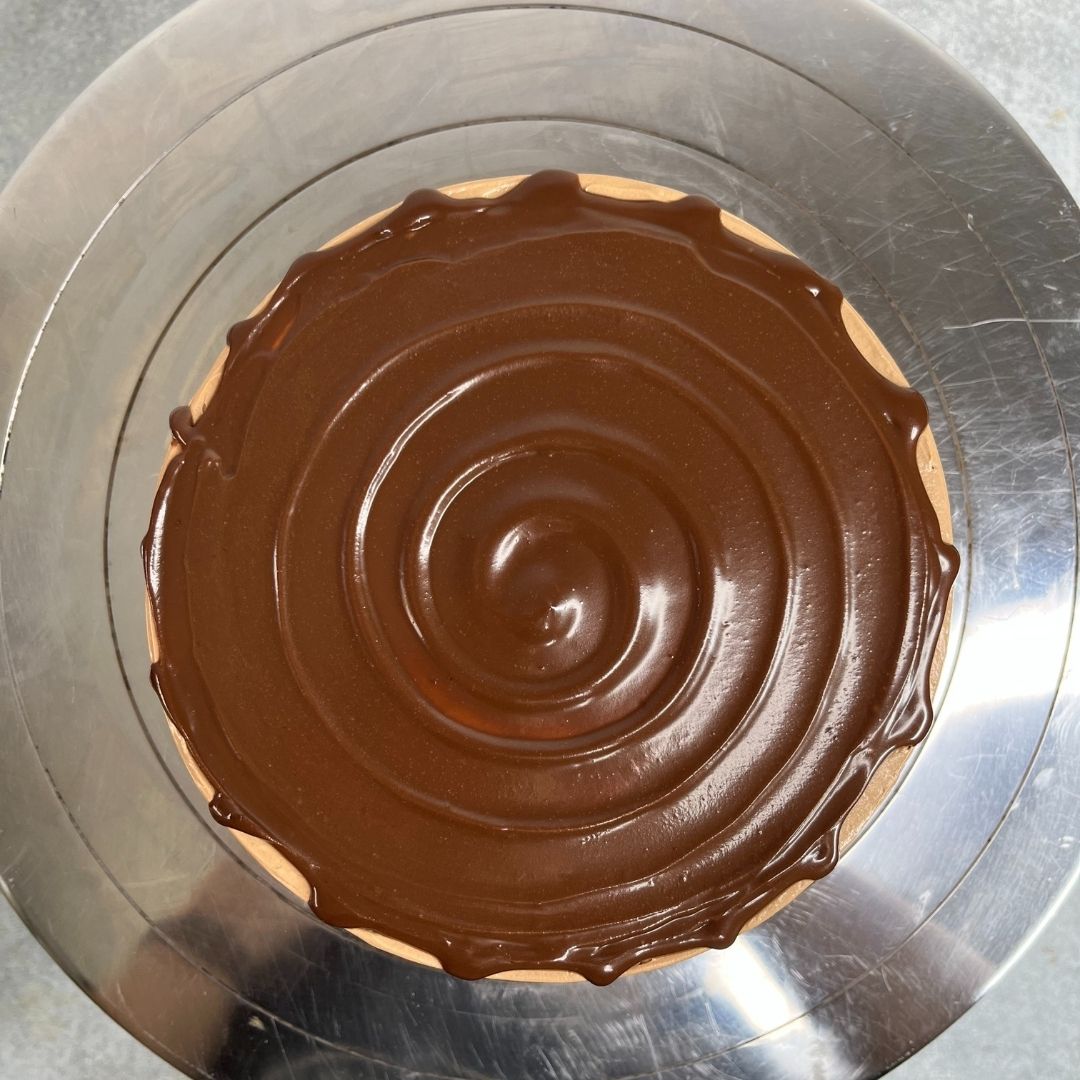
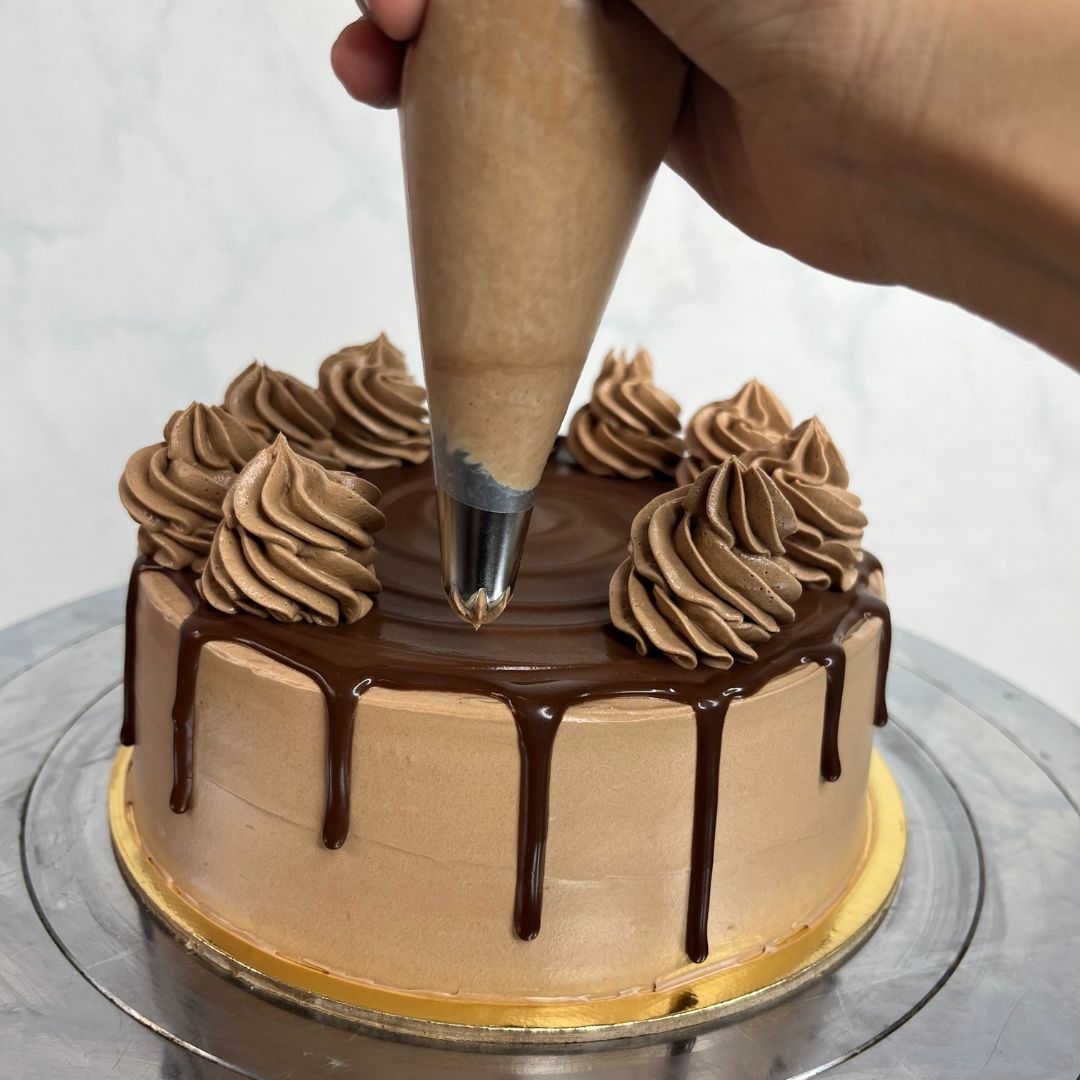
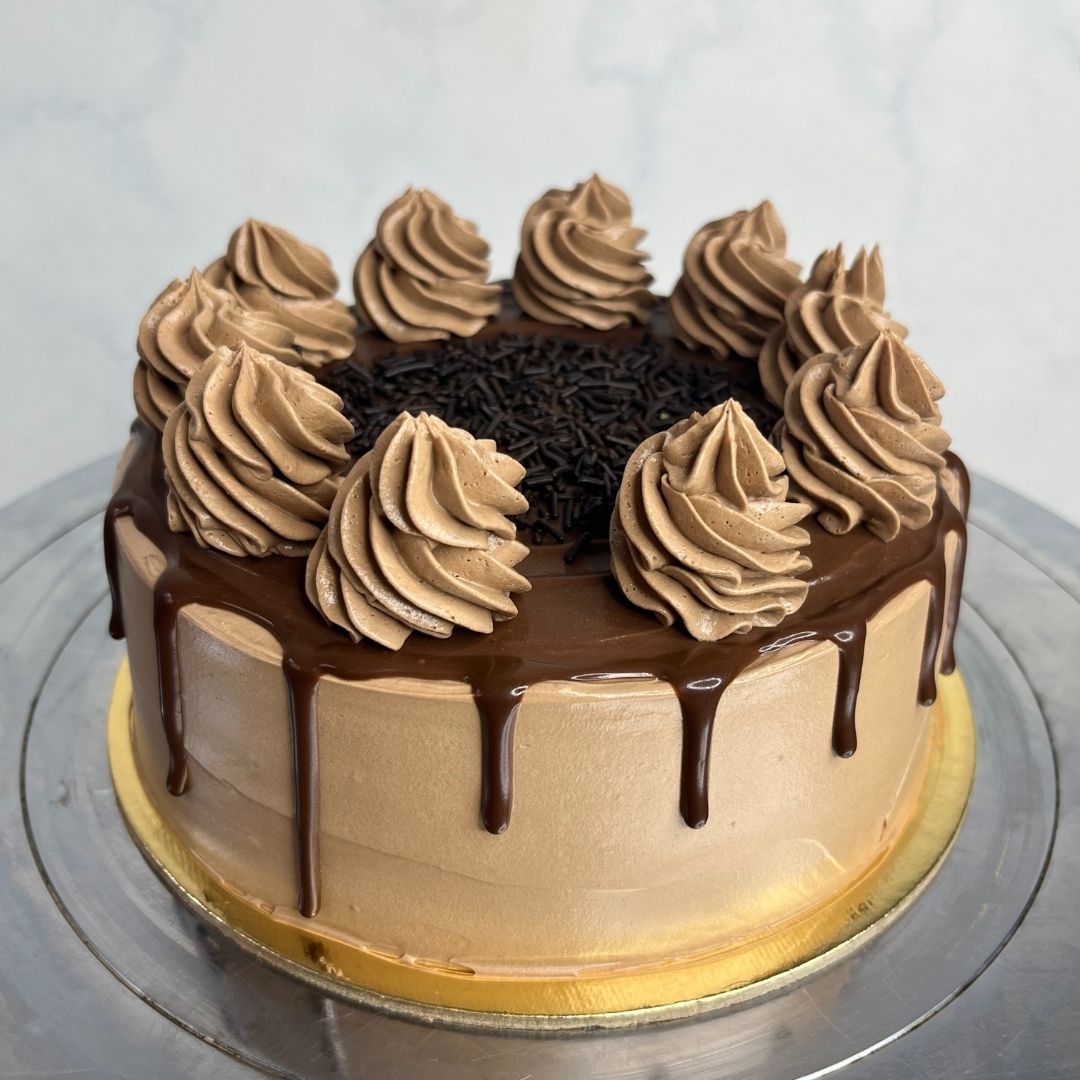
Final coating: After 15 – 20 minutes, pipe thick layers of frosting all over the cake and smooth out. Remove the excess and make sure to make the top edge sharp. Pour the drip around the edge of the cake to give it a drip effect. Pipe swirls on top of the drip around the top and add some chocolate vermicelli sprinkle in the middle.


Chef’s Tips For The Recipe
For The Batter
Sift the dry ingredients before making the batter.
Grease the baking tins and place butter papers at the bottom to prevent the sponge from sticking.
All the ingredients should be at room temperature to avoid curdling.
Adding Hot Water
After adding hot water, the batter will be on the thinner side, so do not worry if you find it runny. It will make the cake tender and moist.
How to Store Chocolate Cake Without Buttermilk
You can store the cake in the fridge for 2 – 3 days. Make sure to keep it in an airtight container so that it does not get dried out.
You can keep it in the freezer for at least 1 week after placing it in an airtight container.
The sponge and the frosting can be stored separately. The sponge can be stored in the freezer for 1 whole month, while the frosting can only be stored in the refrigerator for at least 4 days.
More Easy Recipes
Check out our other cake recipes that are incredibly tasty:
Frequently Asked Questions
The texture may slightly differ without the buttermilk, but it will still be velvety and rich and tender crumbs.
Hot water is added to bloom the cocoa powder and enhance the chocolate flavour of the cake. But normal water will still create a fantastic cake.
As the primary flavour of the cake is chocolate, even without buttermilk, it will taste delicious.
Buttermilk is used to make the chocolate as its acidity helps to raise the cake when mixed with a rising agent. It also adds moisture to the cake.
No, you cannot substitute buttermilk with water. It will change the texture completely along with the flavour of the cake.