fbpx

The Best Vanilla Cake – Recipe

Home » The Best Vanilla Cake – Recipe

The Best Vanilla Cake – Recipe

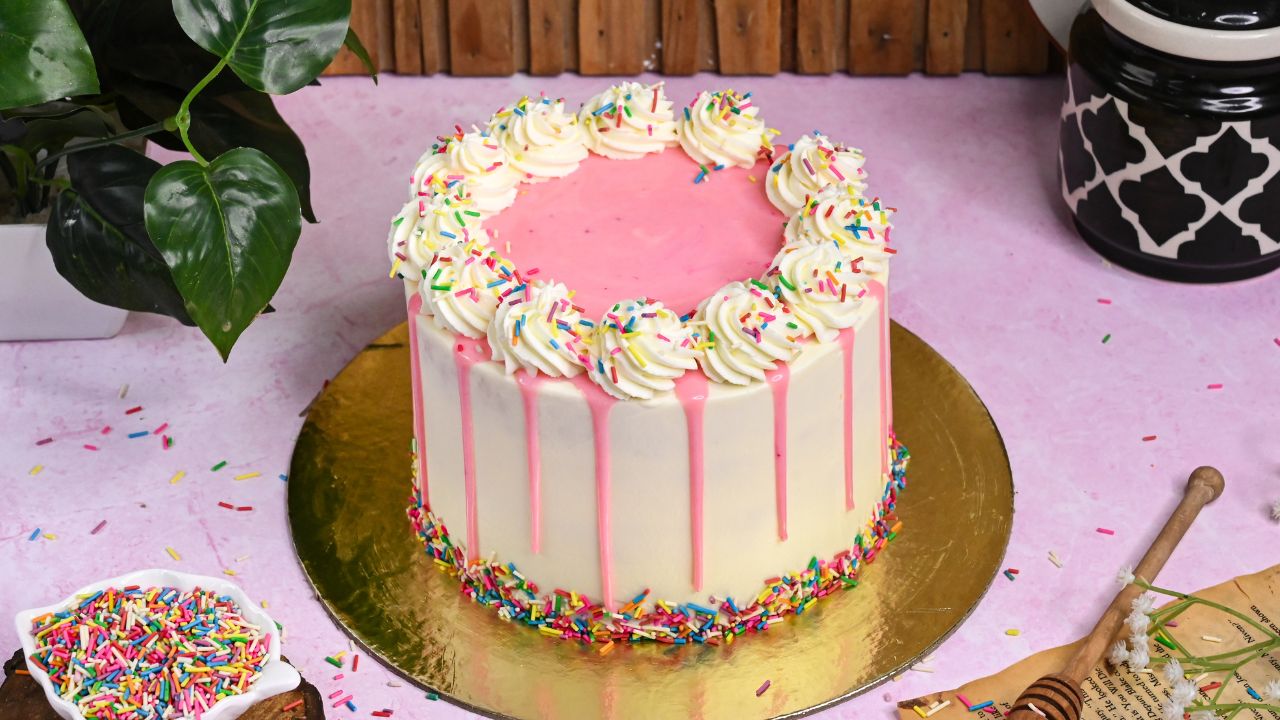
With its pillowy soft crumb and the sweet vanilla frosting, this is the Best Vanilla Cake you will ever taste. And after one bite, I am 100% sure that you will agree with this. 

Vanilla Cake

Vanilla cake is one of those dessert that is loved by all. Whether it’s a birthday party or a baby shower party, this cake is perfect for any party theme that you have decided.

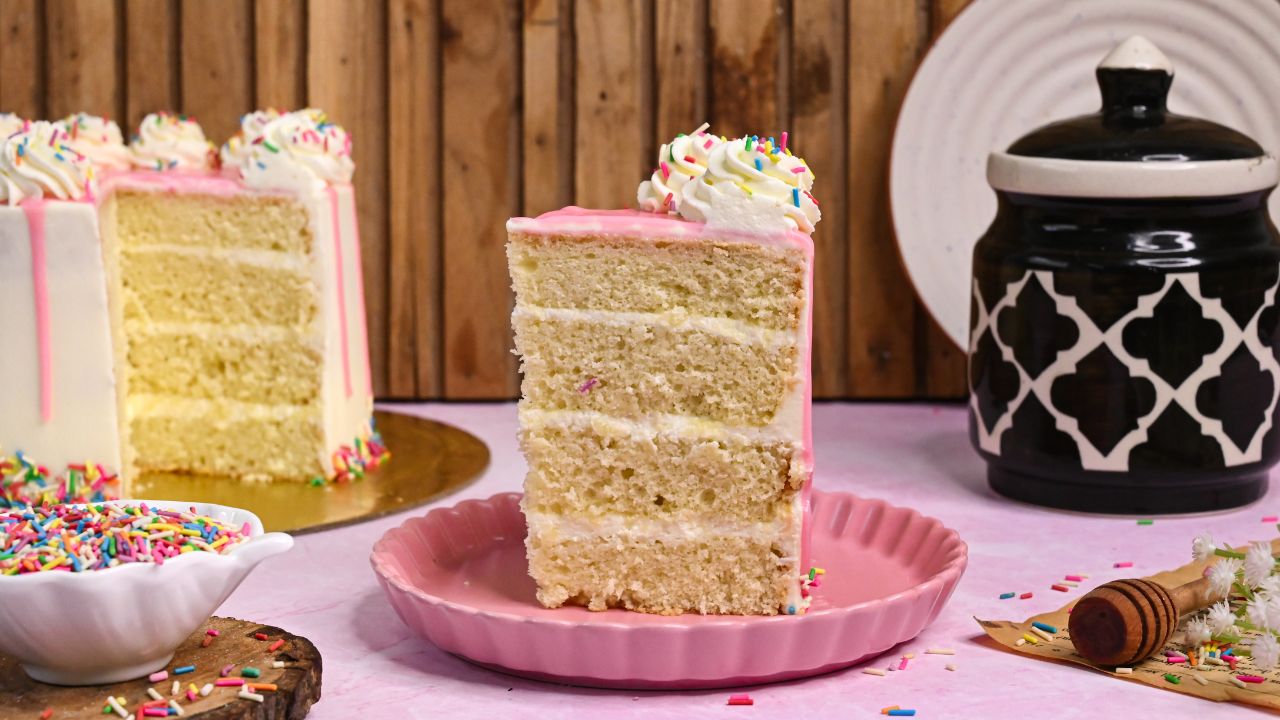
This cake is so tasty that it can lift your spirit or brighten your gloomy day. This cake has a soft, tender and fluffy texture that gives us a luxurious feeling when you take a bite. And the frosting is a cherry on top. 

The combination of these two is out of the world, making it my absolute favourite vanilla cake ever. This cake tastes better and looks gorgeous, too, with the pink drip and rainbow sprinkles. It consists of a meringue that gives it its fluffy and pillowy soft texture. And very little fat, so what more can you ask for?

Why You Will Love This Recipe?

  • Flavor: The beauty of this vanilla cake lies in the flavor. The perfect combination of vanilla sponge and not-too-sweet frosting makes the cake perfect for any craving or occasion. It’s a comfort dessert that satisfies many people with a sweet tooth. 
  • Texture: Apart from the flavor, the texture is the best thing about loving this cake. Its plushie, pillowy soft with tender crumbs, makes the cake extra lovable. Make this cake for your kids or any special one’s birthday, and it will not disappoint you. The velvety texture of the frosting complements the cake perfectly, which takes it to another level. 
  • Easy: Making vanilla cake has always been easy with simple steps. And this recipe is no exception. The sponge and the frosting require simple and easy-to-follow steps, which are already given in this recipe through the blog post. 
  • Classic: Vanilla cake is a classic dessert, and you probably already know it, but classic never goes out of style. Its simplicity can turn any non-dessert lover into a dessert lover. 
  • Versatile: This cake is quite versatile. You can pair this cake with endless possible varieties of flavours. From coconut flavour to classic pineapple cake, yuan, be creative and make your version with this recipe.

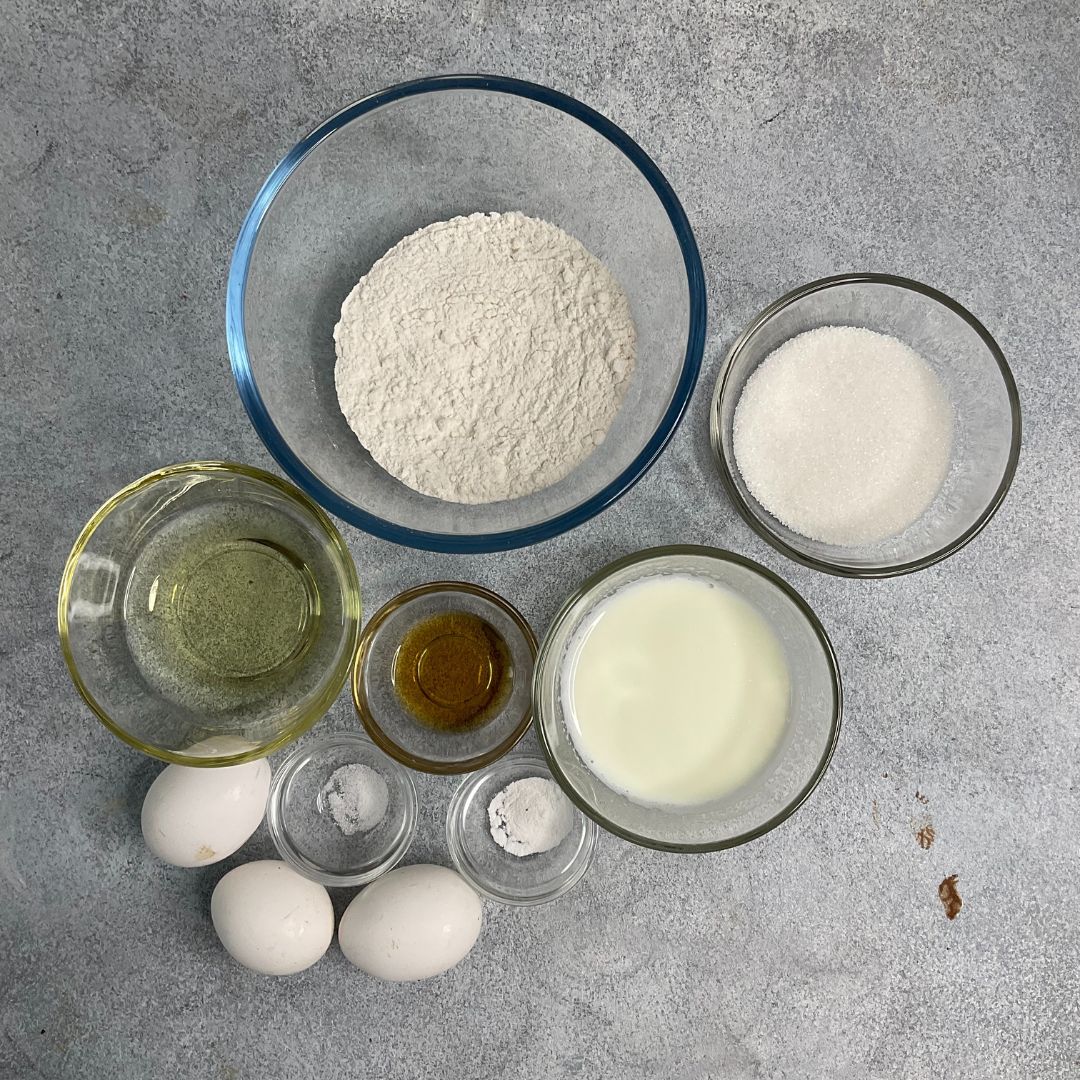
Important Ingredients Used In The Recipe

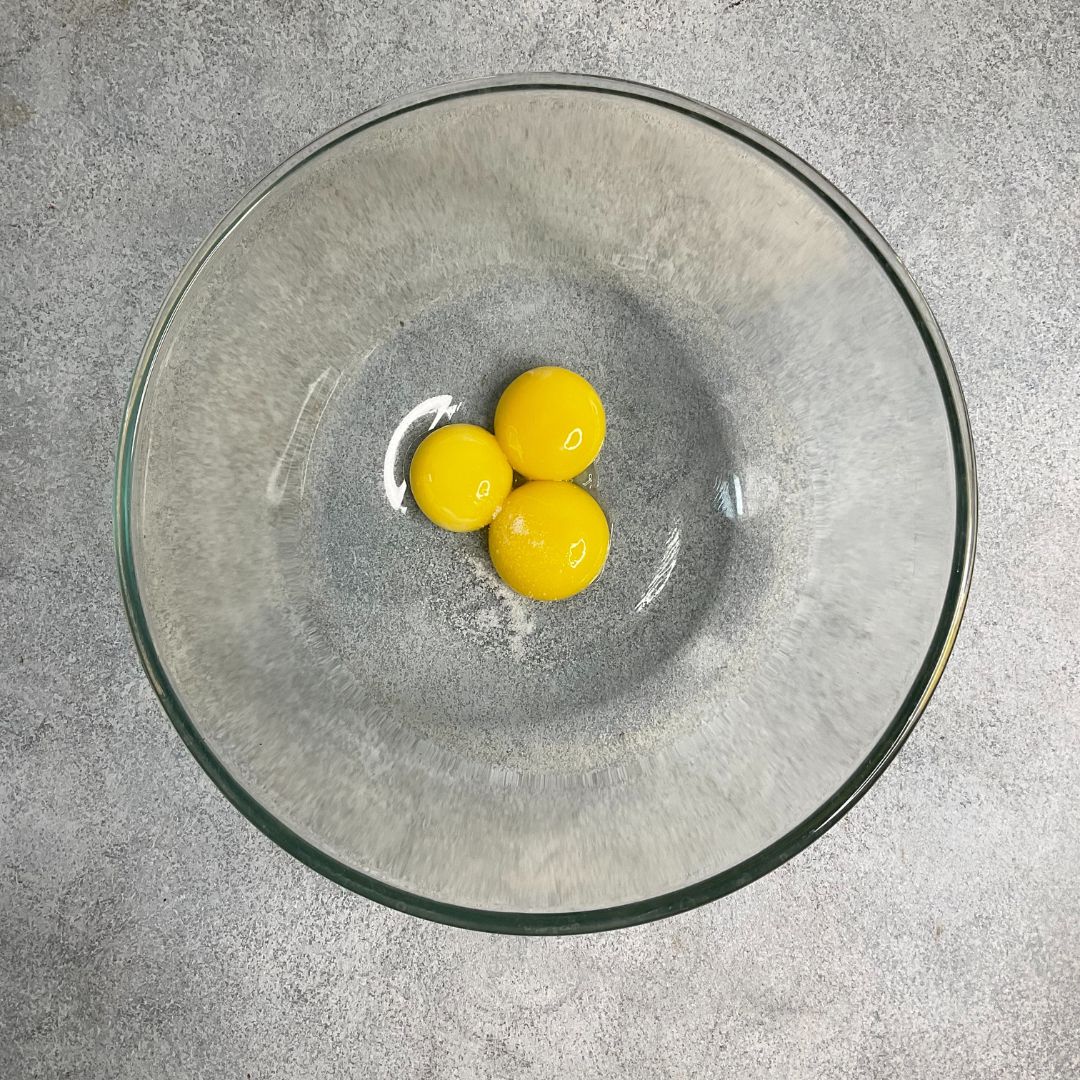
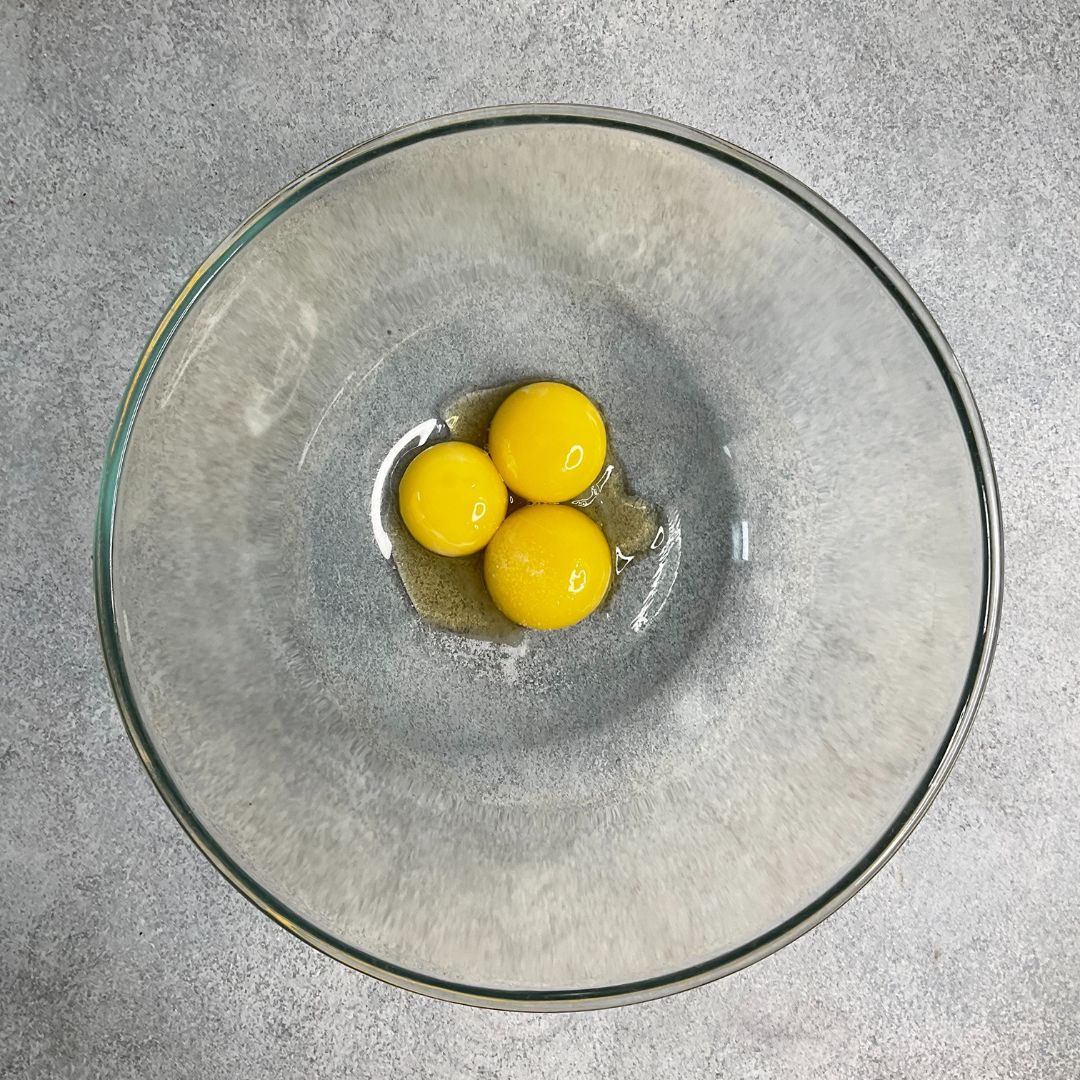
  • Eggs: Eggs act as a primary rising agent for this recipe. Both the egg whites and egg yolks have been used for this recipe. When egg whites are beaten with sugar to make a meringue, it entraps air, creating a stable foam that expands during baking, causing the cake to rise and become light and airy. And egg yolk adds a subtle richness and contributes to the cake’s soft and tender texture.
  • Cream of tartar: This ingredient helps in stabilizing the meringue. It also helps in achieving volume in the meringue. Since cream of tartar is acidic, if you do not have cream of tartar, you can add lemon juice instead of it. 
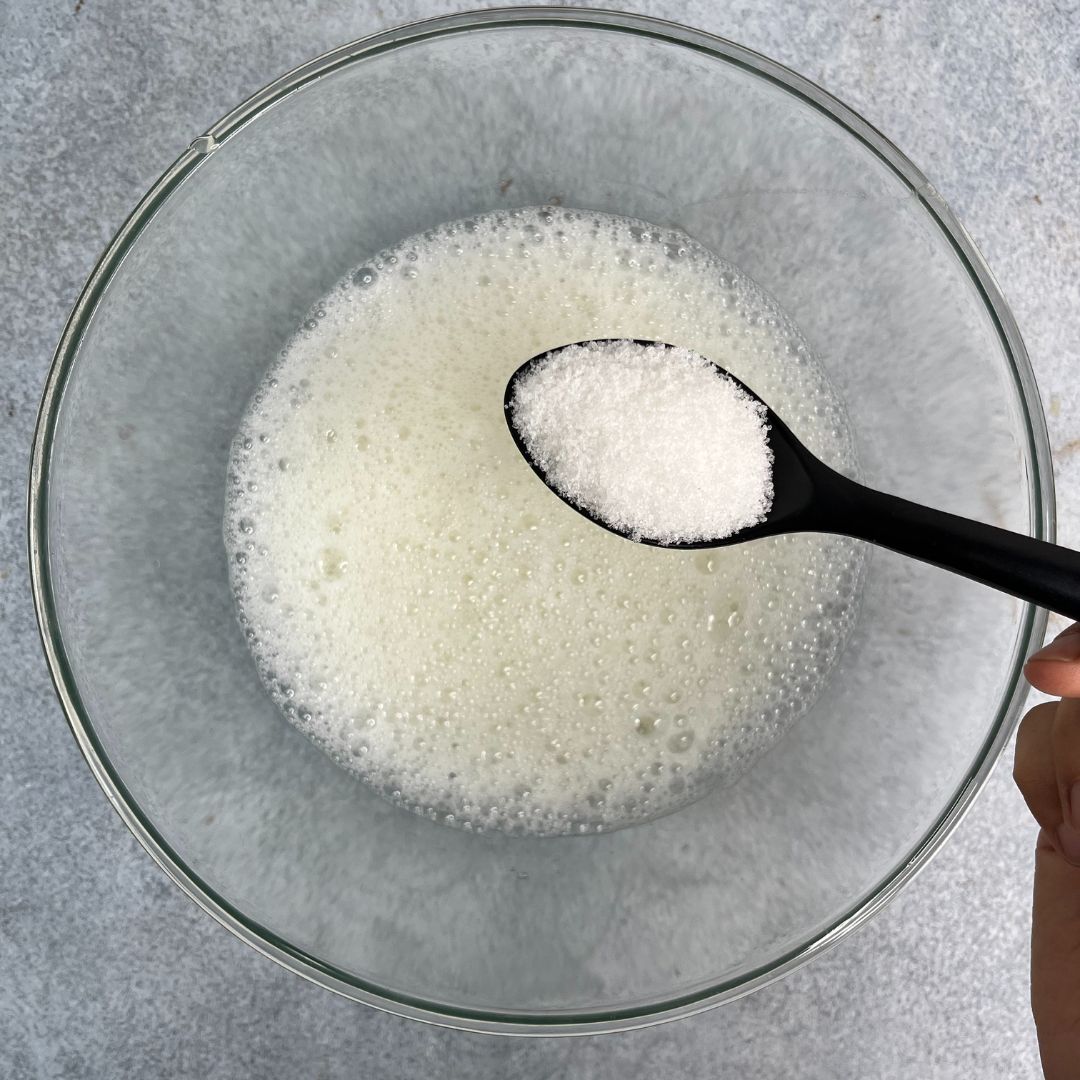
  • Sugar: Apart from sweetness, it adds airiness and fluffiness to the cake when whipped with egg white and egg yolk. It also makes the sponge tender by attracting and holding moisture. 
  • Salt: Salt enhances the overall taste of the cake. It helps in highlighting the sweetness and richness of the cake. 
  • Oil: Vegetable oil has been used as the primary fat for this cake. It helps the cake to stay tender with soft crumbs. You can also use melted butter instead of oil if you want to. But the texter may be on the denser side.

How To Make Vanilla Cake

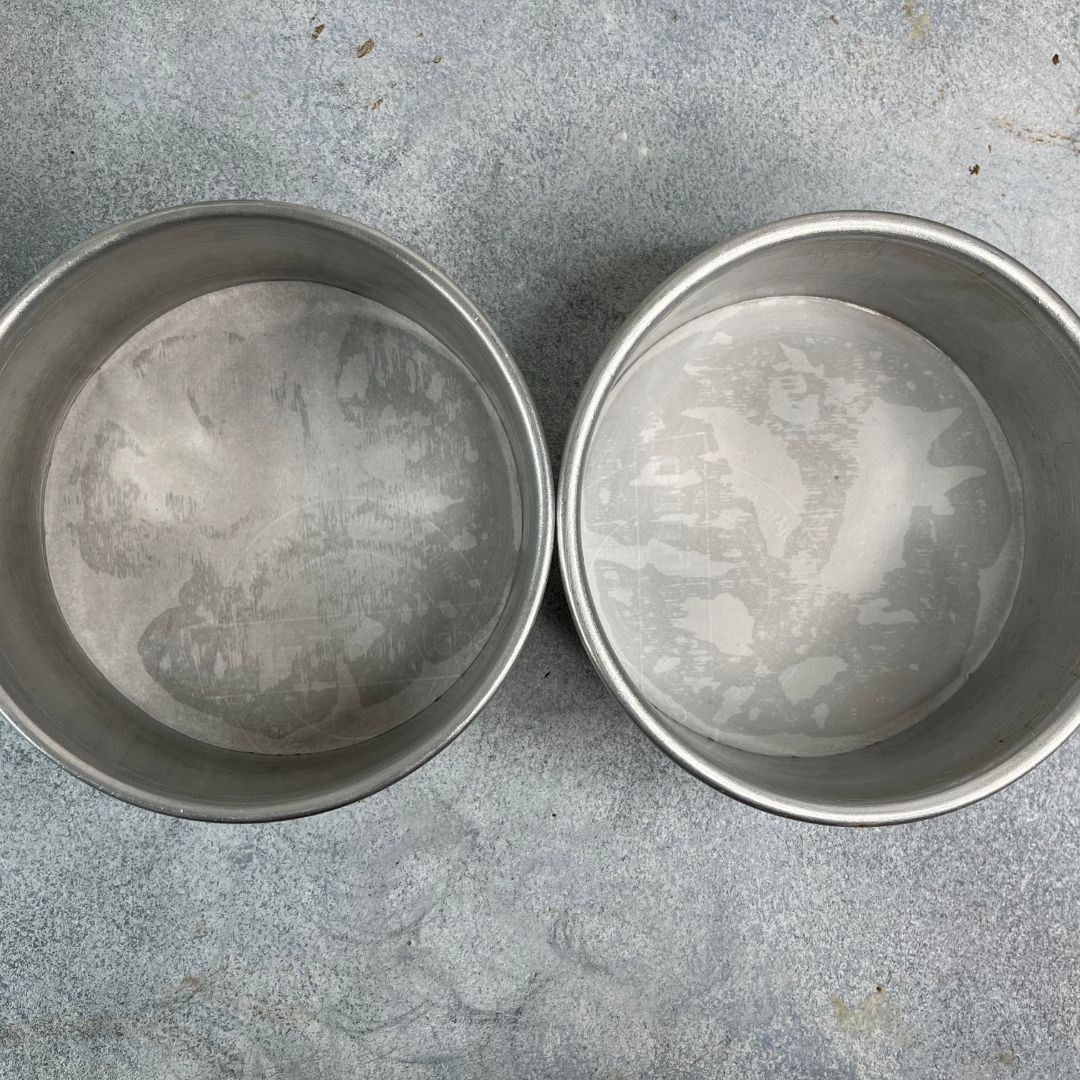
Preparations: Gather all the ingredients that you need for the recipe. Weigh them through the kitchen weighing scale, grease two 6-inch round baking tins with oil, and place butter paper at the bottom. Also, preheat your oven to 180° C or 350° F (upper rod + lower rod + fan). Make sure that each ingredient is at room temperature.

For Batter

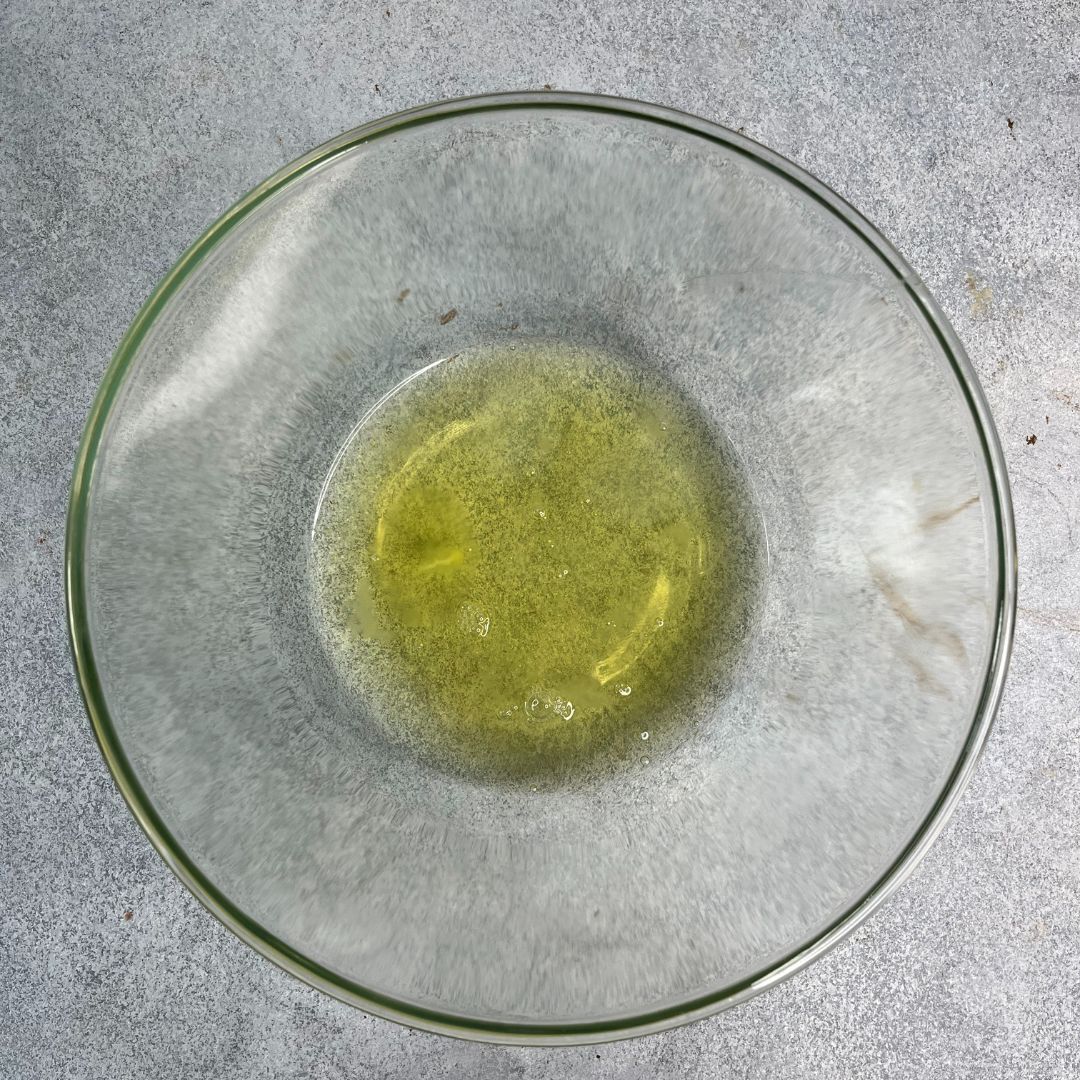
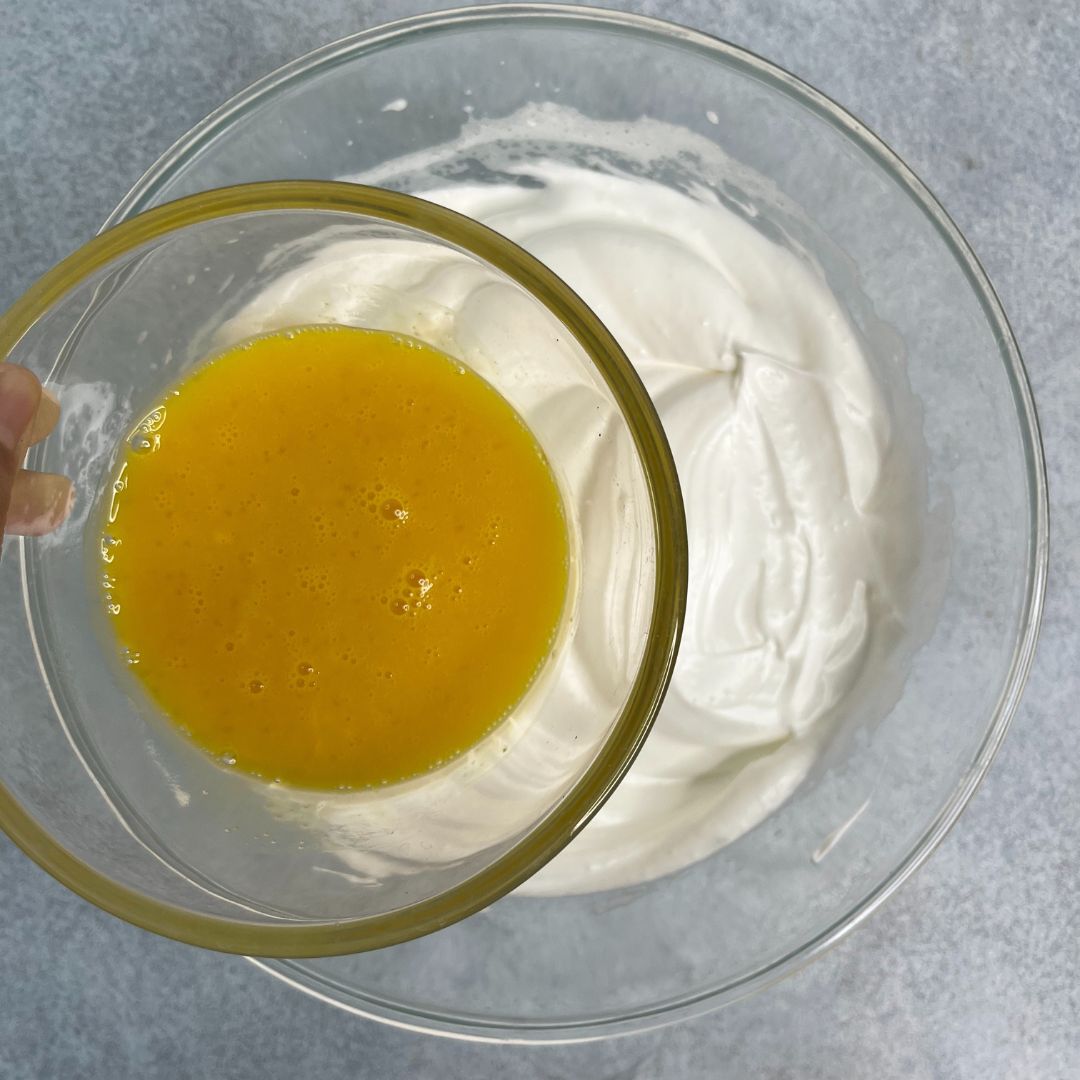
Make egg yolk mixture: Separate egg whites and egg yolk in different bowls. Add salt and vanilla essence to the egg yolk, then give it a nice mix. After mixing, keep it aside for further use.

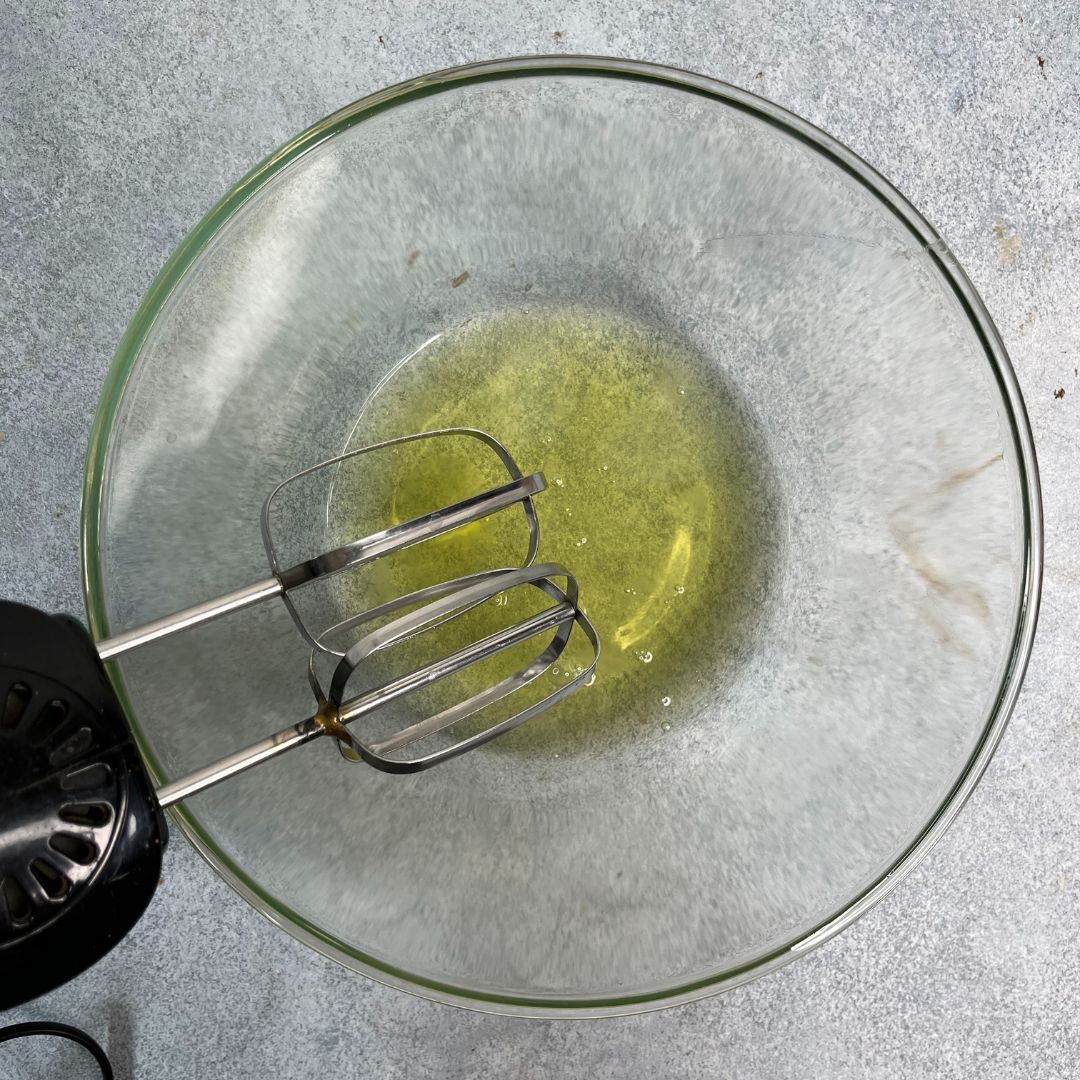
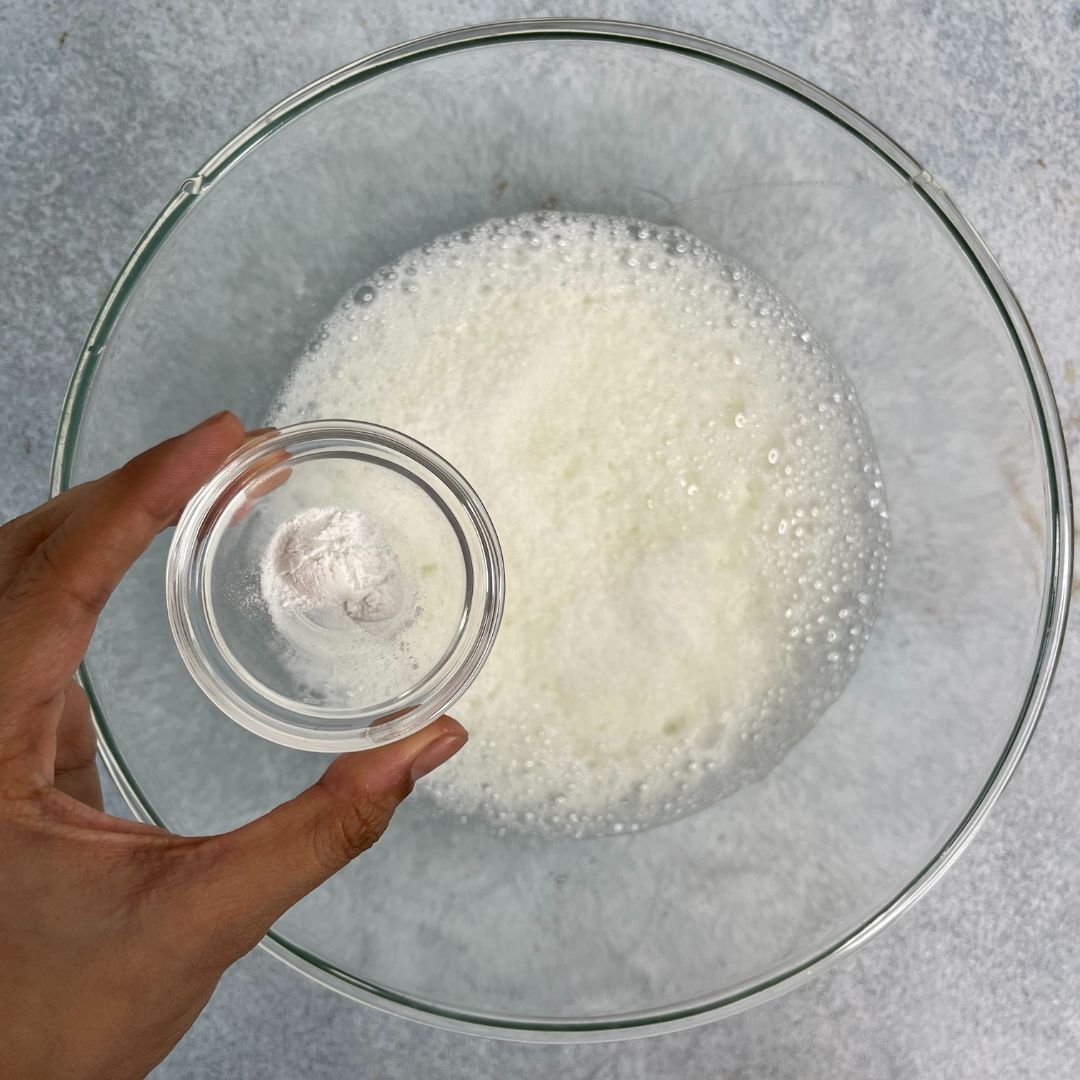
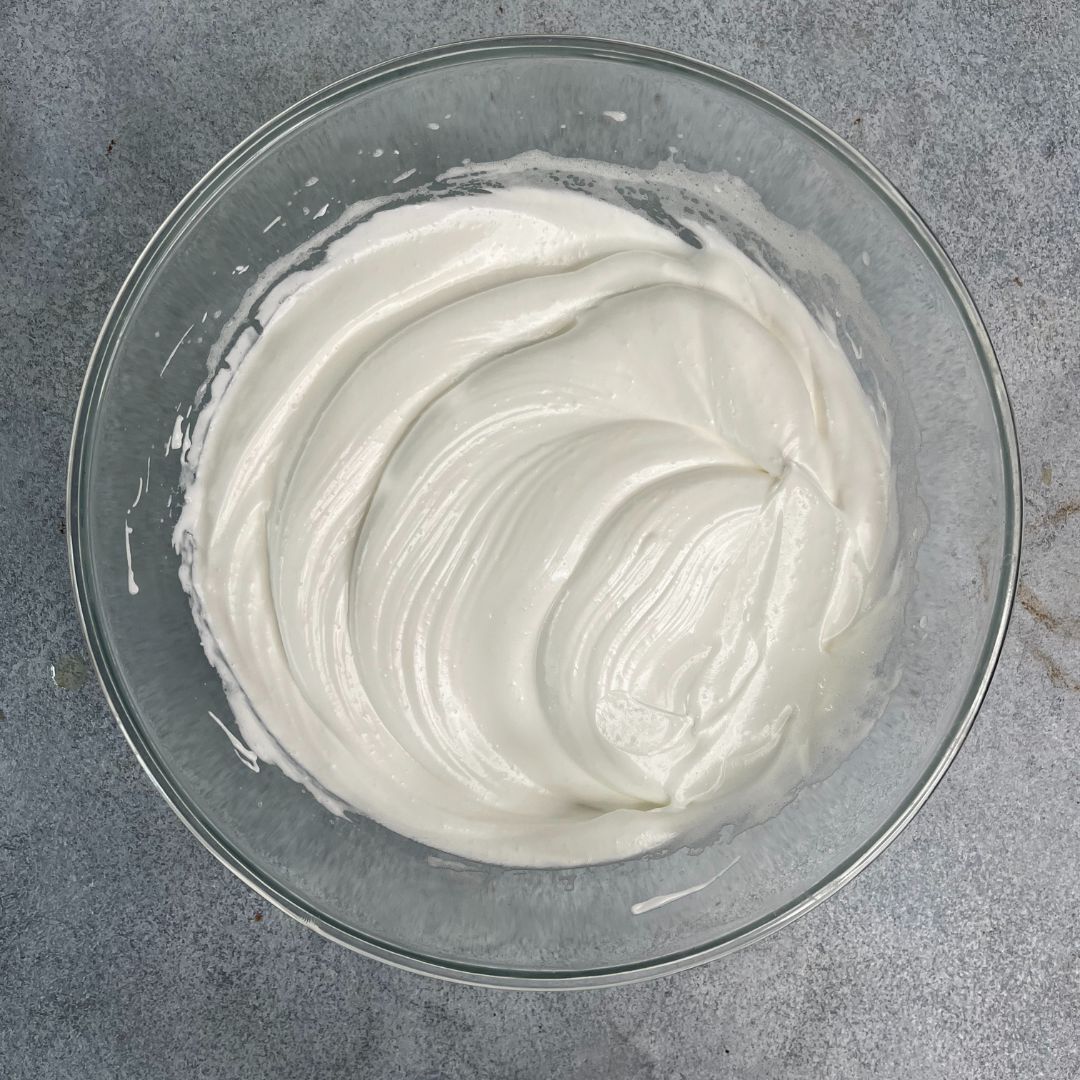
Make the meringue: In a clean bowl, beat egg white until foamy. Then add the cream of tartar and beat again while gradually adding sugar. Beat until you have a glossy and soft, peaked meringue. Do not overbeat the meringue, or the meringue will deflate. Also, keep a clean bowl in the fridge for a few minutes before beating it. 

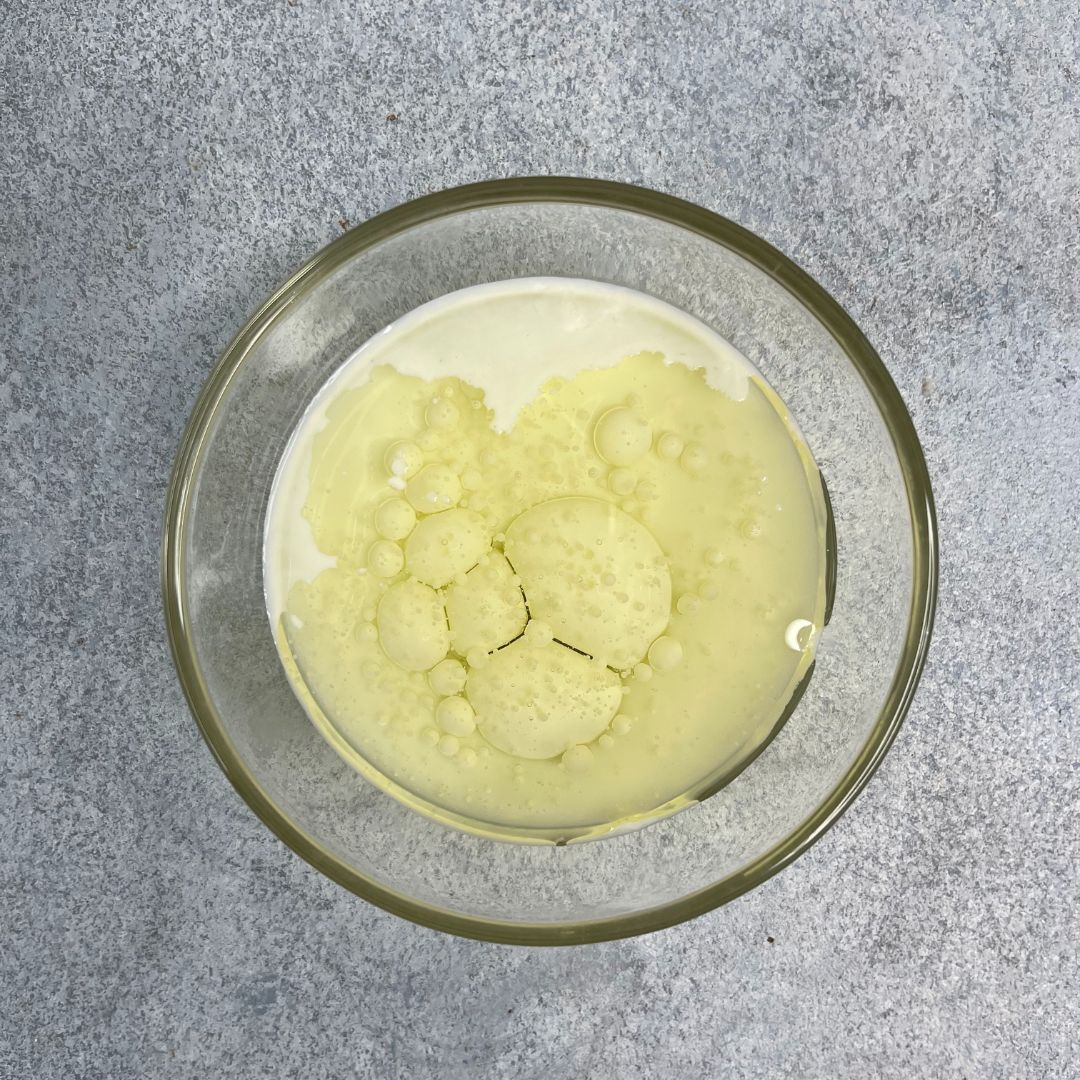
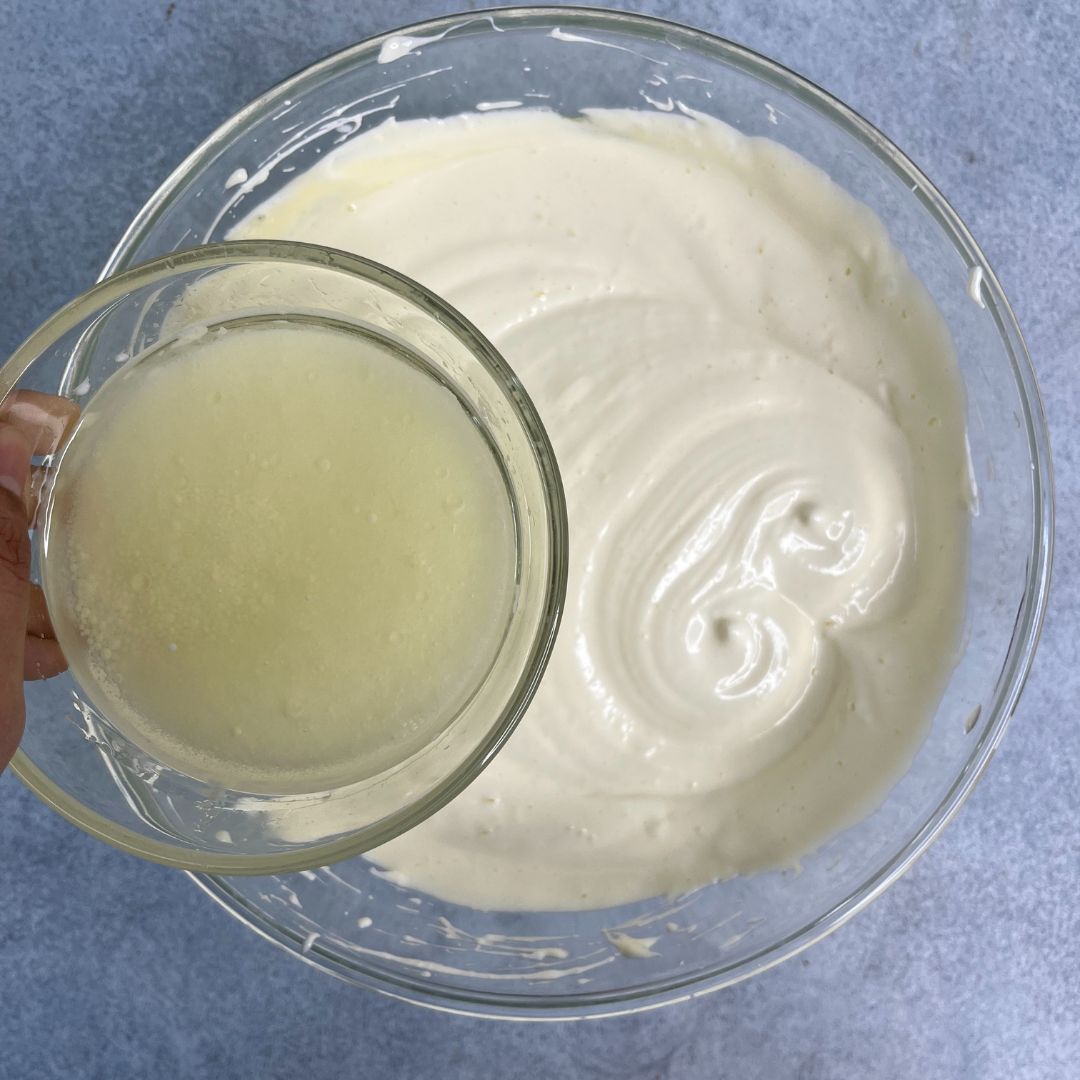
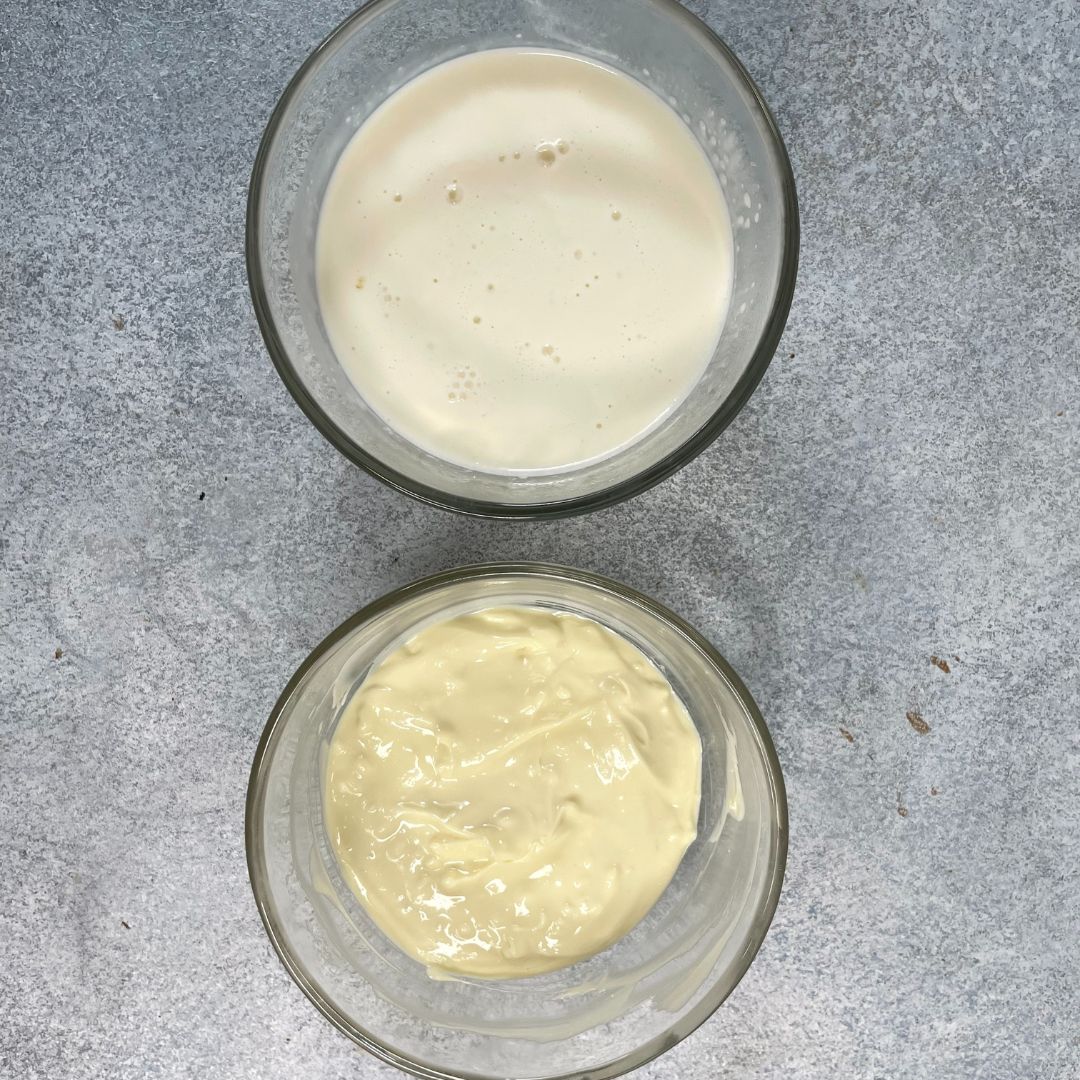
Mix milk and oil: In a different bowl, mix oil and milk. You can add them to the meringue mixture separately, but mixing too many times may deflate the airiness of the batter.

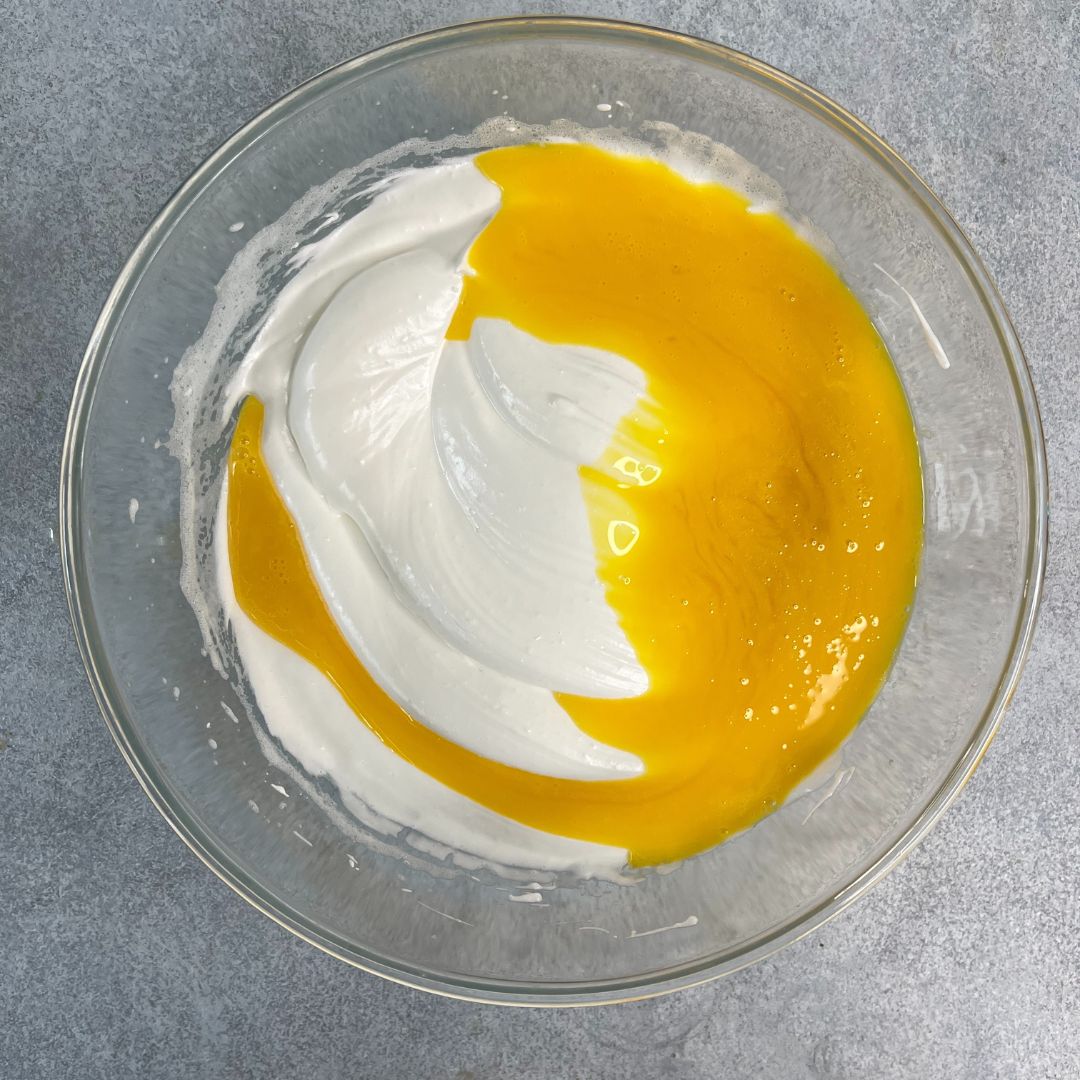
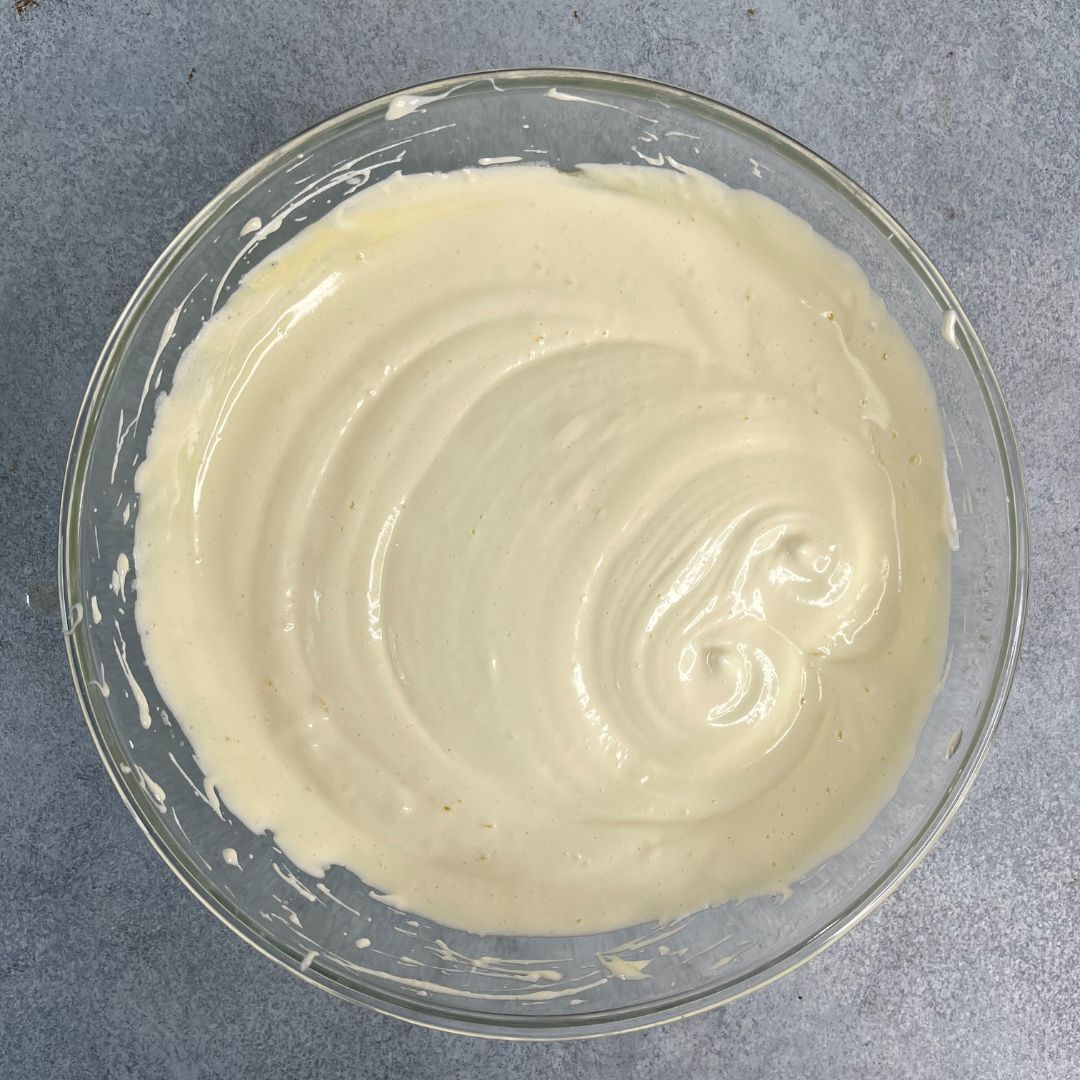
Mix egg yolk and meringue: Add the egg yolk mixture to the meringue and mix very gently until both properly incorporate. Do not mix vigorously.

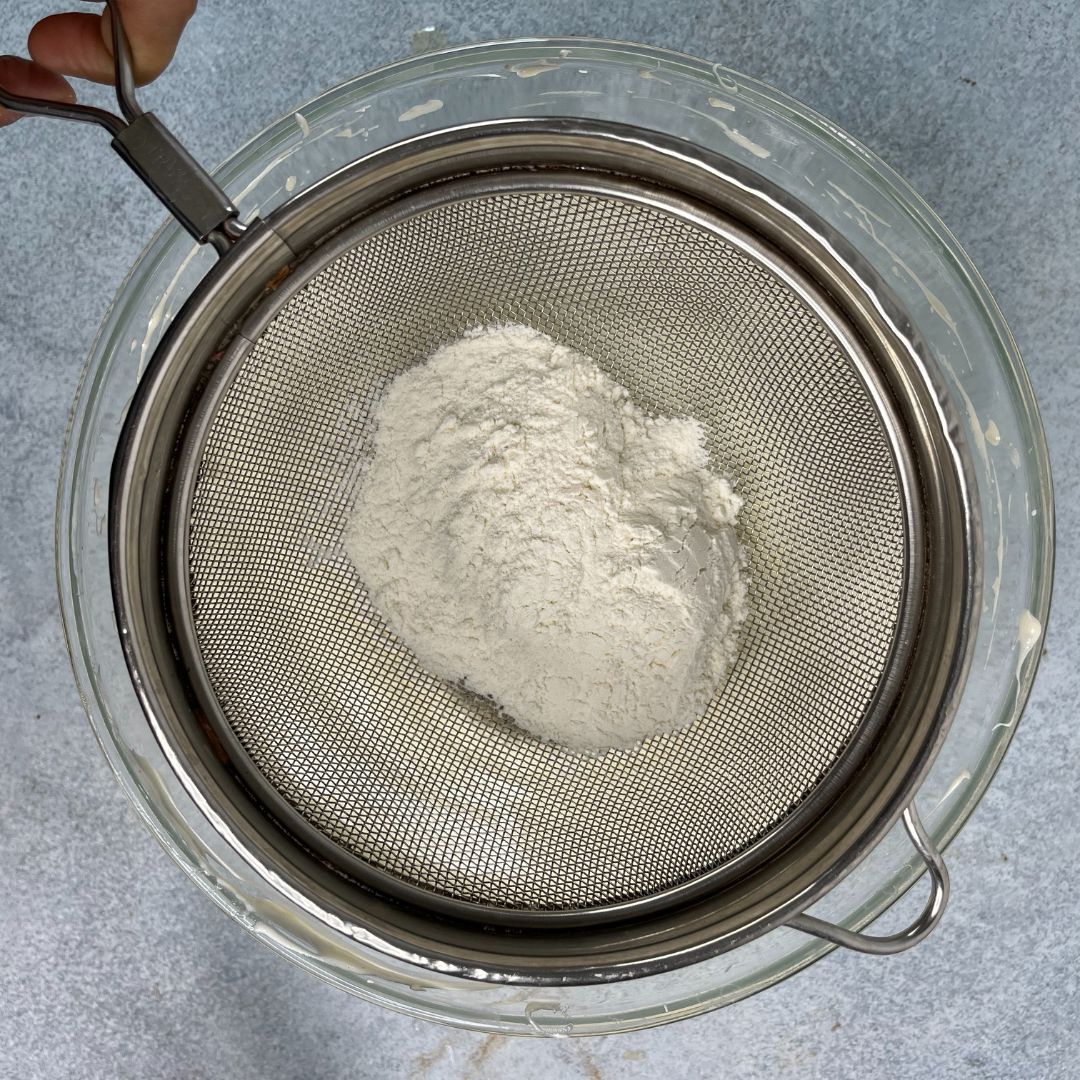
Make the batter: Now fold in the milk and oil mixture. Lastly, sift in all-purpose flour and mix using the cut-and-fold method. And make a smooth and airy batter. Using the cut-and-fold method won’t deflate the batter.

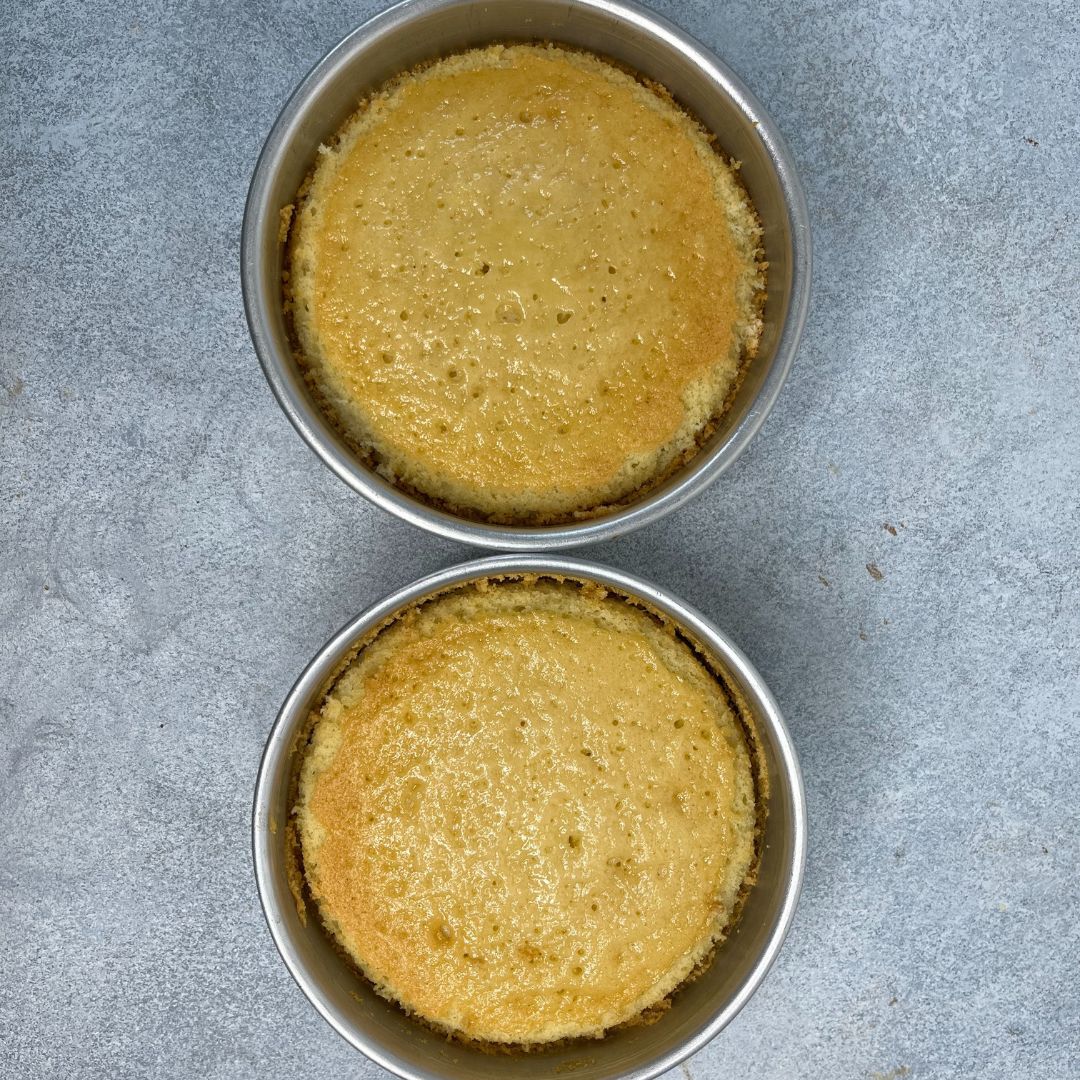
Baking: Pour the batter into the prepared baking tins equally. Bake them at 180° C or 350° F (OTG mode: upper rod + lower rod + fan) for 30 – 35 minutes. 

For Frosting

Beat whipping cream and icing sugar: In a bowl, add whipping cream and icing together, and with an electric hand beater, whip it until you get soft, peaked whipped cream. Since we use dairy whipping cream here, it tends to curdle sooner than non-dairy. So, do not overbeat it.

Add flavour: Add in vanilla essence and beat again. Once it is done, transfer it to a piping bag and keep it aside until the assembly.

For Soaking Syrup

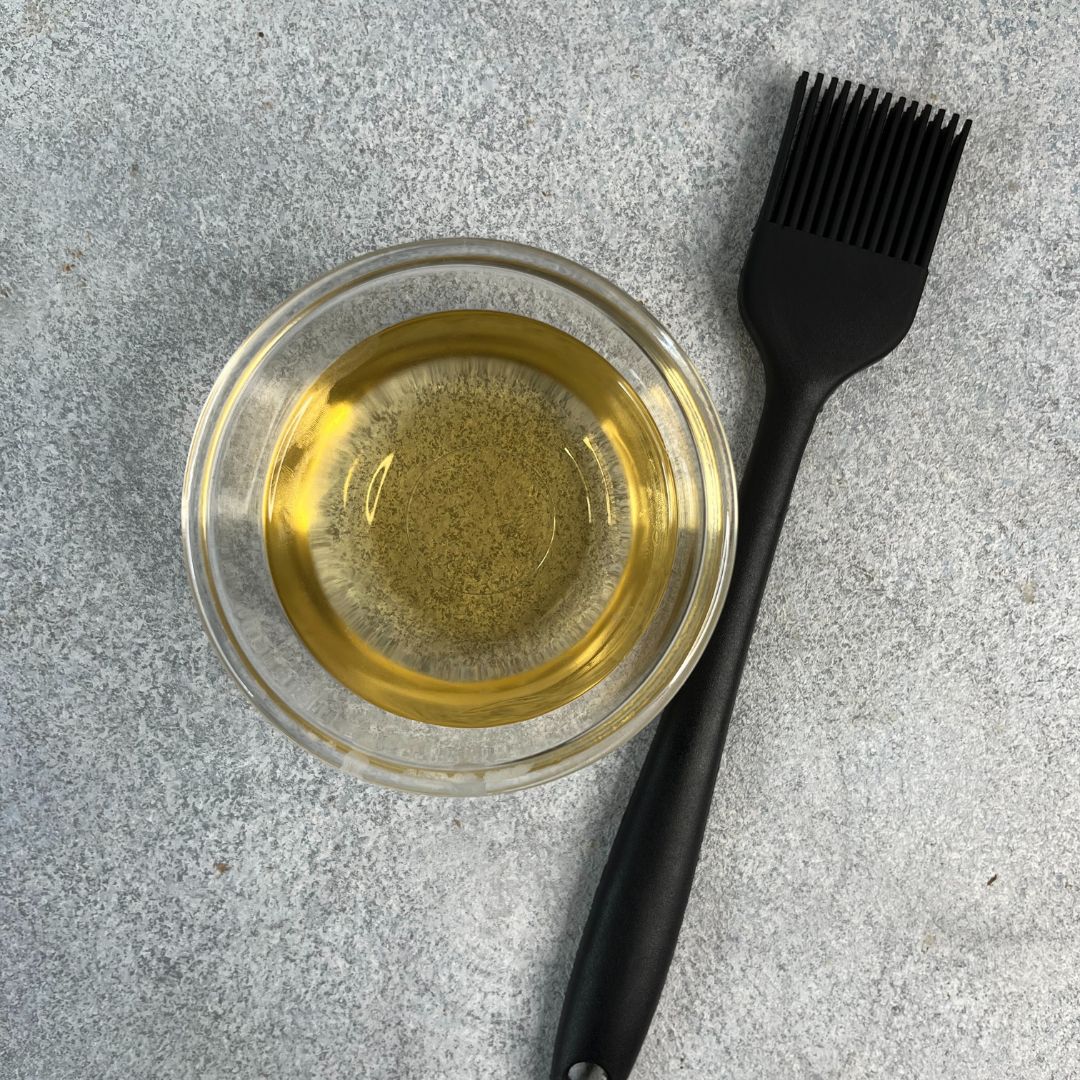
Mix the ingredients: To make the soaking syrup, mix vanilla essence and water and keep it aside. You also use any flavour besides vanilla essence to make the soaking syrup.

For Colored Drip

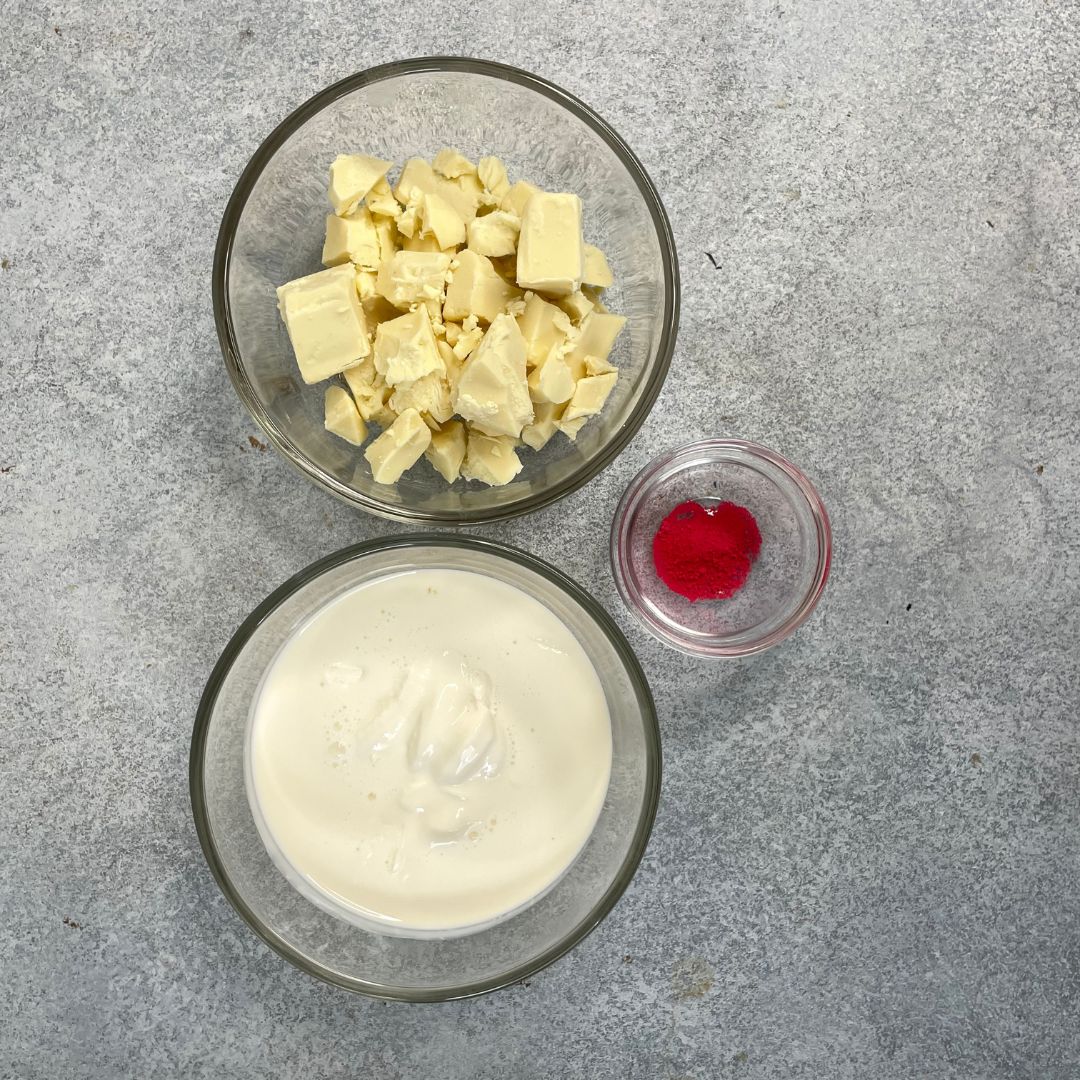
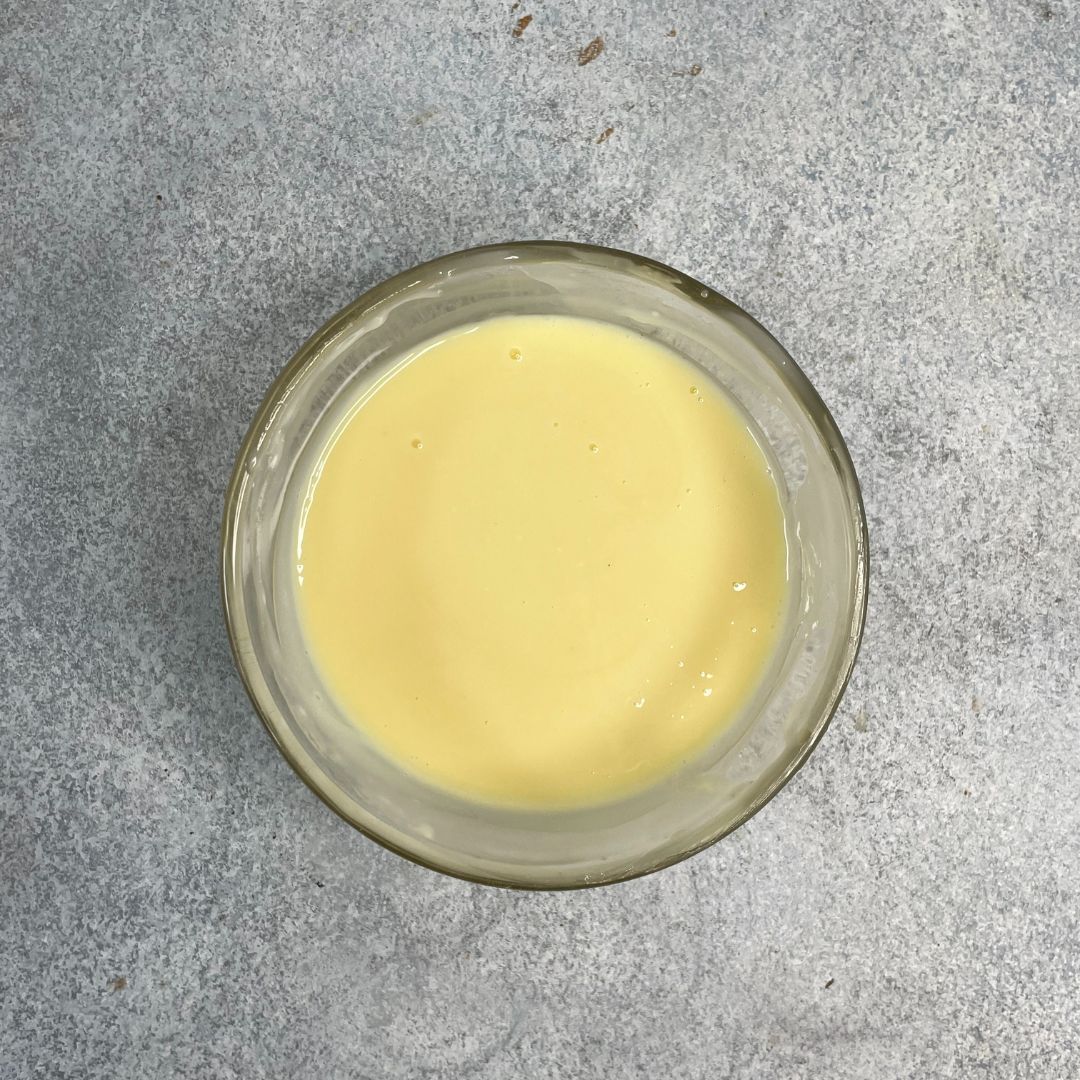
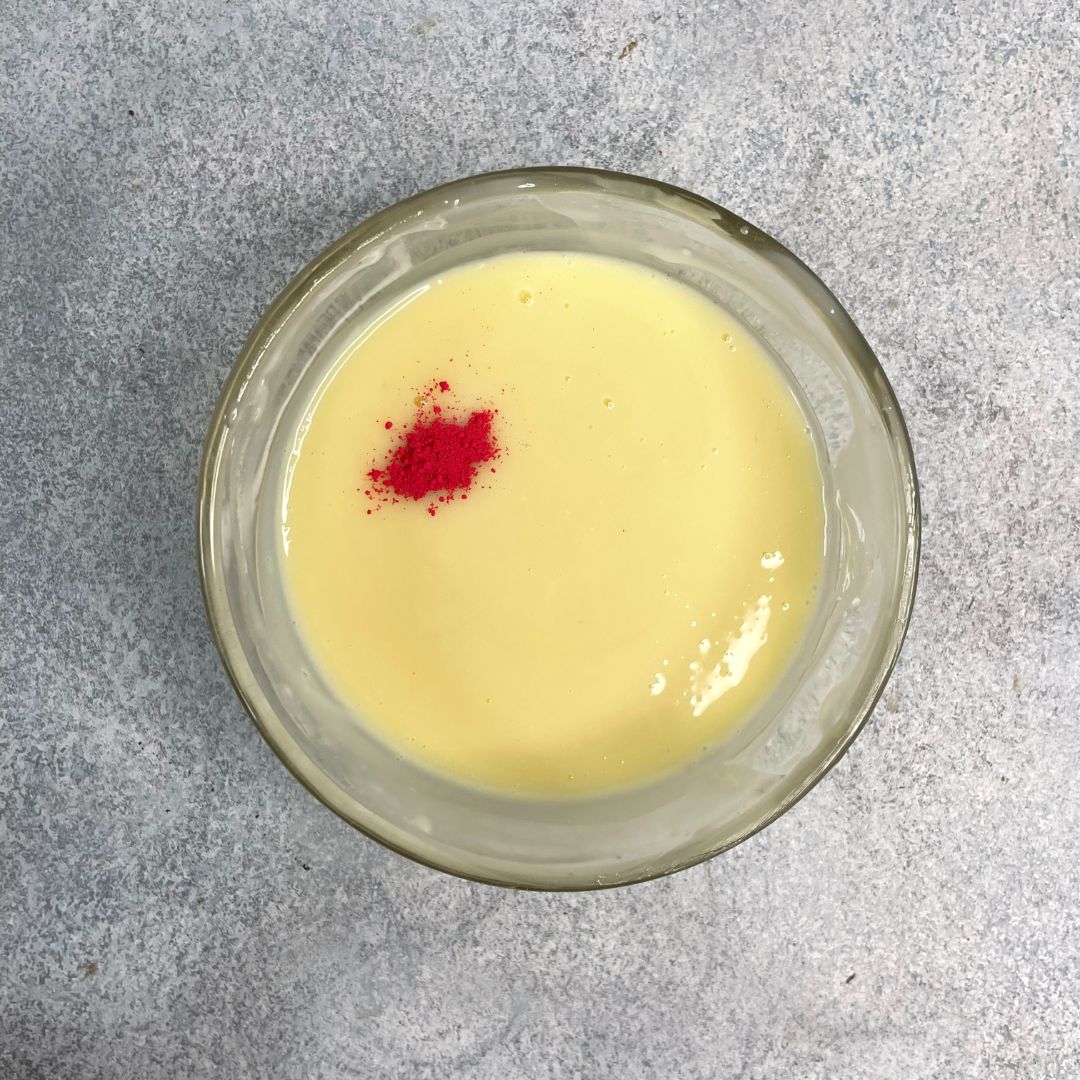
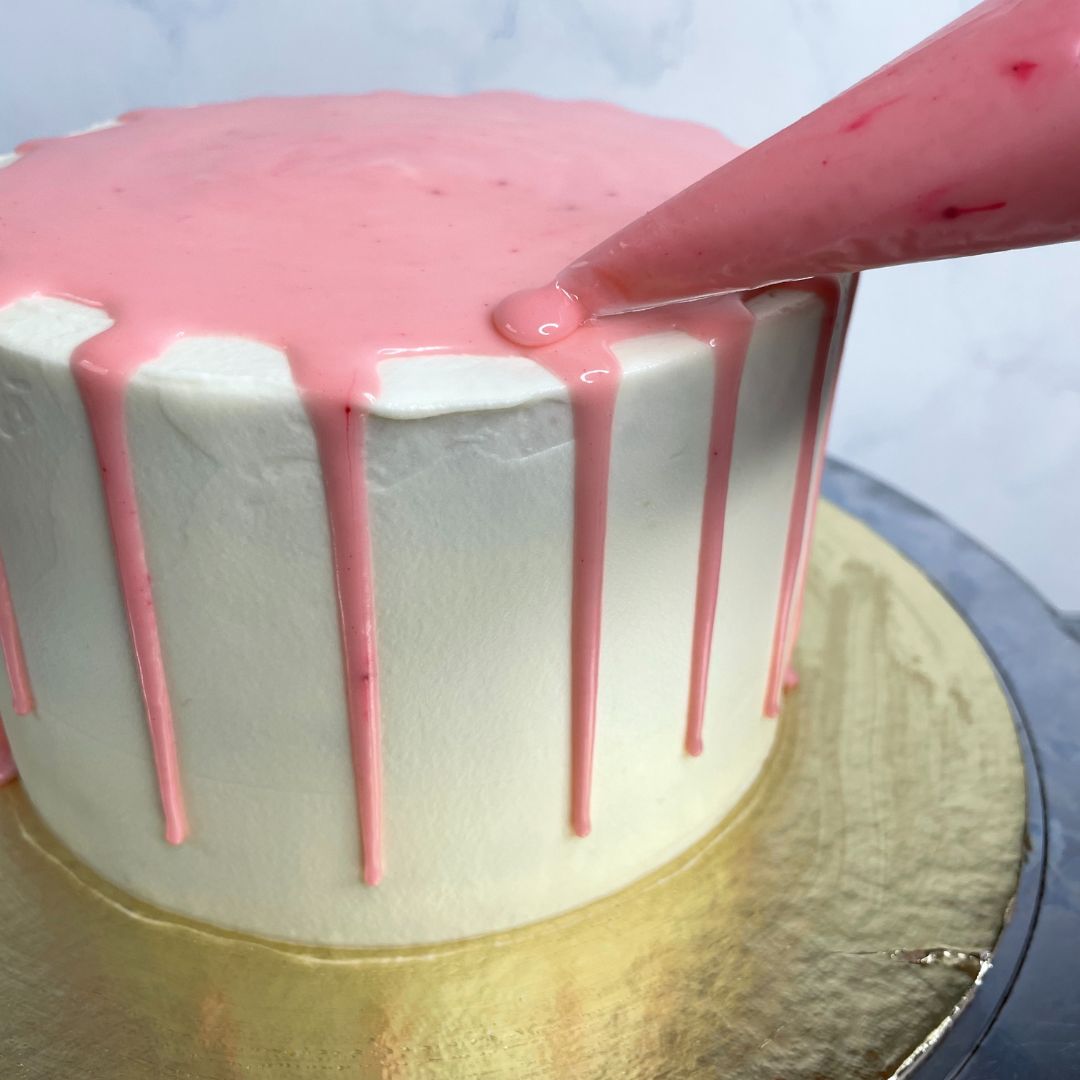
Melt chocolate & add warm cream: Melt white chocolate and warm fresh cream separately. Now, mix both of them to make a liquid mixture. Now add pink powder chocolate colour and mix to get ink chocolate drip.

For Assembly

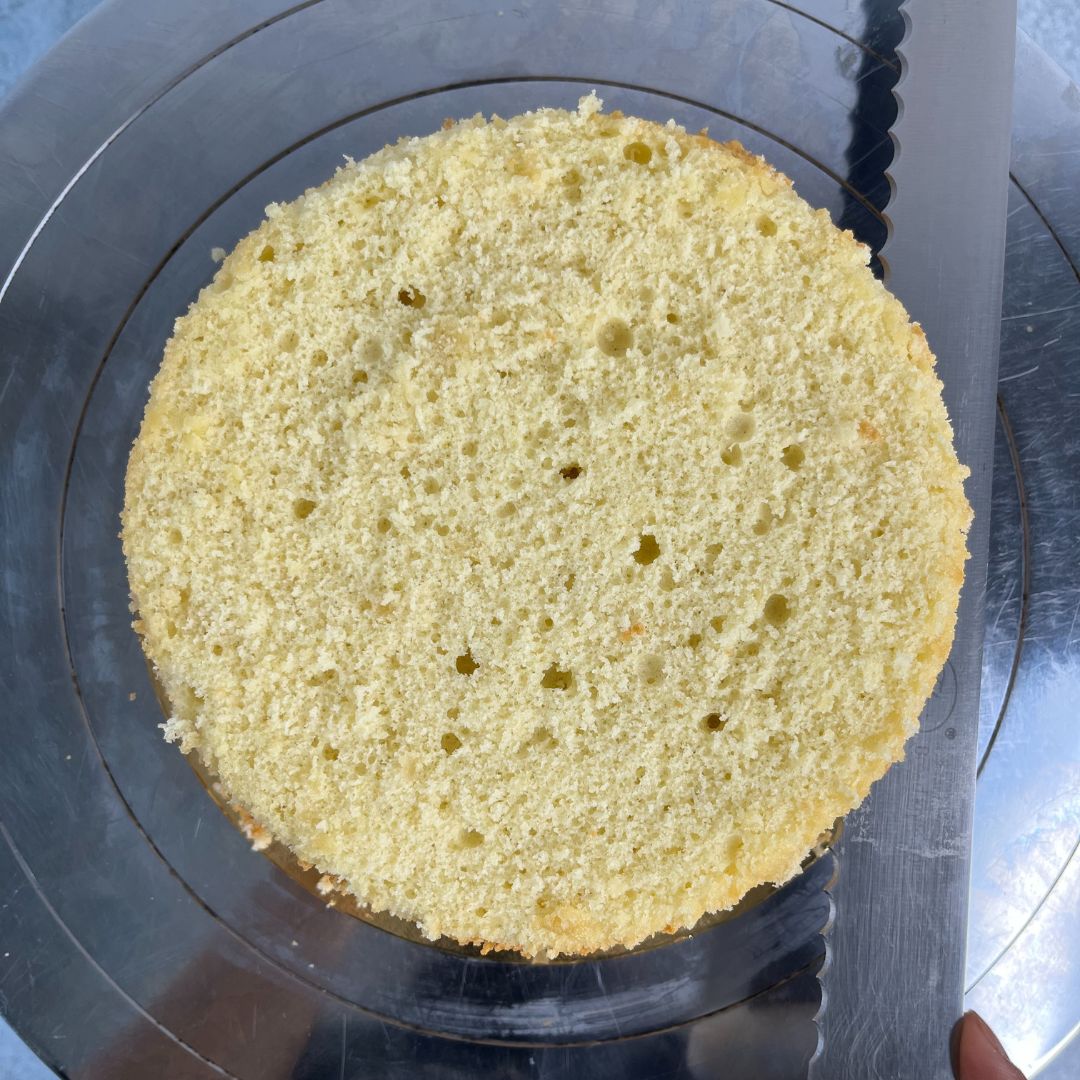
De moulding and dividing: After the sponges have baked properly, let them cool down at room temperature. Now divide them equally with the help of a cake leveller or a serrated knife.

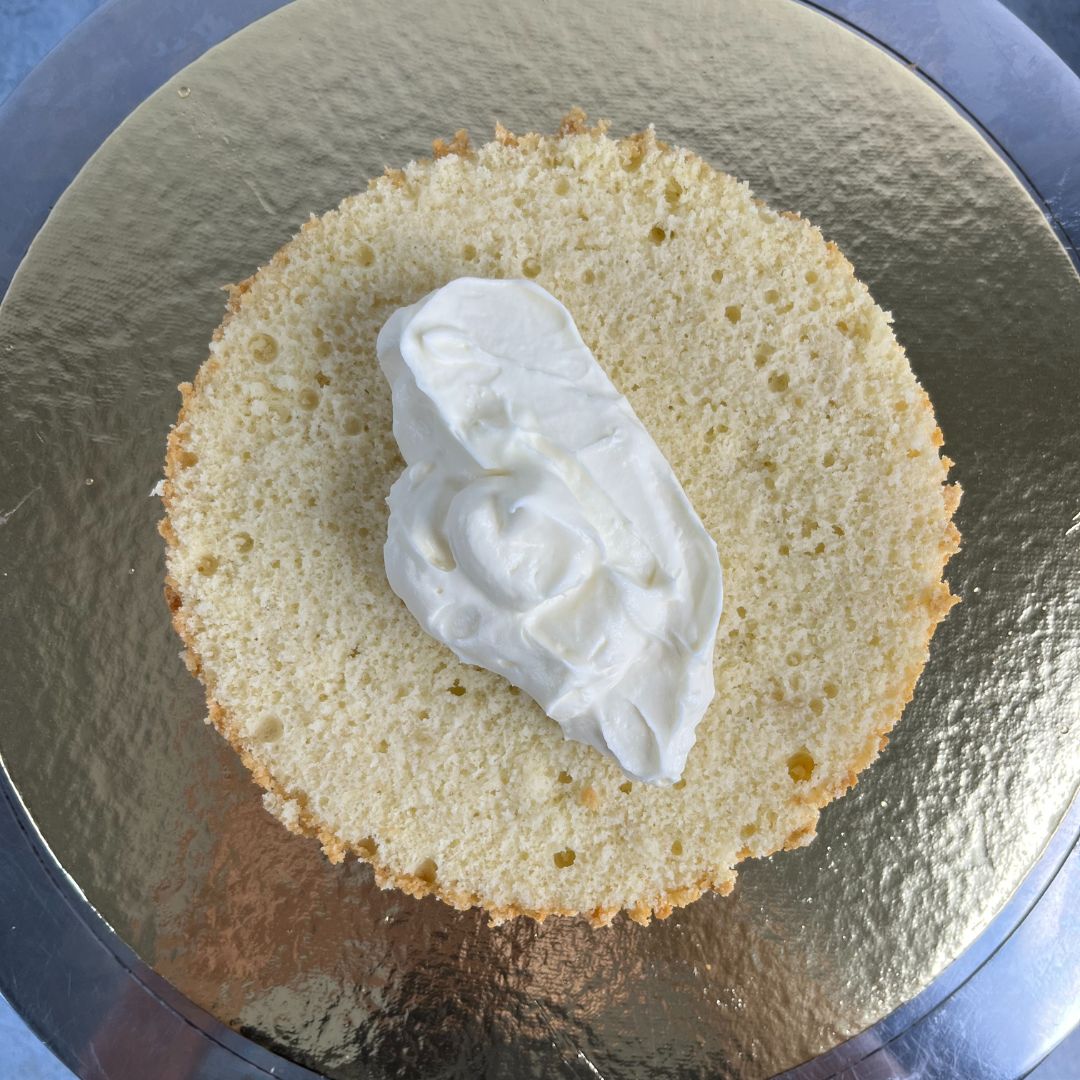
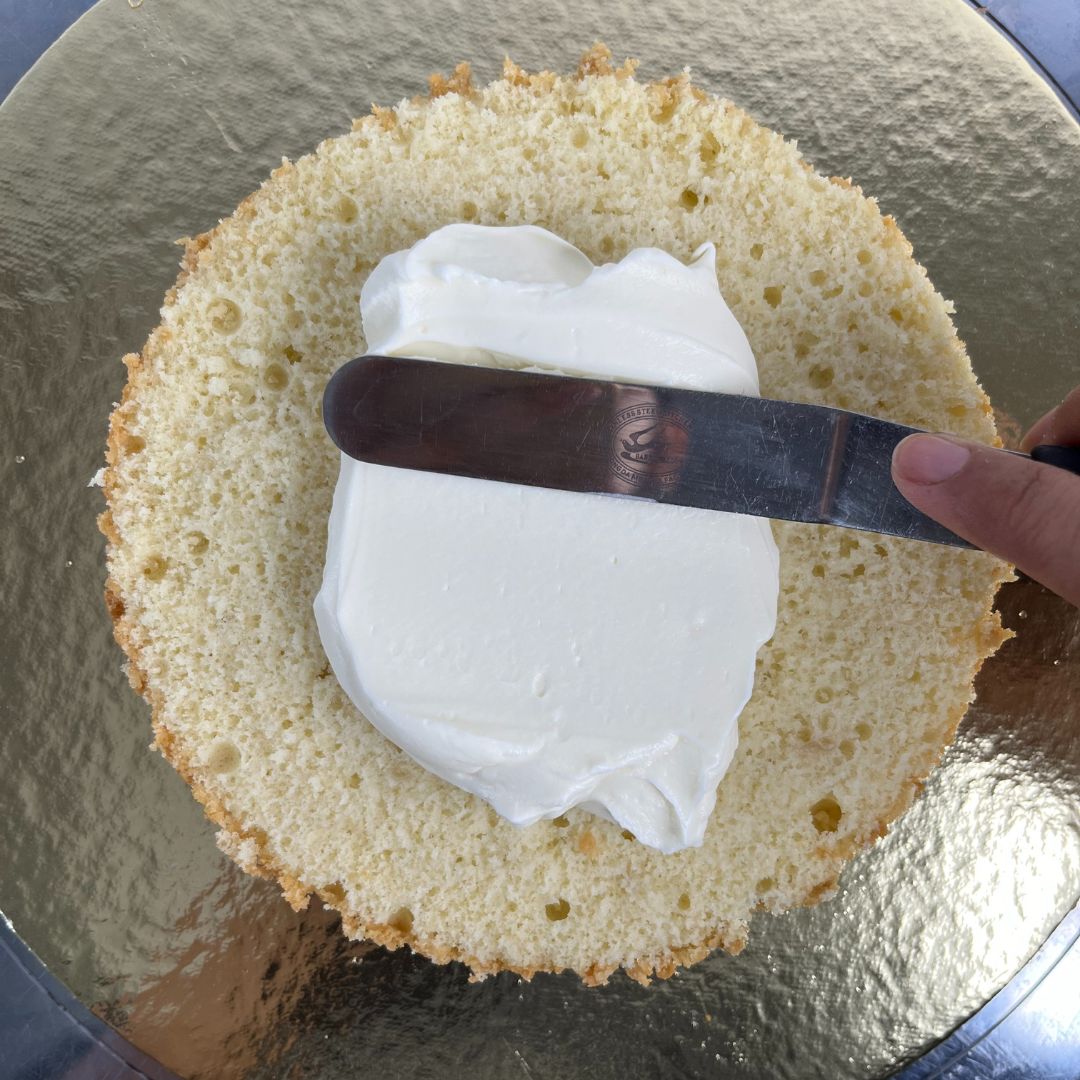
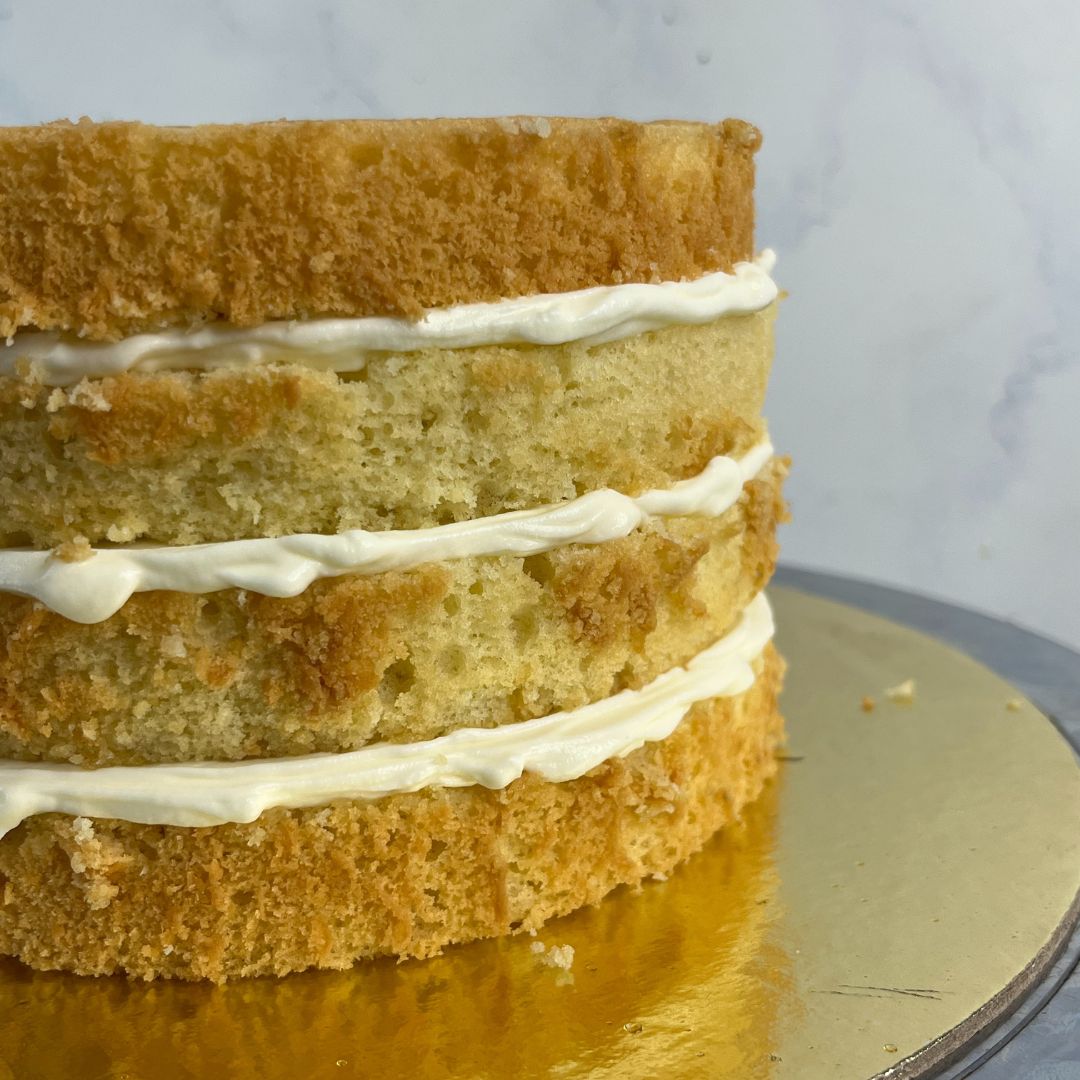
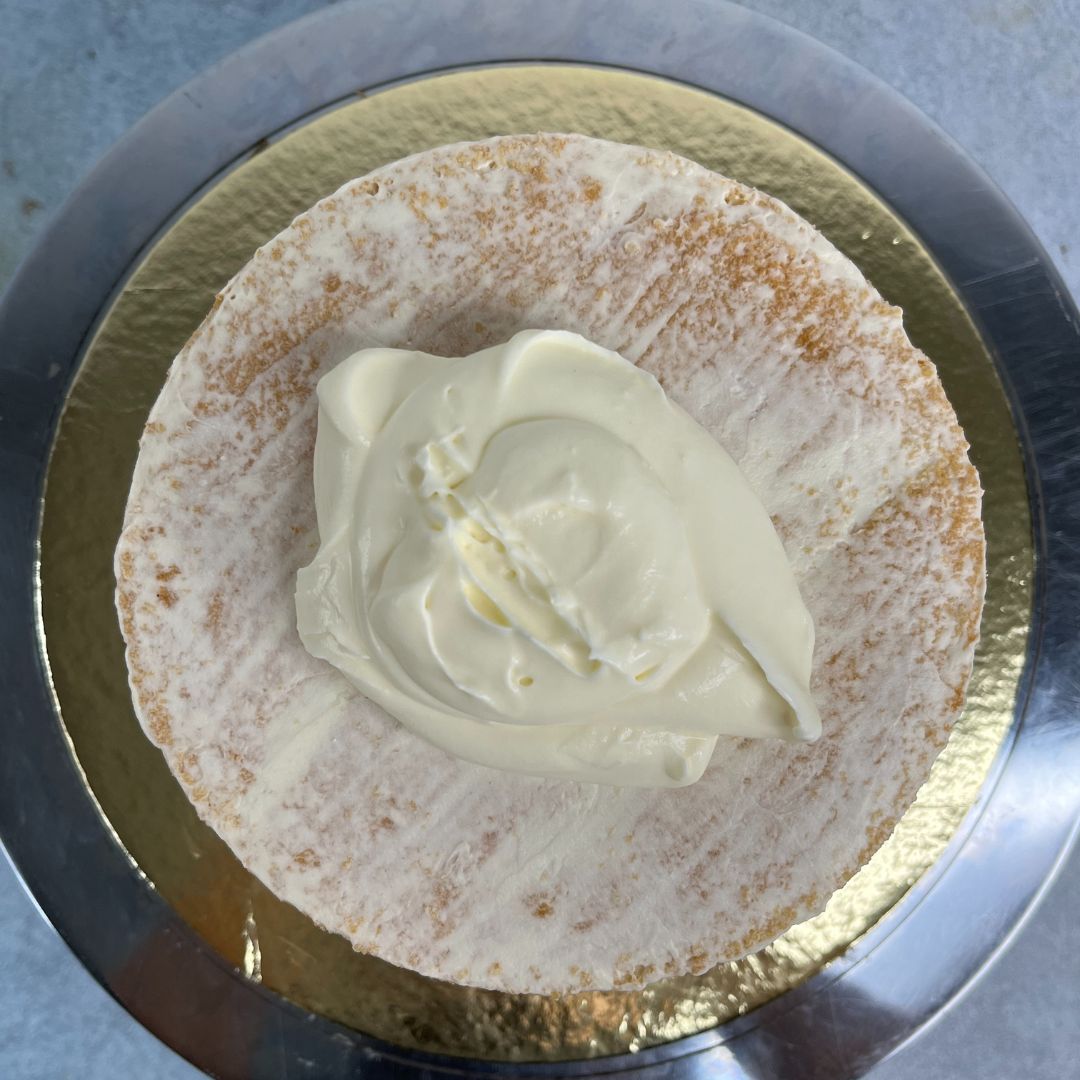
Layering: On a cake base, apply some of the frosting and place a layer of sponge on top. Soak it with soaking syrup through a pastry brush. Apply frosting on top, smooth out using a bent palette knife, and place another sponge layer on top. Repeat the same process as before until you get a 4 layered cake without frosting. 

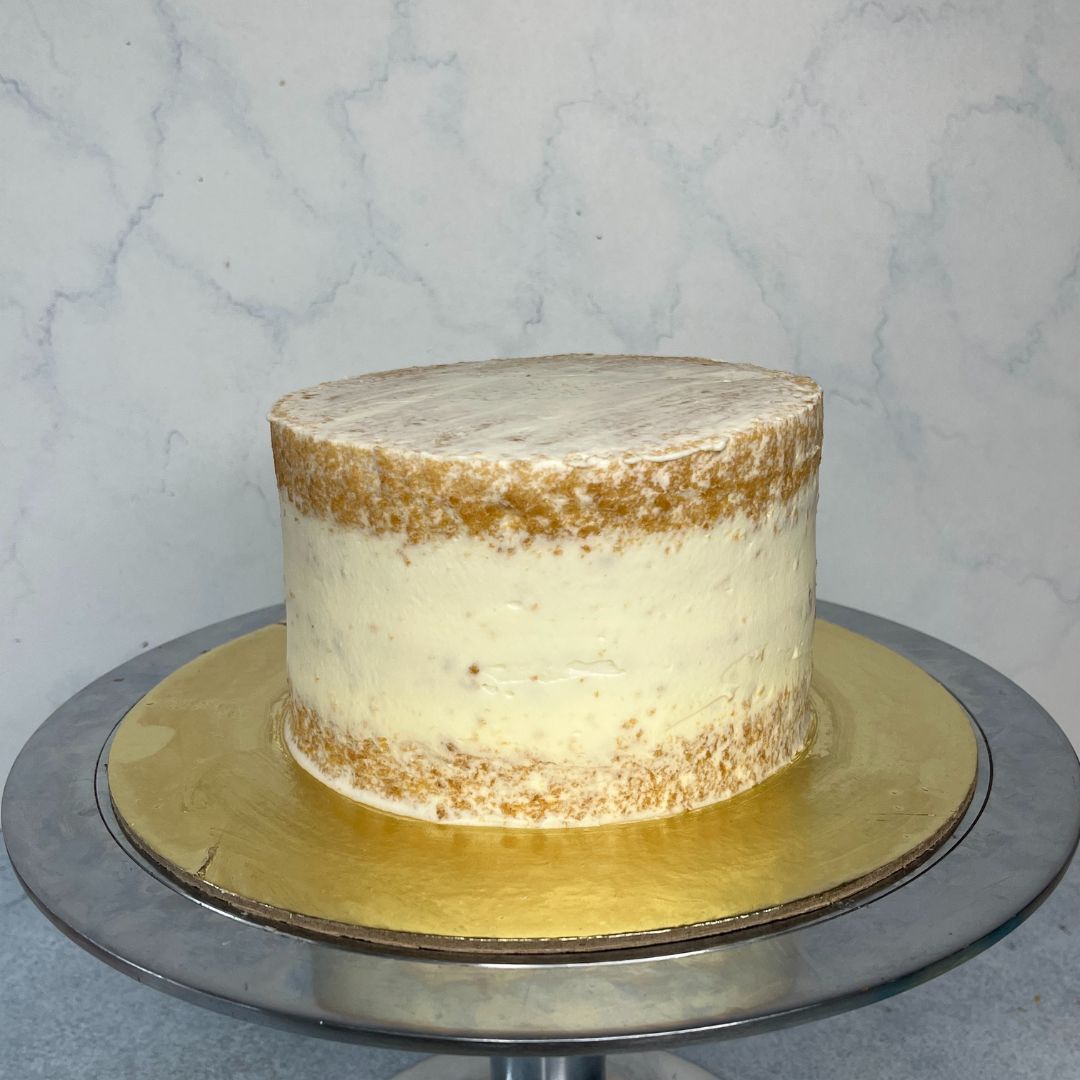
Crumb coating: Now for crumb coating, pipe thin layers of frosting all over the cake and smooth out. Remove excess frosting as well with a scrapper. Crumb coating will help the stray crumbs to stay in place. Keep it in the refrigerator for 15 – 20 minutes so the frosting sets a little.

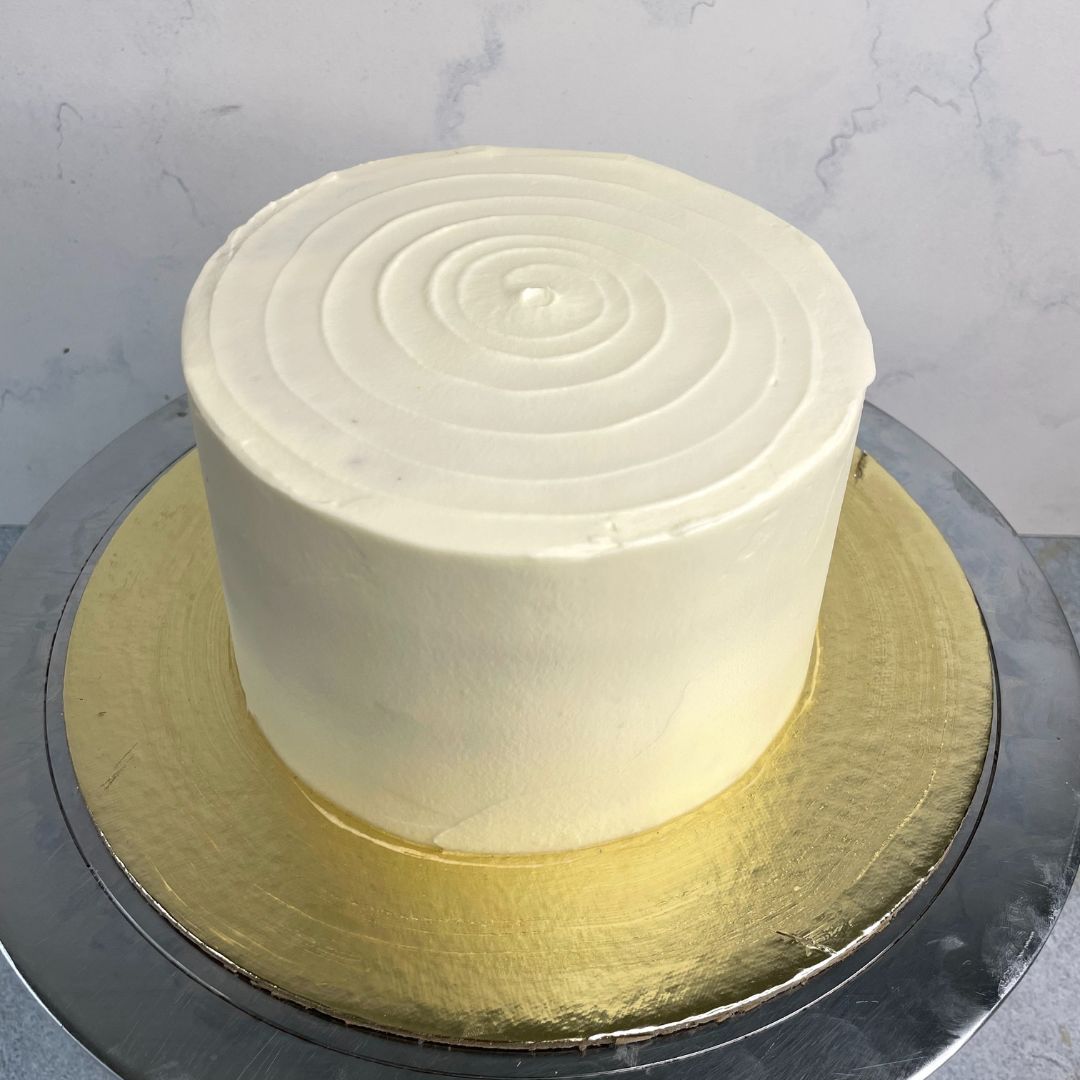
Final frosting: After 15 – 20 minutes, remove it from the refrigerator, pipe thick layers of frosting all over the cake, and smooth it out. Make sure that the top edge is sharp. Remove the excess gently, or the frosting may come off. 

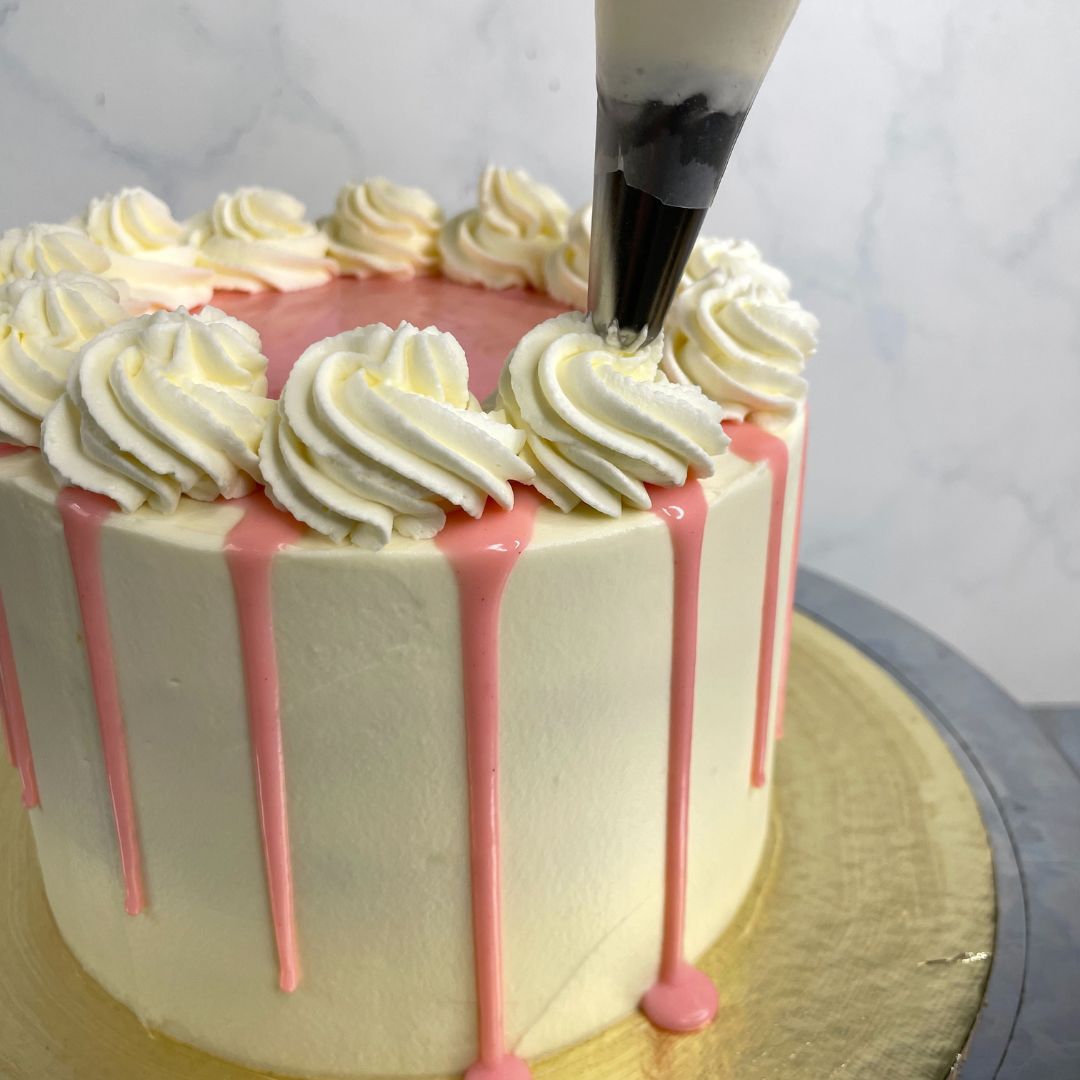
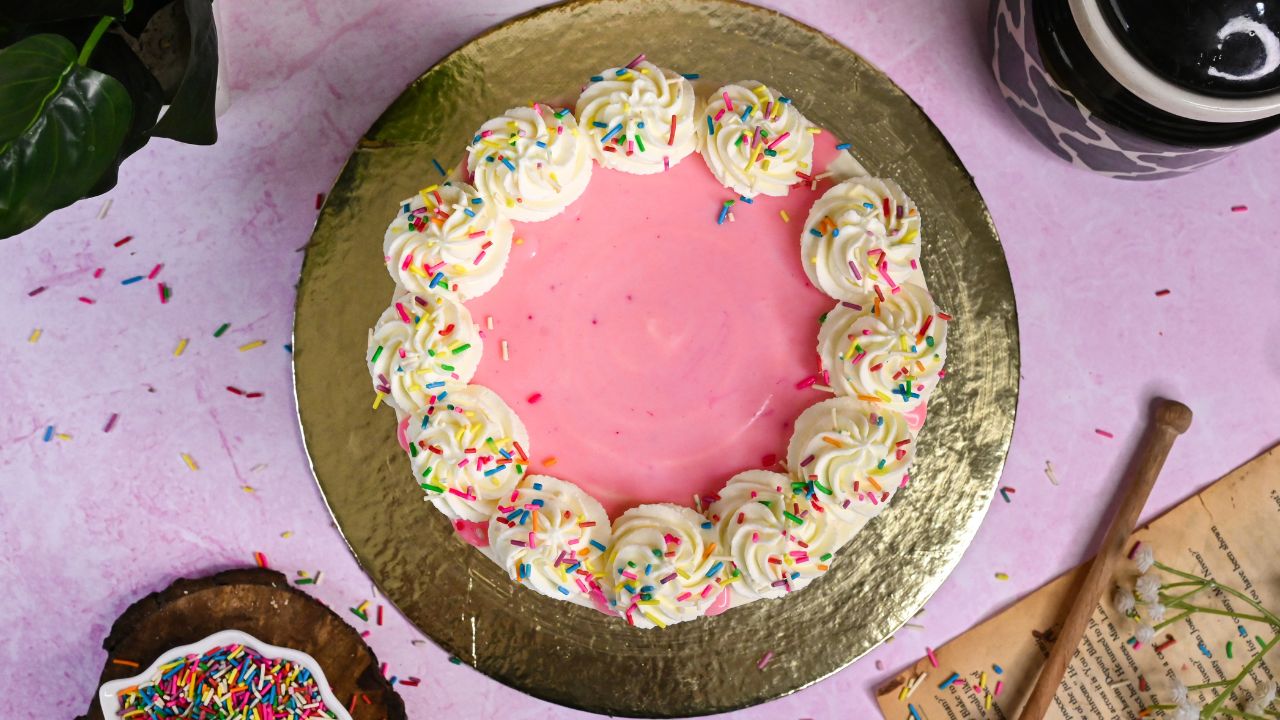
Decorating: Now, for decorating the cake, give a drip effect around the cake on top. Then, the pipe swirls on top using a 1M nozzle on top as well. Lastly, stick a rainbow sprinkle on the base of the cake and sprinkle on top of the swirls as well. And you are done with one of the most delicious vanilla cakes.

Vanilla cale

Chef’s Tips For The Recipe

For Batter

Use clean utensils for making the meringue, and ensure there are no traces of egg yolk in the egg white. Otherwise, the meringue won’t be whipped to perfection.
Do not overbeat the meringue, or the air trapped in it will deflate.
Use the cut-and-fold method only for mixing all-purpose flour. Do not mix vigorously.

For Frosting

Do not overbeat the whipping cream, or it may curdle.

How to Store Vanilla Cake

To store vanilla cake in a refrigerator, keep it in an airtight container that lasts up to 1 week.
In the freezer, it can stay for at least 14 – 15 days if you keep it in an airtight container.
Both the sponge and frosting can be stored separately. The sponge can be stored in the refrigerator for 1 month, while the frosting can be stored for 3 – 4 days.

More Easy Recipes

Check out our other incredible cake recipes:

Biscuit Cake

French Vanilla Cake

Chocolate Cake

Frequently Asked Questions

How do I fold in all-purpose flour to the meringue without deflating it?

Use the cut-and-fold method with a silicon spatula to incorporate all-purpose flour. And make sure to sift the flour before mixing.

Can I use vanilla bean paste instead of vanilla essence in this recipe?

Yes absolutely! You can add vanilla bean paste instead of vanilla essence to the recipe. Using Vanilla bean paste will give the cake a more intense vanilla flavour.

Can I add any other flavour to the cake?

Yes, you can add any flavour of your choice to the cake. You can add lemon zest or extract instead of vanilla to get a different flavour.

My chocolate drip is too thin; what should I do?

You can keep the drip in the refrigerator for a few minutes or add white chocolate to make it thick and have a nice pourable consistency. 

Can I whip the frosting by hand?

Yes, you can also whip it by hand, but it will take time and patience. So, to whip it faster with your hand, use a cold utensil and balloon whisk.

Print
clock clock iconcutlery cutlery iconflag flag iconfolder folder iconinstagram instagram iconpinterest pinterest iconfacebook facebook iconprint print iconsquares squares iconheart heart iconheart solid heart solid icon

The Best Vanilla Cake – Recipe

With its pillowy soft crumb and the sweet vanilla frosting, this is the best vanilla cake you will ever taste. And after one bite, I am 100% sure that you will agree with this.

  • Total Time: 120 to 145 minutes

Ingredients

Scale

For Sponge

  • 3 Eggs
  • 90 g Castor sugar
  • 1 pinch Salt
  • 30 g Vegetable oil
  • 30 g Milk
  • ½ tsp Vanilla essence
  • 1/8 tsp Cream of tartar
  • 90 g All-purpose flour

For Frosting

  • 300 g Dairy whipping cream
  • 150 g Icing sugar
  • 1 tsp Vanilla essence

For Soaking Syrup

  • 60 g Water
  • ¼ tsp Vanilla essence

For Pink Drip

  • 50 g White couverture chocolate
  • 25 g Fresh cream
  • 1 tsp Pink power chocolate colour

Instructions

For Sponge

  1. Grease two 6-inch round baking tin with oil and place butter paper at the bottom. Also, preheat your oven to 180° C or 350° F (upper rod + lower rod + fan).
  2. Separate egg whites and egg yolk in different bowls.
  3. Add salt and vanilla essence to the egg yolk, then give it a nice mix. After mixing, keep it aside for further use.
  4. Now, in a clean bowl, beat egg white until foamy. Then add the cream of tartar and beat again while gradually adding sugar. Beat until you have a glossy and soft peaked meringue.
  5. Now, in a different bowl, mix oil and milk.
  6. Add the egg yolk mixture to the meringue and mix gently until both properly incorporate. Do not mix vigorously.
  7. Now, fold in the milk and oil mixture.
  8. Lastly, sift in all-purpose flour and mix using the cut-and-fold method. And make a smooth and airy batter. Using the cut-and-fold method won’t deflate the batter.
  9. Pour the batter into the prepared baking tins equally. Bake them at 180° C or 350° F (OTG mode: upper rod + lower rod + fan) for 30 – 35 minutes.

For Frosting

  1. Add whipping cream and icing together in a bowl, and with an electric hand beater, whip it until you get soft, peaked whipped cream.
  2. Add in vanilla essence and beat again. Once it is done, transfer it to a piping bag and keep it aside until the assembly.

For Soaking Syrup

  1. To make the soaking syrup. Mix vanilla essence and water and keep it aside.

For Drip

  1. Melt white chocolate and warm fresh cream separately.
  2. Now, mix both of them to make a liquid mixture.
  3. Add in pink powder chocolate colour and mix to get ink chocolate drip.

Assembly

  1. After the sponges have baked properly, let them cool to room temperature. Now divide them equally with the help of a cake leveller or a serrated knife.
  2. On a cake base, apply some of the frosting and place a layer of sponge on top. Soak it with soaking syrup through a pastry brush.
  3. Apply frosting on top, smooth out using a bent palette knife, and place another sponge layer on top. Repeat the same process as before until you get a 4 layered cake without frosting.
  4. Now, for crumb coating, pipe thin layers of frosting all over the cake and smooth it out.
  5. Remove excess frosting as well with a scrapper. Crumb coating will help the stray crumbs to stay in place. Keep it in the refrigerator for 15 – 20 minutes so the frosting sets a little.
  6. After 15 – 20 minutes, remove it from the refrigerator, pipe thick layers of frosting all over the cake, and smooth it out.
  7. Make sure that the top edge is sharp. Remove the excess gently, or the frosting may come off.
  8. For decorating the cake, give a drip effect around the cake on top. Then, the pipe swirls on top using a 1M nozzle on top as well. 
  9. Lastly, stick a rainbow sprinkle on the base of the cake and sprinkle on top of the swirls as well. And you are done with one of the most delicious vanilla cakes.
  • Author: Chef Aruna
  • Prep Time: 50 to 60 minutes
  • Assembly Time: 40 to 50 minutes
  • Cook Time: 30 to 35 minutes

Leave a Comment

Your email address will not be published. Required fields are marked *

Recipe rating 5 Stars 4 Stars 3 Stars 2 Stars 1 Star

“I achieved 10% of my short-term manifestation before my target date”
Before this program I knew a little about manifestations, but as I discovered during the program, I had a lot of limiting beliefs that kept me from fully embracing and accepting myself as a manifestor.
During this program I became more aware of what manifestation is and how powerful I am. I become more aware of my guides, of my highest self and that I can pull the best of my highest self into my present. Since this program I no longer wrestle with trying to convince myself that what I desire will happen. I know that it has happened, it is done and it is mine, here and now. I achieved 10% of my short-term manifestation before my target date, my eyesight has improved and I no longer need glasses for distance vision, only for reading, I gave myself a make-over as part of my commitment to my renewal and I began to de-clutter my space.
Trevor Buikies
Entrepreneur
Durban, South Africa
“My professional and personal life has seen significant positive changes”
Joining “The Art of Manifesting” was a life-changing decision for me. This is now the third time going through the quest and focusing on different areas of manifestation.
Regan is a powerful guide and she walks the talk.
This 28-day journey was a blend of practical techniques and profound energetical activations. I learned to visualize my goals clearly, expand my possibilities, and overcome the limitations holding me back from living a life i desire. The quest’s unique approach to identity hacking helped me align my inner self with my aspirations, making the manifestation process more effective and authentic.
The biggest takeaway for me was the acceleration of manifestation by bending time and tapping into the highest frequencies. The techniques taught in the quest enabled me to see results much faster than I expected. My professional and personal life has seen significant positive changes, and goals that once seemed unattainable are now within reach.
I’m beyond grateful for the wisdom and tools I’ve gained from this quest and Regan. It’s not just about manifesting; it’s about transforming your entire lifestyle. I highly recommend “The Art of Manifesting” to anyone looking to turn their dreams into reality.
Till Infinity
D
Dijana Llugolli
Coach
Stockholm, Sweden
“This course and listening to Regan’s podcasts gave me the tools to acknowledge my blocks and mindsets around drinking”
I have so enjoyed this journey with Regan, I am a new person as a result of this quest. I now have new beliefs & mindsets that I keep working on daily, hourly. A kinder and more compassionate version of me has emerged over this journey, and I love her!
This quest has resulted in me finding the lost me, the me that has been hidden under the voices of doubt, fear or just lack of awareness that I get to run my life not the other voices in my head or family and people around me. When we wire ourselves to the future version of us, then we make different choices and we are already a different person!
Thank you Regan, thank you Mindvalley, thank you tribe!!!! ❤❤, I love you all and wish you a magical Christmas and hope our paths may cross one day at Mindvalley events.
Rachael Courtenay
Orthopedic Physical Therapist
Royal Tunbridge Wells, United Kingdom
“My family’s net income unexpectedly increased while I was taking the quest”
Before taking this Quest I believed that the prerequisites of success were hard work, long hours, timing and a degree of luck; “1% inspiration and 99% perspiration” was my mantra. Trying to achieve success with this mindset was exhausting, frustrating and unsustainable.


I then discovered The Art of Manifesting … and was blown away.


The foundational teaching of focusing on your inner world to achieve has been transformative in the way I live my life. I now know that cultivating the feeling of already being in possession of that which you want, accelerates the manifestation of what you desire.


My family’s net income unexpectedly increased while I was taking the quest, and have discovered a path to manifest greater abundance in the year to come. But perhaps the biggest shift I experienced during this quest now knowing that I am worthy and deserving of abundance. Regan, I am eternally grateful to you, thank you :-)
Rahim Kassam
Financial Risk Analyst
Toronto, Canada
“Now, my manifestation is showing up right before my eyes in ways I hadn’t even considered”
Before this program, I believed somewhat in manifestation but never knew how to do it, or if it was real, and the little bit I did know ended up being completely wrong! This Quest has not only taught me how to manifest and put me on the path to doing it the right way, but I was actually able to manifest what I had set at the beginning.
I never thought it would actually come true, but I committed myself to the process and gave it 100% every day. And now, my manifestation is showing up right before my eyes in ways I hadn’t even considered. It’s truly blowing my mind.
I had a financial goal for the end of the Quest, and different opportunities for selling my artwork started coming up, and the deals are coming out almost to the exact number I had set.
Not only that, but I have truly transformed into a better version of myself in these short weeks, more than I had in the last few years, that my spouse has even noticed.
I’m so excited for what’s to come next and so grateful for this program. Thank you.
Hannah McGuire Silva
Artist
Olney, United States
“I have written a 50,000-word book, that is now in design”
I joined Mindvalley on New Year’s 2023. I am excited to share how life has significantly changed in the first 90 days of the year. Beginning with the Silva Method, I envisioned and transformed a dysfunctional personal relationship, into a loving, caring separation, allowing me the peace and serenity to follow my path, and my partner to choose his. In February while on the Art of Manifesting Quest I listed my intent to have a book written by May 2023, and have a speaking engagement booked by December 2023.
I have written a 50,000-word book, that is now in design, and a journal for Women seeking a deeper connection with themselves, also in design. Both will be uploaded via KDP Amazon self-publishing by May 1st.
I have booked a speaking engagement for May with the intent of having published books with me for sale.
Most importantly – this morning I changed my profile from ‘Document writer’ to ‘Author.’
Gratitude abounds!!!
Sharr L
Author
Kelowna, Canada