
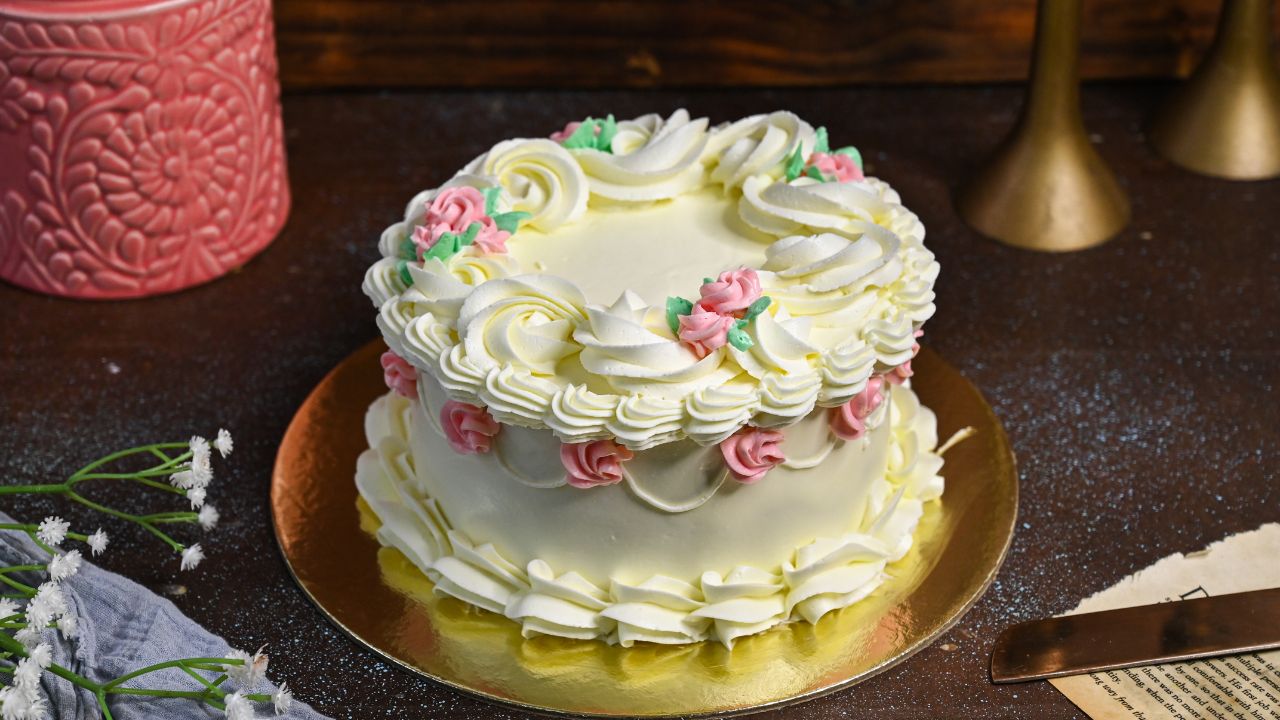
An eggless vanilla cake that has a soft vanilla sponge and smooth buttercream frosting is the best and the most requested celebration Cake of all time! Come, let’s bake this classic dessert!
After my French vanilla cake recipe became a hit, I received many requests from my baker family to do an eggless vanilla cake recipe. Naturally, I couldn’t help but find the most amazing Eggless vanilla cake recipe that will stay with you forever.
Vanilla cake is one of the fundamental cakes that every baker must know. It’s a cake that everyone loves and plays a safe bet when nothing else works. That is why it should be not just good but GREAT! This is precisely what my recipe is. Even the eggless version of the cake is incredibly soft, moist and tender.
While there are many eggless recipes out there, I believe this one is one of the finest. It’s curated after many trials and studying eggless baking science. I’m sure once you make it, you will get many requests to make again.
Why You’ll Love This Recipe?
- The Texture: Unlike the common belief that eggless cakes are not as good as egg ones, this cake defies all those beliefs. It’s made of curd, apple cider vinegar and rising agents, which gives a much softer and tender texture than other recipes.
- Perfect For Layered Cakes: You can use this sponge recipe as a base for various other cakes. Since it is vanilla-flavored, you can use it for different flavours like mango, strawberry, etc. You can also use other frostings with this sponge. I have used buttercream frosting, but you can pair it with whipped cream or cream cheese frosting as well.
- Simple yet Delicious: The cake itself is pretty simple to make, and the buttercream recipe is also a classic one. Follow the assembly part, and you will be able to make an elegant-looking vanilla cake all by yourself.
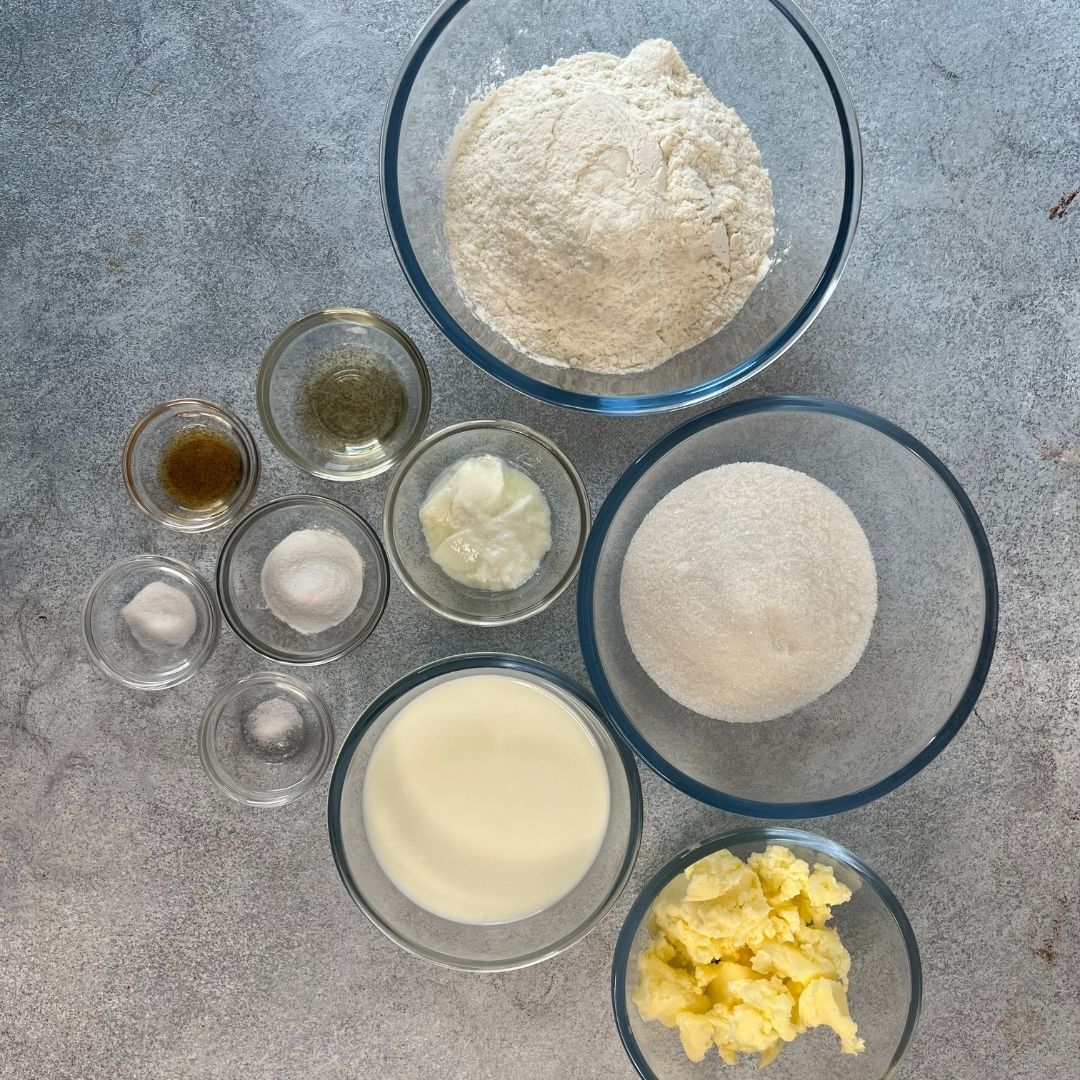
Important Ingredients Used In The Recipe
- Curd: Cakes made using curd are definitely soft and moist when compared to cakes made using condensed milk. Although condensed milk cakes turn out good, they are not suitable for layered cakes as the sponge gets a little dense and sweet. Curd, when it reacts to rising agents, provides aeration and softness to the cake.
- Apple Cider Vinegar: It is generally used to mix with milk to make an instant buttermilk. Buttermilk then reacts with baking soda to give out a fuzzy reaction, releasing carbon dioxide and incorporating air into the batter.
- Rising Agents: Both baking powder and soda are vital for the cake as one provides height to the cake, and one helps the cake to expand.
- Unsalted Butter: I have used unsalted butter as fat in the cake. It will help provide a lovely buttery texture and taste to the sponge. Also, it is an important ingredient used for the buttercream.
- Vanilla Essence: Being a vanilla cake, using good quality vanilla essence is crucial here. All your hard work will go to water if the cake doesn’t taste good because of a low-grade essence.
How To Make Eggless Vanilla Cake?
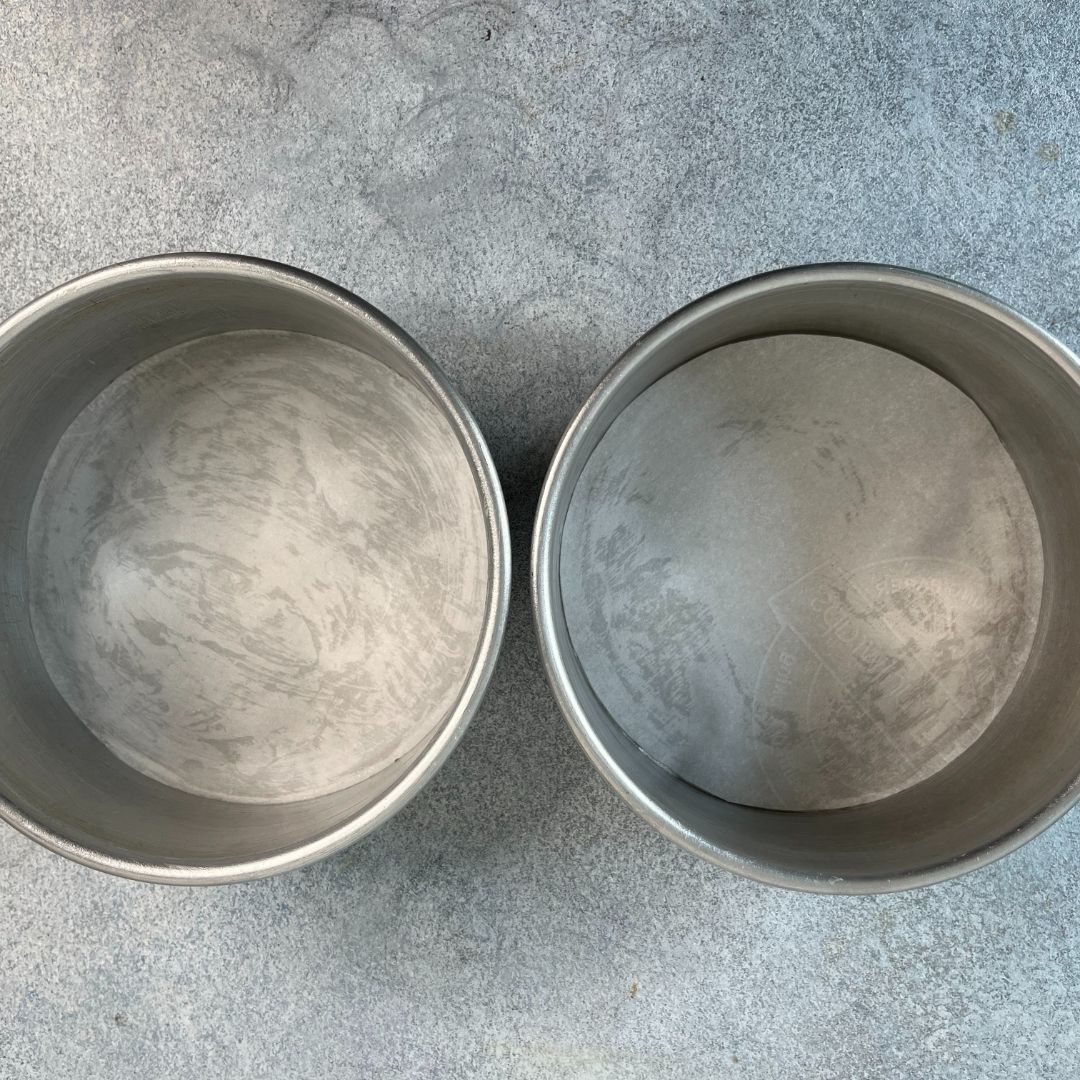
Preparation: Collect all ingredients and measure them correctly using the recipe card below. Grease and line two 6-inch round tins with butter and butter paper. Also, preheat your oven to 180C (OTG mode: upper rod + lower rod + fan) for 10-15 minutes.
Method For Sponge
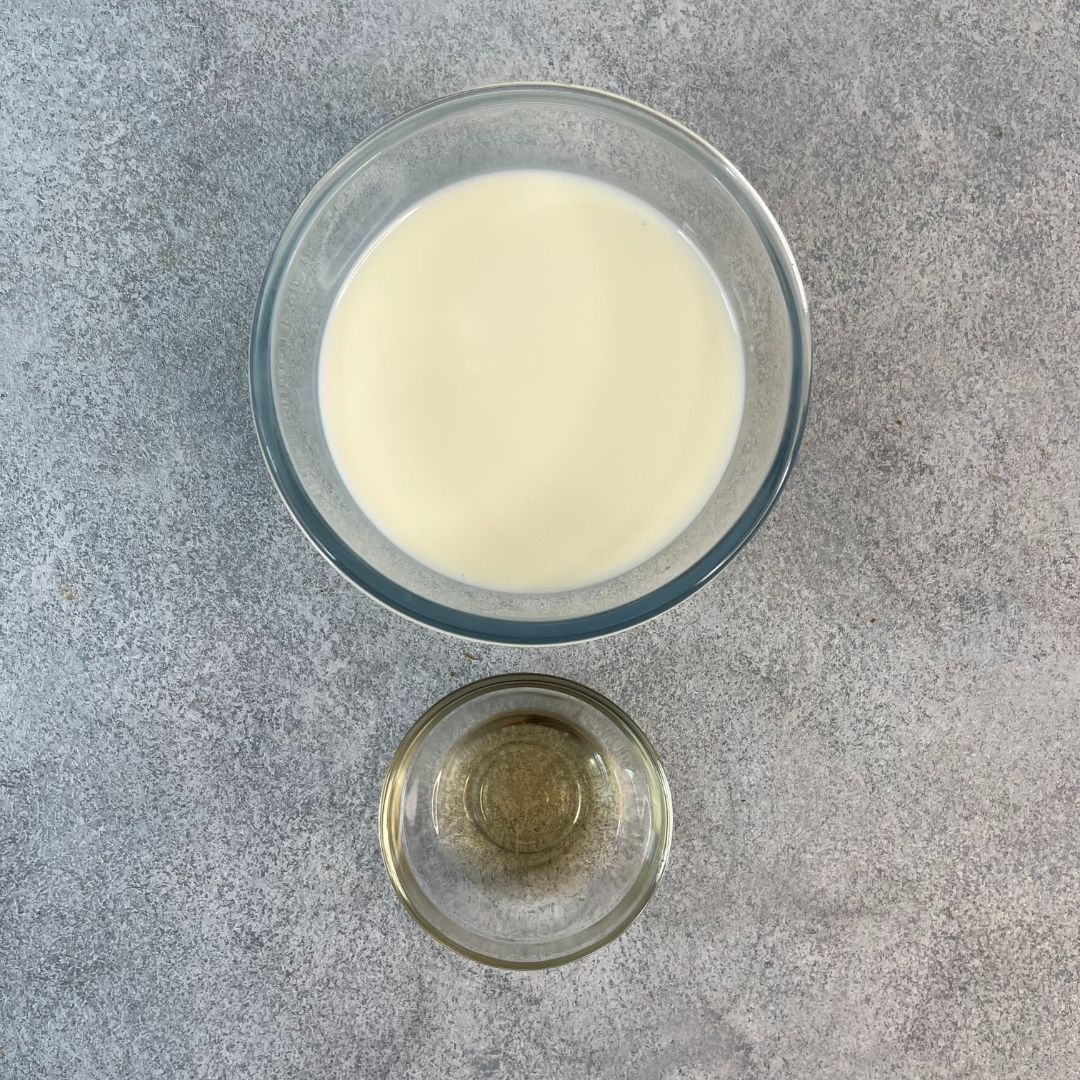
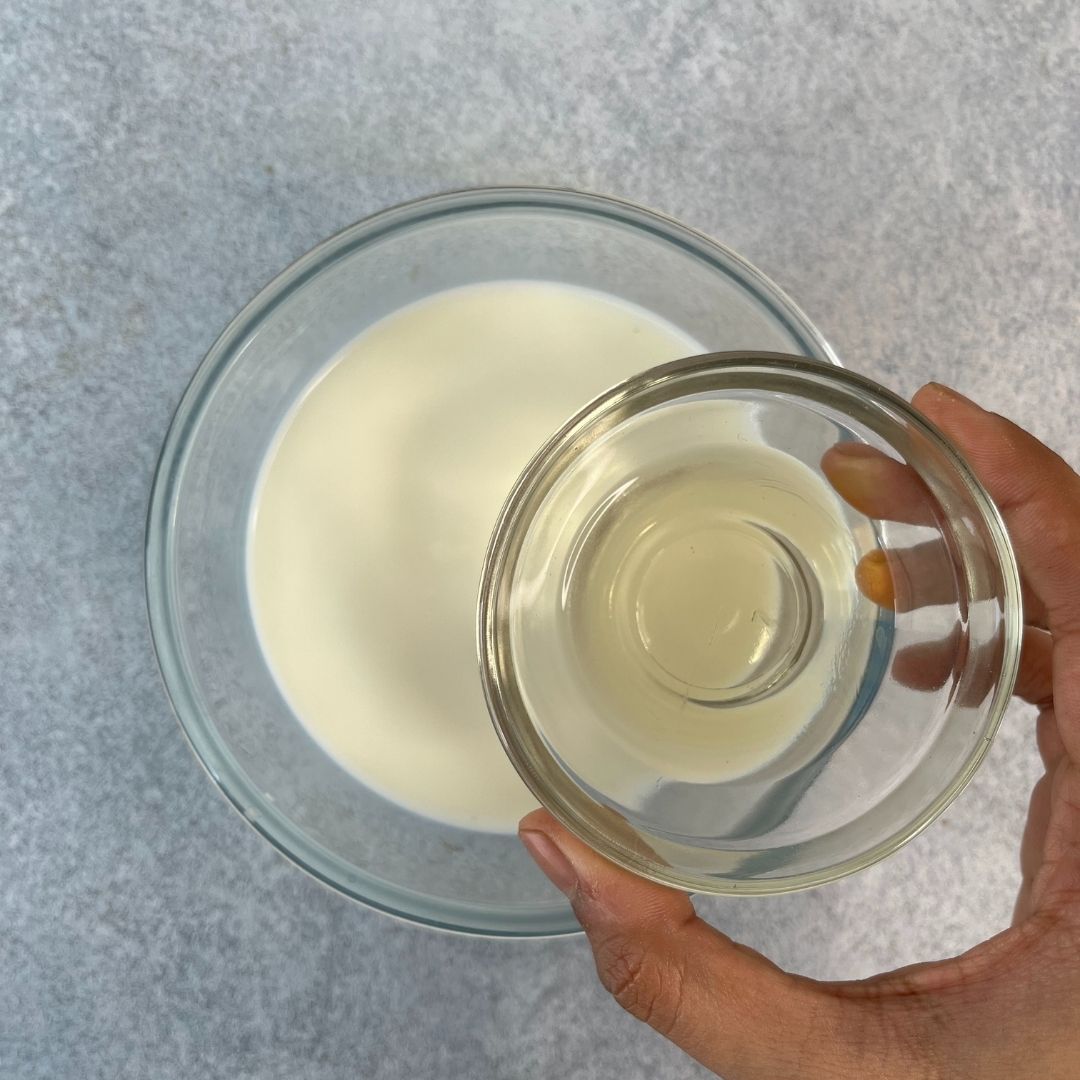
Make Buttermilk: In a bowl, take the milk and add apple cider vinegar to it. Mix it and keep it aside for later use.
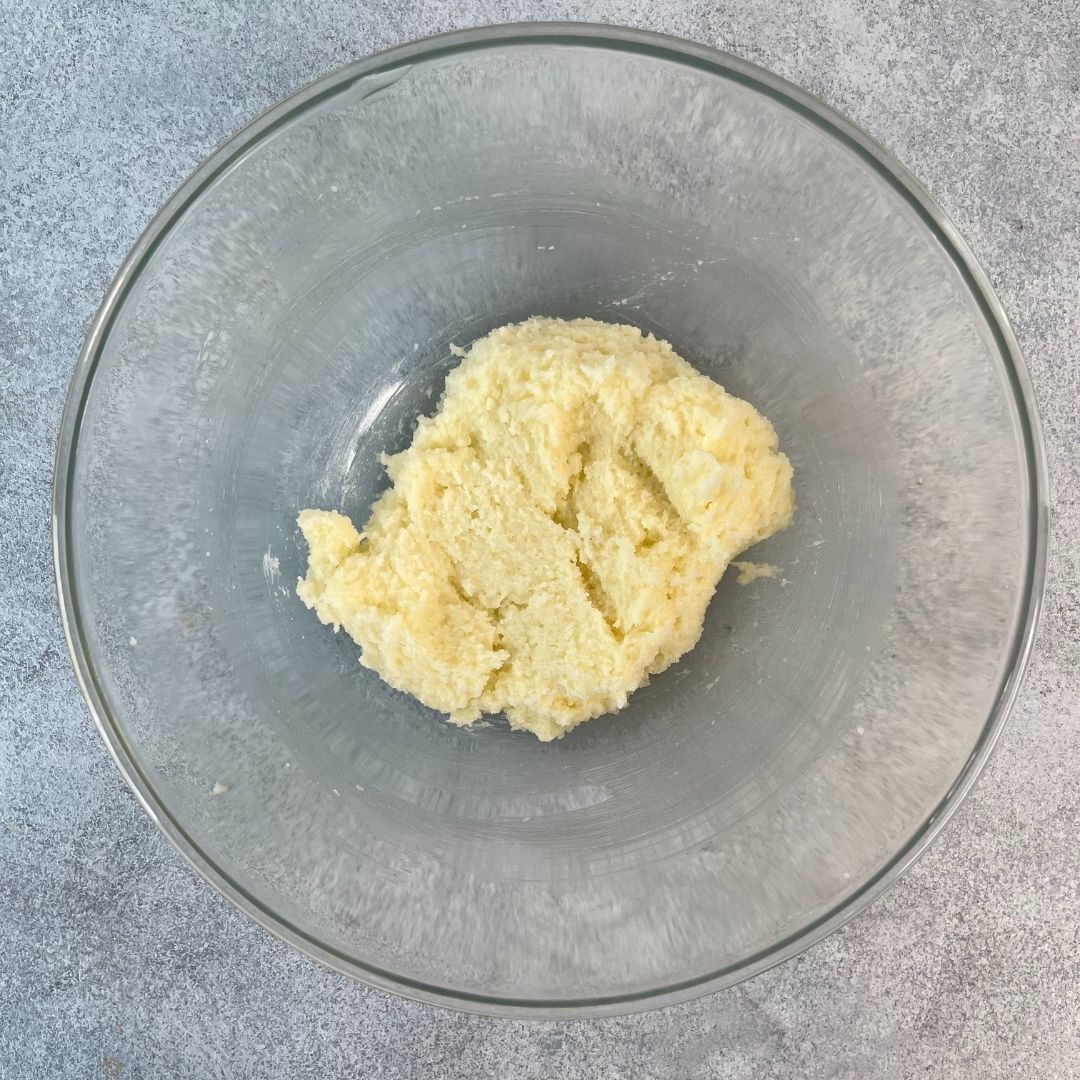
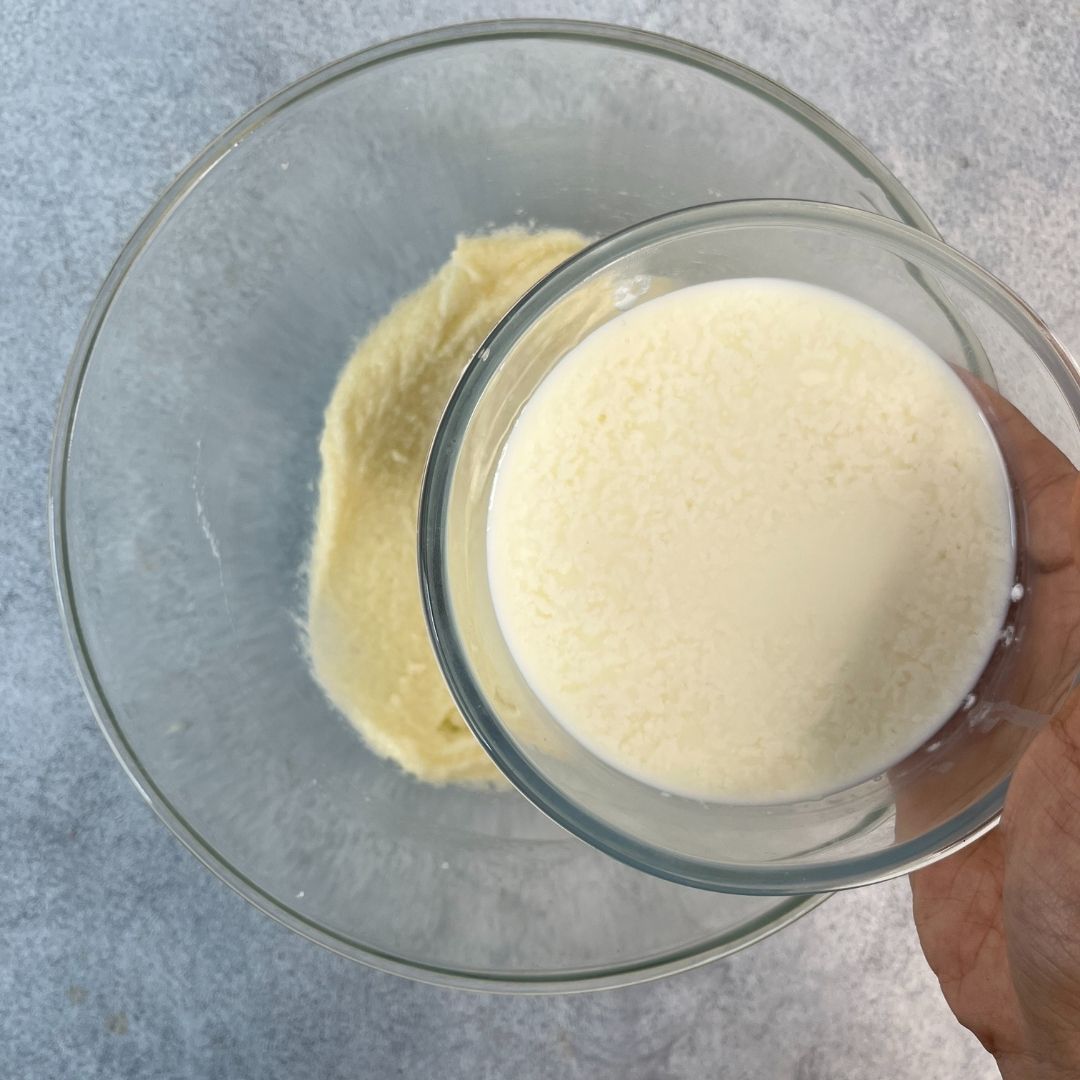
Creaming: In a separate bowl, start beating unsalted softened butter and castor sugar using an electric hand beater. Continue beating until you get a light, fluffy texture.
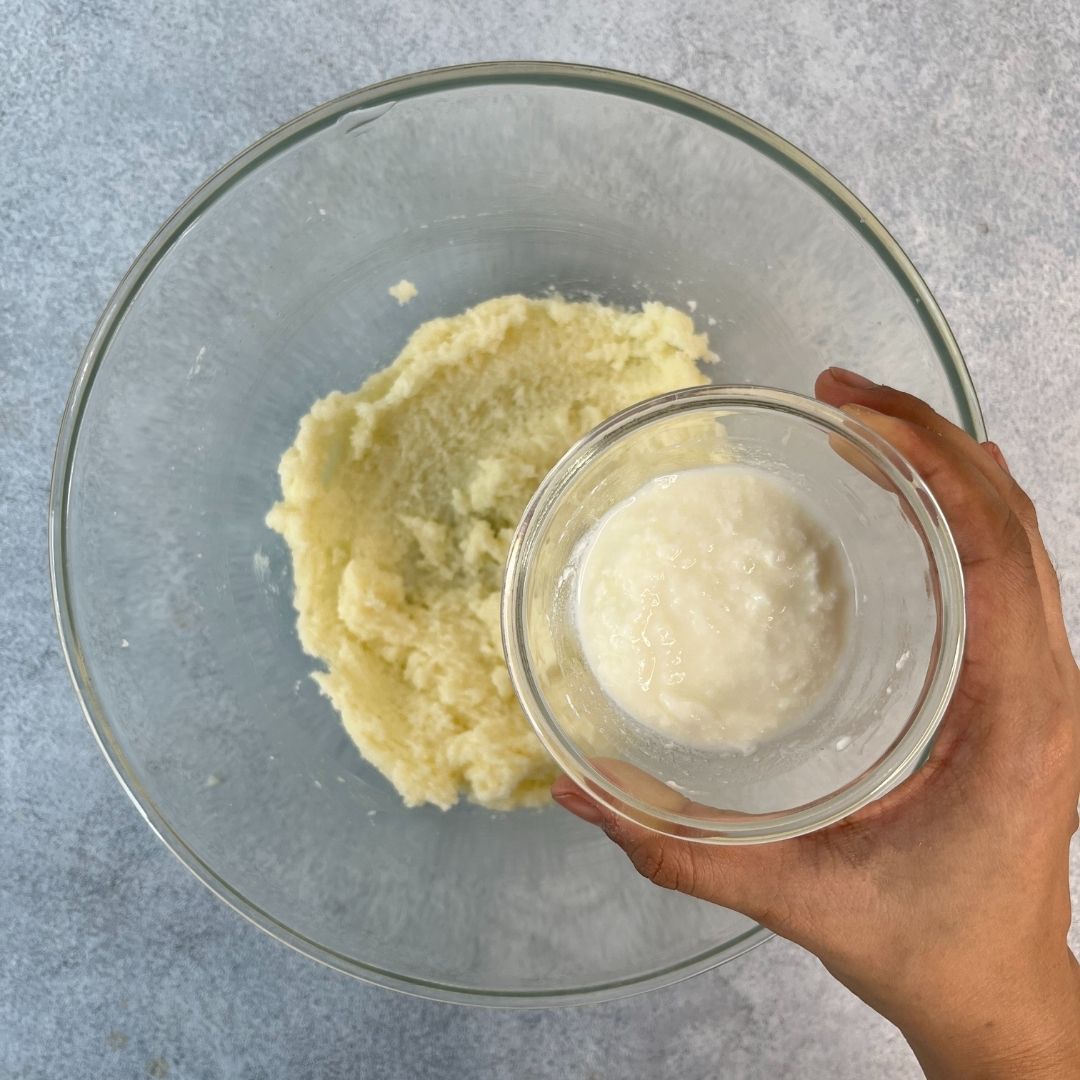
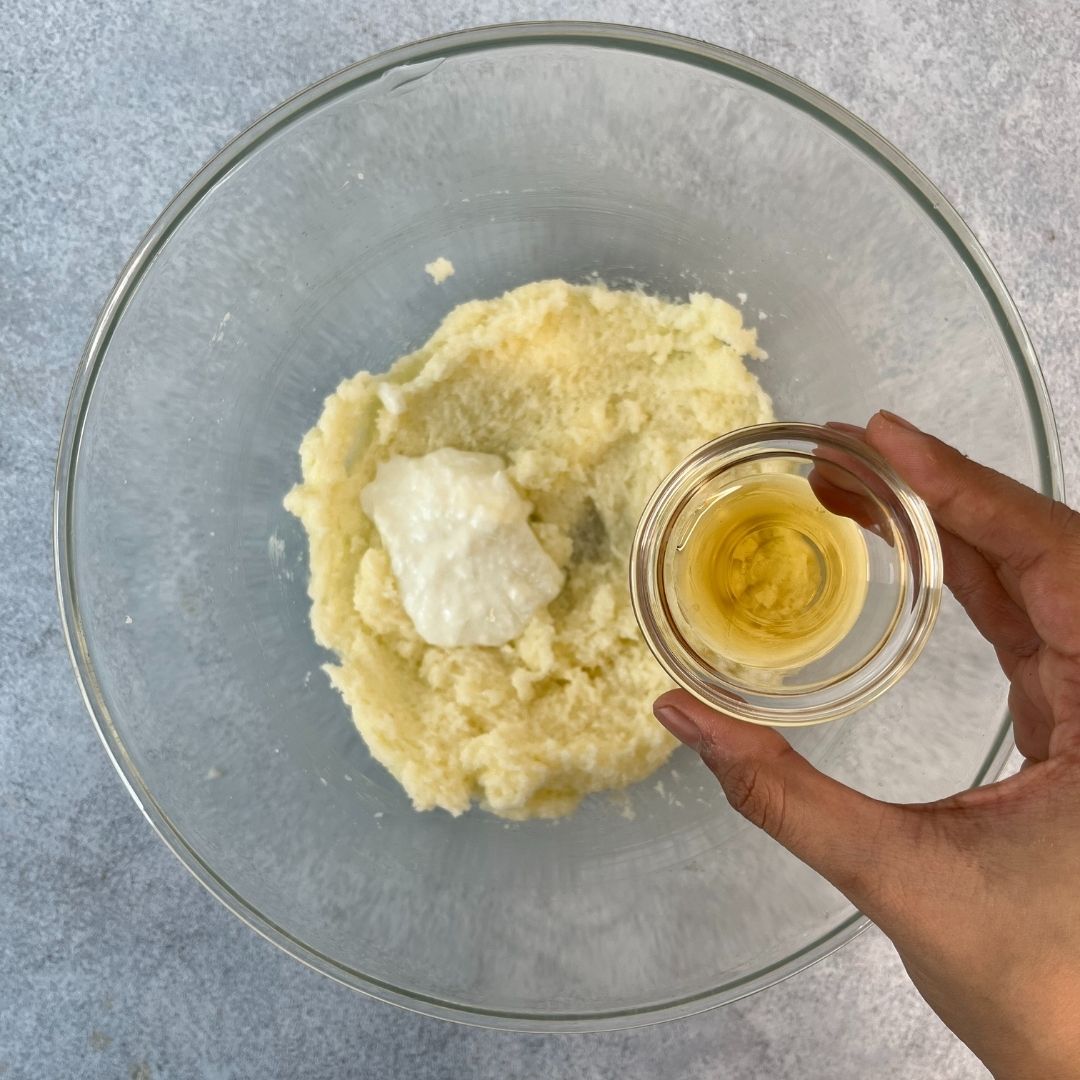
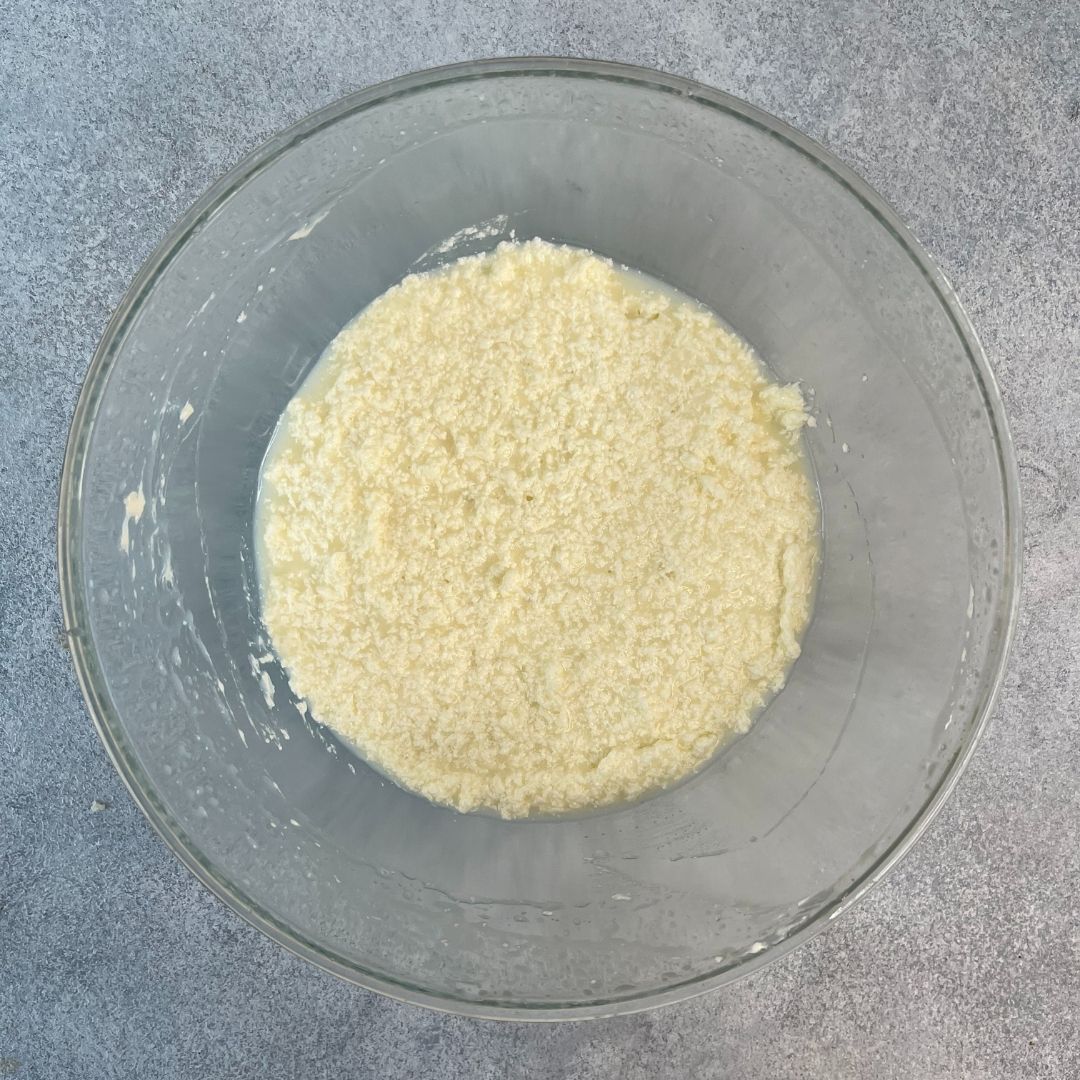
Add Curd and Vanilla Essence: Next, add the curd along with vanilla essence to the creamed butter. Combine until it becomes a homogeneous mixture. Then add buttermilk and mix.
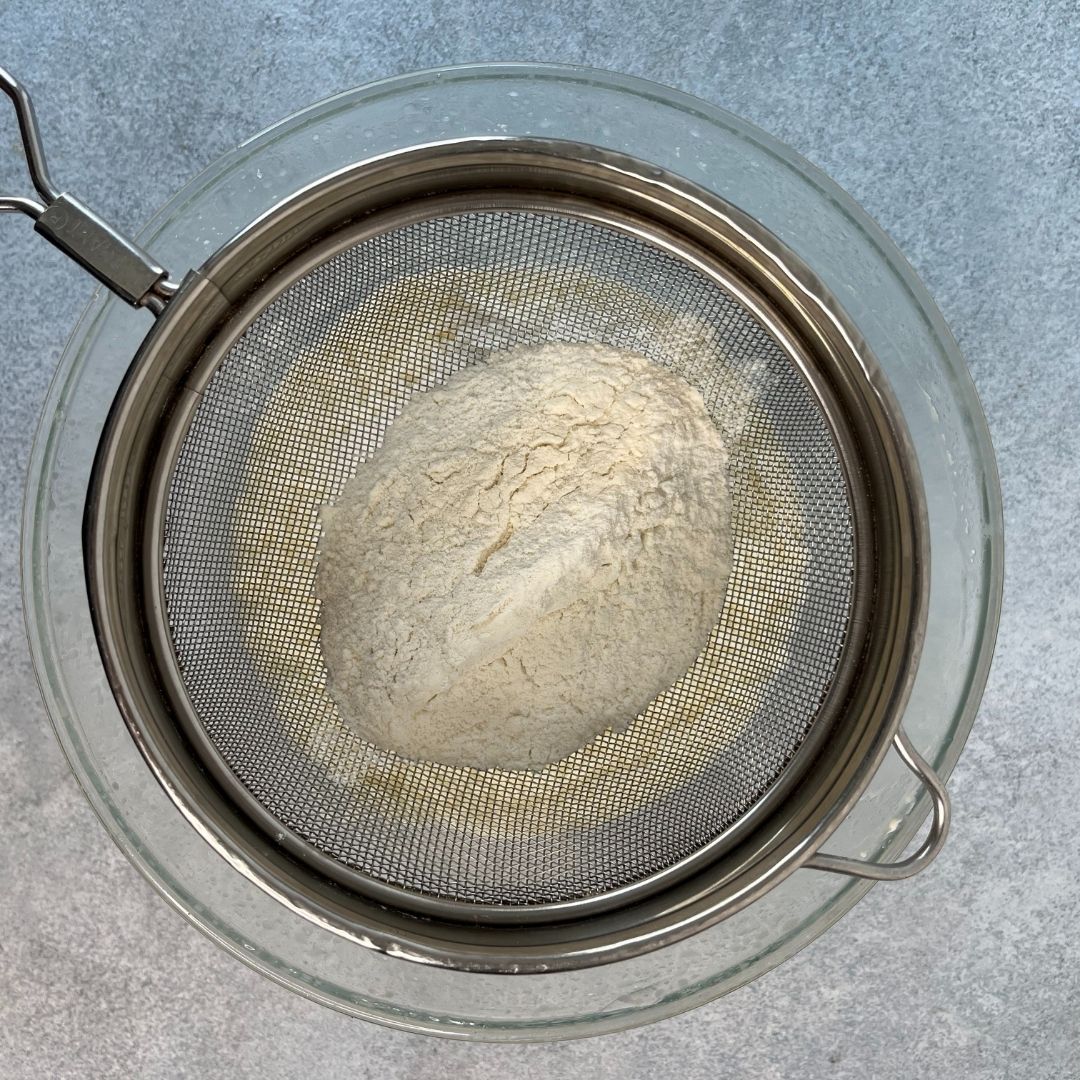
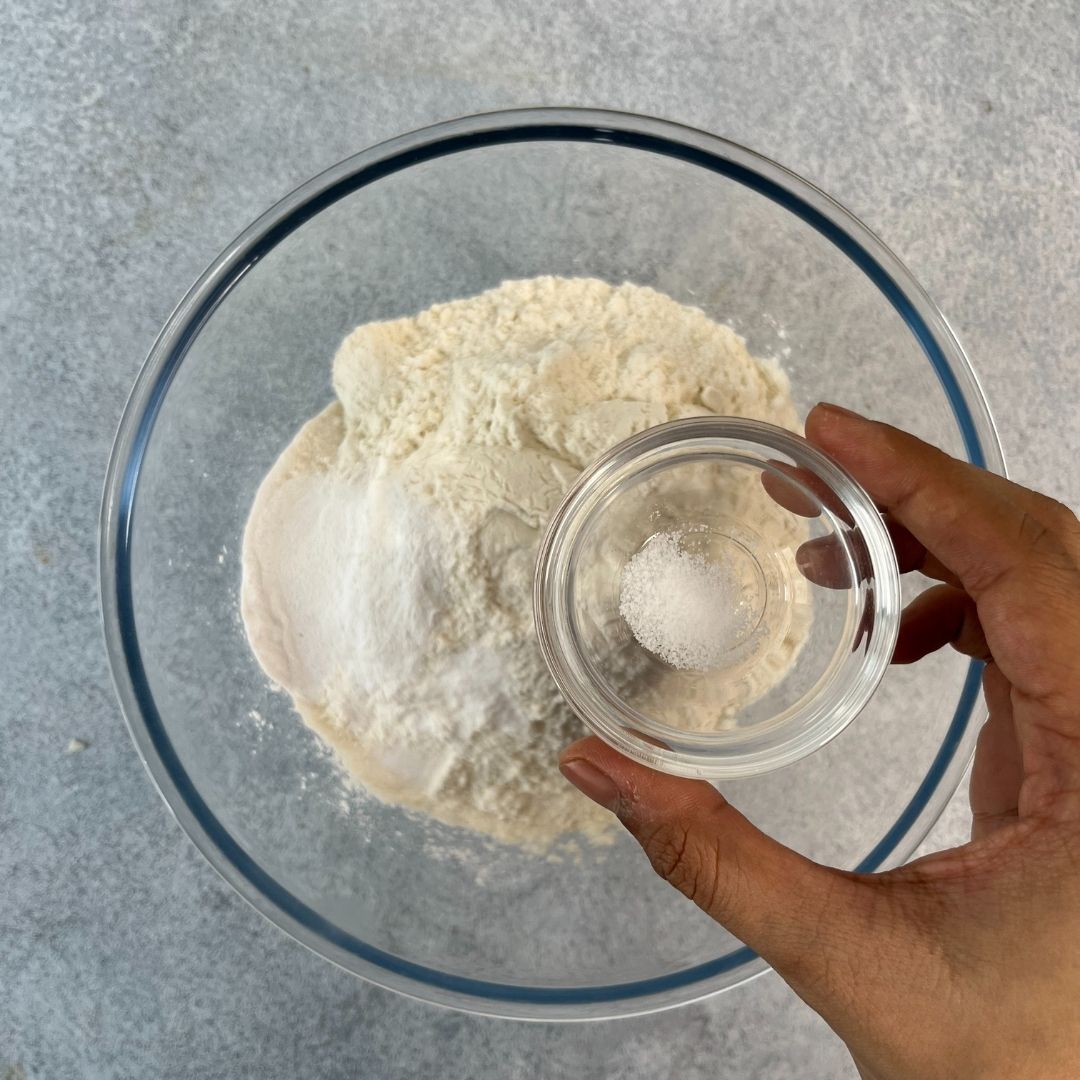
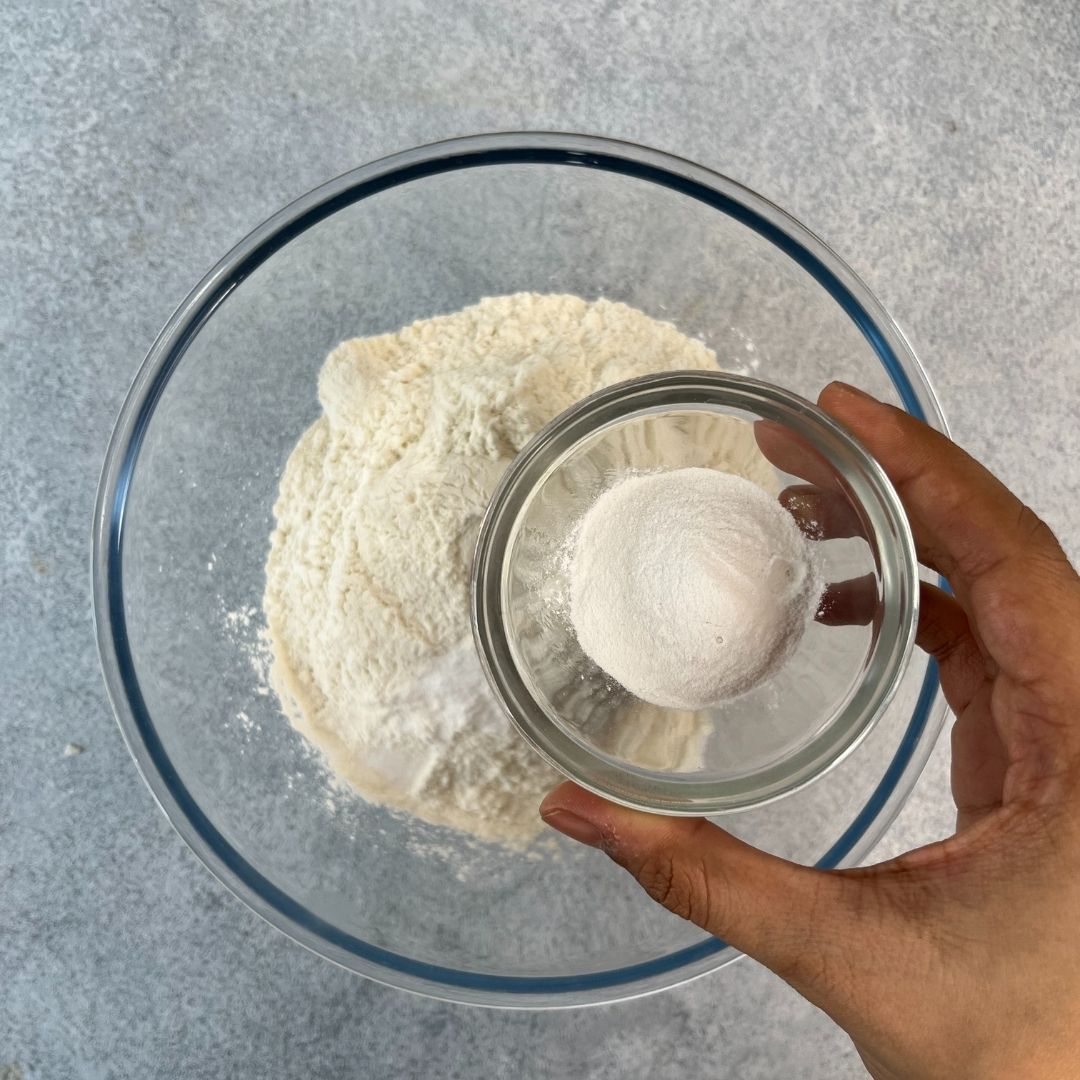
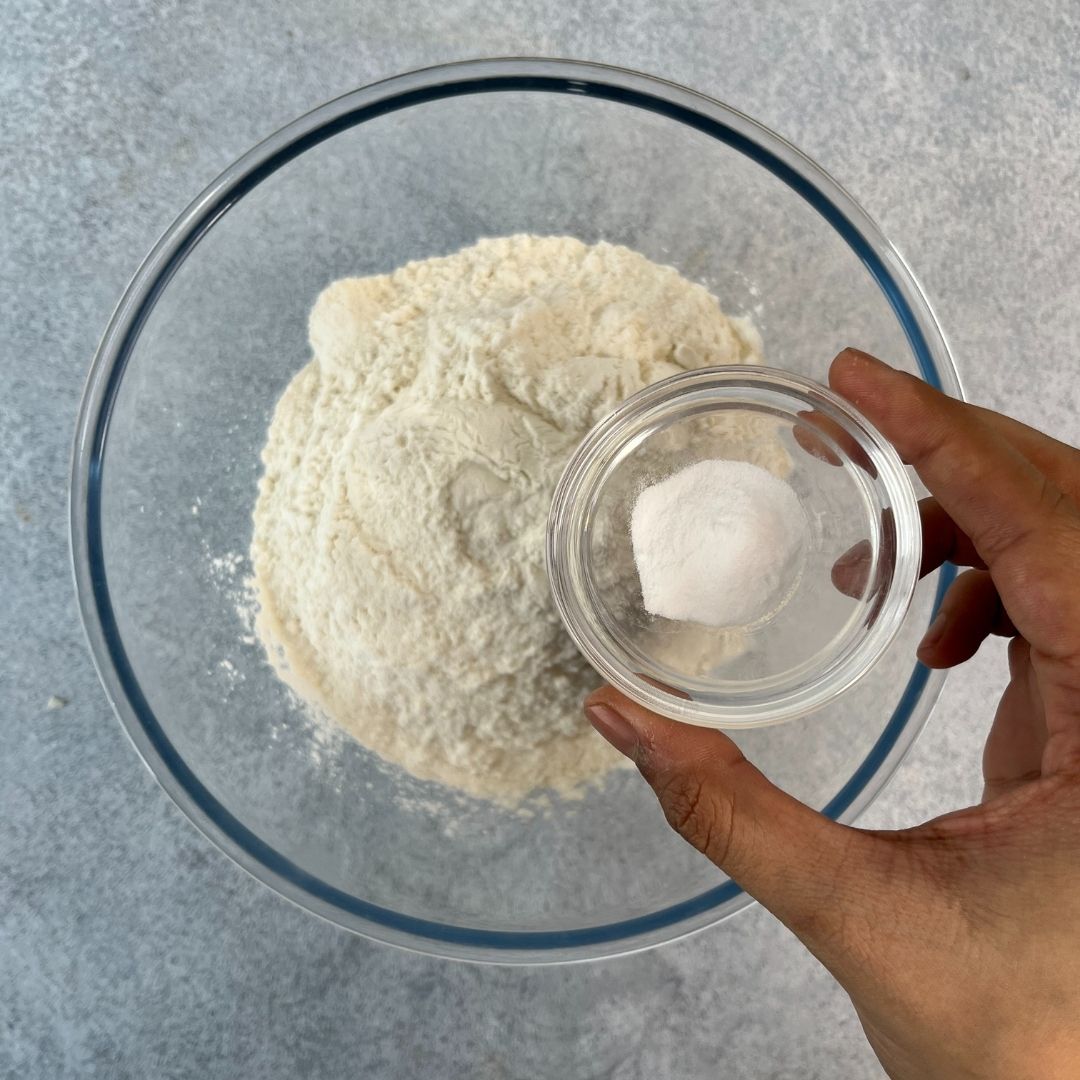
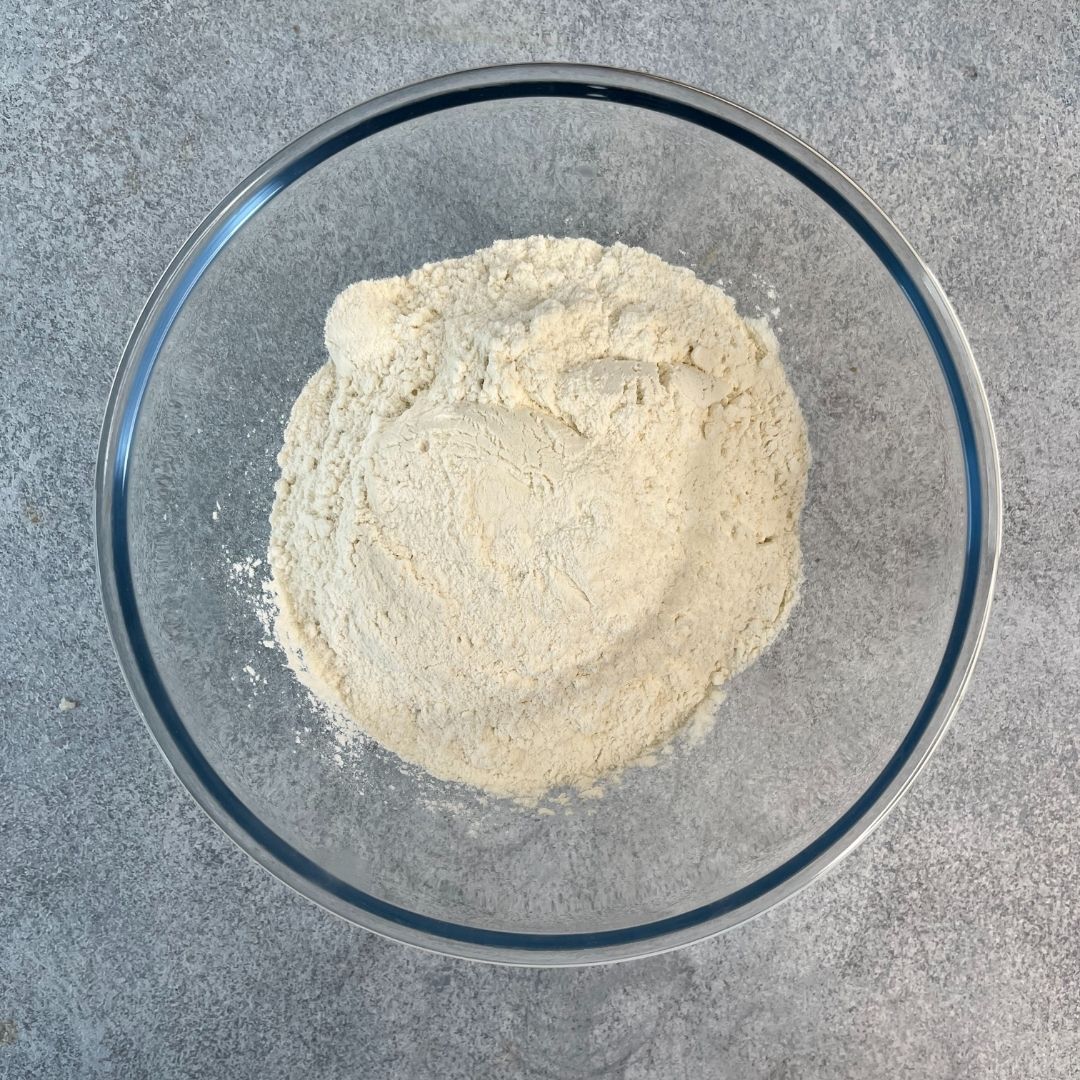
Sieve Dry Ingredients: Sift all dry ingredients-flour, baking powder, baking soda and salt in a new bowl. Give it a stir.
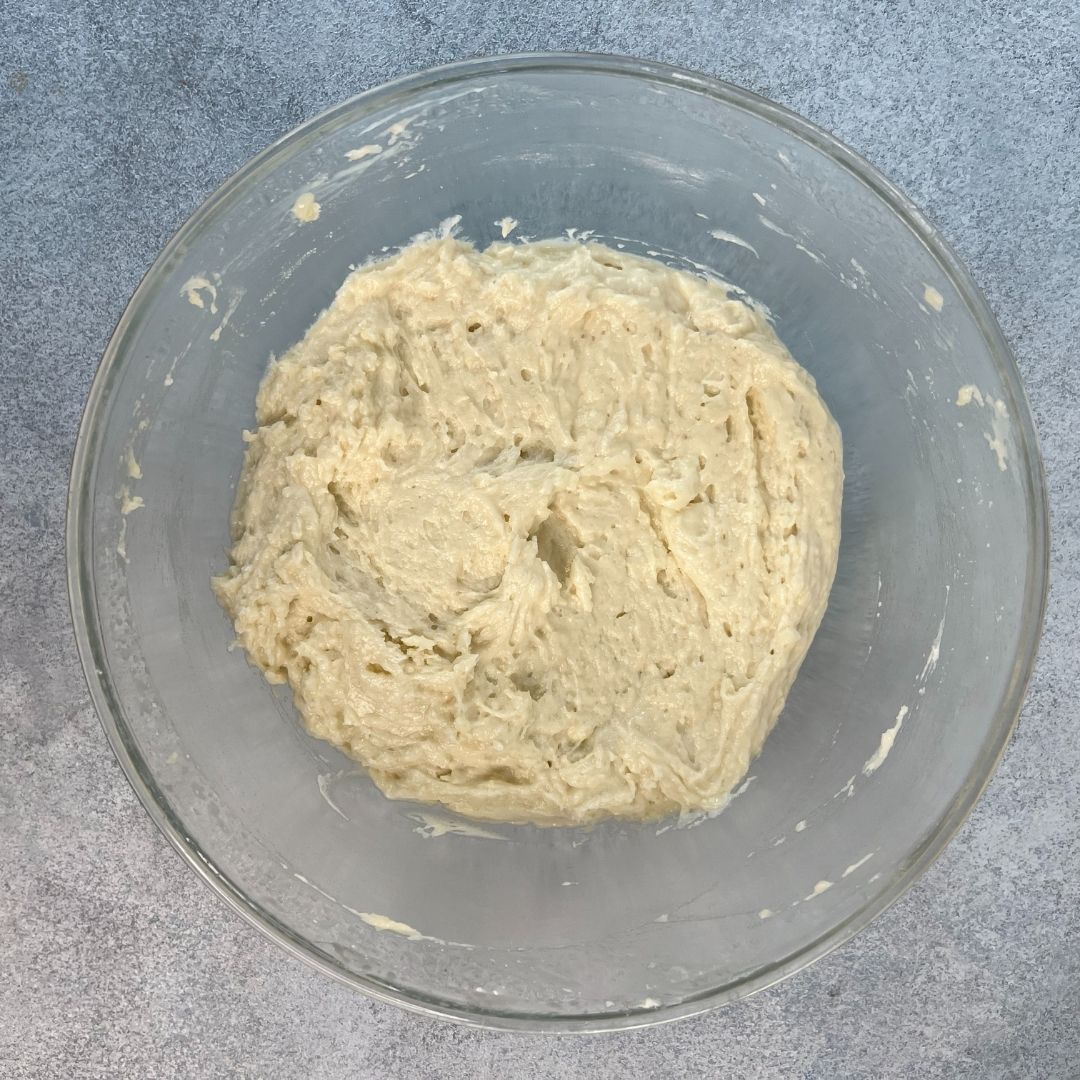
Make Batter: Now, add the sifted dry ingredients to the creamed mixture in batches. Mix to form a smooth batter.
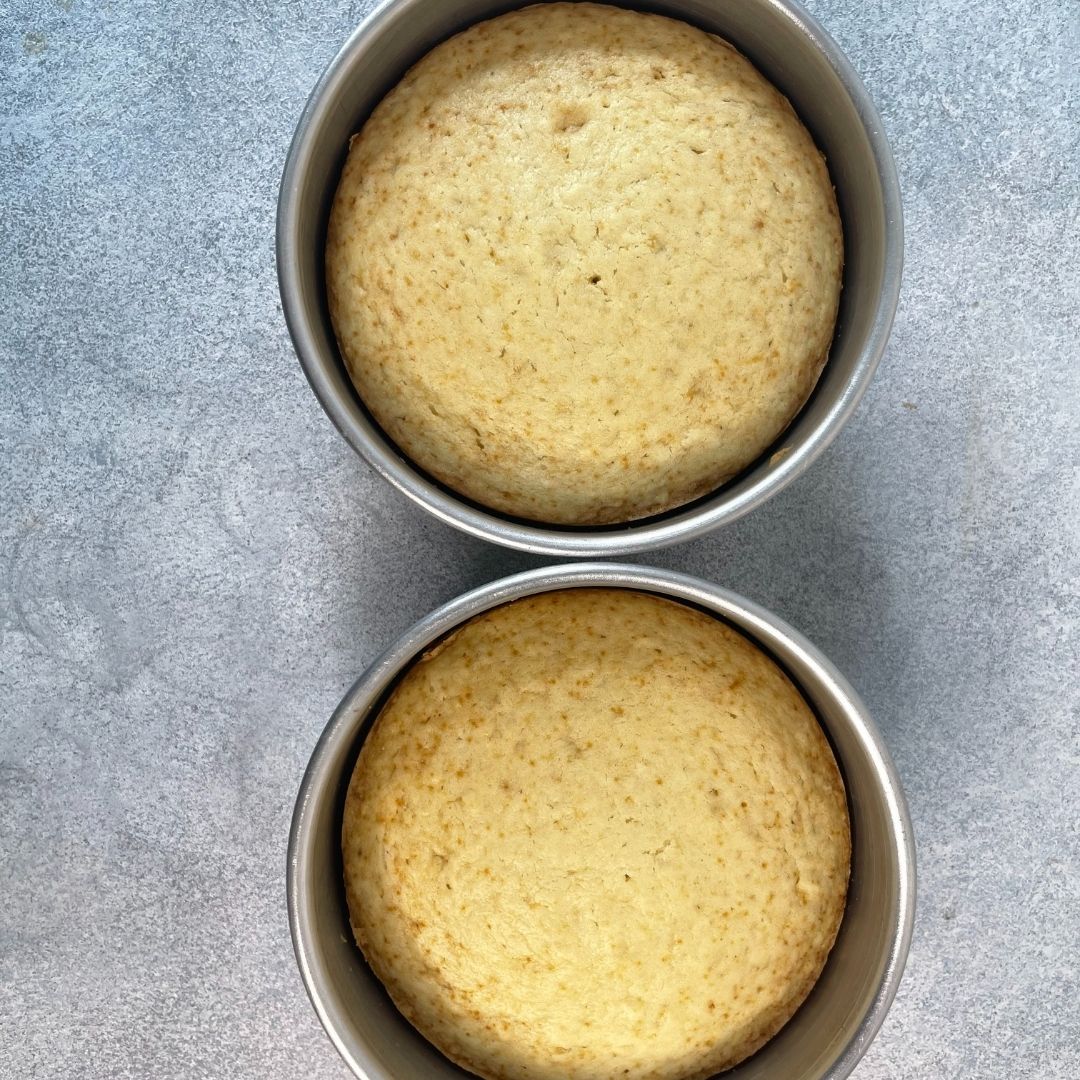
Bake: Transfer the batter to the lined tins equally. Bake it at 180C (OTG mode: lower rod only) for 30-35 minutes or until a toothpick comes out clean when inserted in the centre.

Method For Buttercream
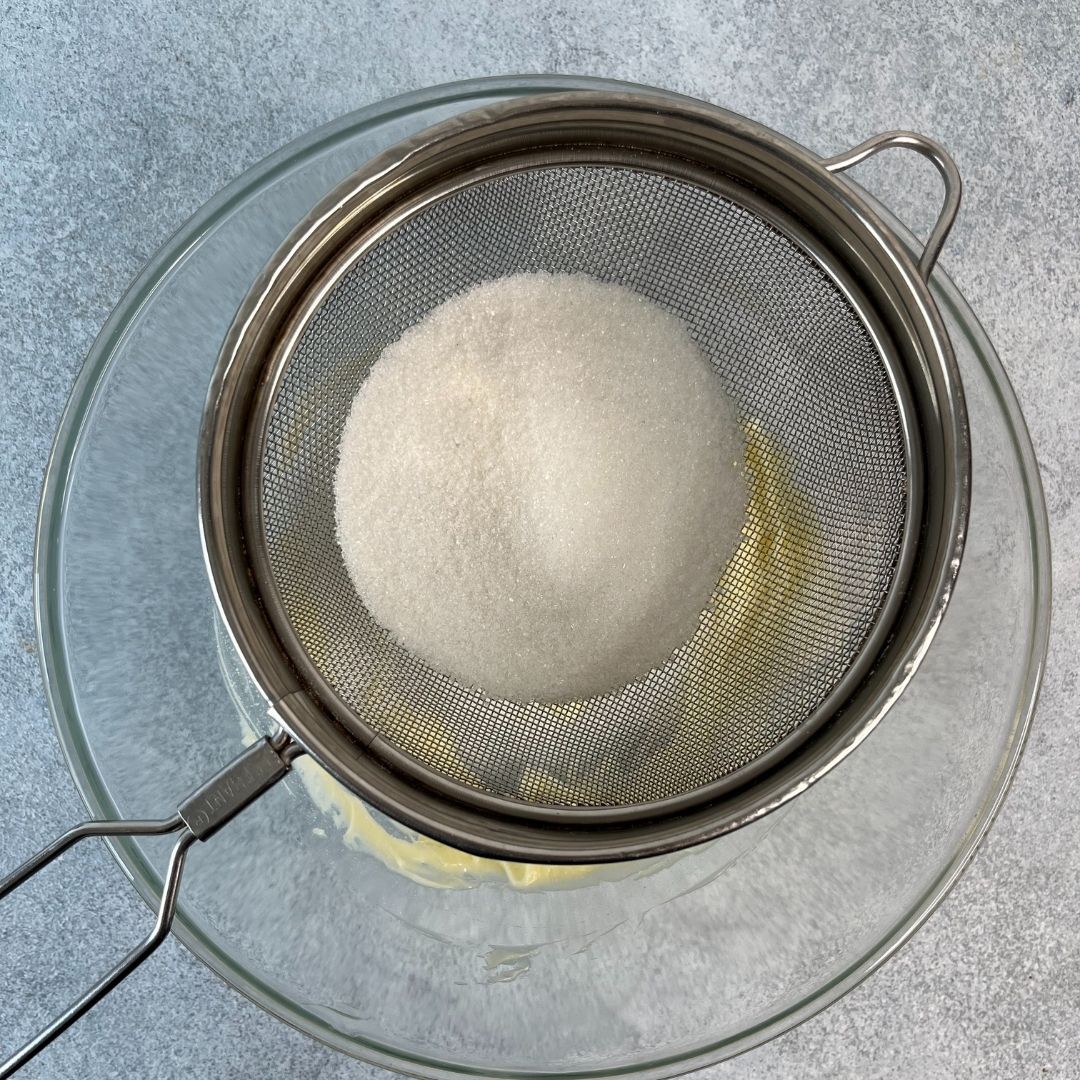
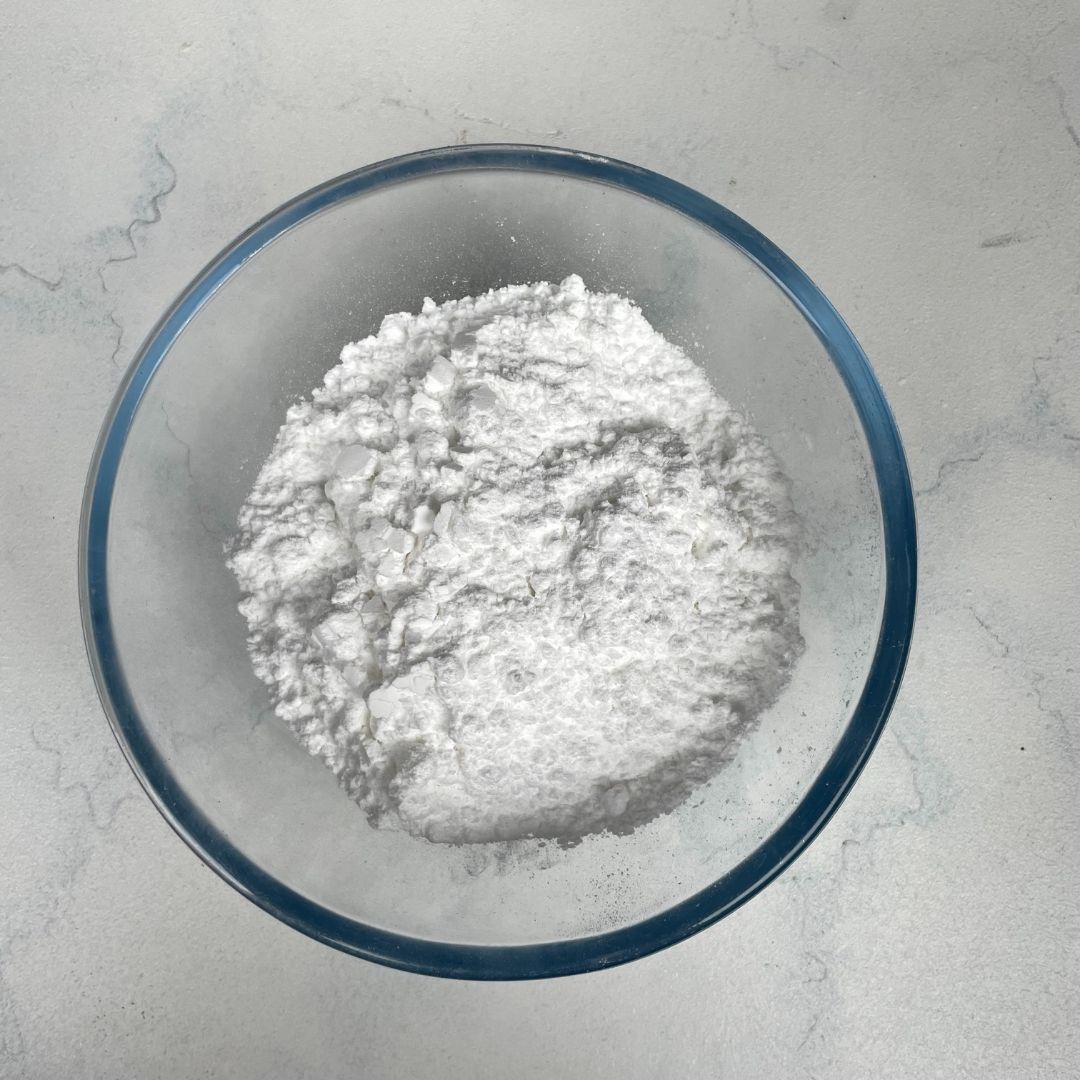
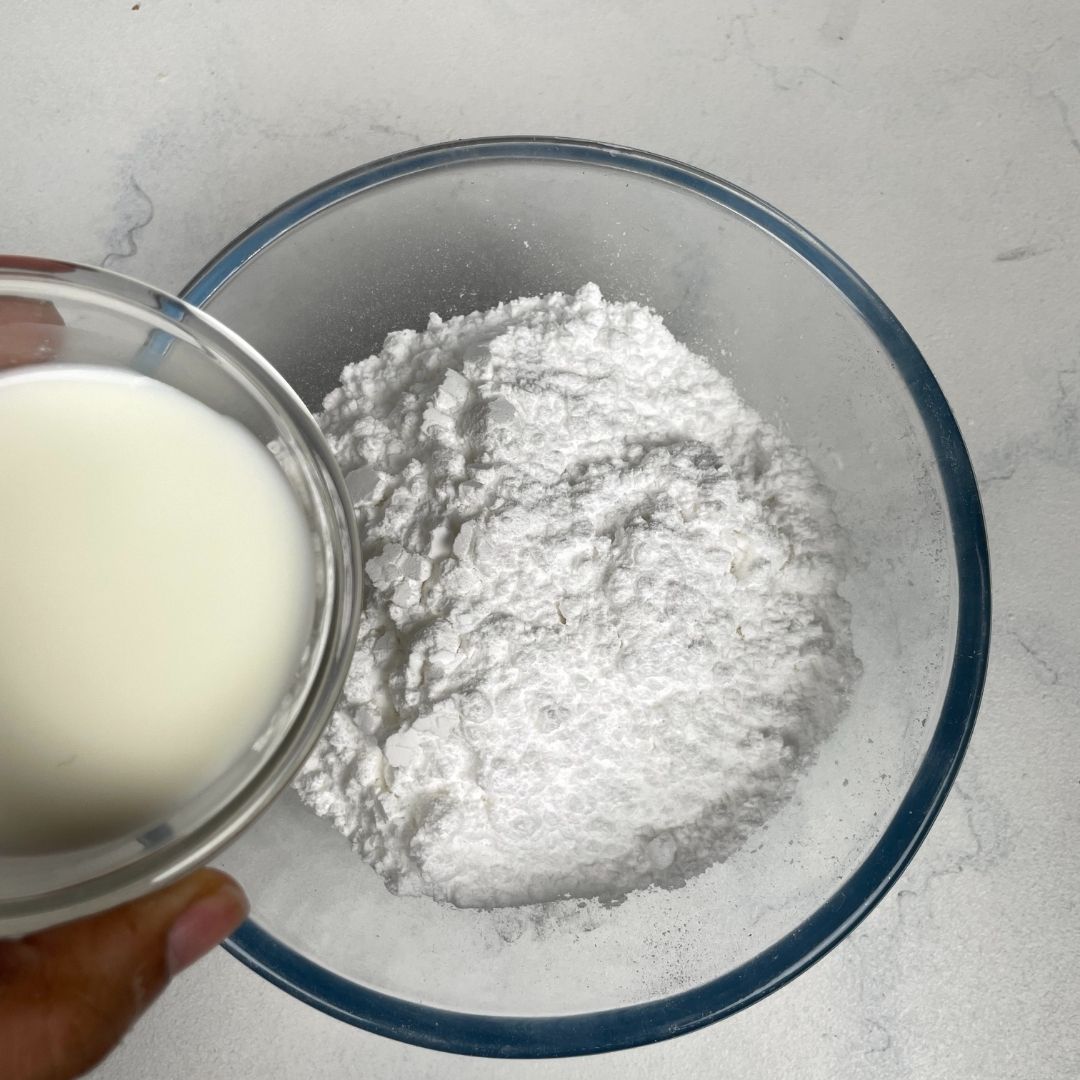
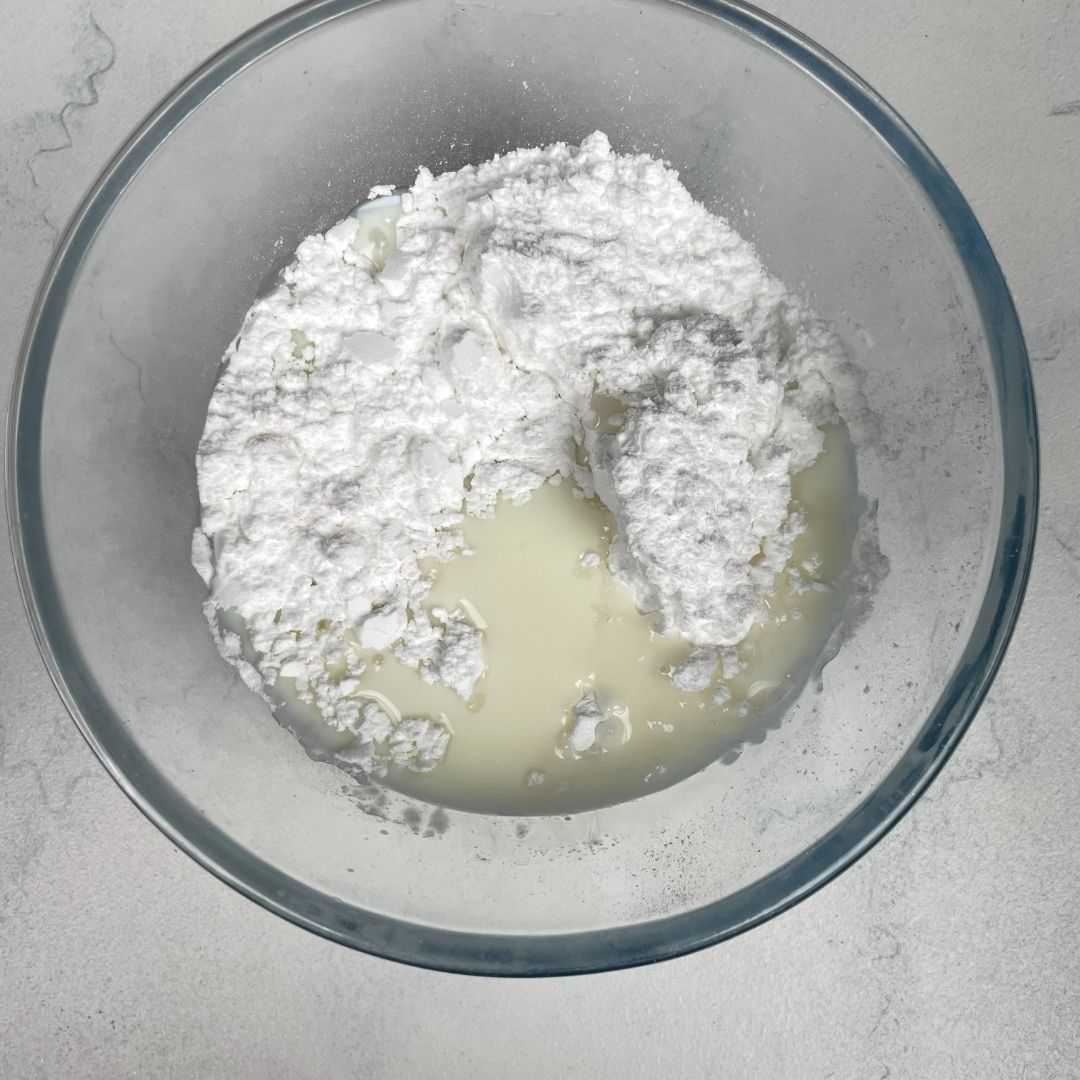
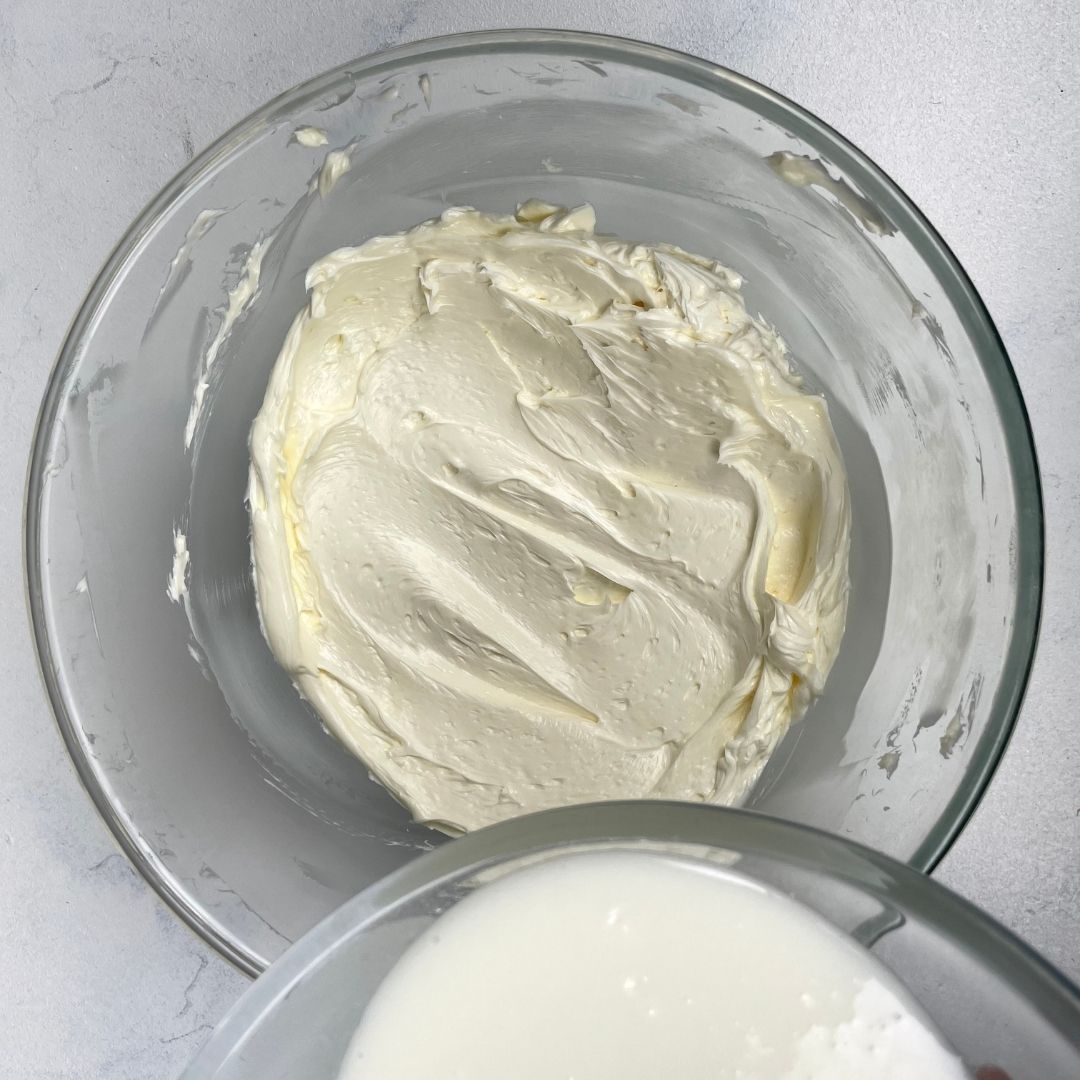
Mix Milk and Sugar: In a bowl, mix milk and sifted icing sugar until the sugar dissolves. This will help reduce the grittiness of the buttercream.
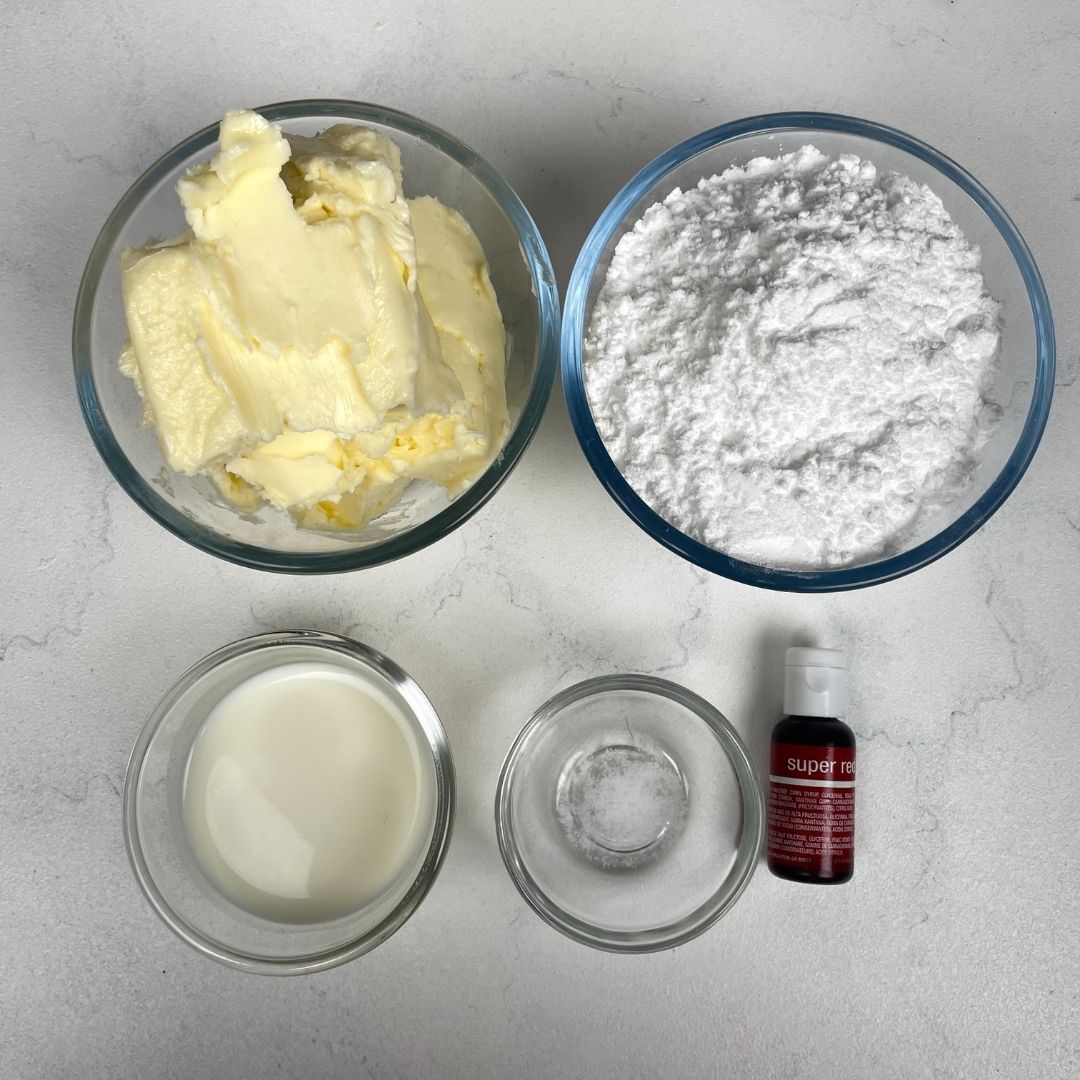

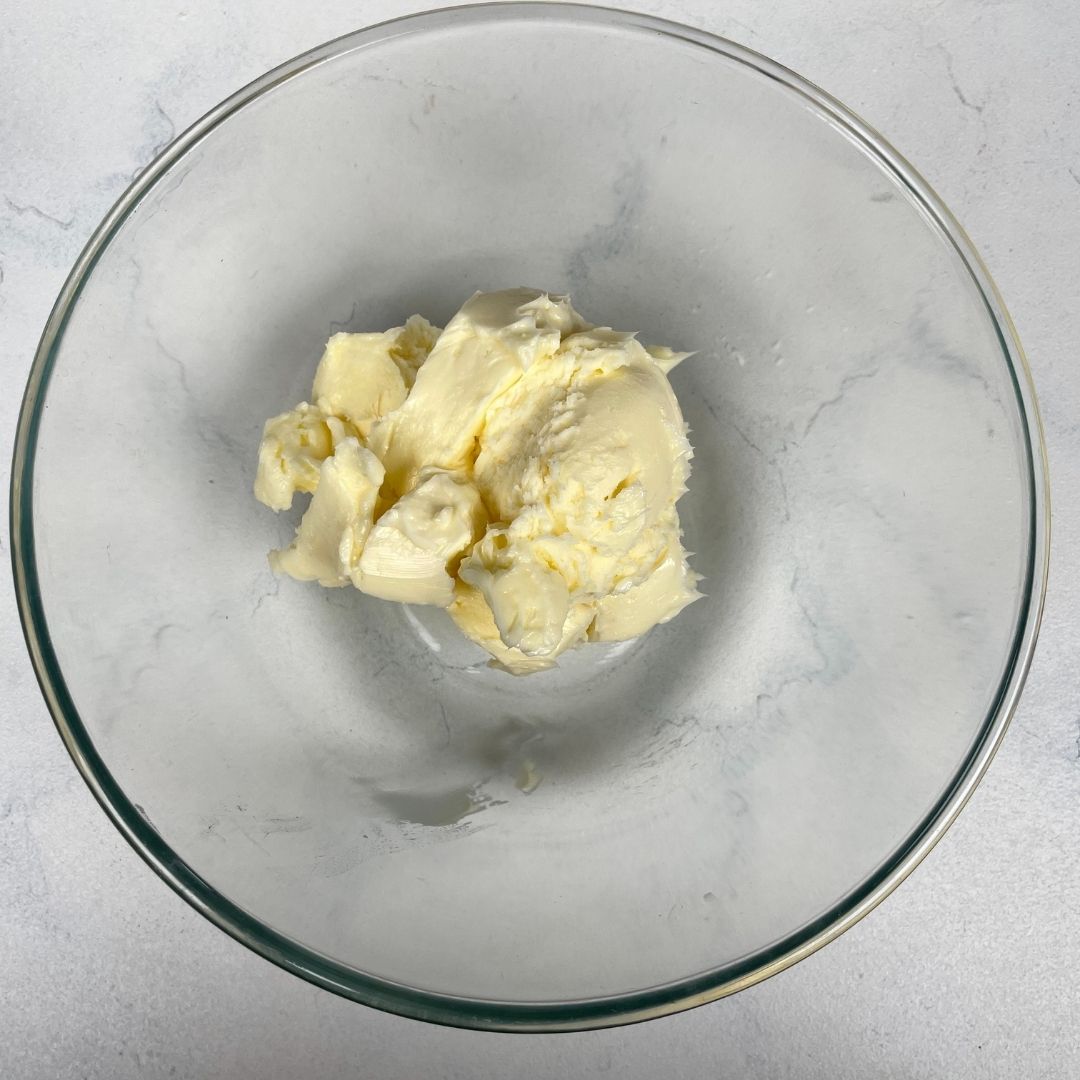
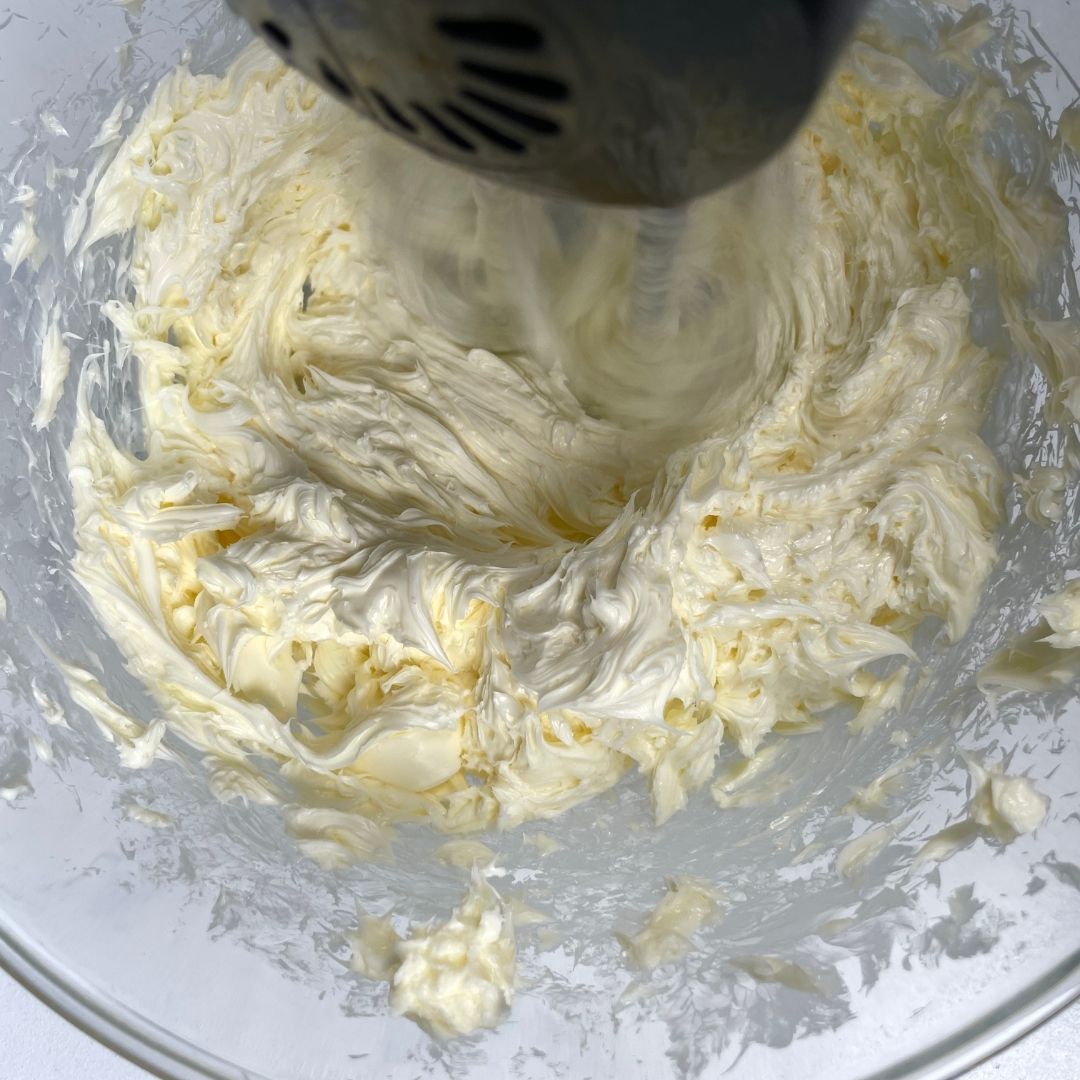
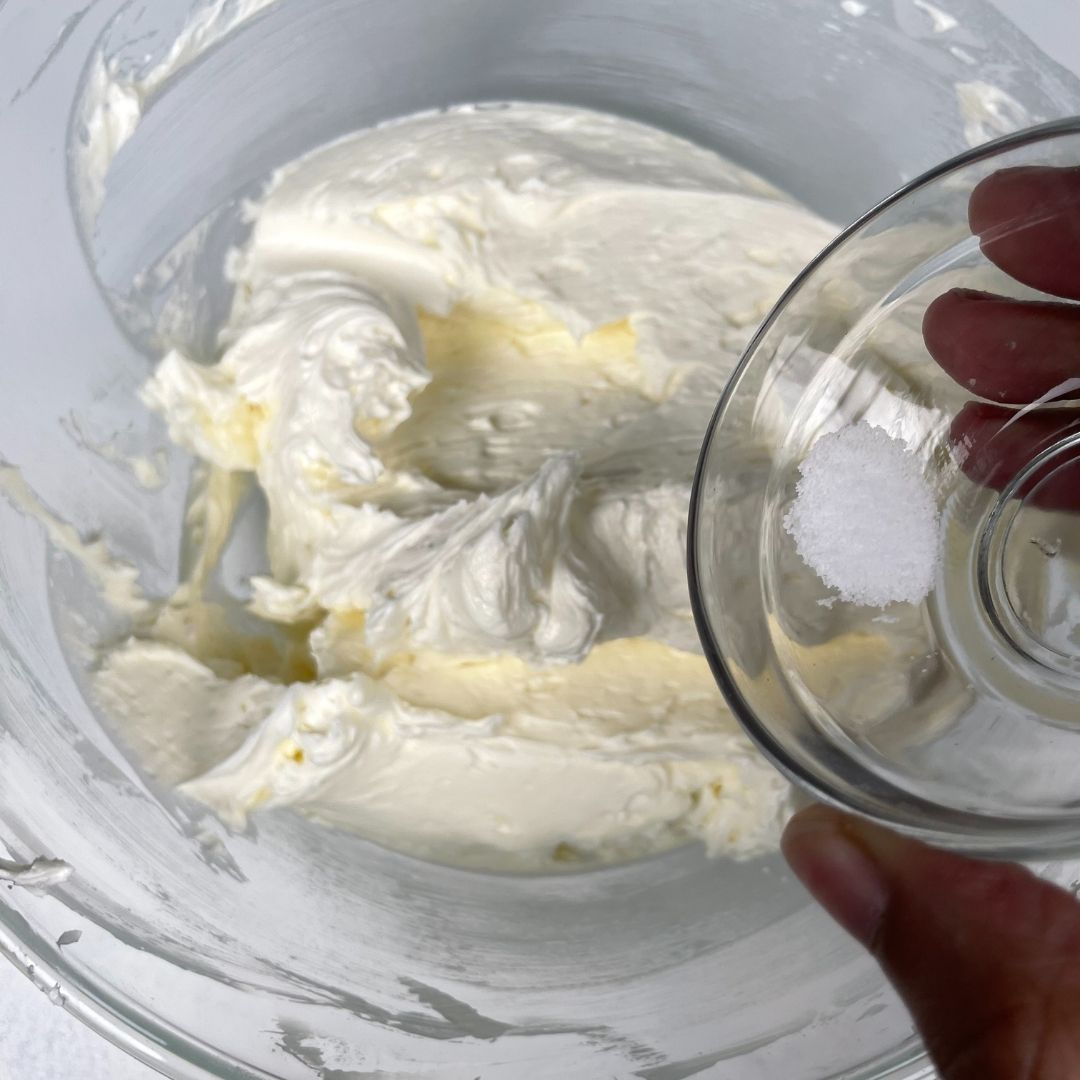
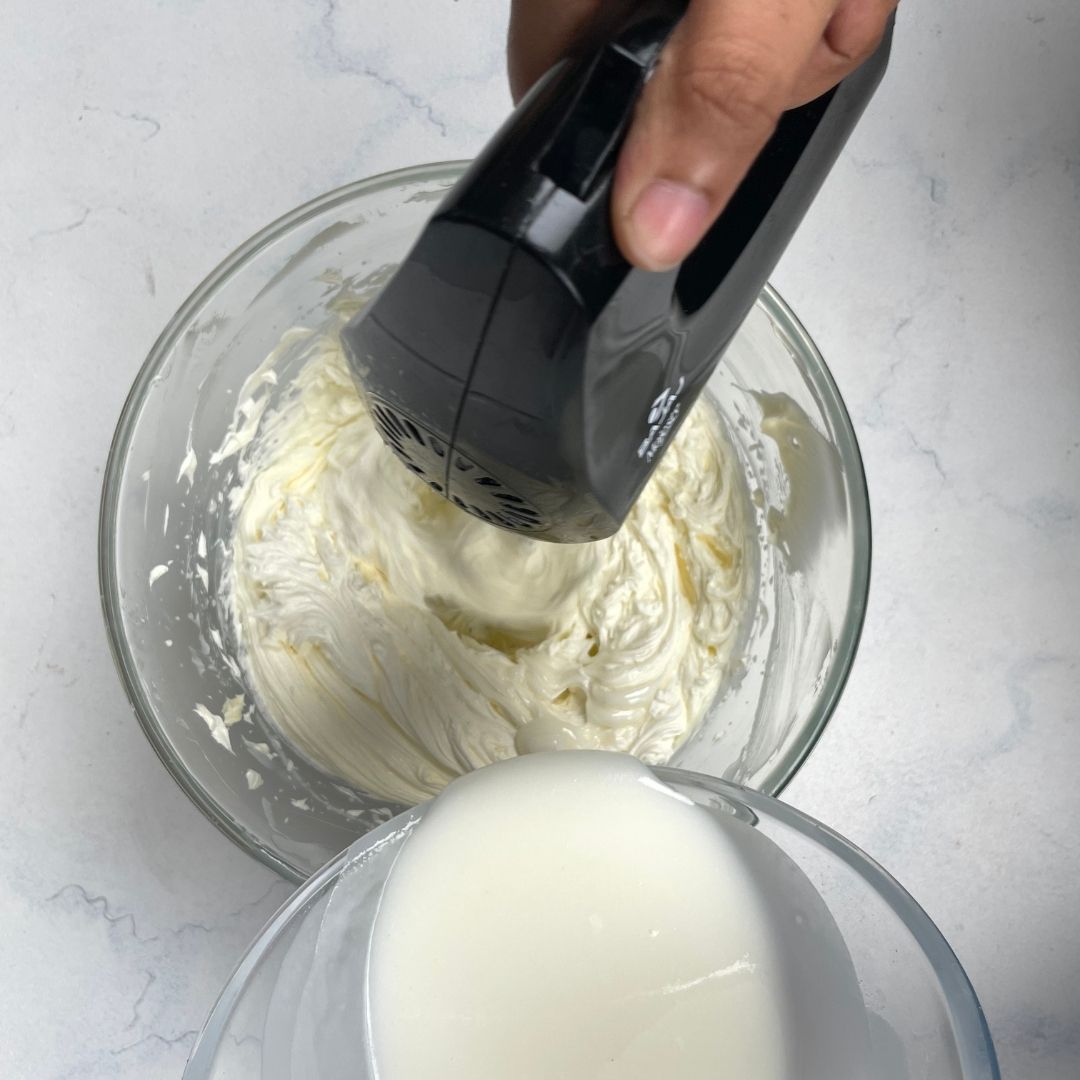
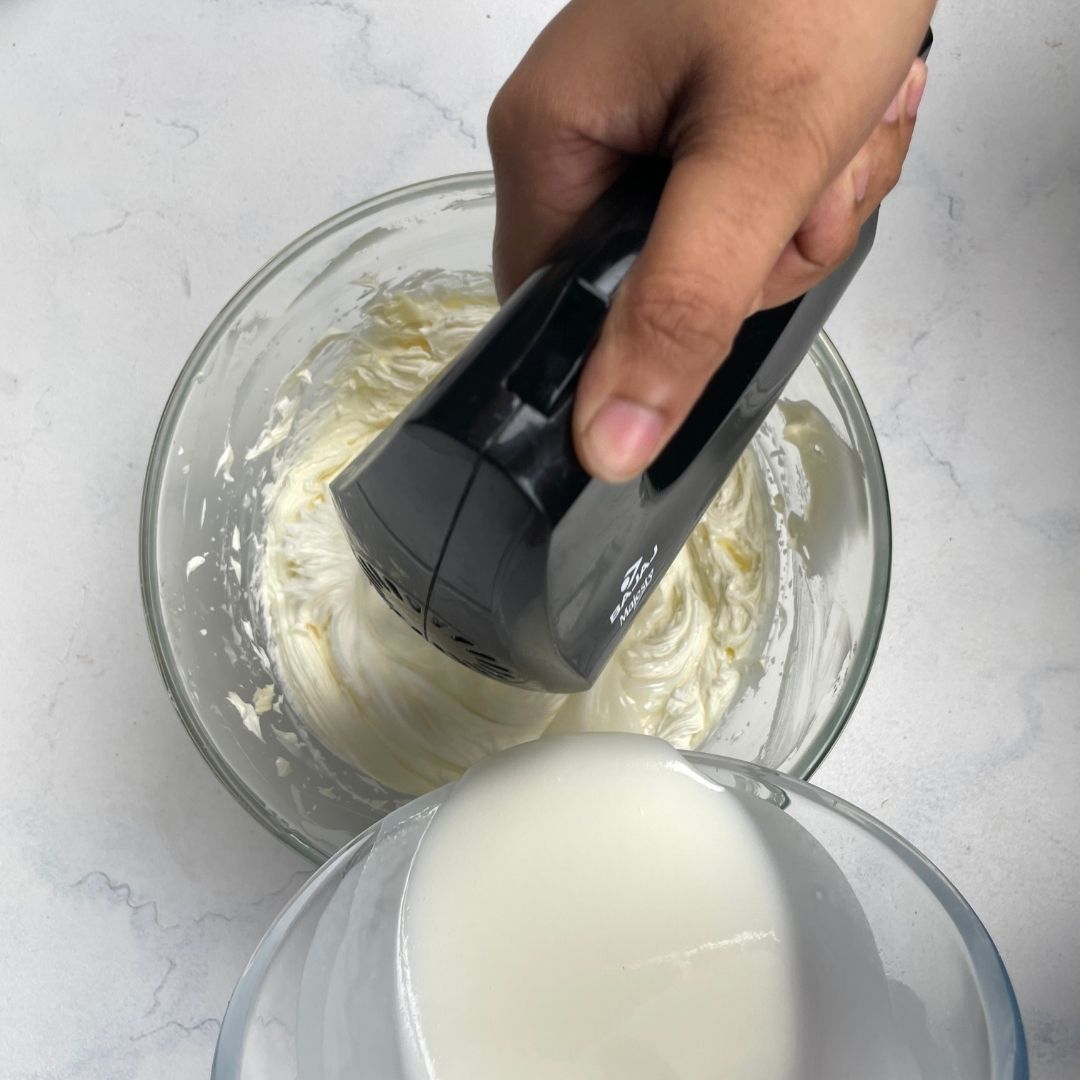
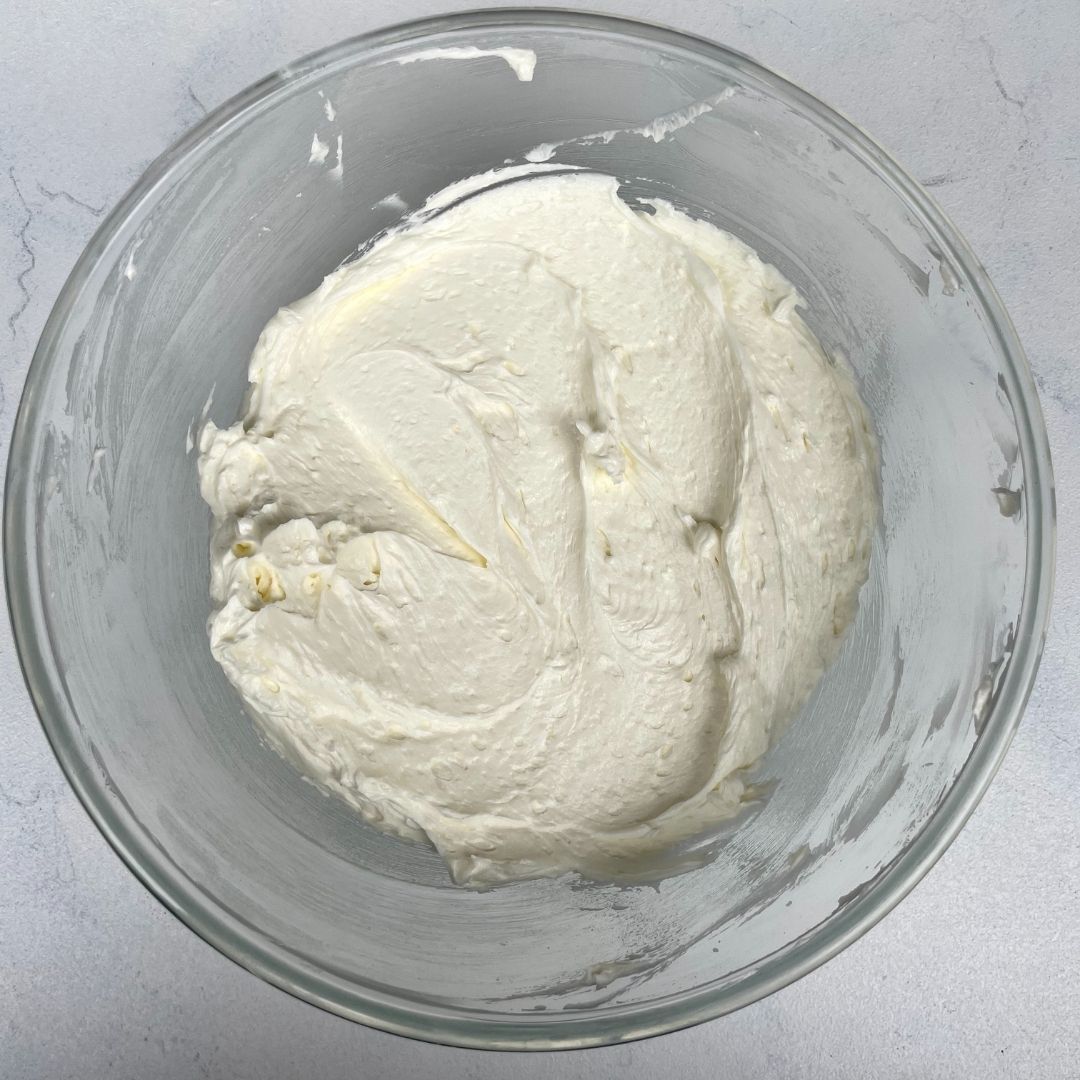
Beat Butter: Start beating the softened unsalted butter in a large mixing bowl using an electric hand beater. Add salt to it and continue beating until you get a light and fluffy texture.
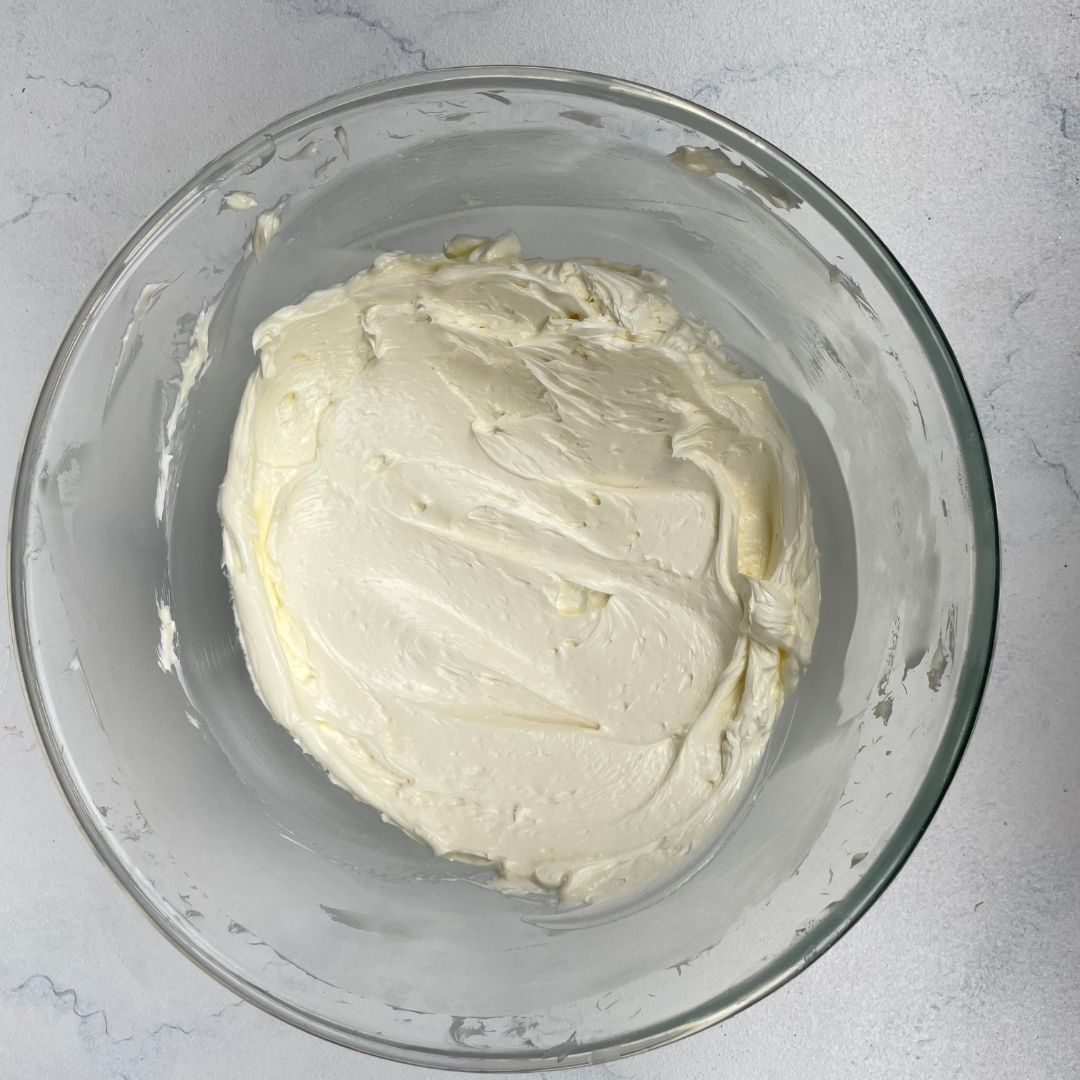
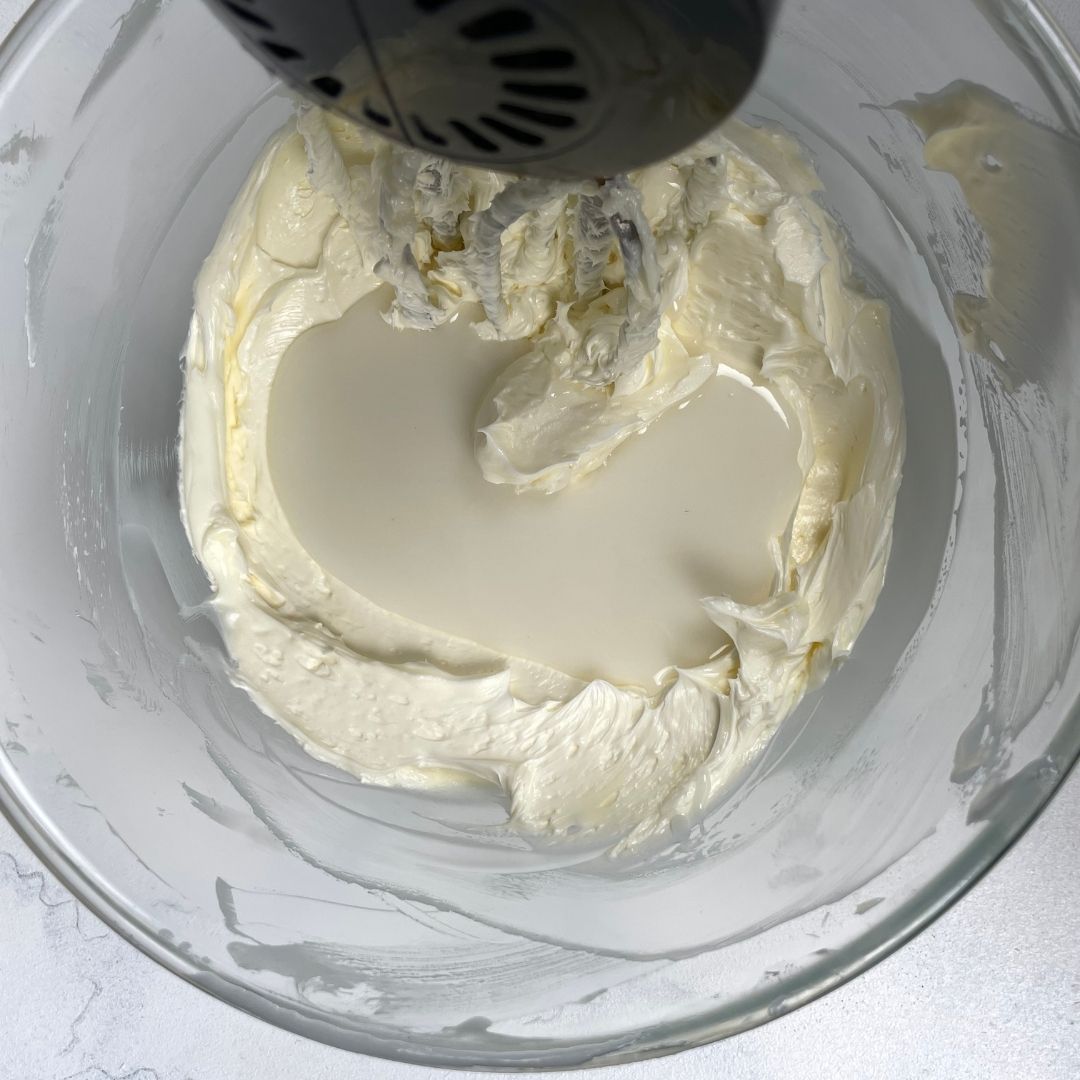
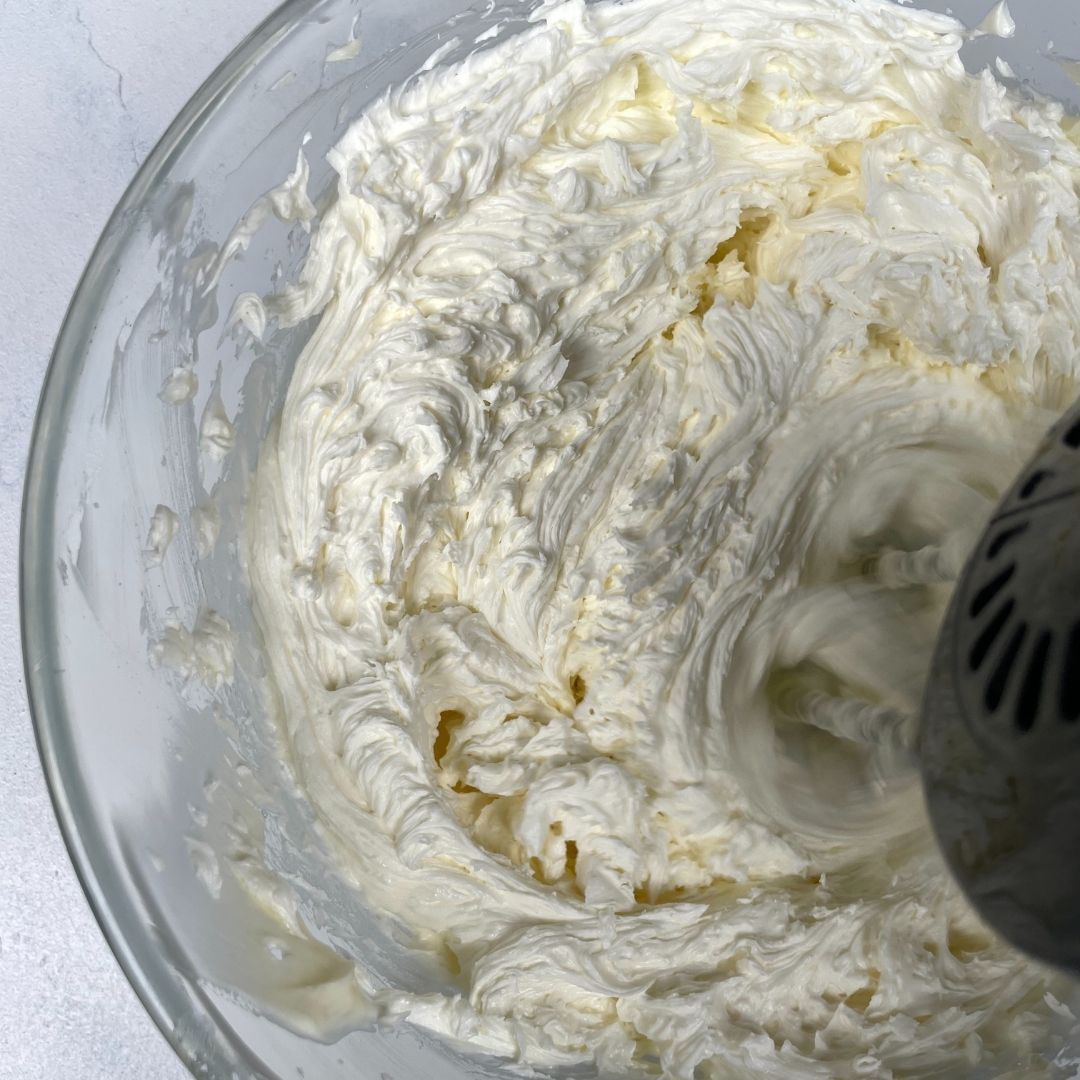
Add Milk Mixture to Butter: Now add the milk-sugar mixture to the beaten butter in batches. Combine everything well to get a smooth buttercream.
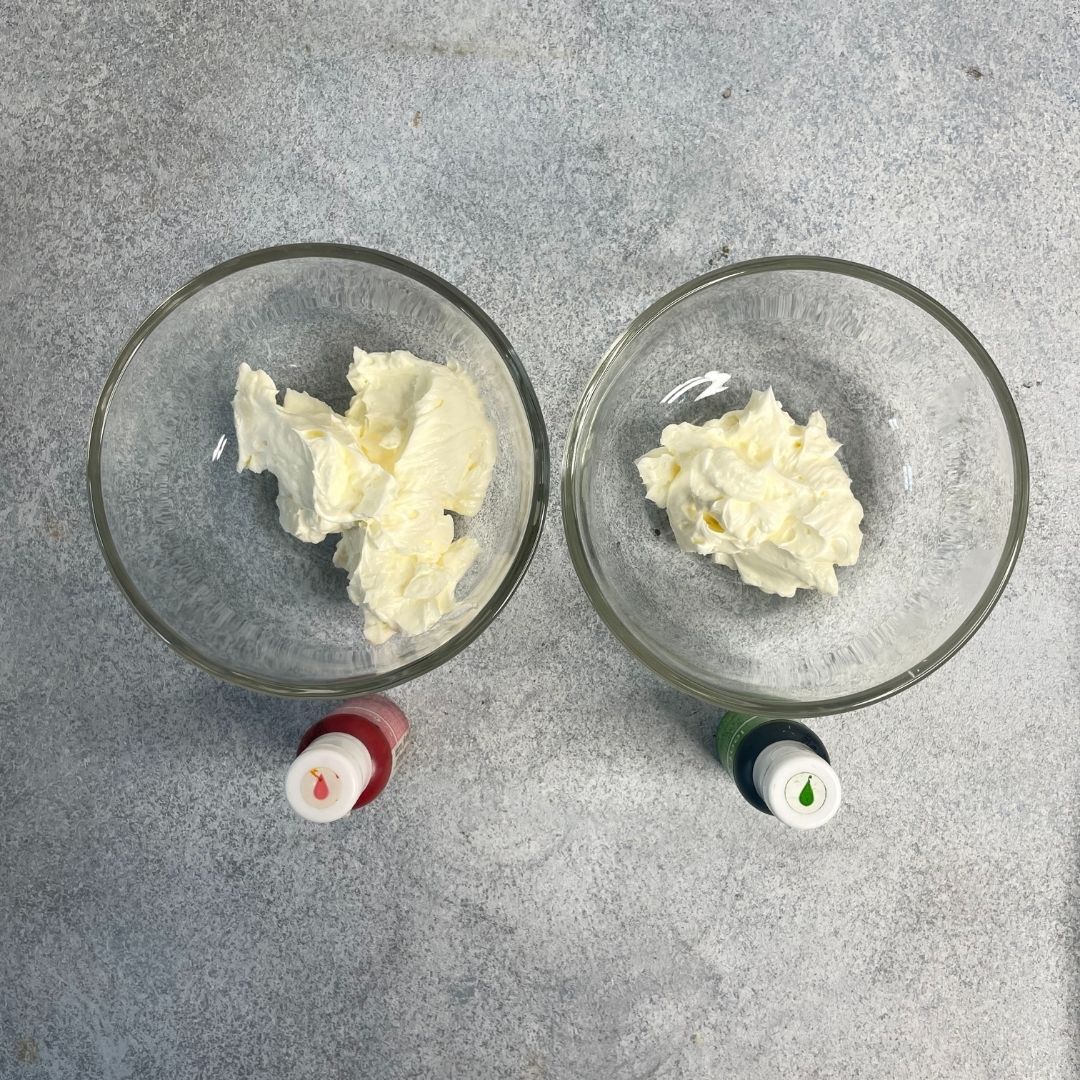
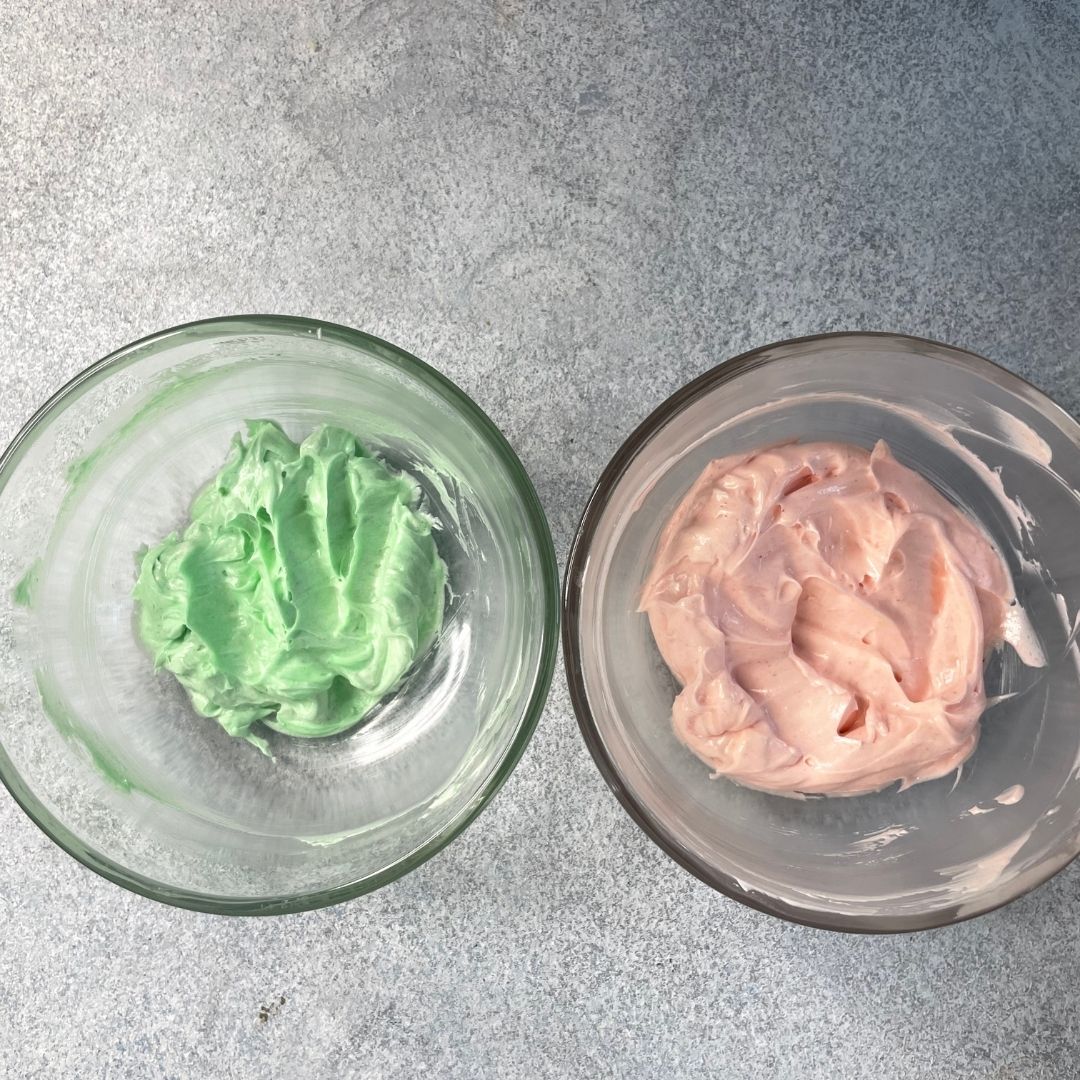
Add Color: Take 40 g of buttercream in a separate bowl and add pink gel colour to it. Mix it to make the buttercream pink coloured. In a new bowl, take 30 g of plain buttercream and colour it green.
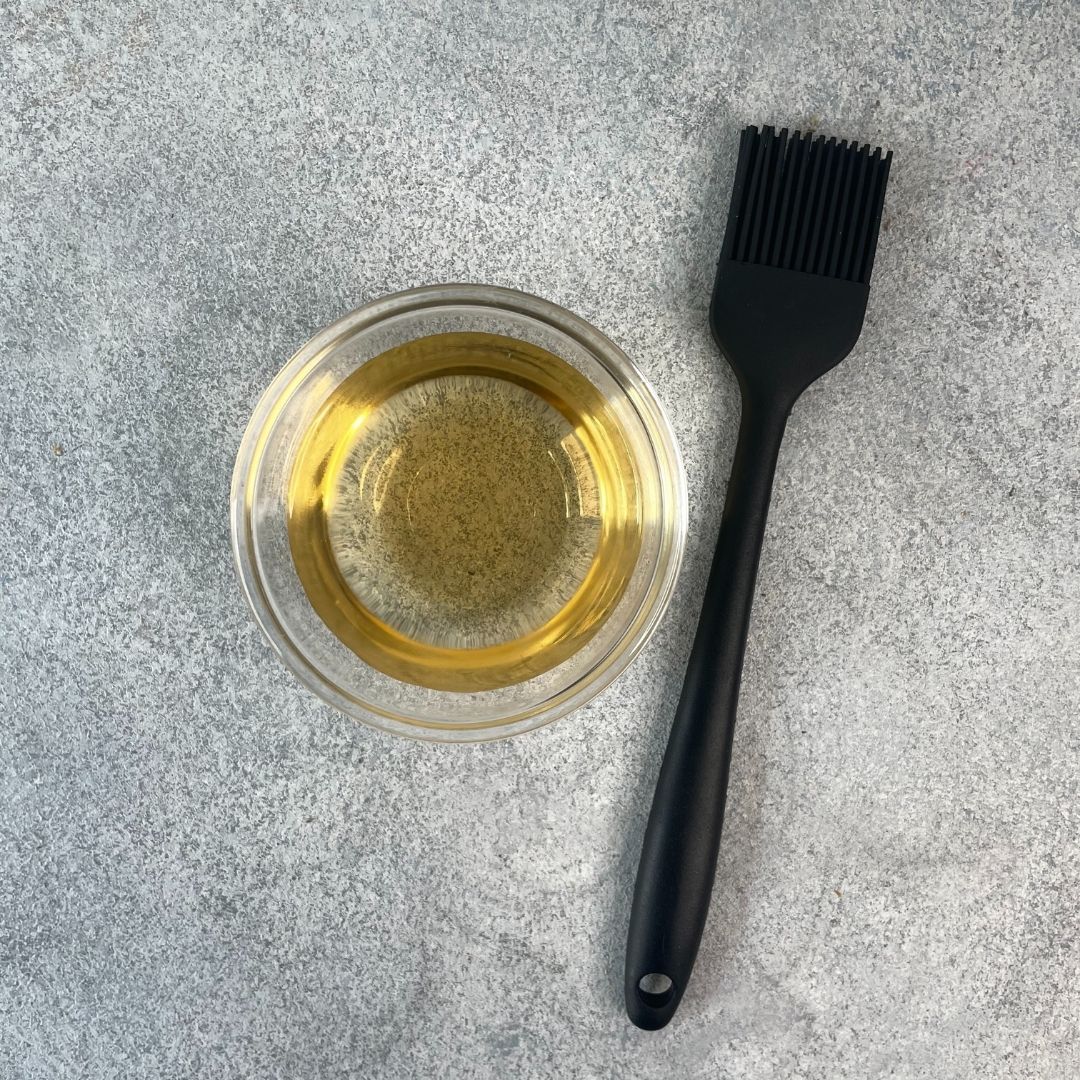
Method For Soaking Syrup
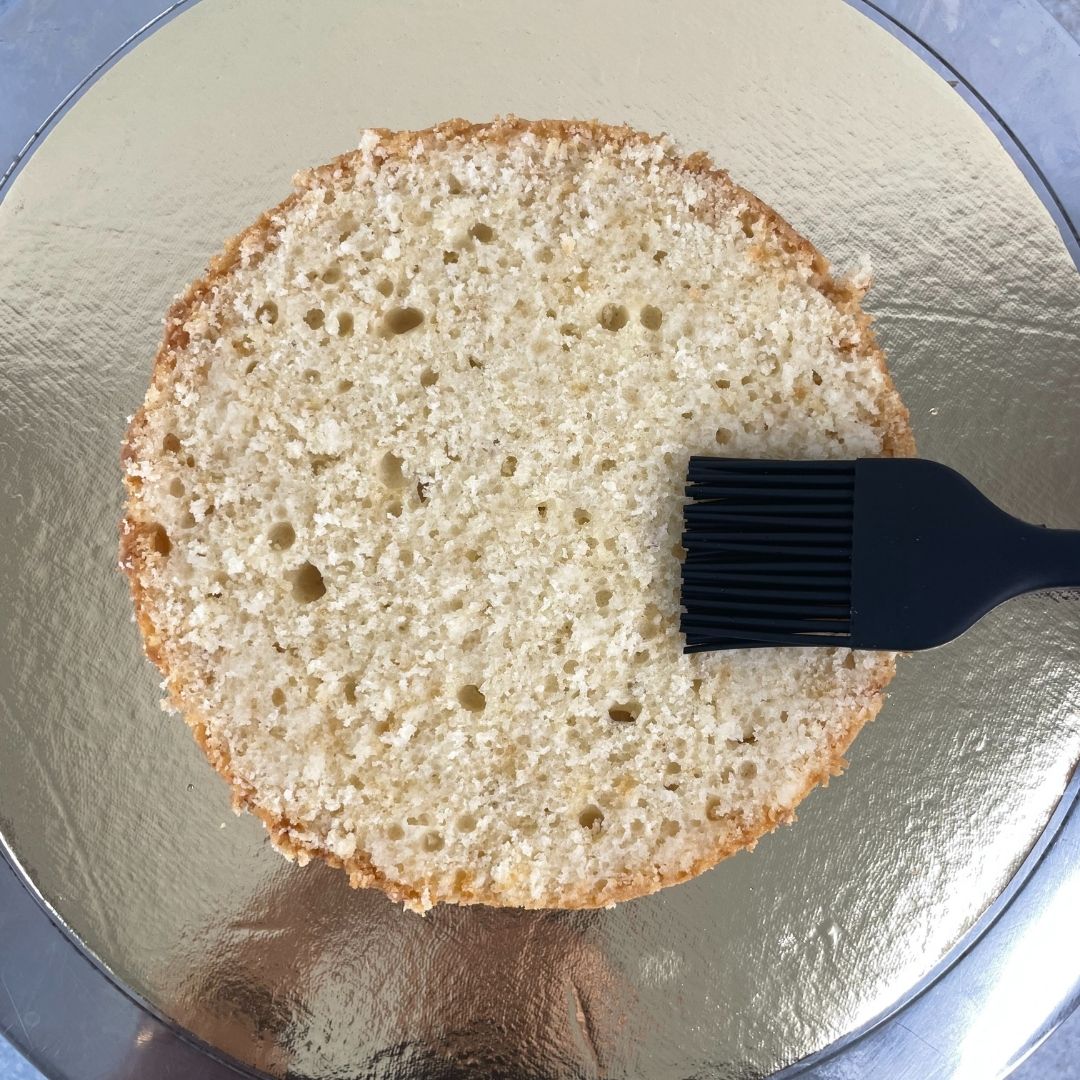
Add vanilla essence to the water and mix.
Method for Assembly
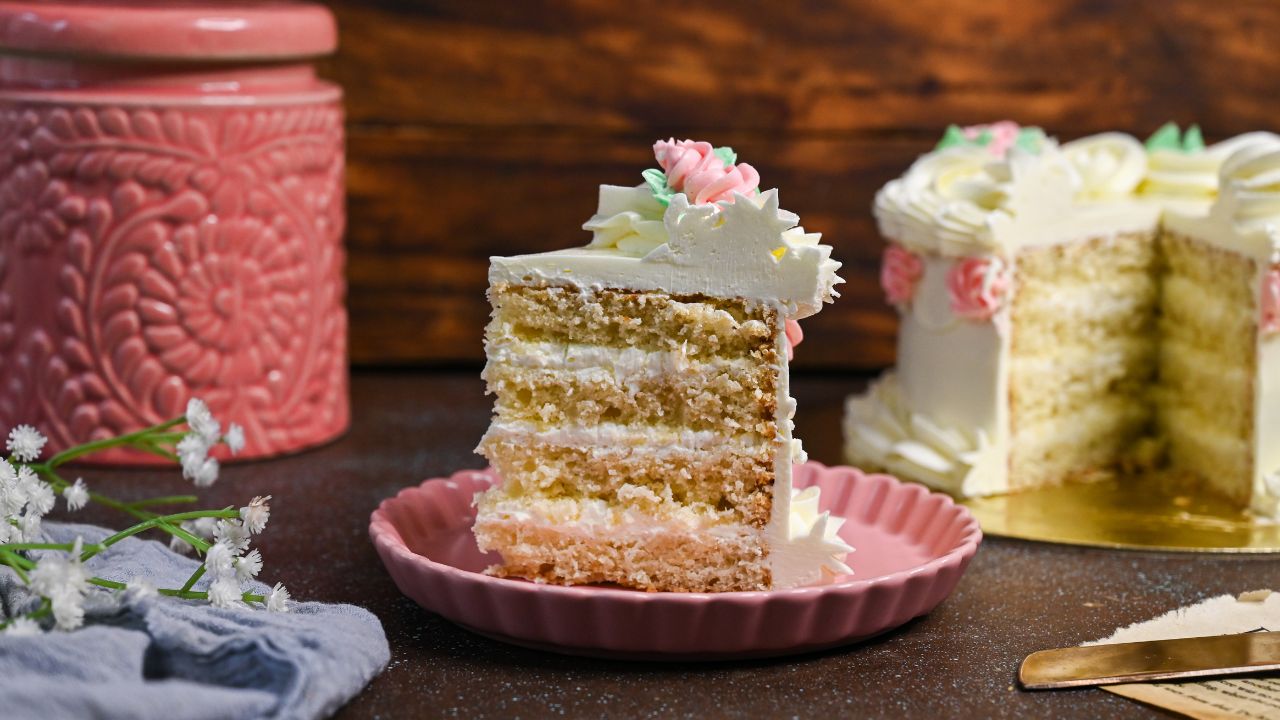
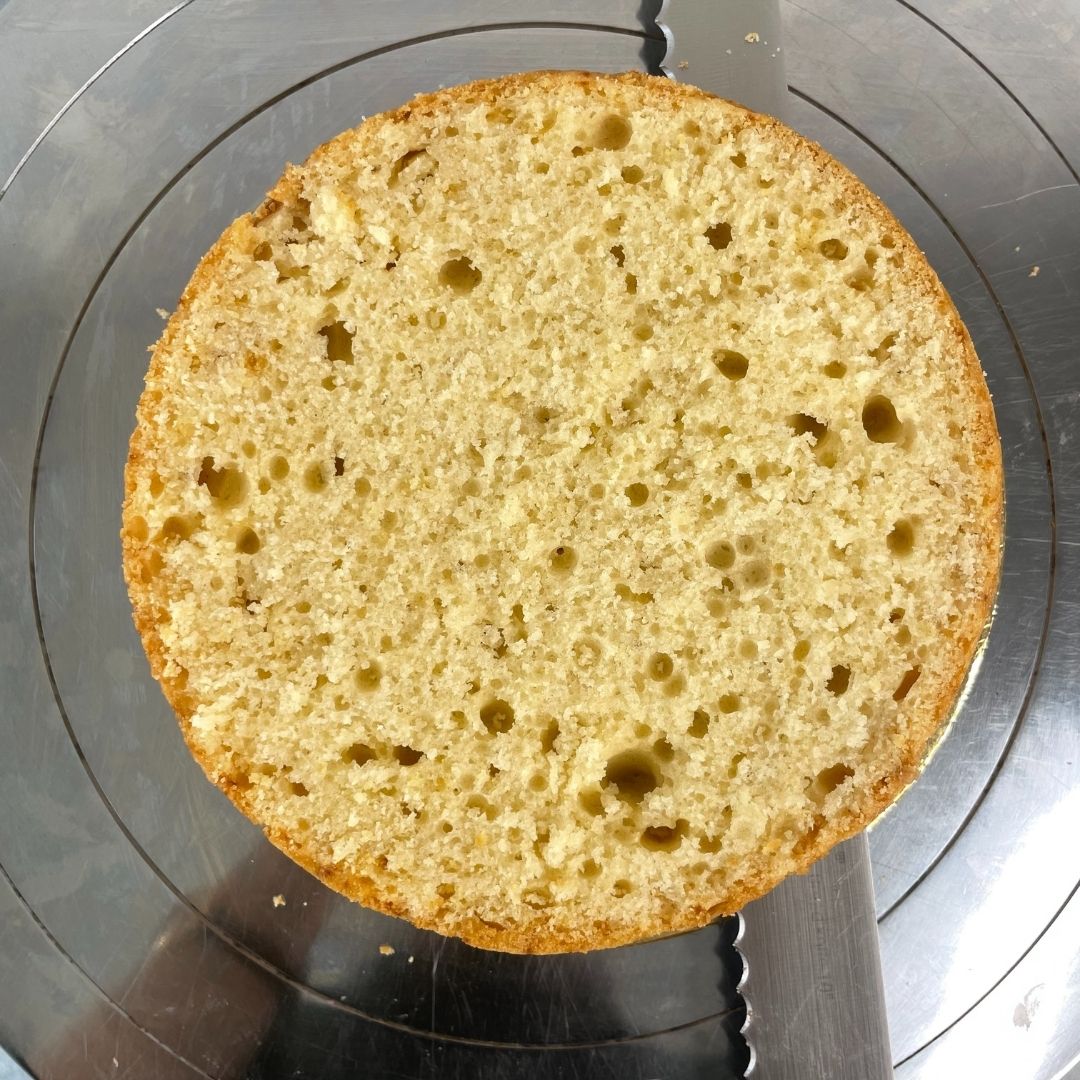
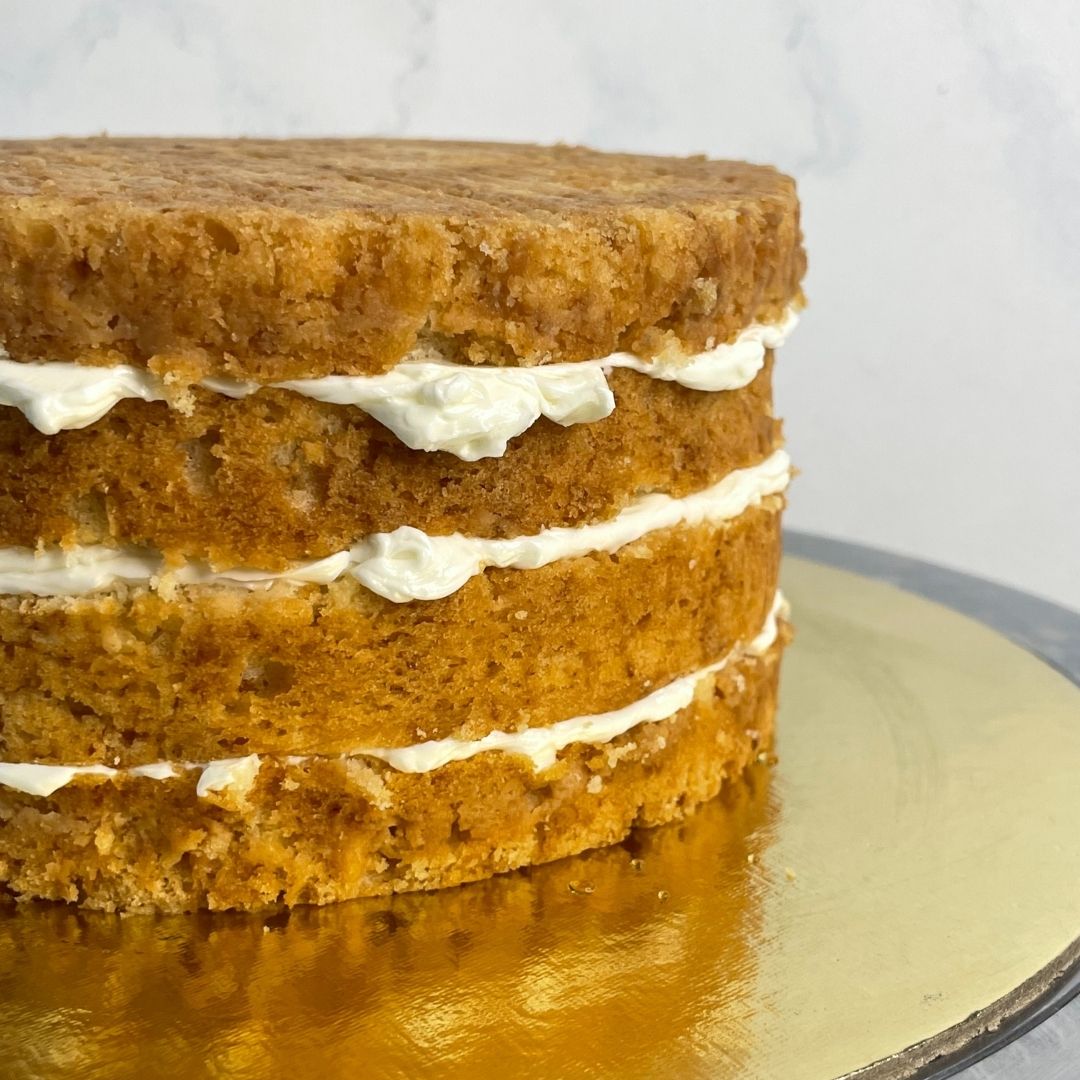
Prepare Sponge Layers: Once the cakes have cooled down, demould them and trim off their domes to have an even top. Now cut each cake into two equal parts so that you have 4 sponge layers. You can use a cake leveller or serrated knife for this.
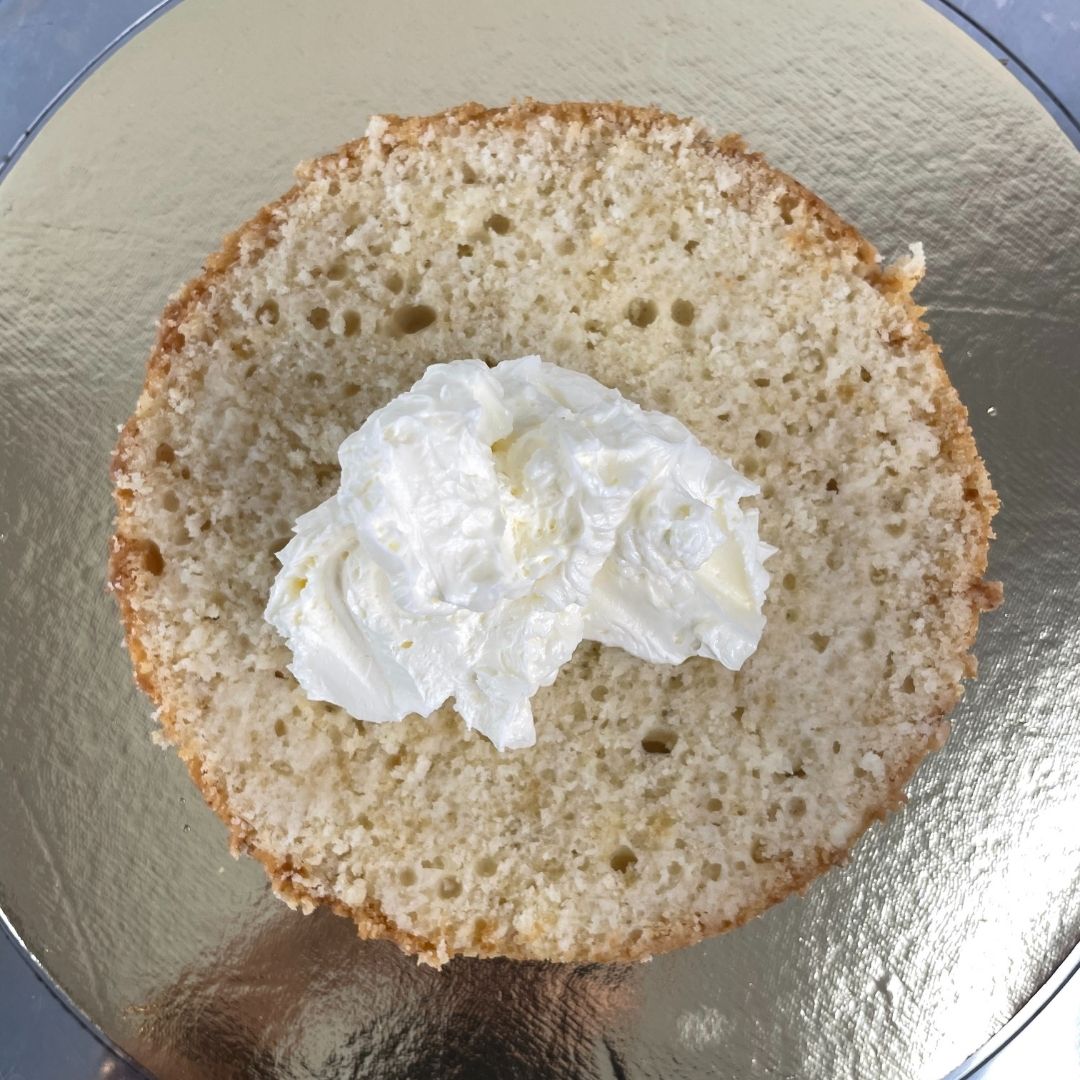
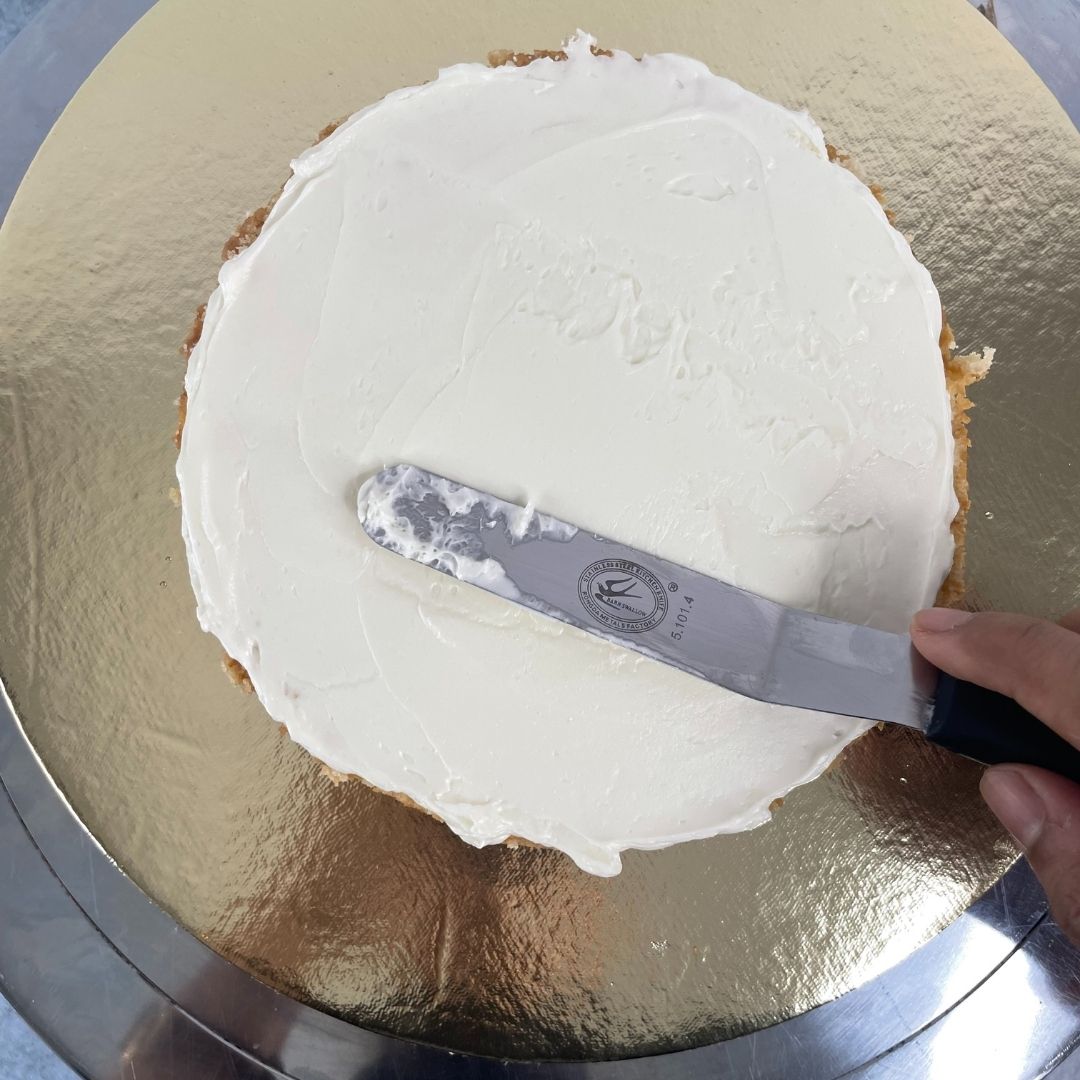
Assemble First Layer: Place one cake layer on a cake board with a bit of buttercream on the centre of the board. Soak the sponge with soaking syrup and spread buttercream on it. Use a palette knife to give an even layer.
Add Second Layer: Now place the second sponge layer over the first and repeat the same process.
Stack All Four Layers: Continue assembling the cake until you get all four sponge layers stacked.
Crumb Coat: After the fourth layer has been placed, crumb coat the entire cake with buttercream and put it in the refrigerator for 20-30 minutes or until the buttercream sets.
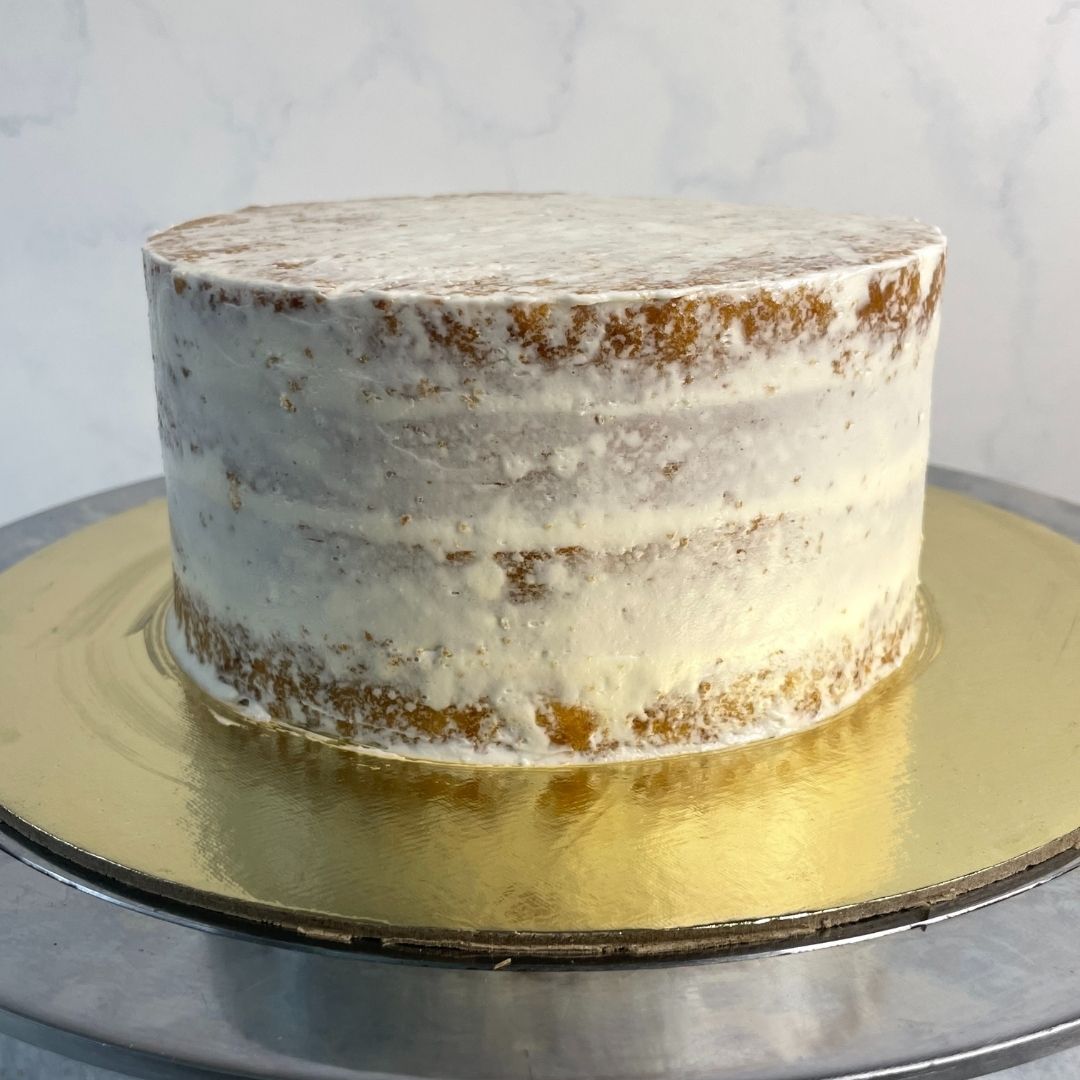
Final Coating: Once the crumb coating is set, add more buttercream and give a final coating to the cake. Keep it in the refrigerator for 10-15 minutes.
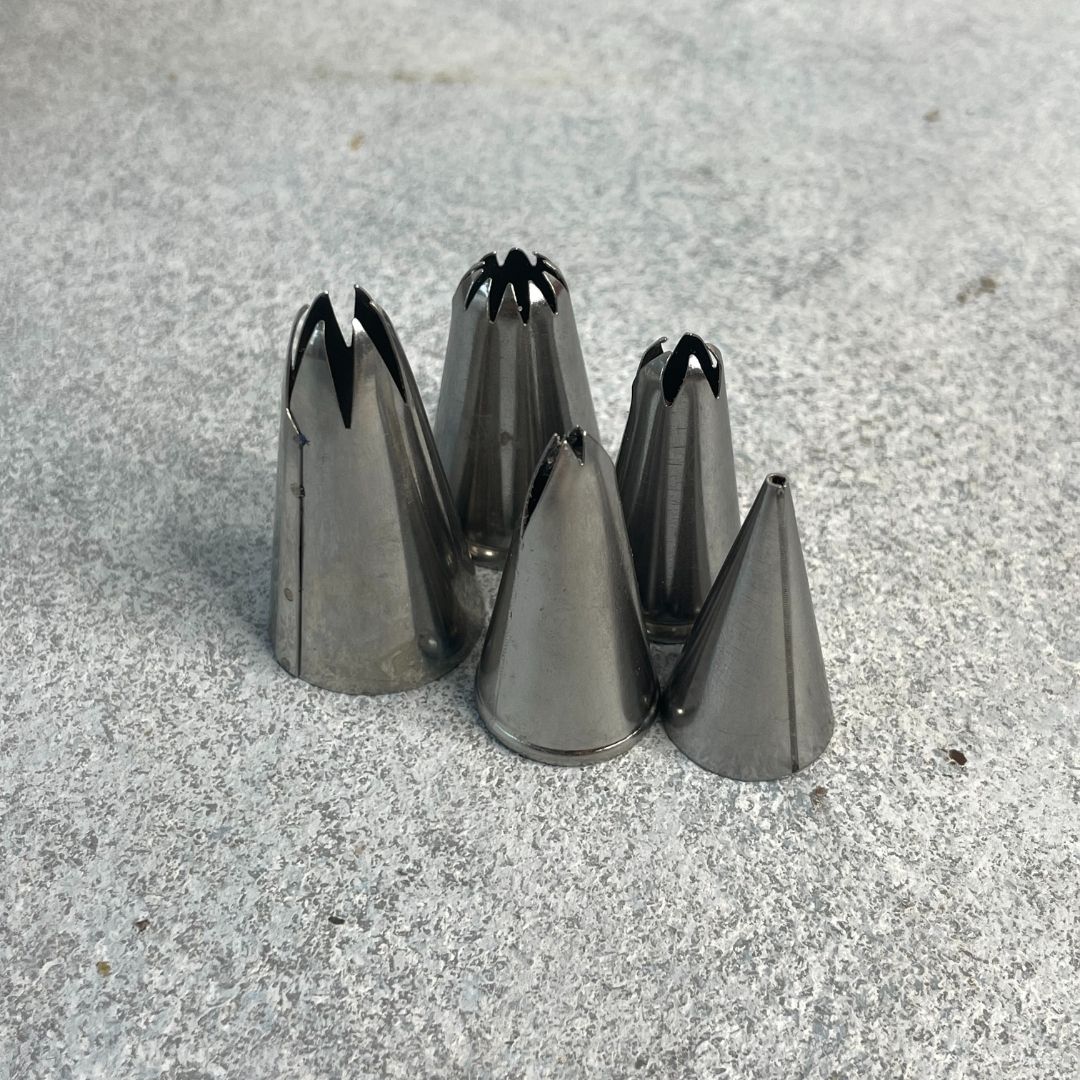
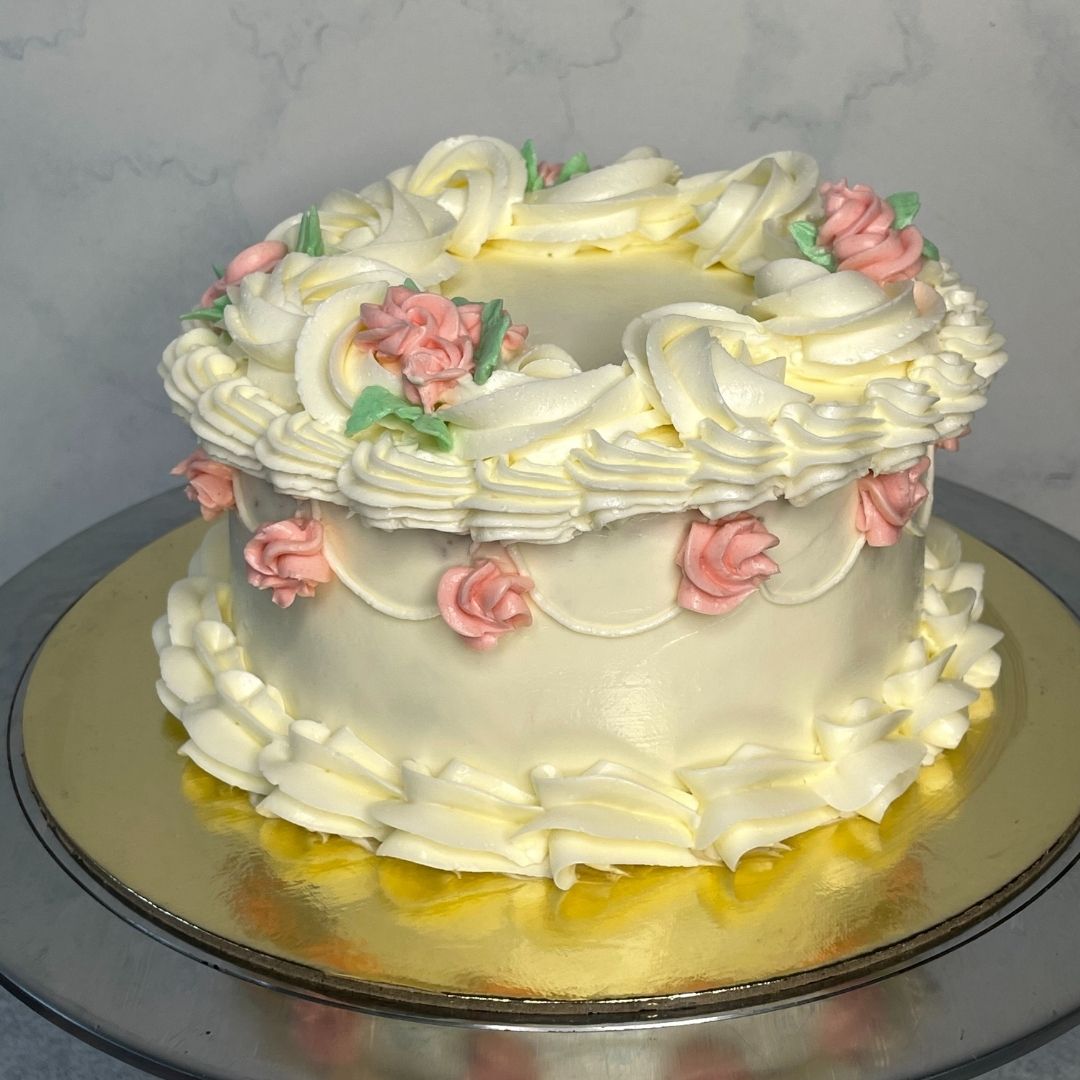
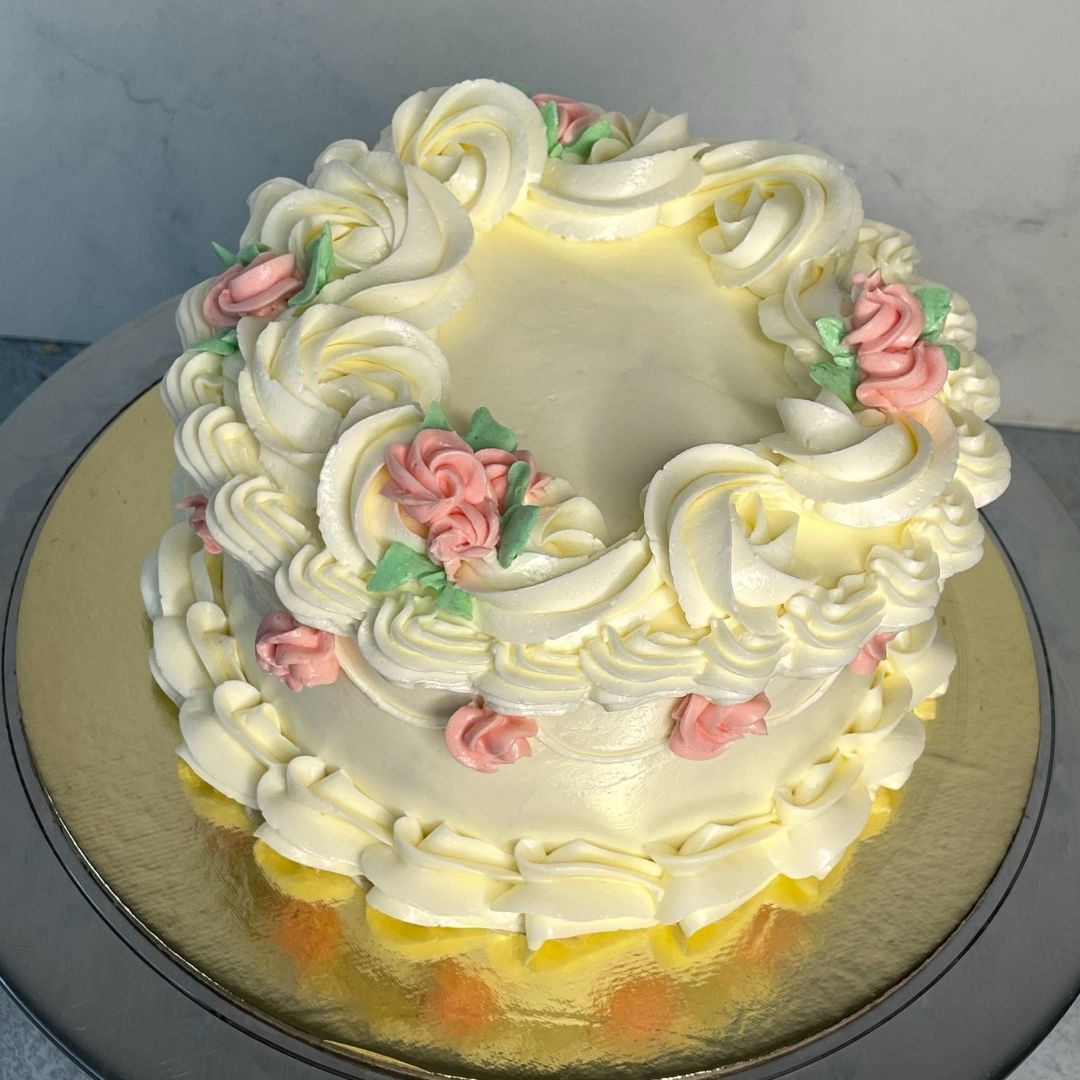
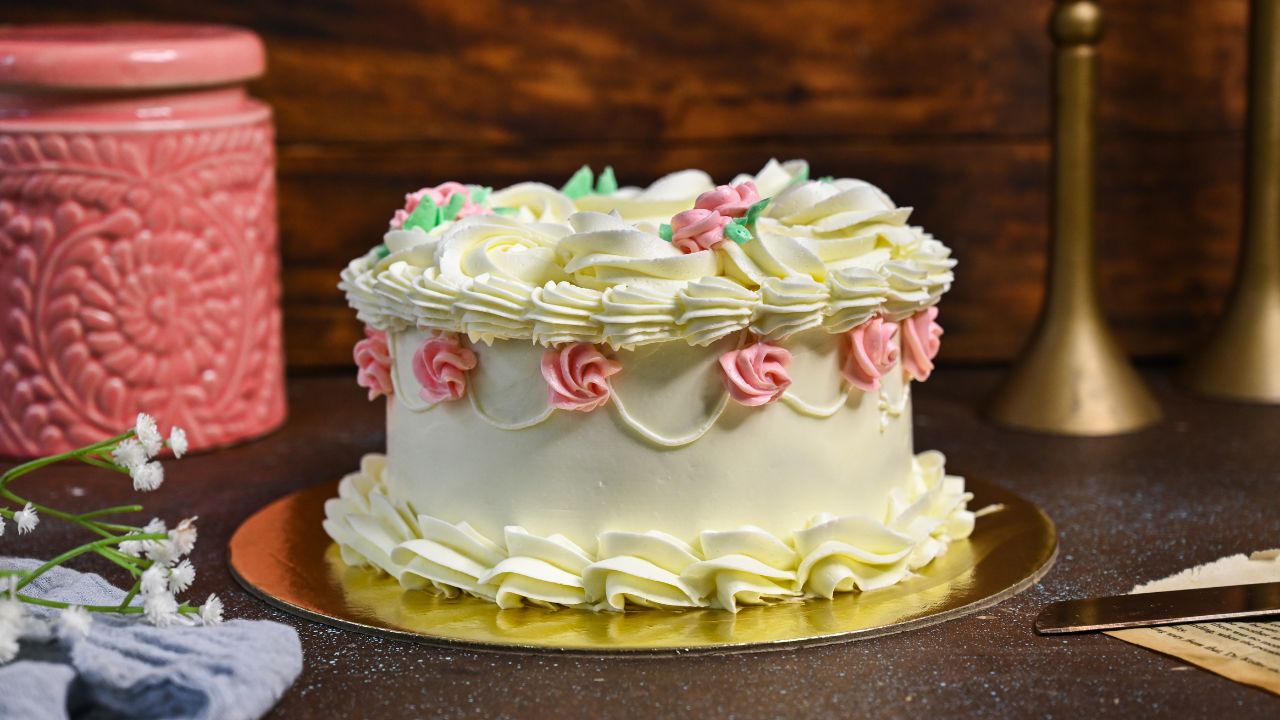
Decoration: Transfer the remaining white frosting to three piping bags fitted with 1M, open star and small round nozzles. Add the green-colored buttercream to the piping bag with a leaf nozzle and the pink-colored buttercream to the piping bag fitted with a small, closed star nozzle.

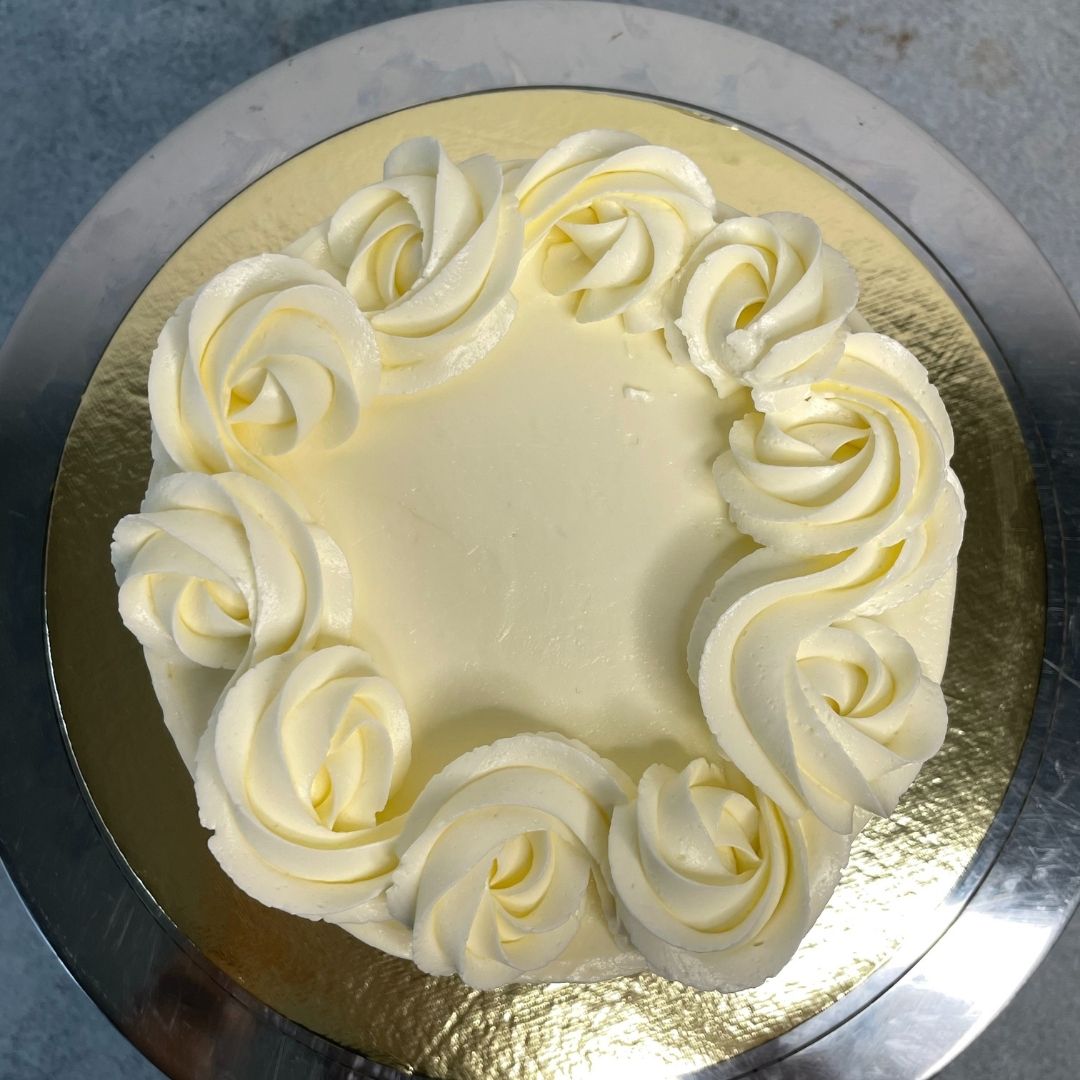
To make the designs, start with shell border at the bottom edge using 1M nozzle plain buttercream. Make another shell border on top side edge using plain buttercream with open star nozzle. On top edge, do inverse shell border using plain buttercream with 1M nozzle. Below the side shell border, make pink rosettes at equal distance. Connect the rosettes with drop border using round nozzle. Finally, make some rosettes on top of the inverse shell border in clusters along with some green leaves.
Chef’s Tips For The Recipe
Even Out Sponge Layers
While assembling a cake, it is crucial that the sponge layers are even and don’t have any bumps on top or from the sides. Even layers will ensure proper stacking of the cake and eliminate chances of topsy or bent cake.
Tip For Decoration
The design presented for the cake is purely subjective. You may decorate the cake as per your choice and requirements.
How To Store Eggless Vanilla Cake
Assembled cake must be stored in the refrigerator. If the cake has been cut and eaten, any leftover pieces should be kept in an airtight box in the refrigerator and consumed within three days.
Talking about only sponge cakes, you may bake and store the sponges by cling-wrapping them and keeping them in the refrigerator for a week or in the freezer for a month.
Buttercream can be stored in the refrigerator for up to a week.
More Easy Recipes
I’m sure you will love these eggless cake recipes and bake them for your loved ones for your next get-together.
Frequently Asked Questions
Yes, you can add any gel-based colour to the sponge if it is required.
You can put any flavoured essence in the sponge, soaking syrup and buttercream.
Soaking is an integral part of assembling a cake. Too much soaking will leave the cake wet, and less of it will make it dry. You need to be precise and optimal with soaking. To check, just press the sponge lightly; if you feel that the sponge is wet, then you may stop the soaking. If your finger does not get wet after pressing the sponge, then it needs more soaking.