
There’s something satisfying and enjoyable when we think about chocolate cakes. With its rich, velvety and deep chocolate flavour, chocolate cake is loved by many.
But what if I tell you you can make the perfect chocolate cake without eggs? It is the perfect cake for those who do not consume eggs due to dietary restrictions, religious factors or personal choice.
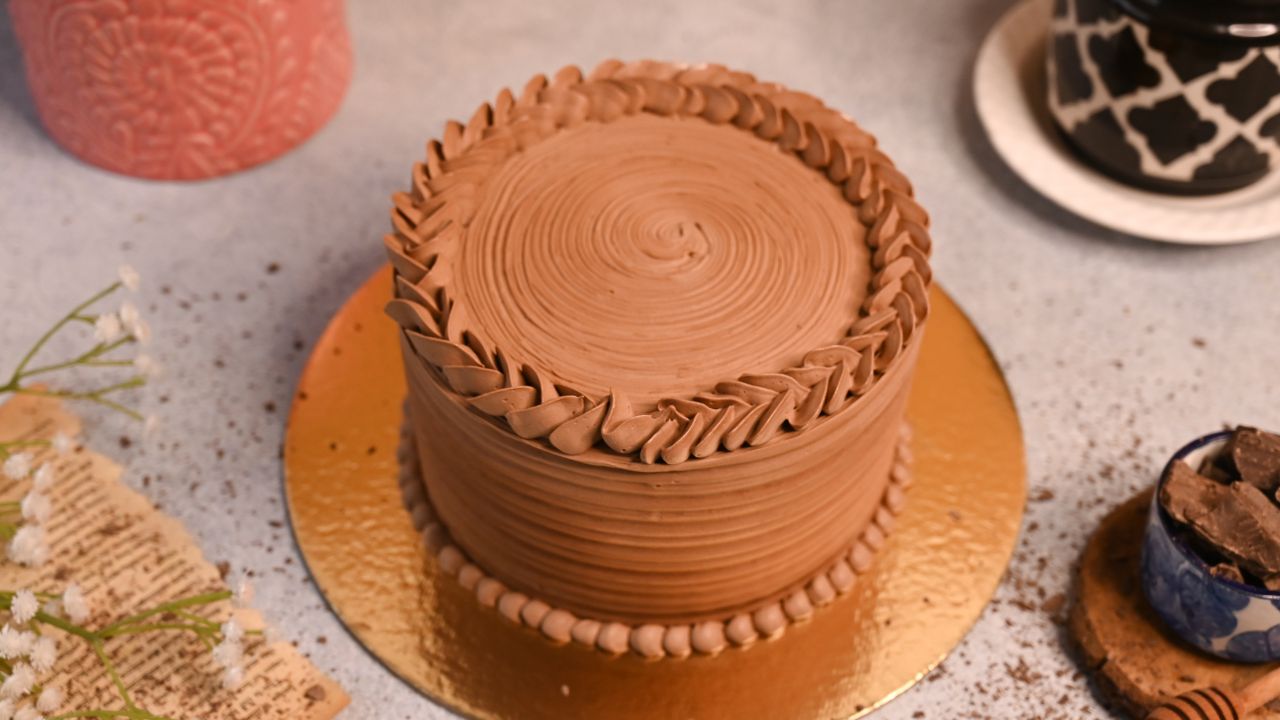
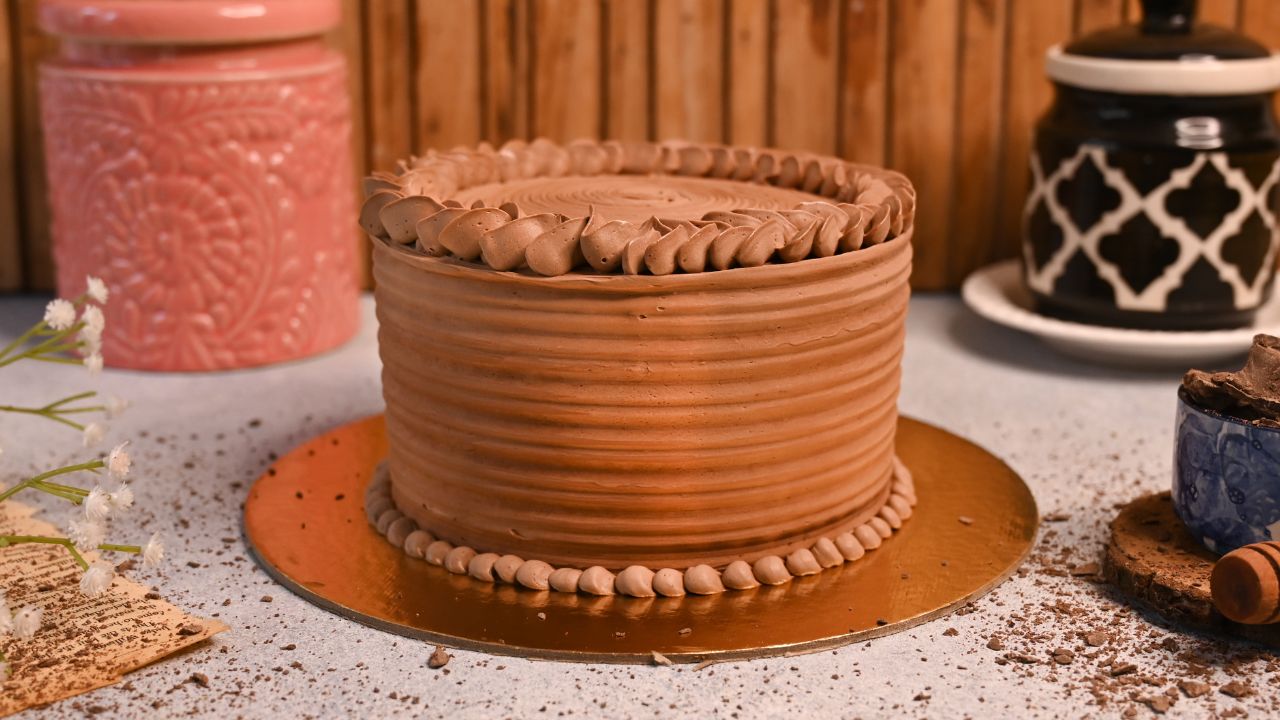
This eggless chocolate cake not only tastes amazing but looks beautiful as well.
It has a ganache filling and is frosted with dark chocolate buttercream, giving the cake a melt-in-your-mouth texture. It has tender and dense crumbs that are bursting with chocolate flavour.
You won’t believe how easy and simple steps we need to make this beautiful and delicious cake. Whether you are a pro or noob at baking, you can make this eggless cake on your journey to become a successful baker.
In this blog post, I will tell you how to make this Eggless Chocolate Cake with simple and easy steps, along with some tips and tricks. And after having this cake, I am sure that this cake will be your new favourite chocolate cake recipe.
Why You Will Love This Recipe
- Flavor: This cake bursts with rich cocoa flavour. The chocolate flavor comes from three elements: chocolate sponge, ganache filling and chocolate buttercream, which gives the cake its rich buttery flavor.
- Texture: The texture of this cake can be described as tender, soft and moist.
- Visually appealing: The way I decorated this cake makes it visually appealing. And all I can say is that making this cake is so worth it.
- Crowd pleaser: chocolate cake can never go out of style. I can be presented on any occasion or festivities, and everyone will love it, making it perfect for crowds.
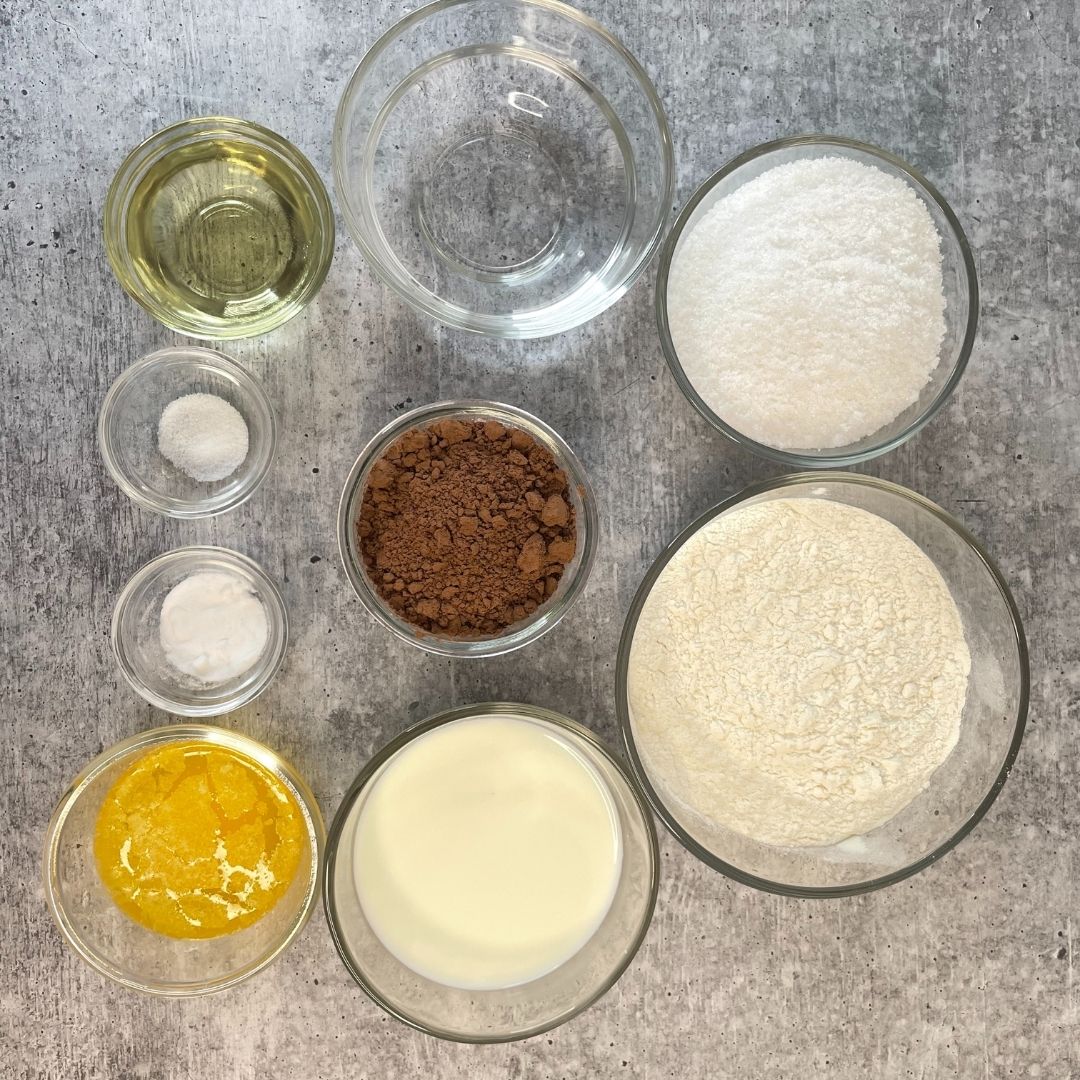
Important Ingredients Used in the Recipe
- All-purpose flour: All-purpose flour is the base of the cake that provides structure. You can also try using whole wheat flour to make the cake healthier.
- Cocoa powder: Natural cocoa powder has been used to make the sponge for this recipe. It gives the sponge its deep cocoa flavour and deep brown colour. You can try using Dutch cocoa powder as well.
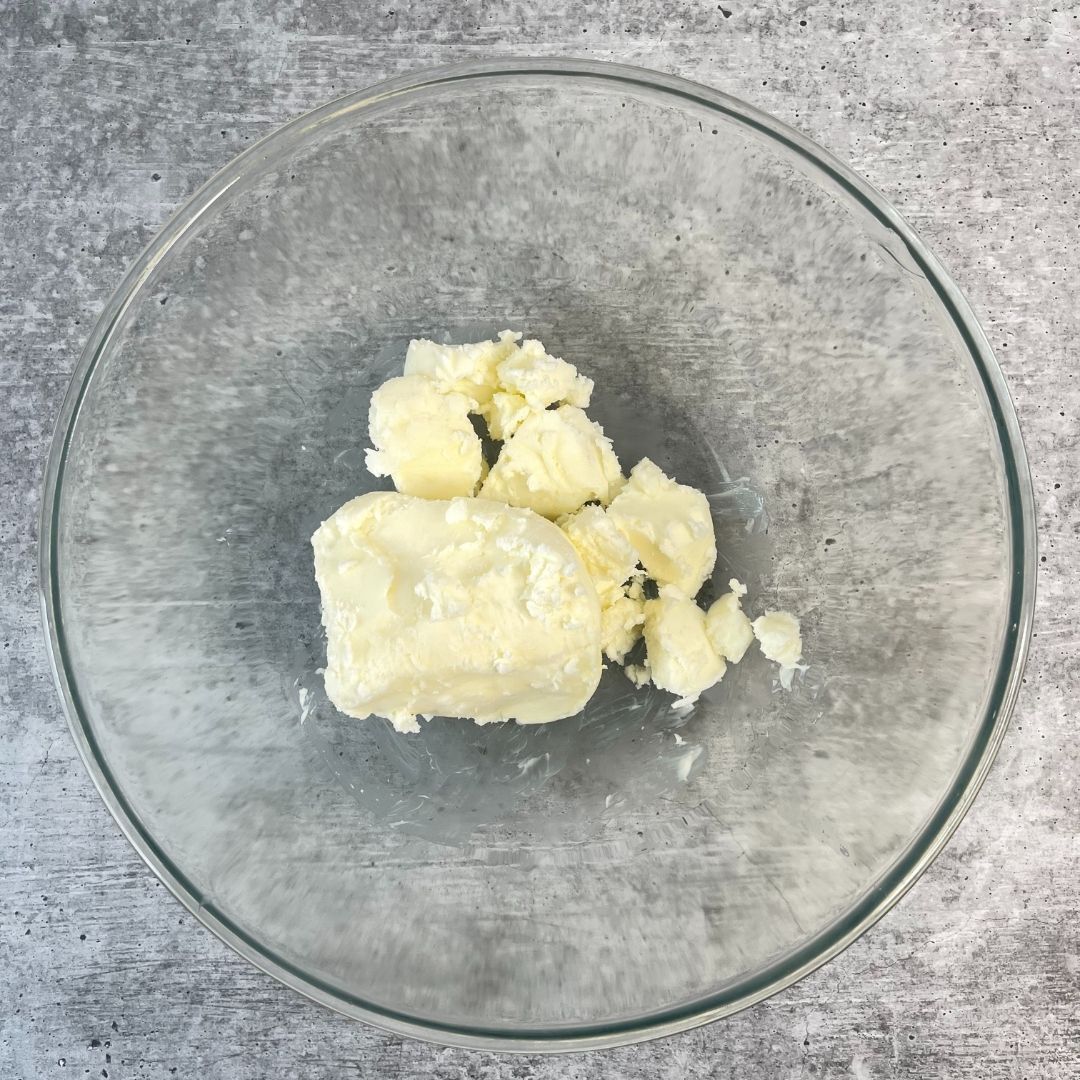
- Fat: I used oil and melted butter to make the sponge. Oil makes the crumb softer, while butter gives the sponge a rich buttery flavour. Also, unsalted butter has been used to make chocolate buttercream.
- Milk: Milk helps bind the ingredients and also retains moisture in the cake.
- Water: Adding water helps achieve the batter’s desired consistency for a moist and tender crumb.
- Sugar: Castor sugar is an essential ingredient that adds sweetness and balances out the bitterness of the cocoa powder.
- Dark couverture chocolate: I have used dark couverture chocolate to make the ganache filling and the buttercream.
- Fresh cream: Fresh cream is mixed with dark couverture chocolate to make the ganache filling.
How to Make Eggless Chocolate Cake
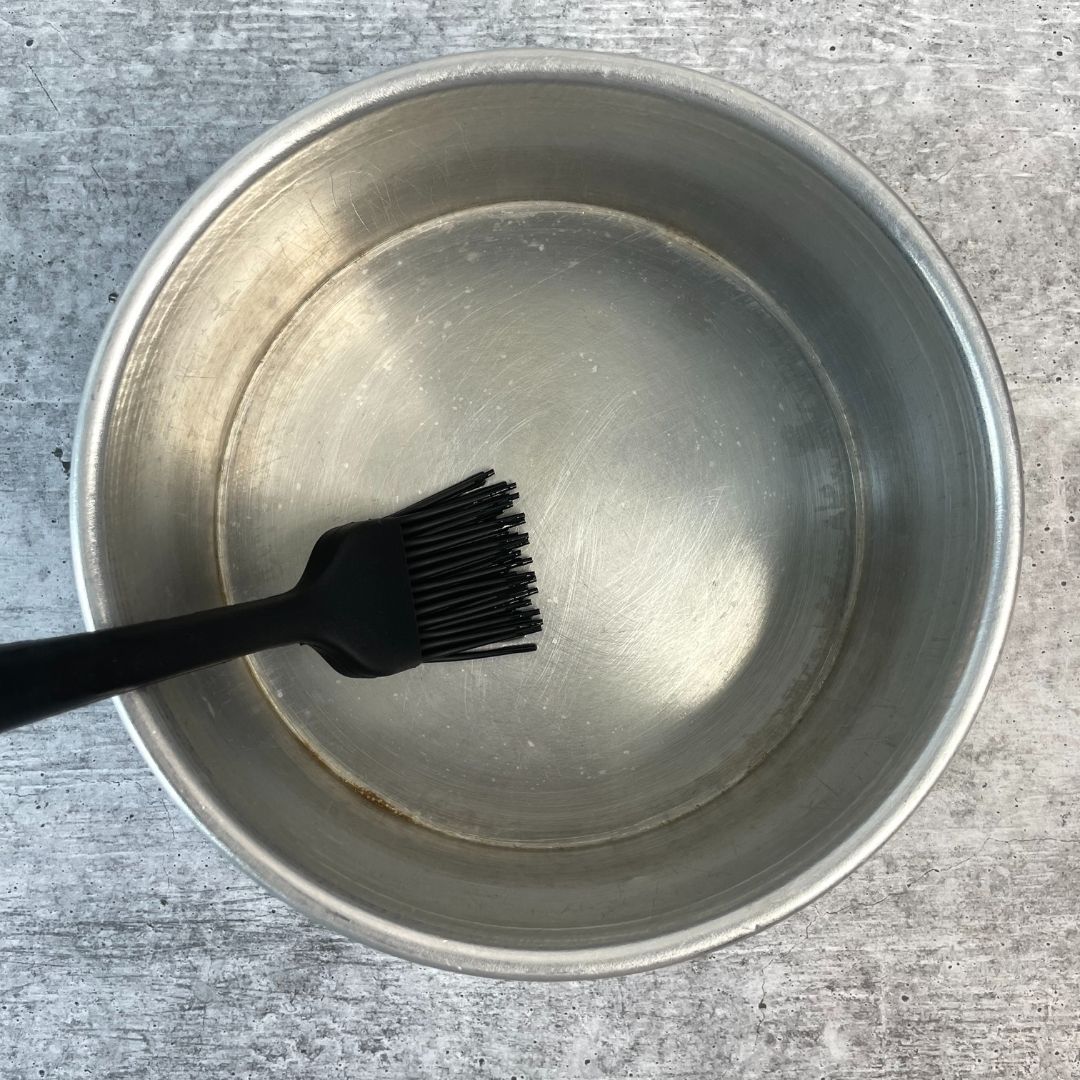
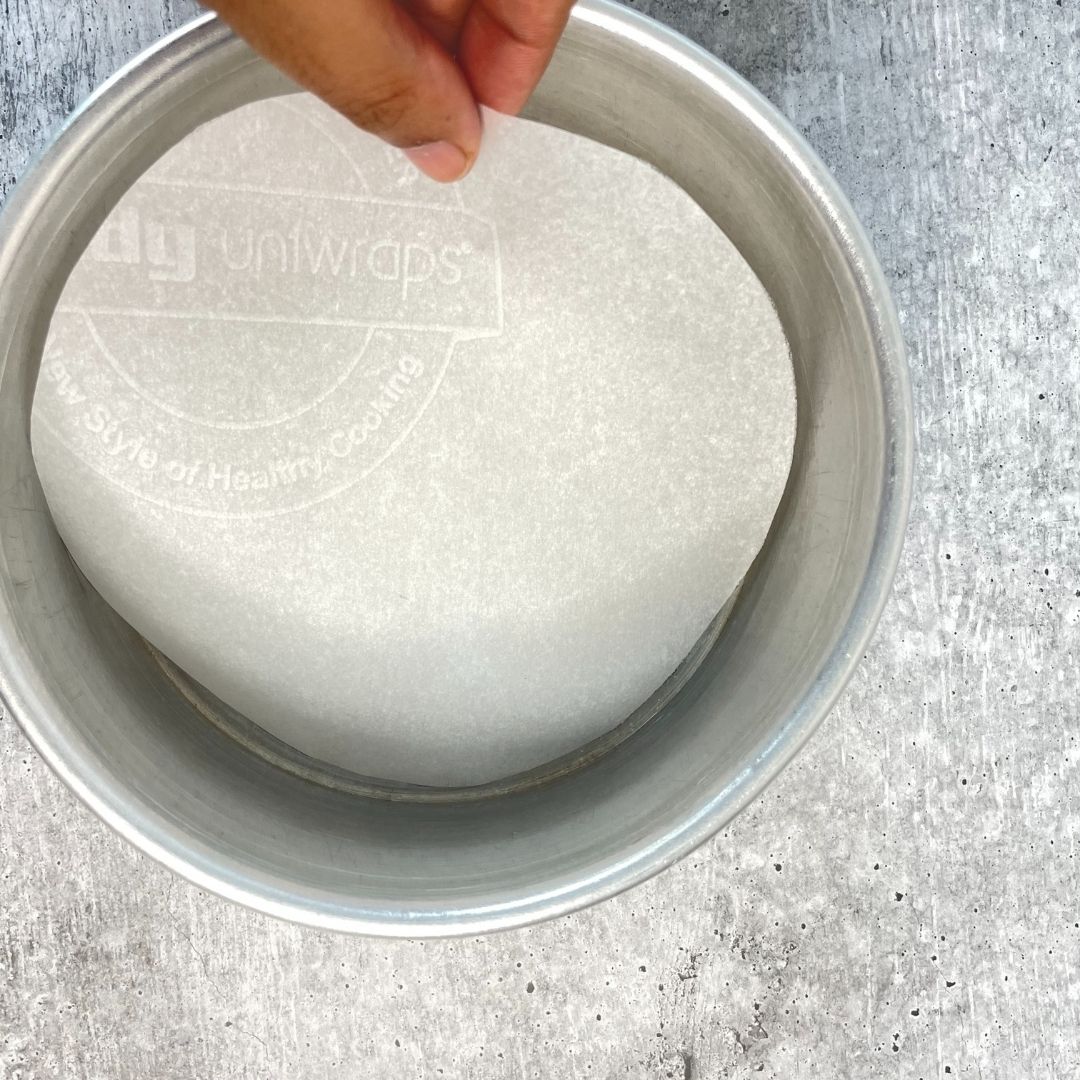
Preparation: Gather all the ingredients that are needed for the recipe. Make sure that all the ingredients are at room temperature before starting the recipe. Preheat your oven to 180° C or 350° F (OTG mode: lower rod + upper rod + fan). Grease two 6-inch round baking tins with oil and place butter paper at the bottom.
For the Sponge
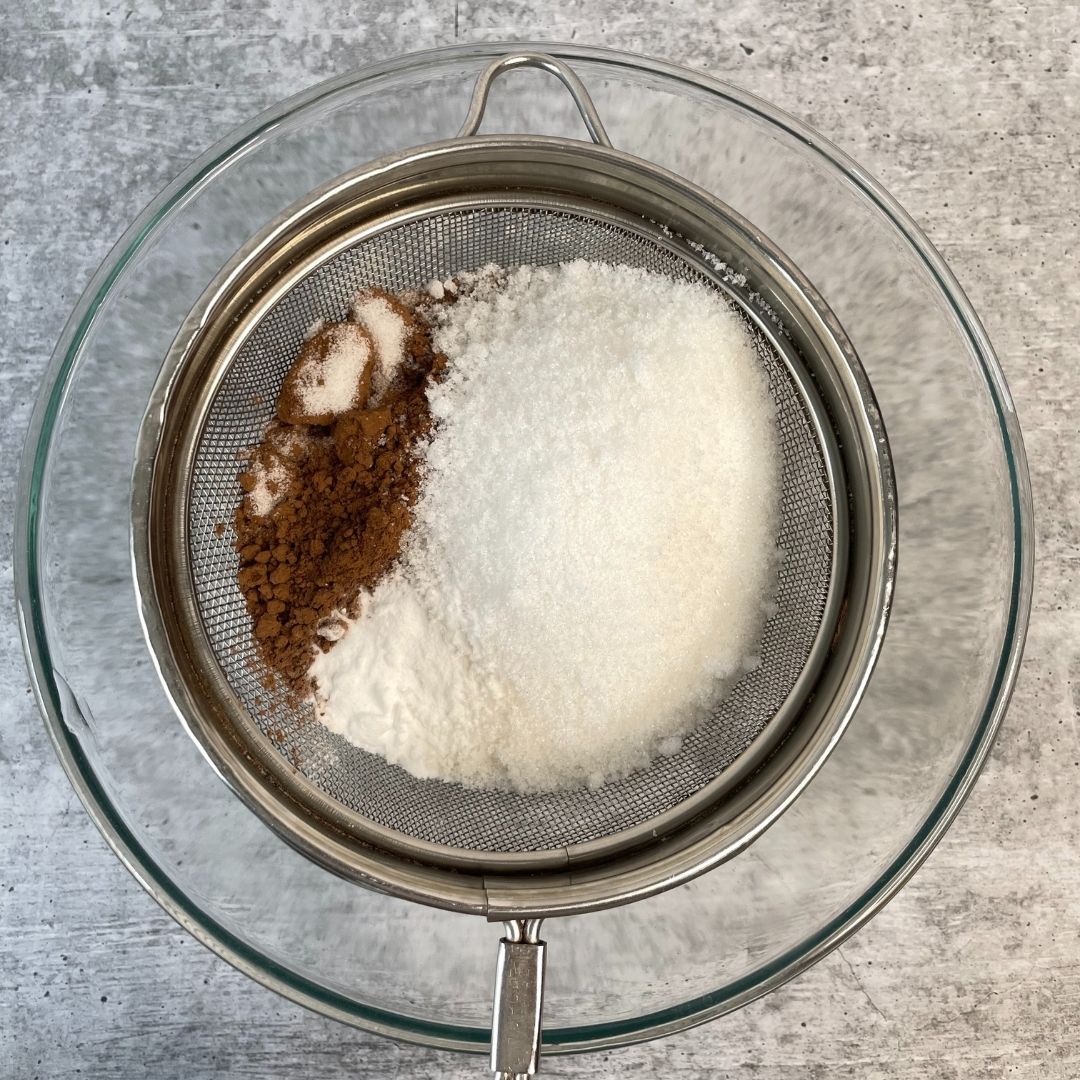
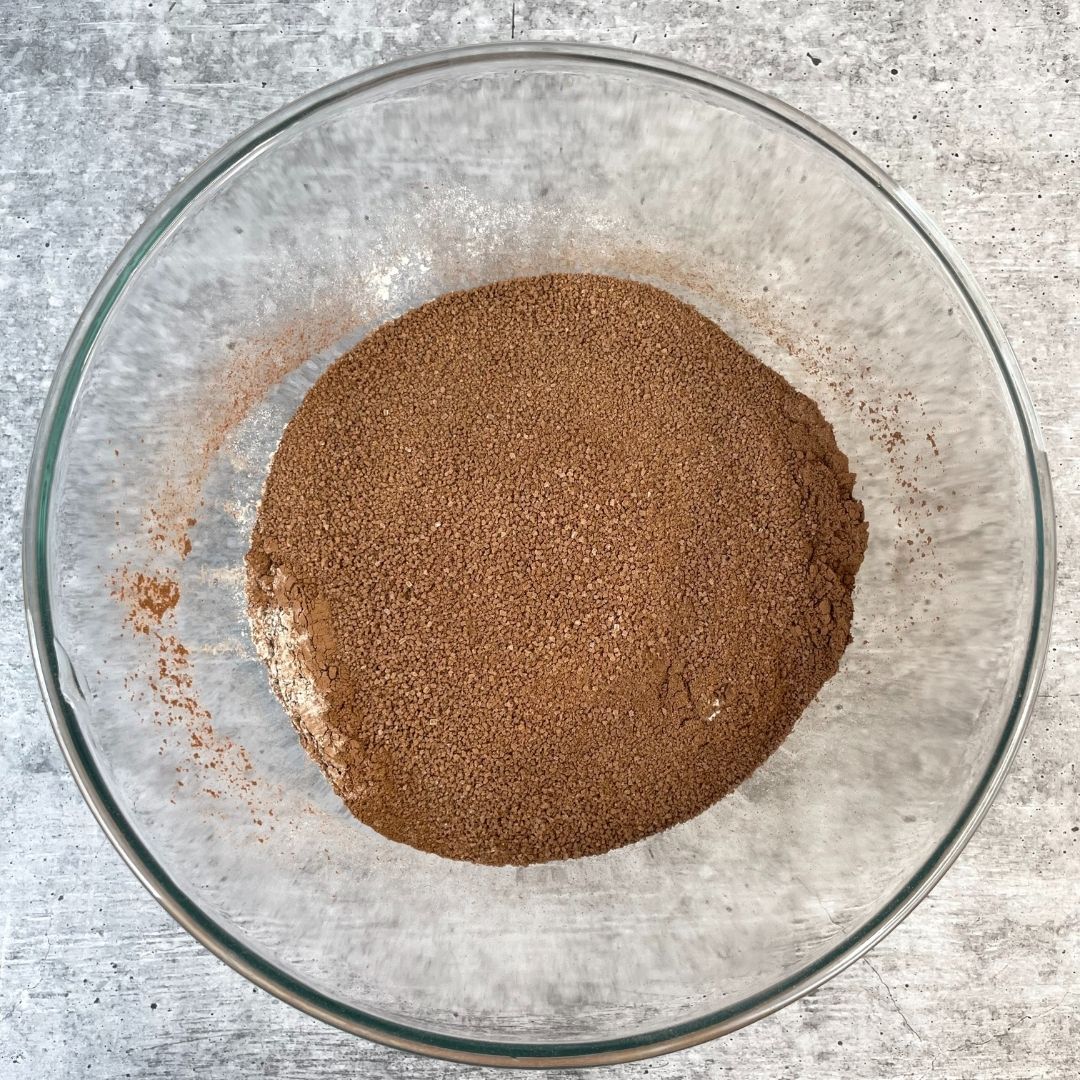
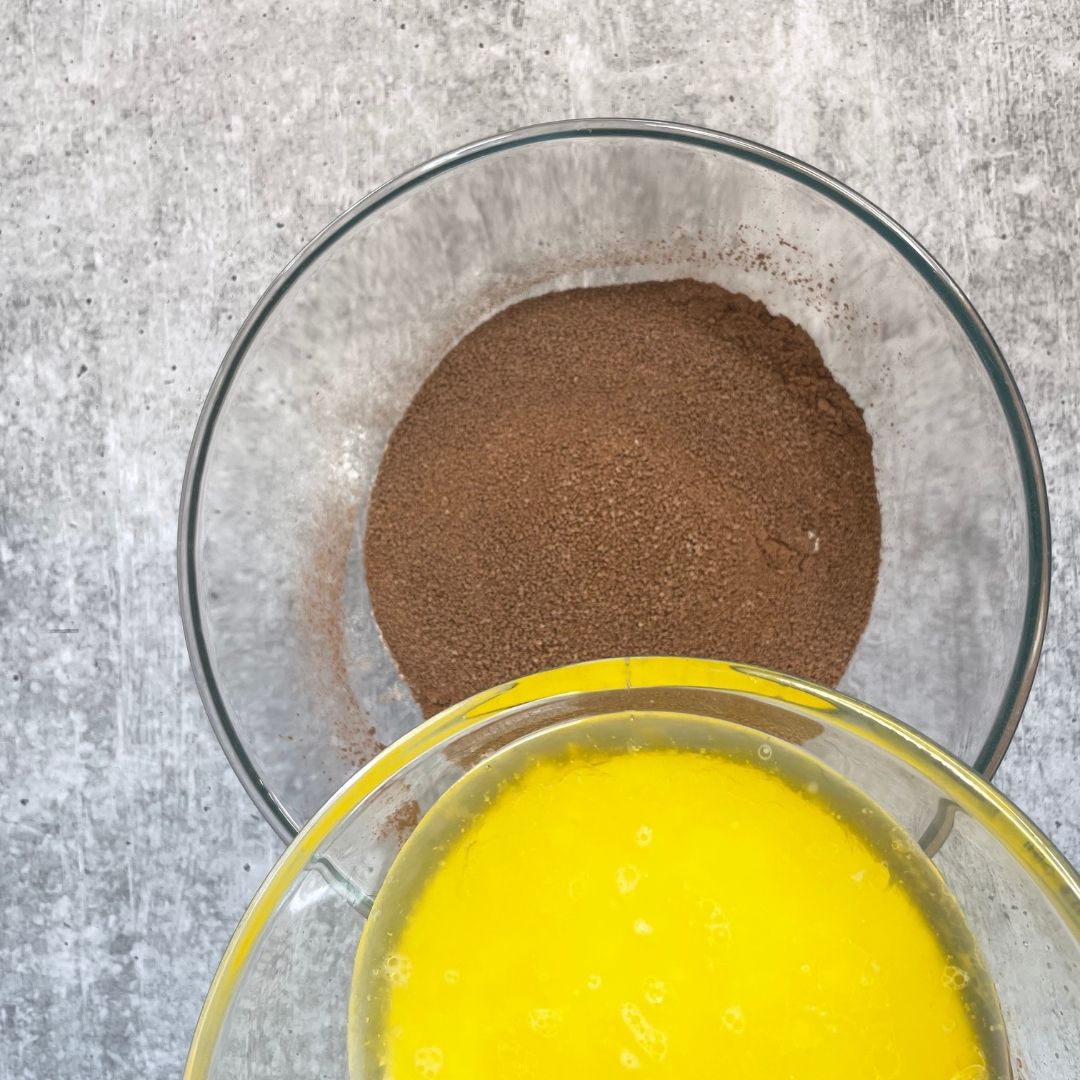
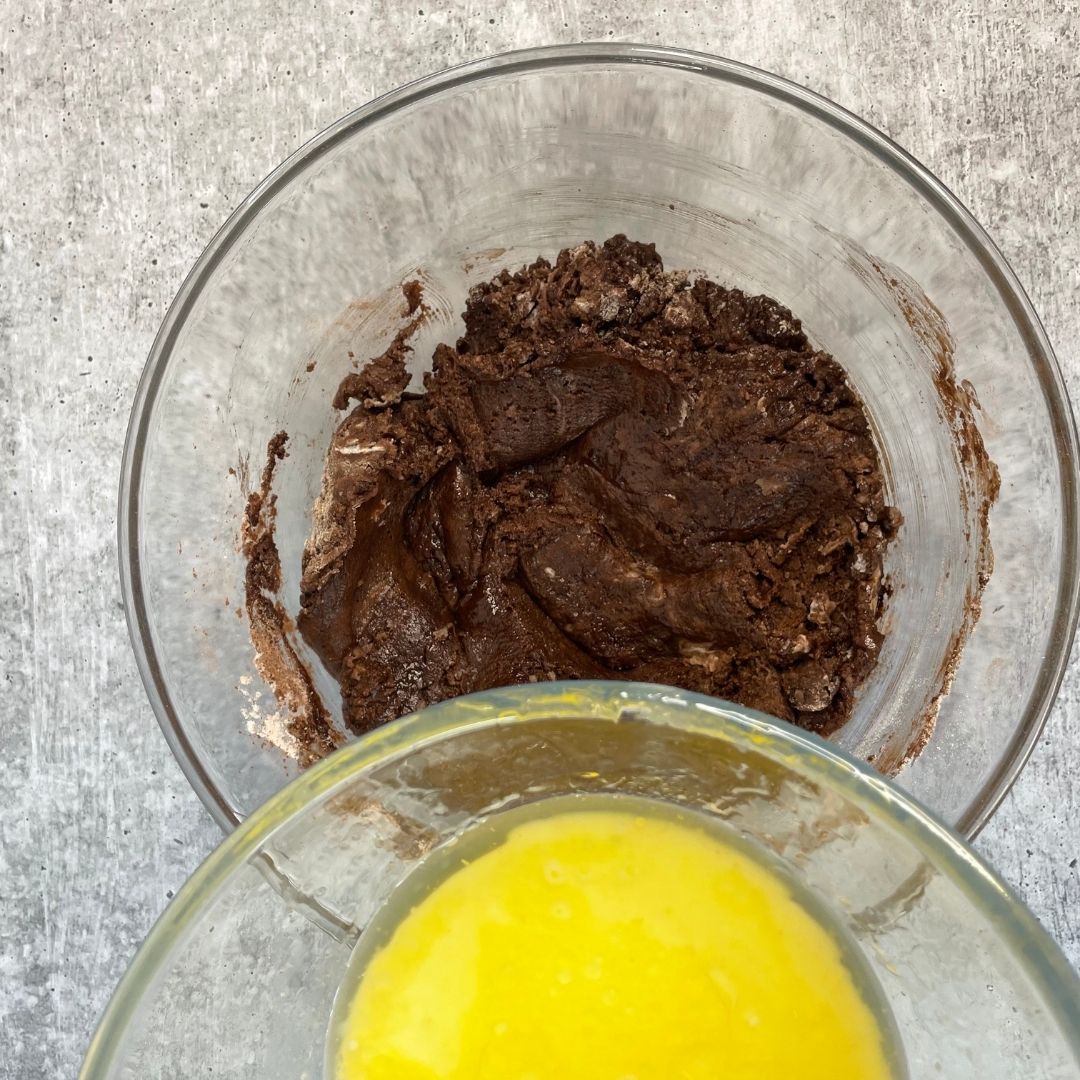
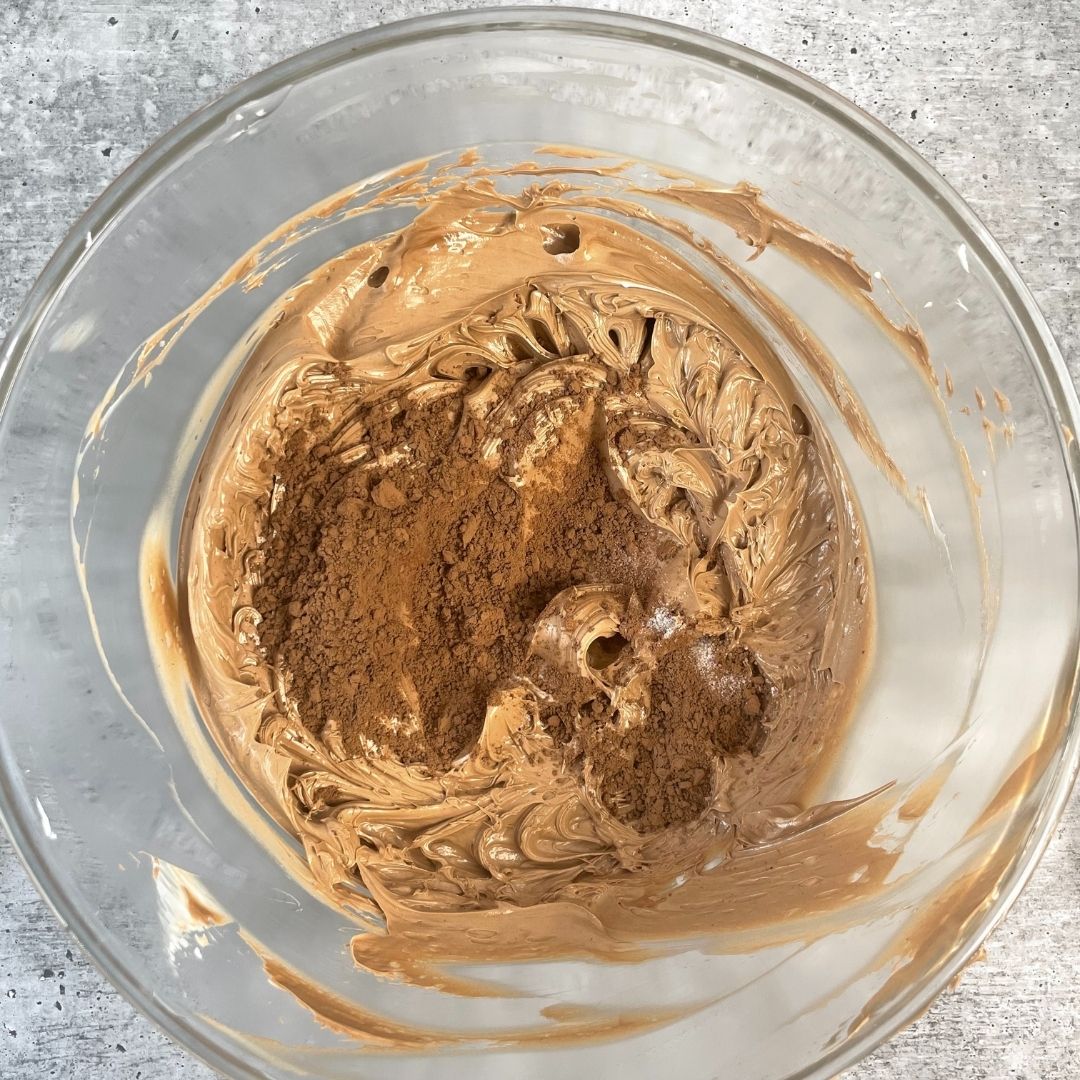
Sift the dry ingredients: In a bowl, sift all the dry ingredients, starting with all-purpose flour, followed by natural cocoa powder, sugar, baking soda and salt. Make sure that you do not skip sifting the dry ingredients to ensure a lump-free batter.
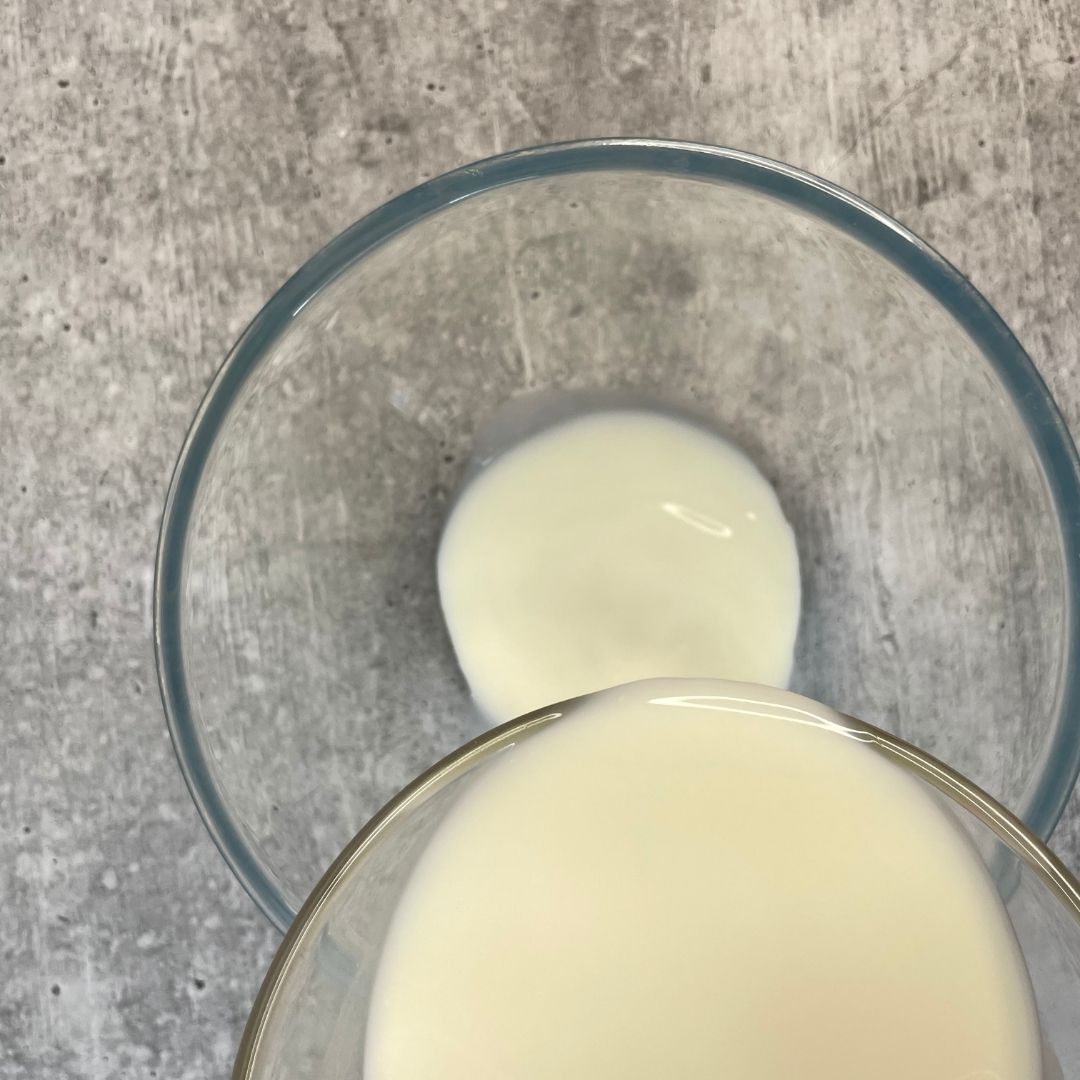
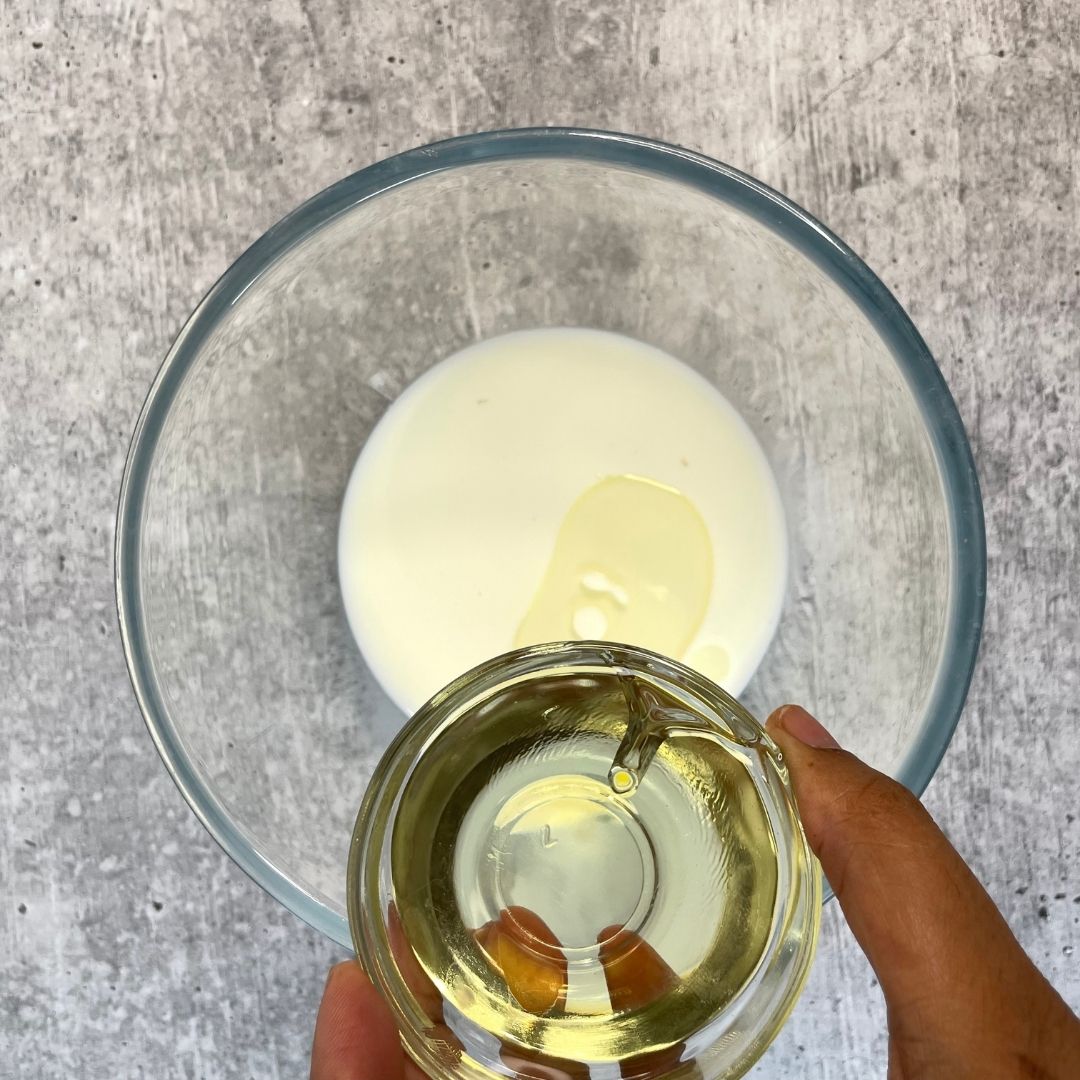
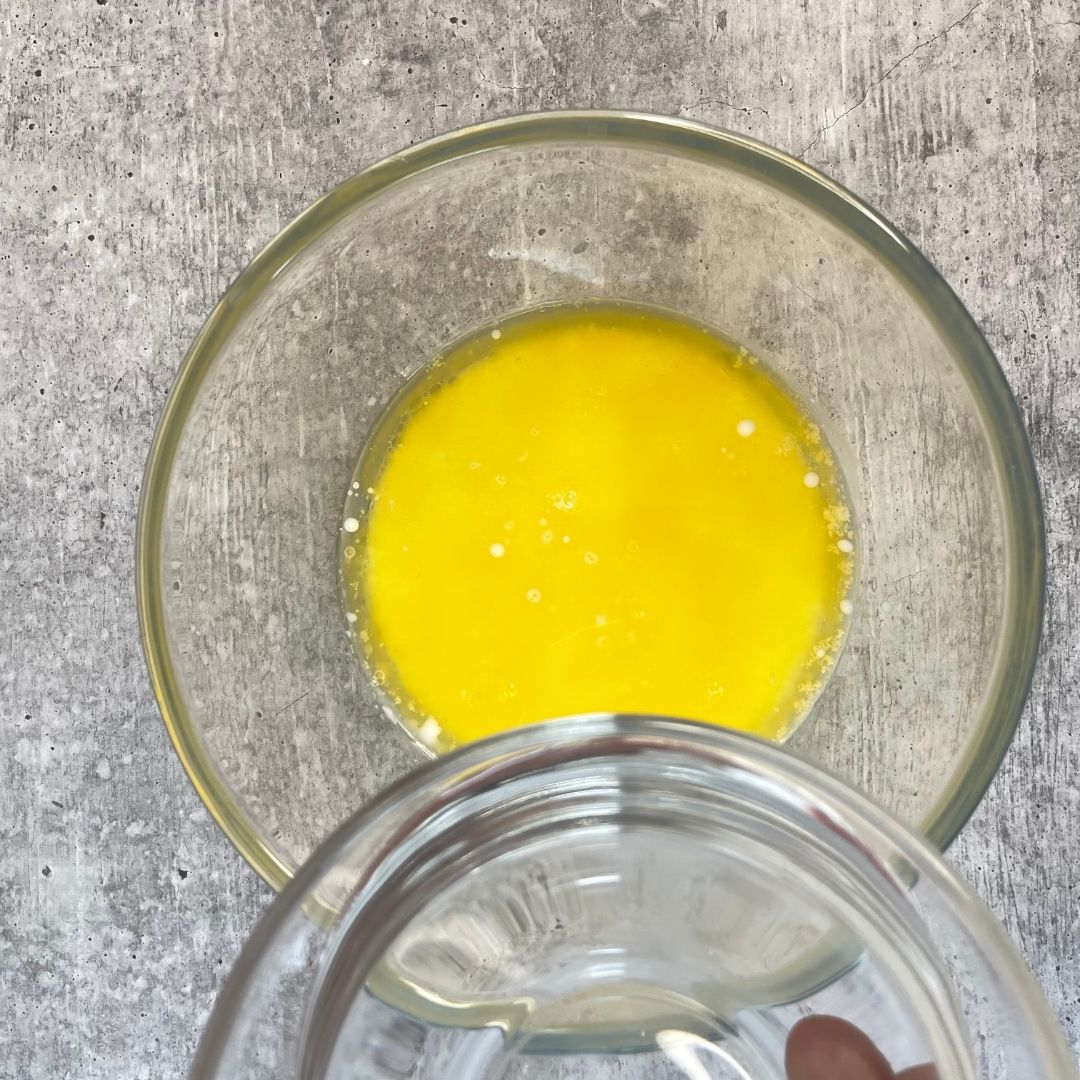
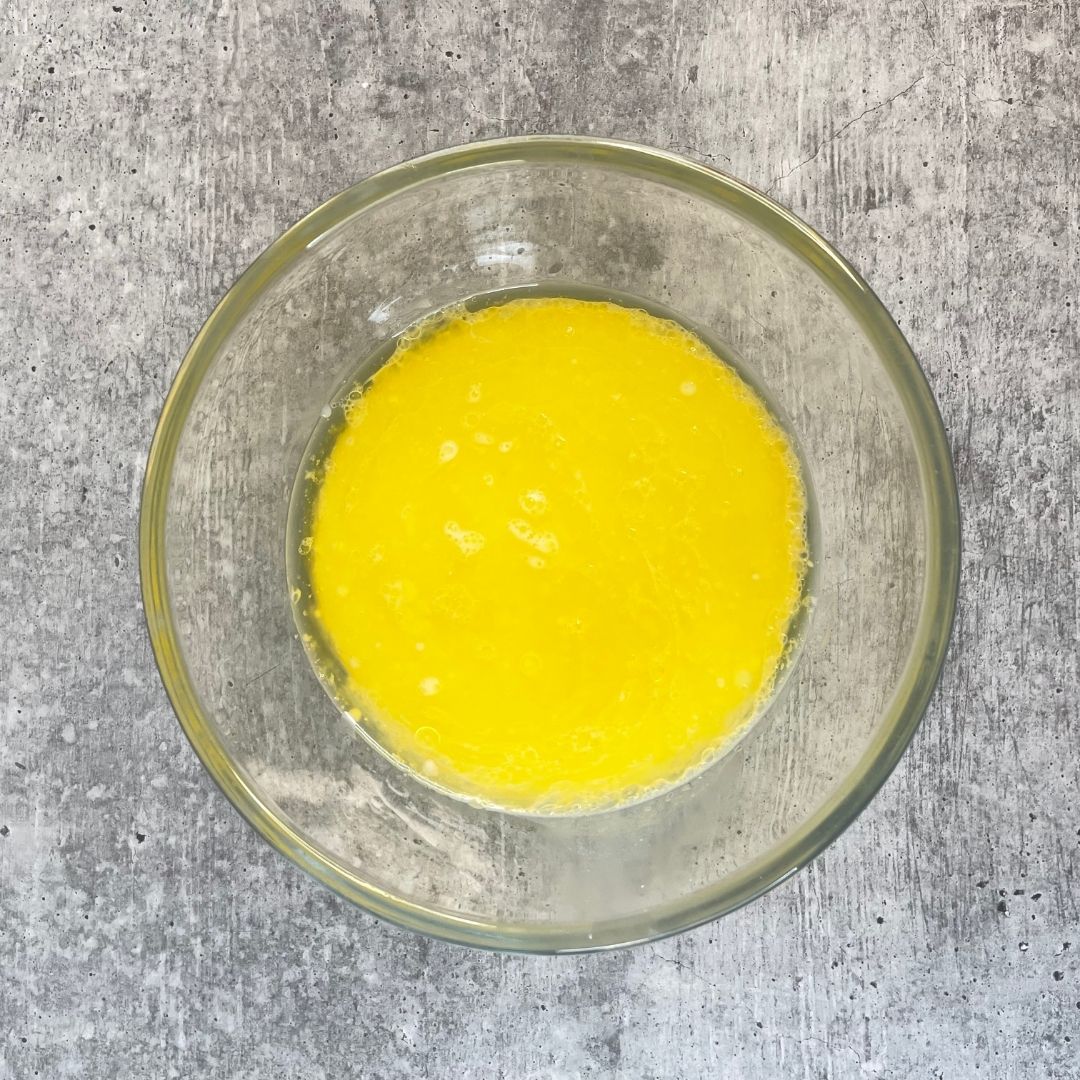
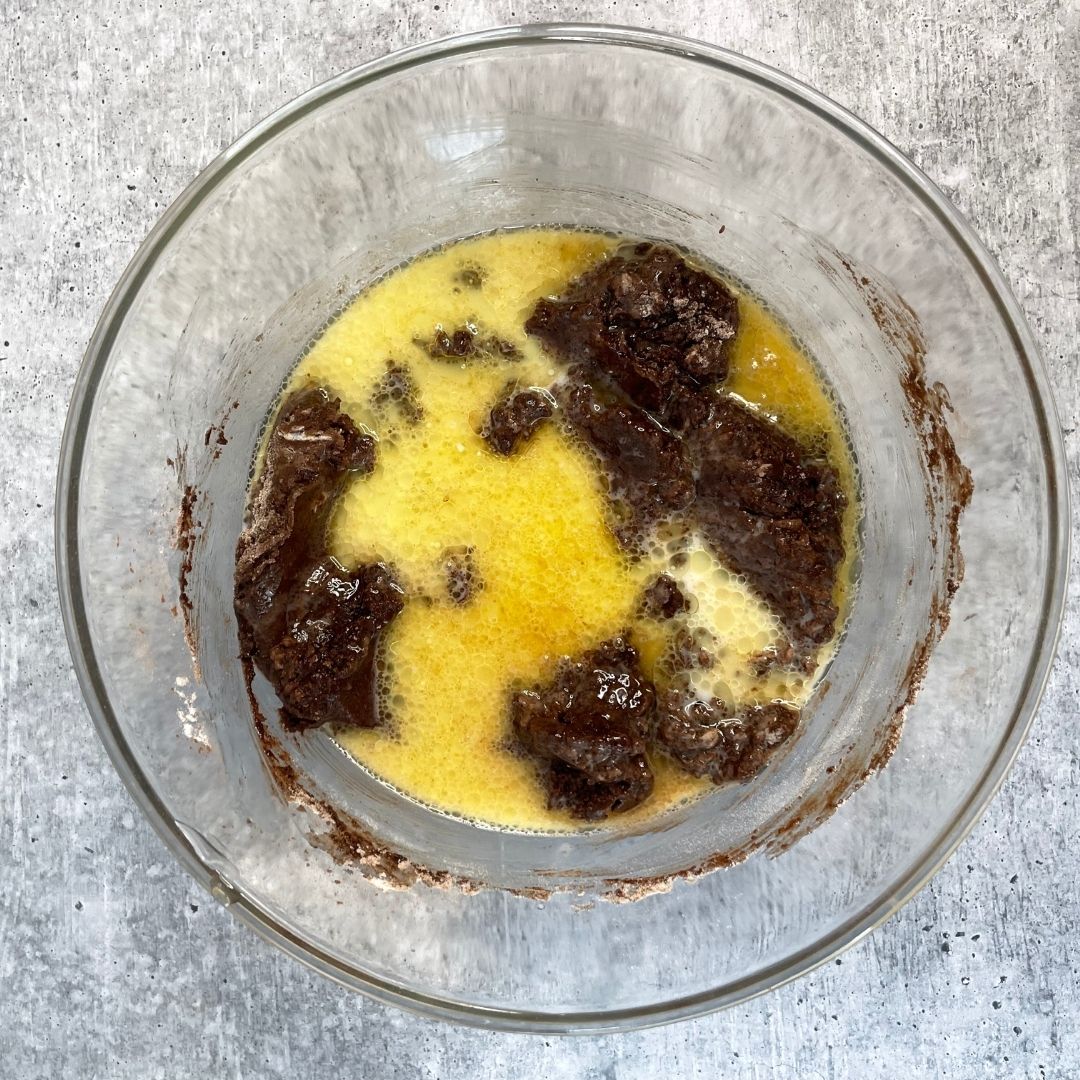
Mix liquid ingredients: In a different bowl, mix all the liquid ingredients, including milk, oil, melted butter, and water. You can also add the liquid ingredients directly to the dry ingredients, but I find it easier while mixing the batter.
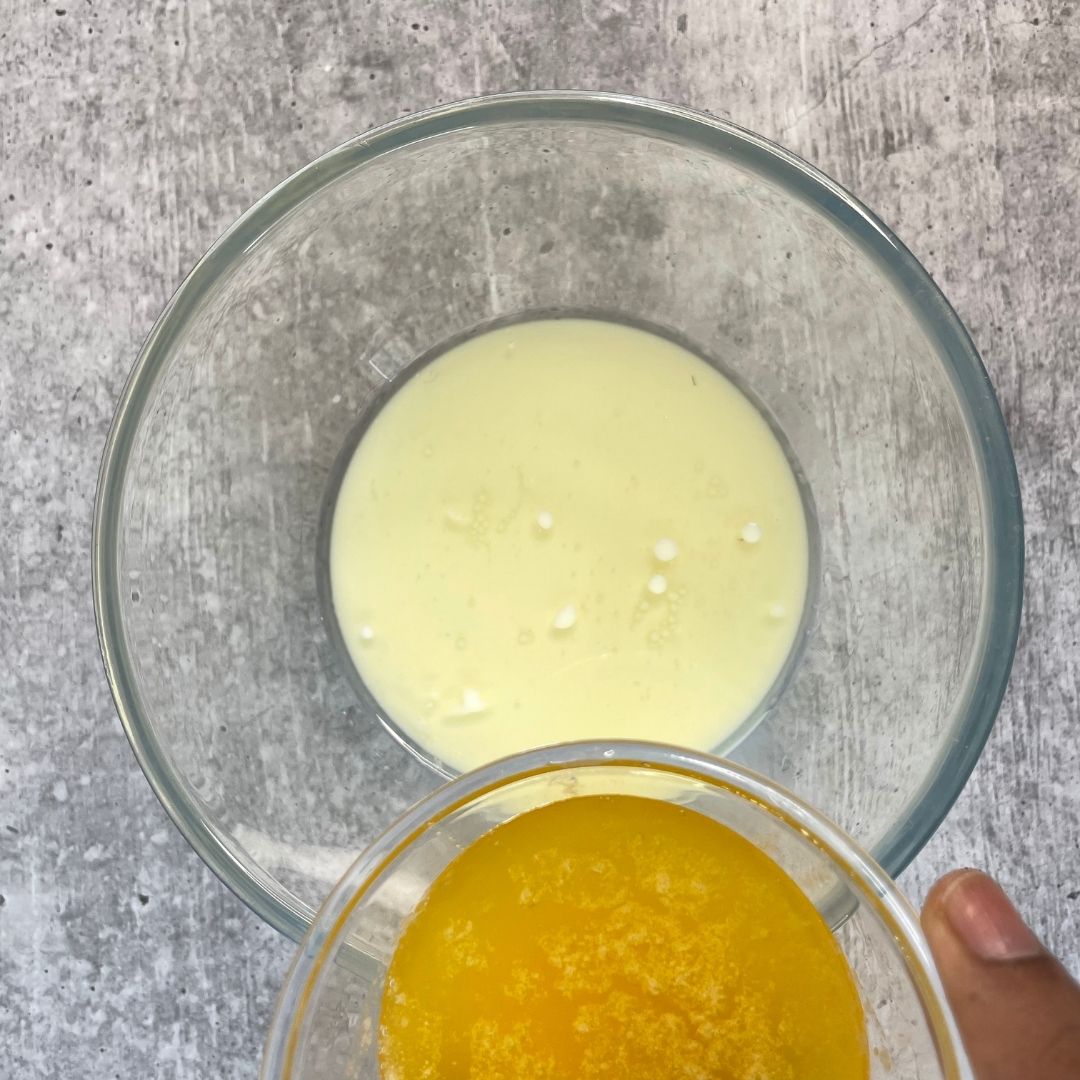
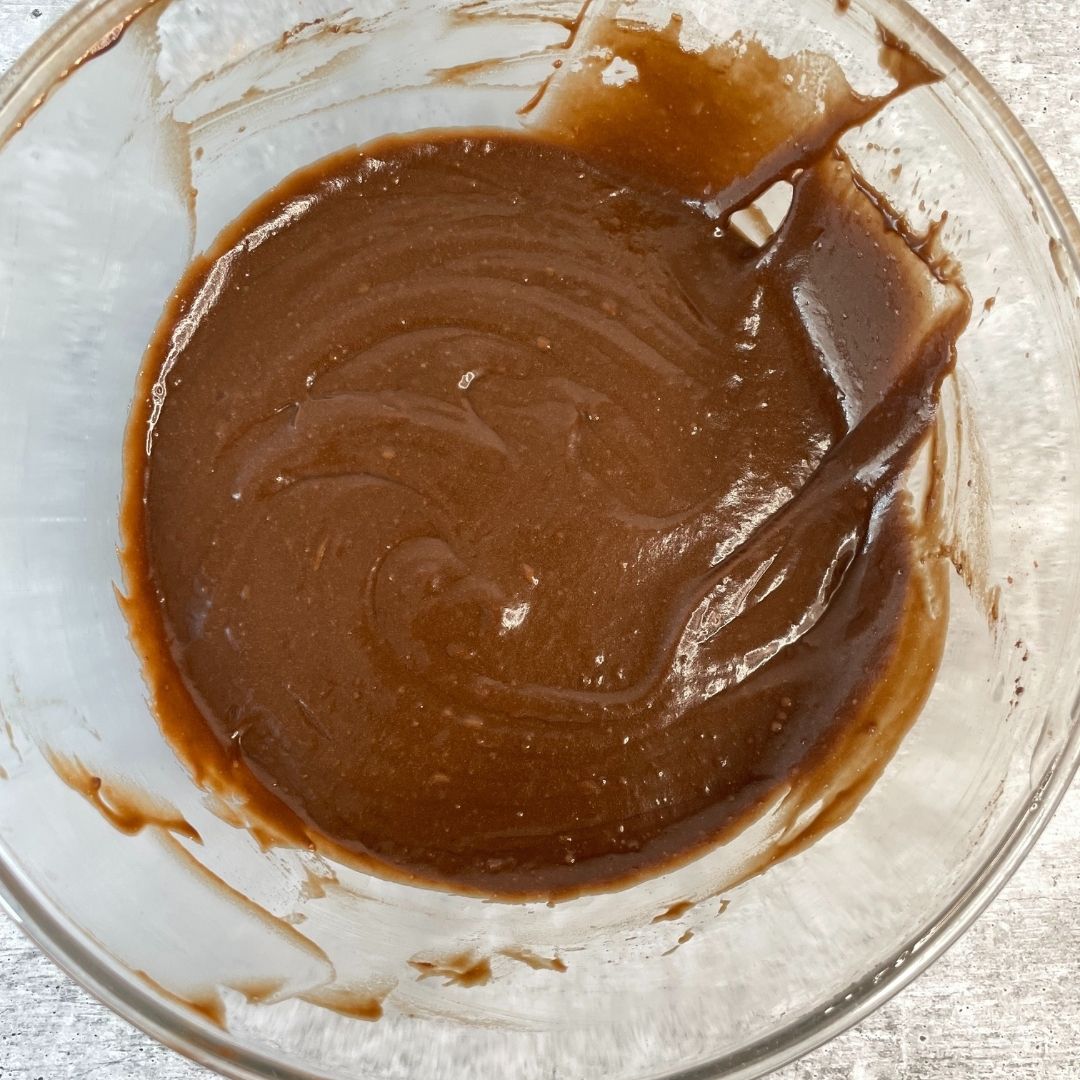
Make the batter: Add the liquid ingredient mixture to the dry ingredients gradually in parts and mix to get a smooth and lump-free batter.
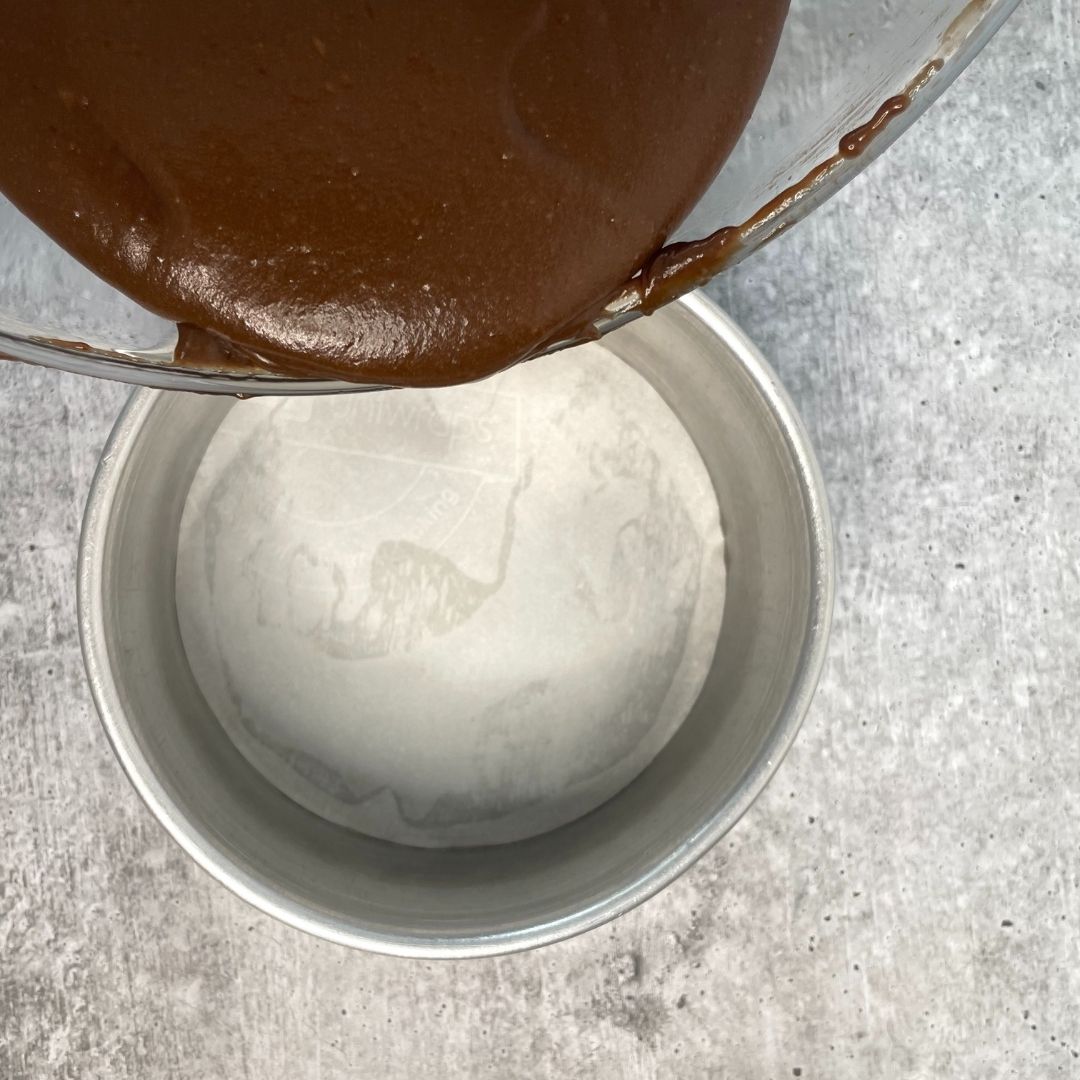
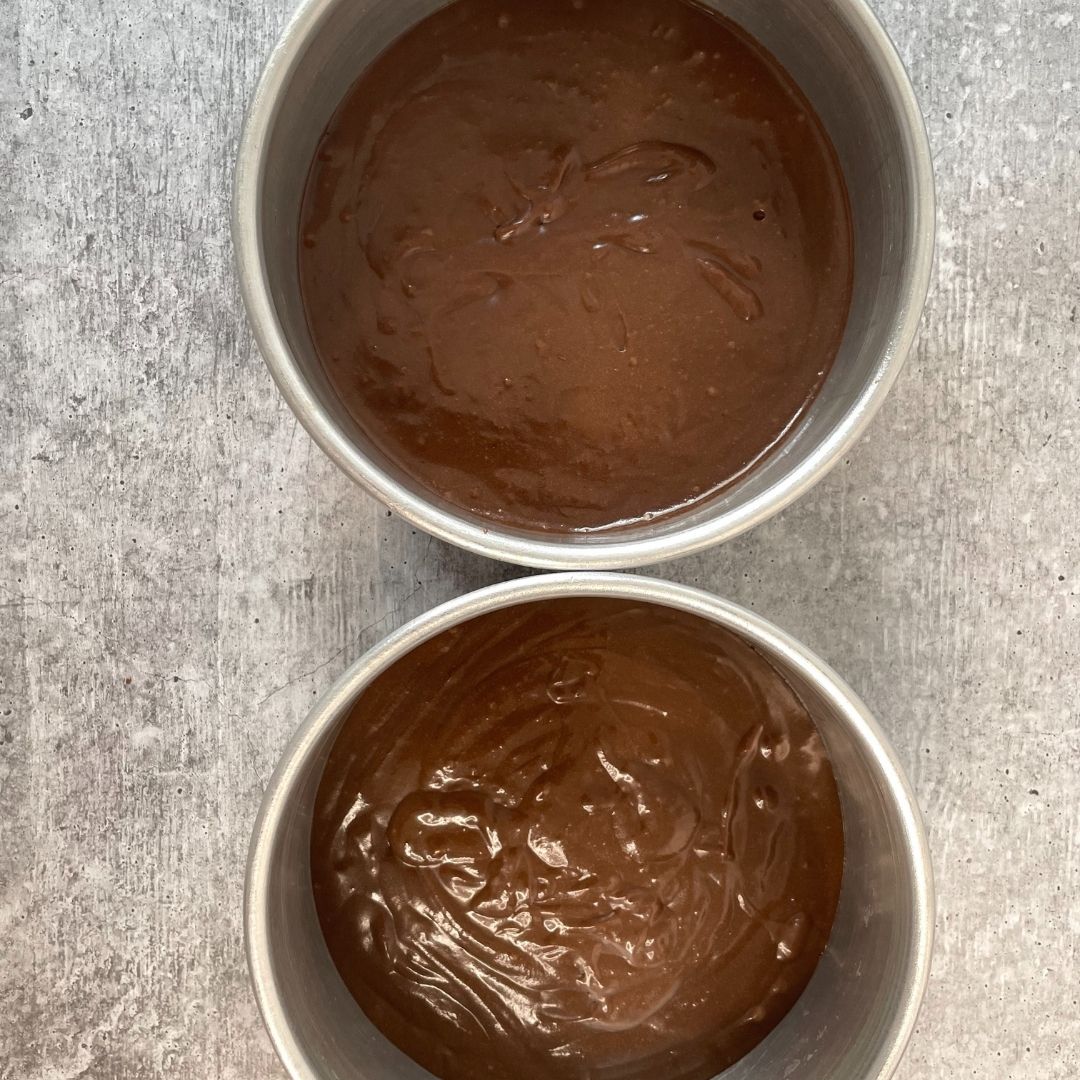
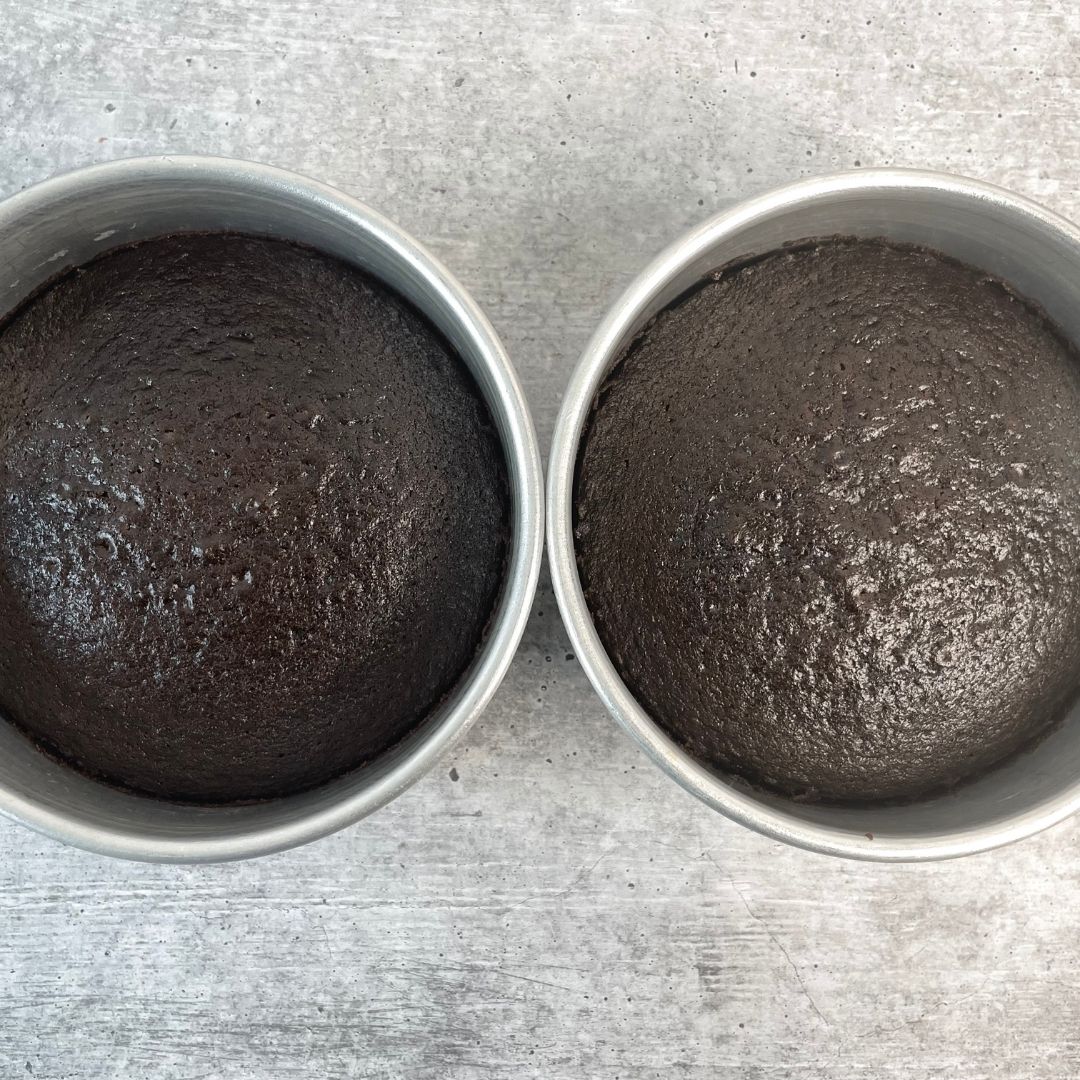
Baking: Pour the mixture into the prepared baking tins equally. If you want to, you can use the kitchen weighing scale to divide the batter. Bake them at 180° C or 350° F (OTG mode: lower rod mode only) for 35 – 40 minutes or until the toothpick inserted in the middle comes out clean.
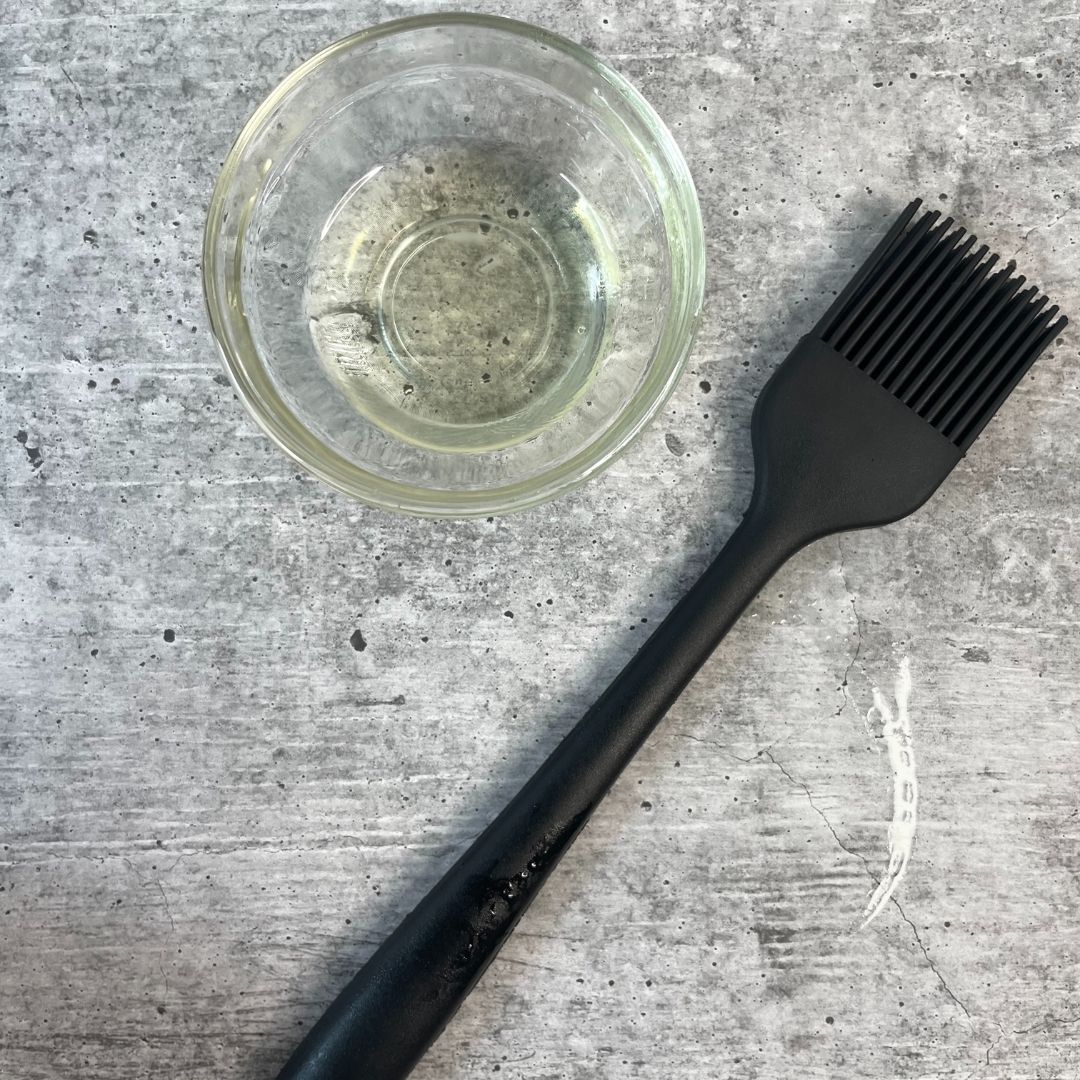
For the Soaking Syrup
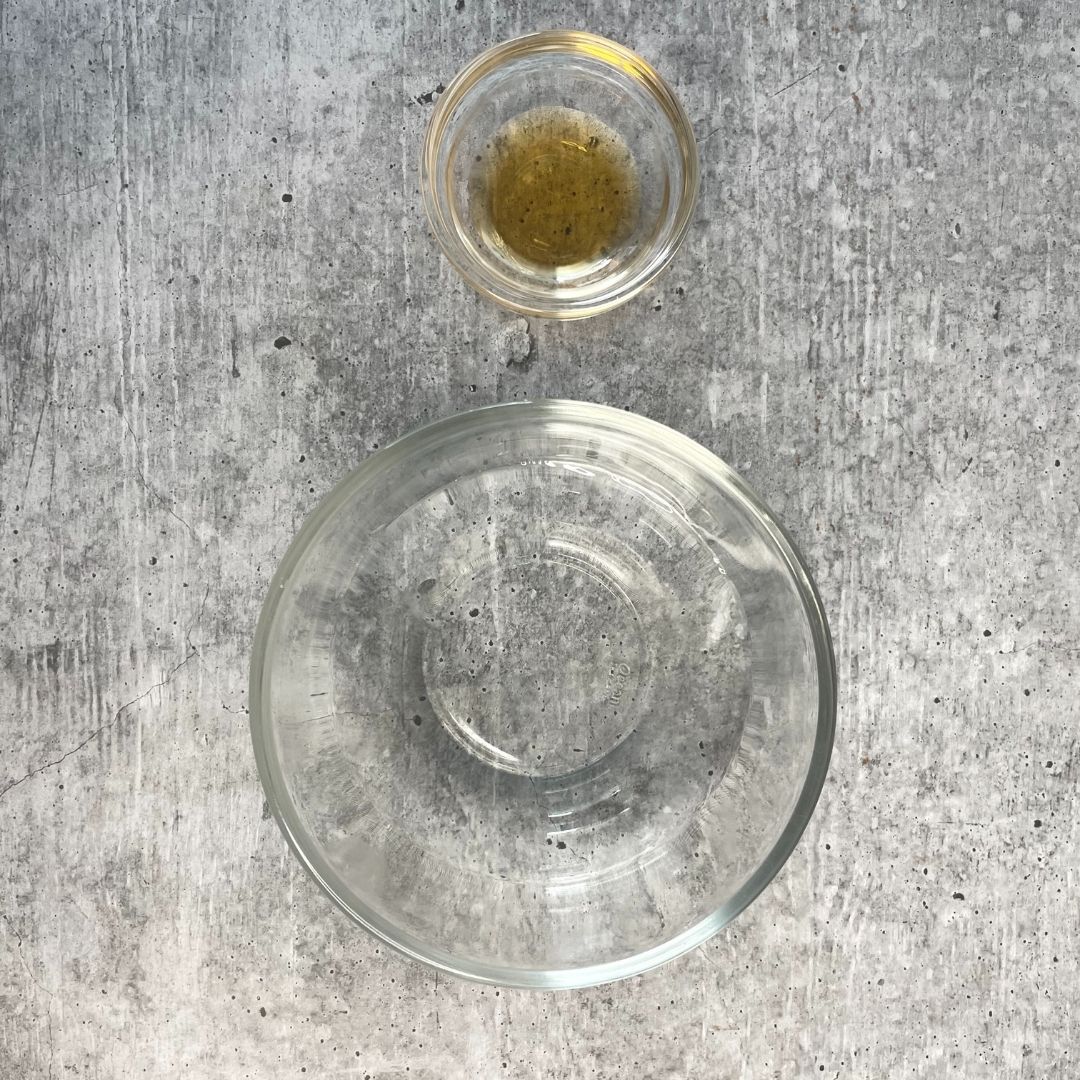
Mix water and vanilla essence to make the soaking syrup.
For the Filling
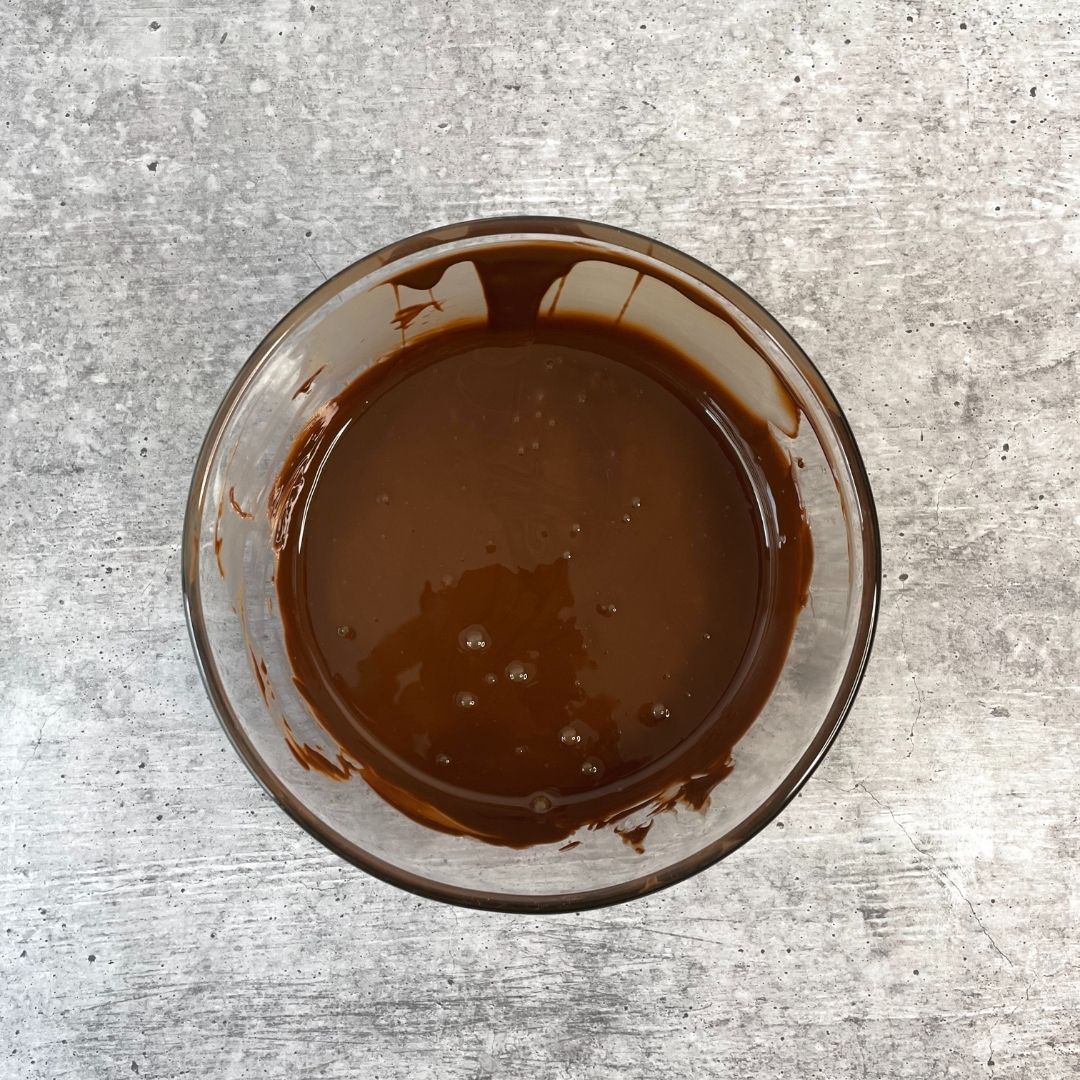
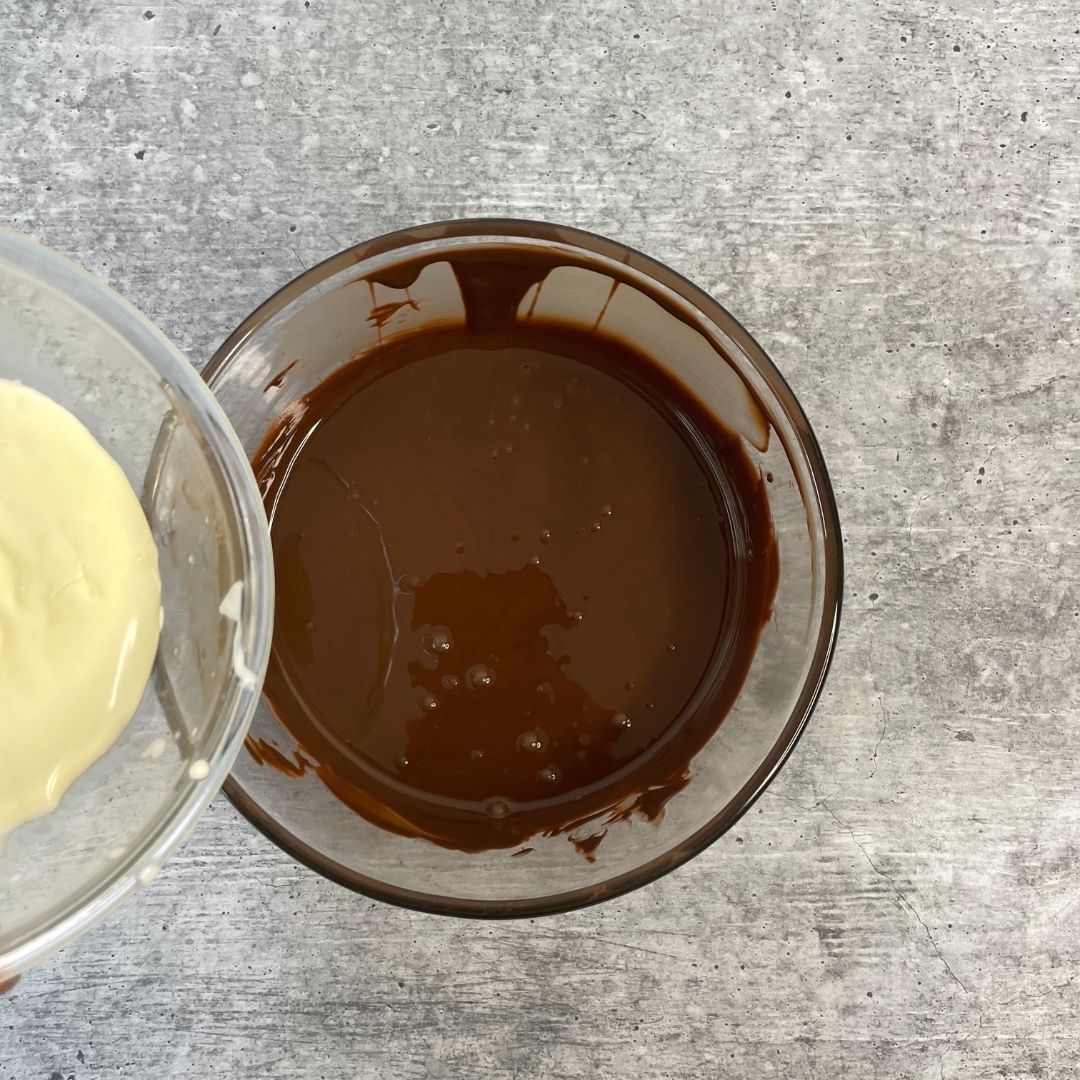
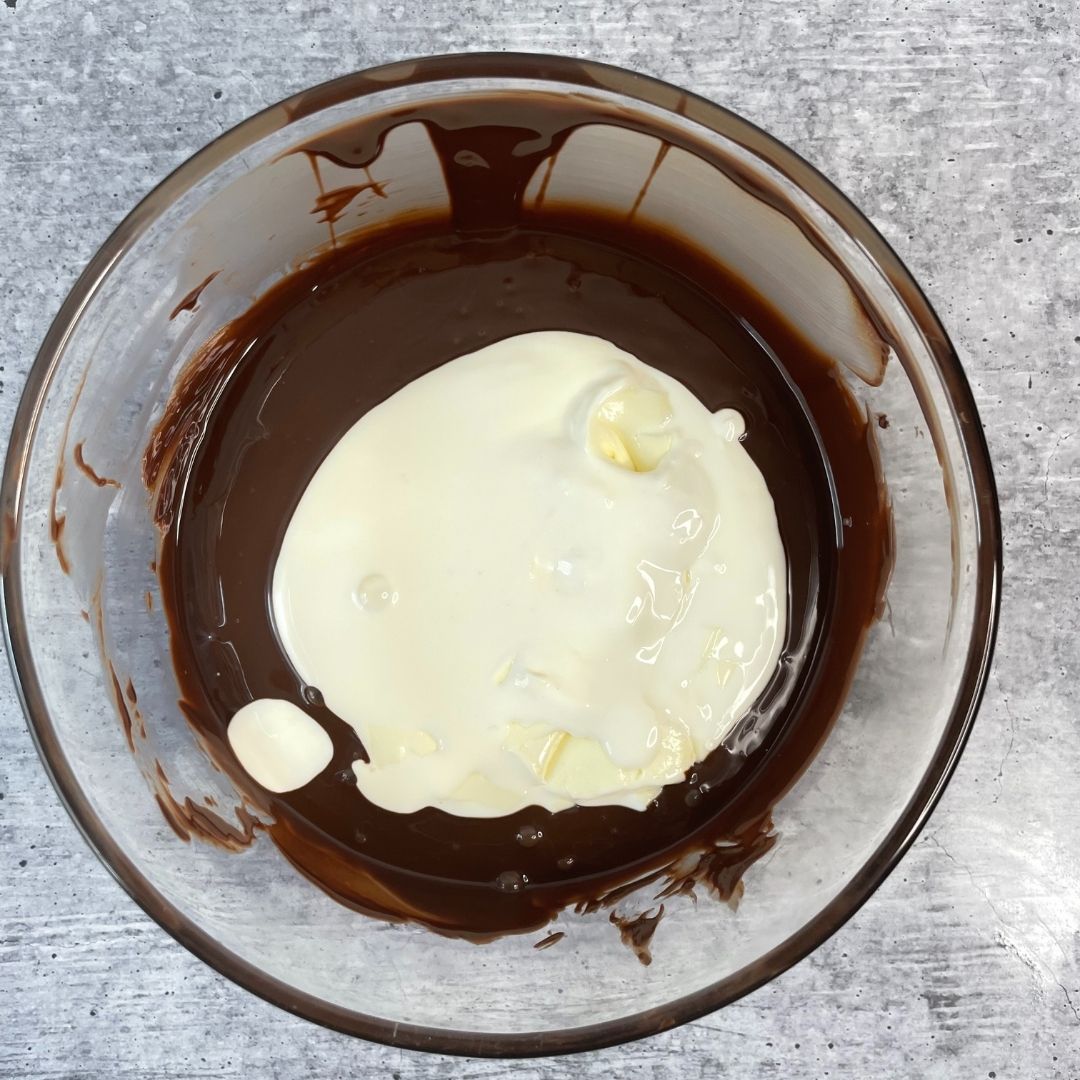
Melt chocolate: In a safe bowl, melt dark couverture chocolate and warm fresh cream. For the filling, you can also use compound chocolate, but the taste may differ. While melting chocolate, make sure that you microwave it for a short intervals of time, or you may end up with burnt chocolate.


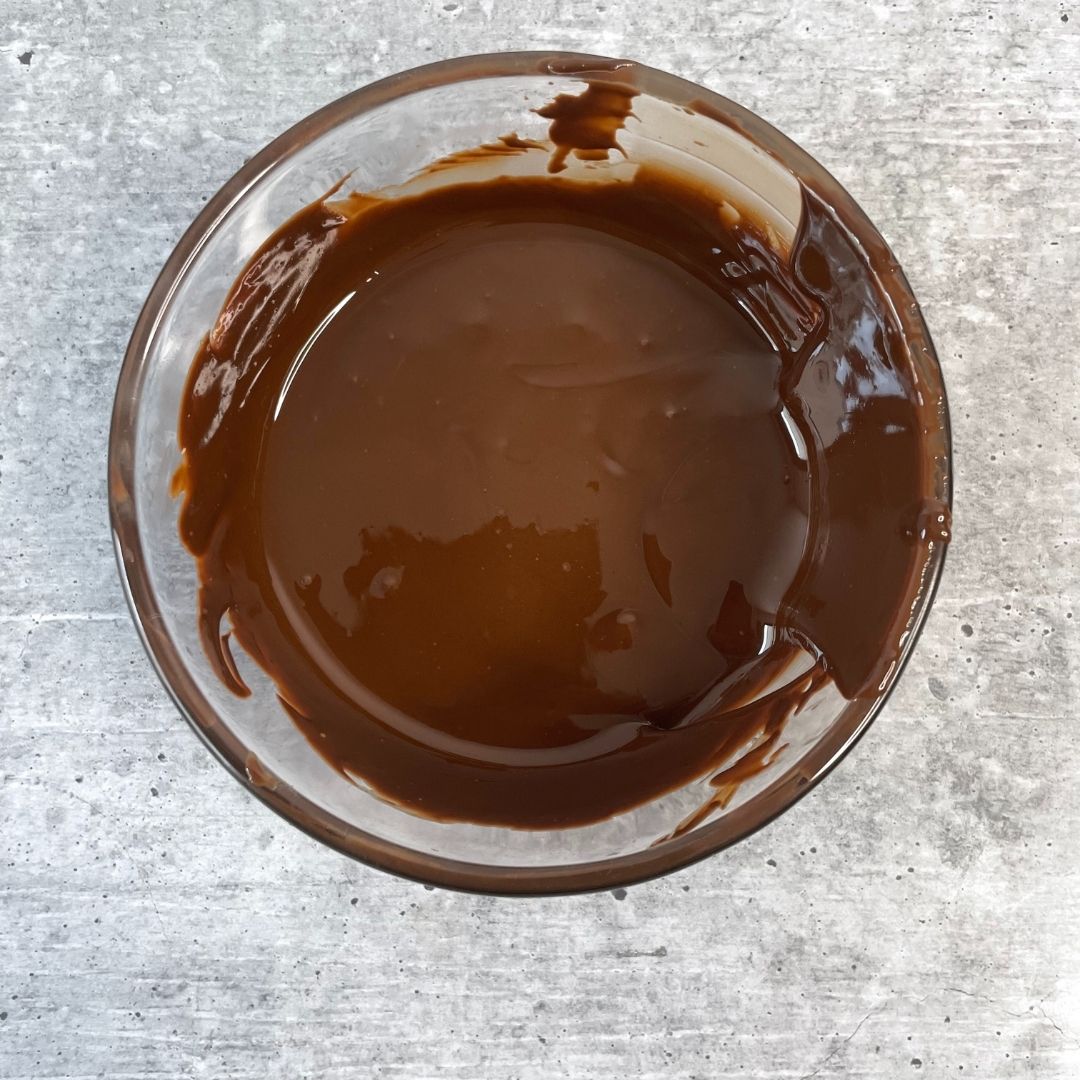
Mix both the ingredients: Now add warm fresh cream to the melted chocolate and form a smooth and glossy ganache. Transfer it to a piping bag and keep it aside for the assembly.

For the Buttercream
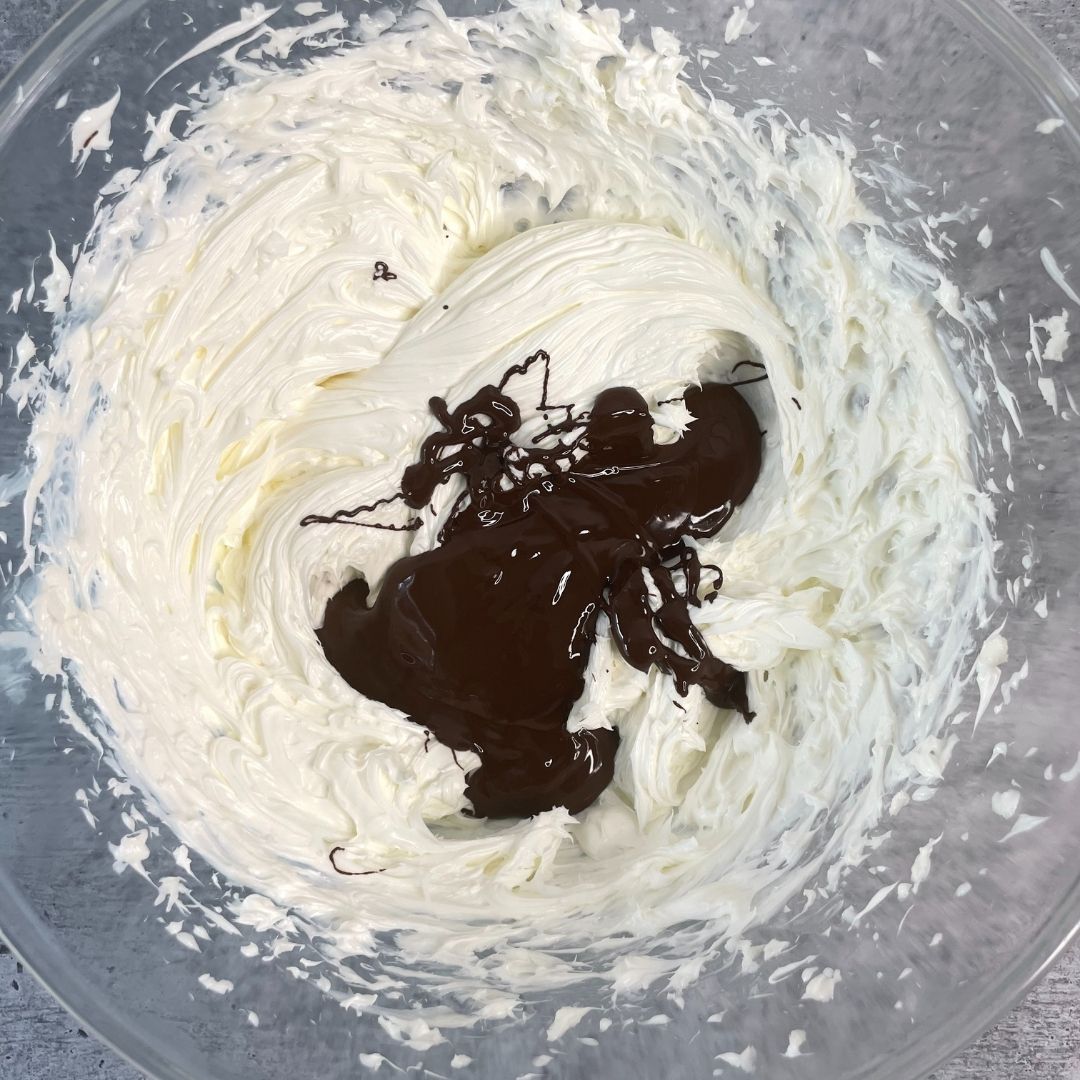
Melt chocolate: In a microwave, melt dark couverture chocolate and let it cool down completely before adding it to butter. Or it may melt the butter, and you can end up with a runny buttercream.
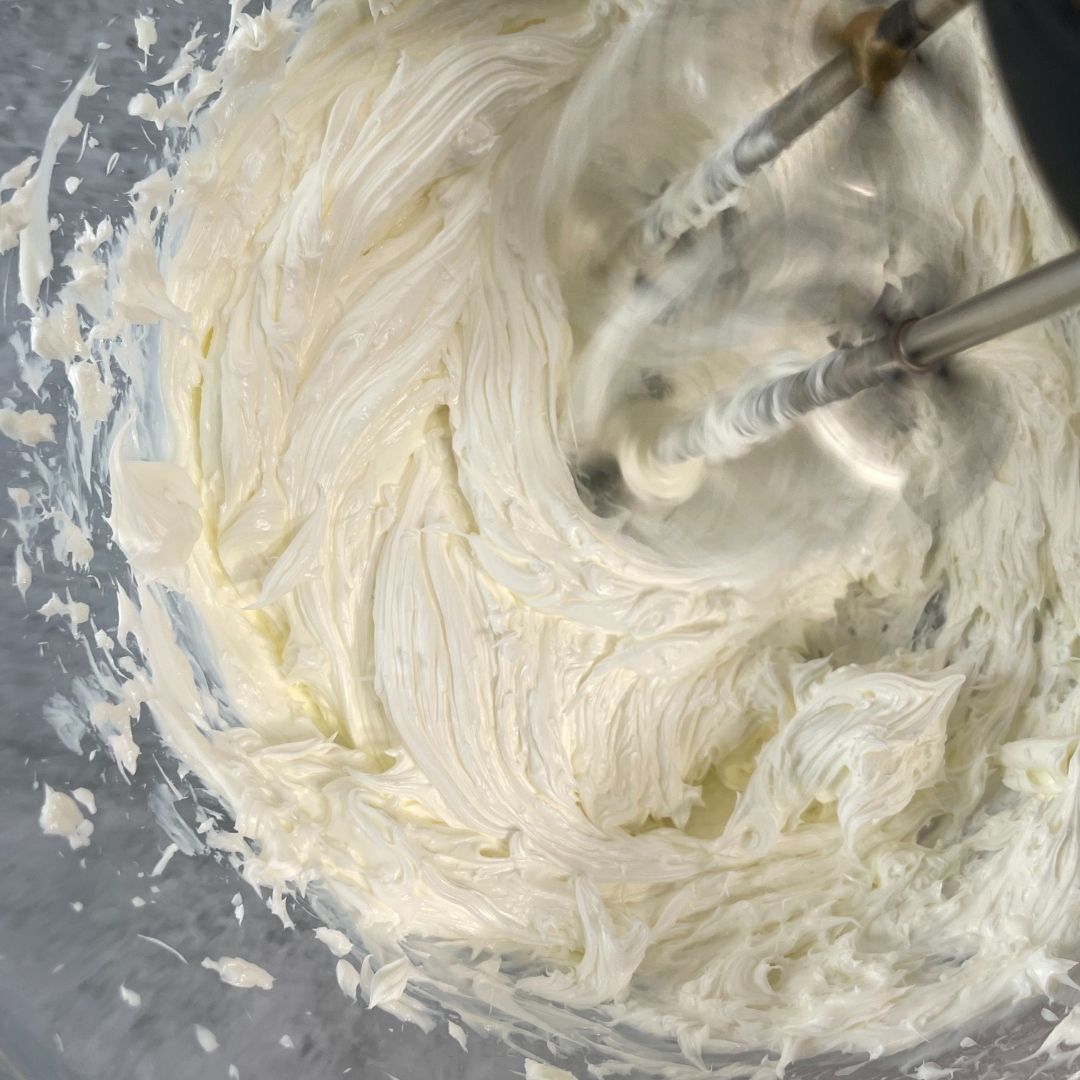
Beat butter: Beat butter with an electric hand beater until it’s light and fluffy. Make sure that the butter is at room temperature before beating it.
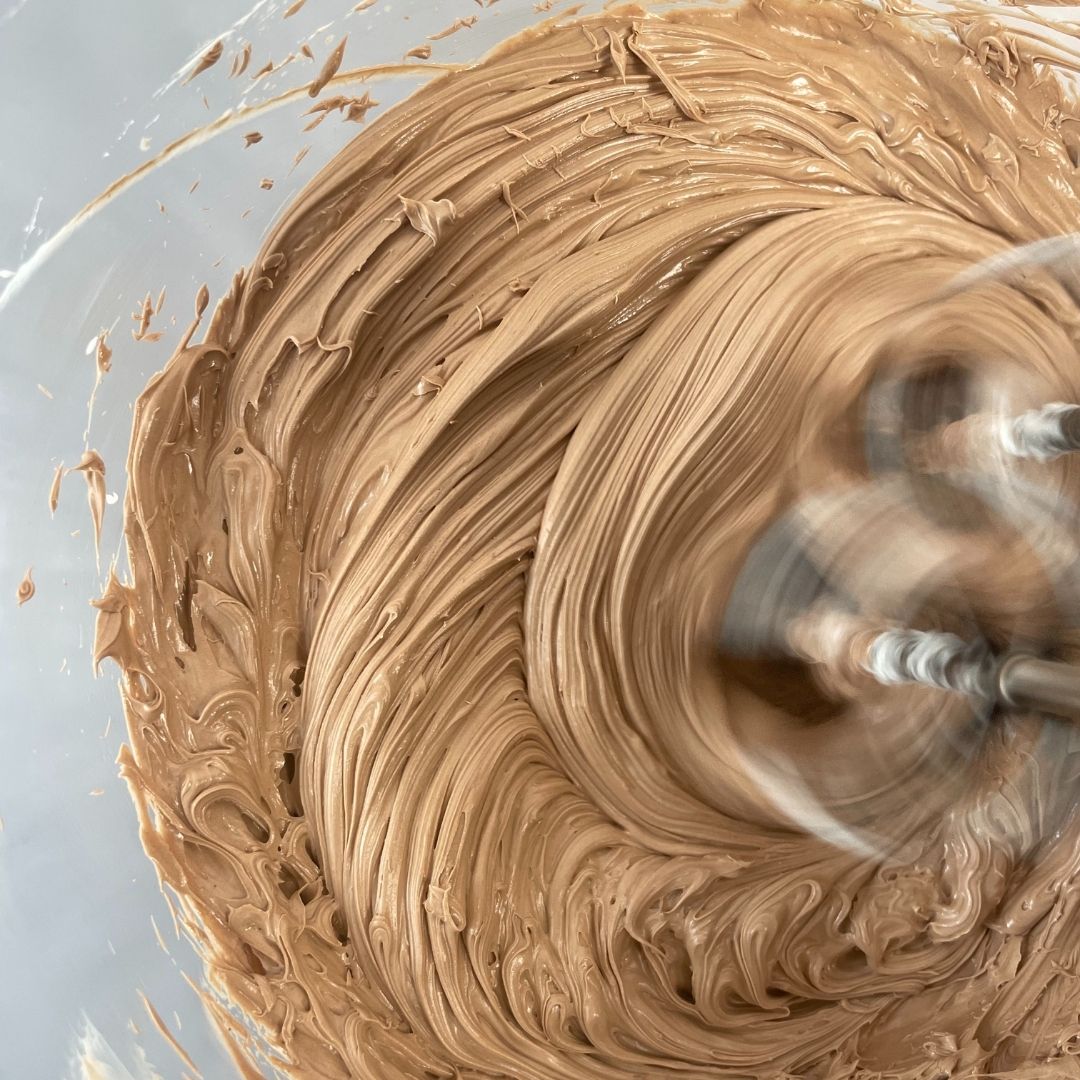
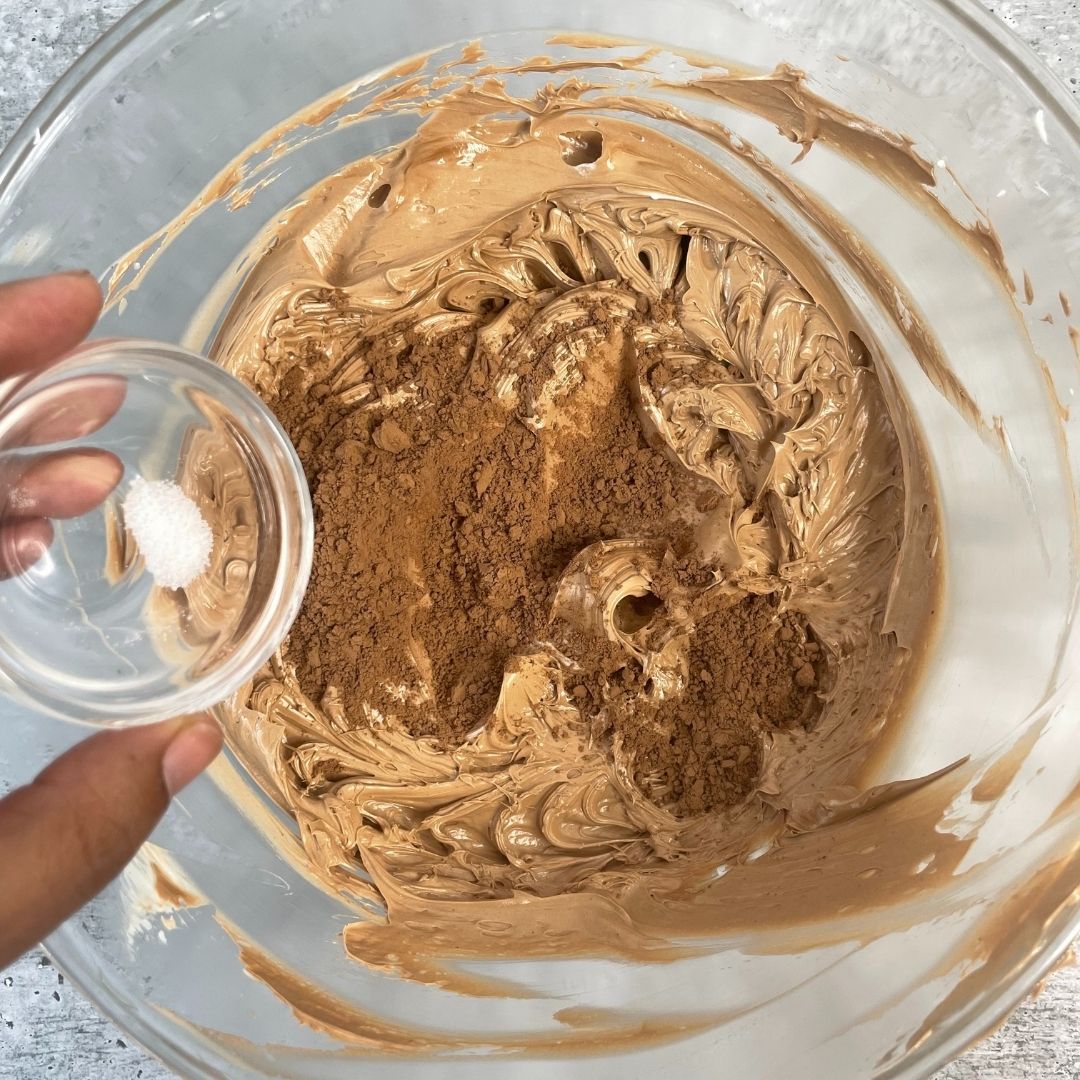
Mix: once the butter is light and fluffy, add melted chocolate, then beat again until properly incorporated. Lastly, add in natural cocoa powder and salt, then mix again with smooth and fluffy buttercream frosting.

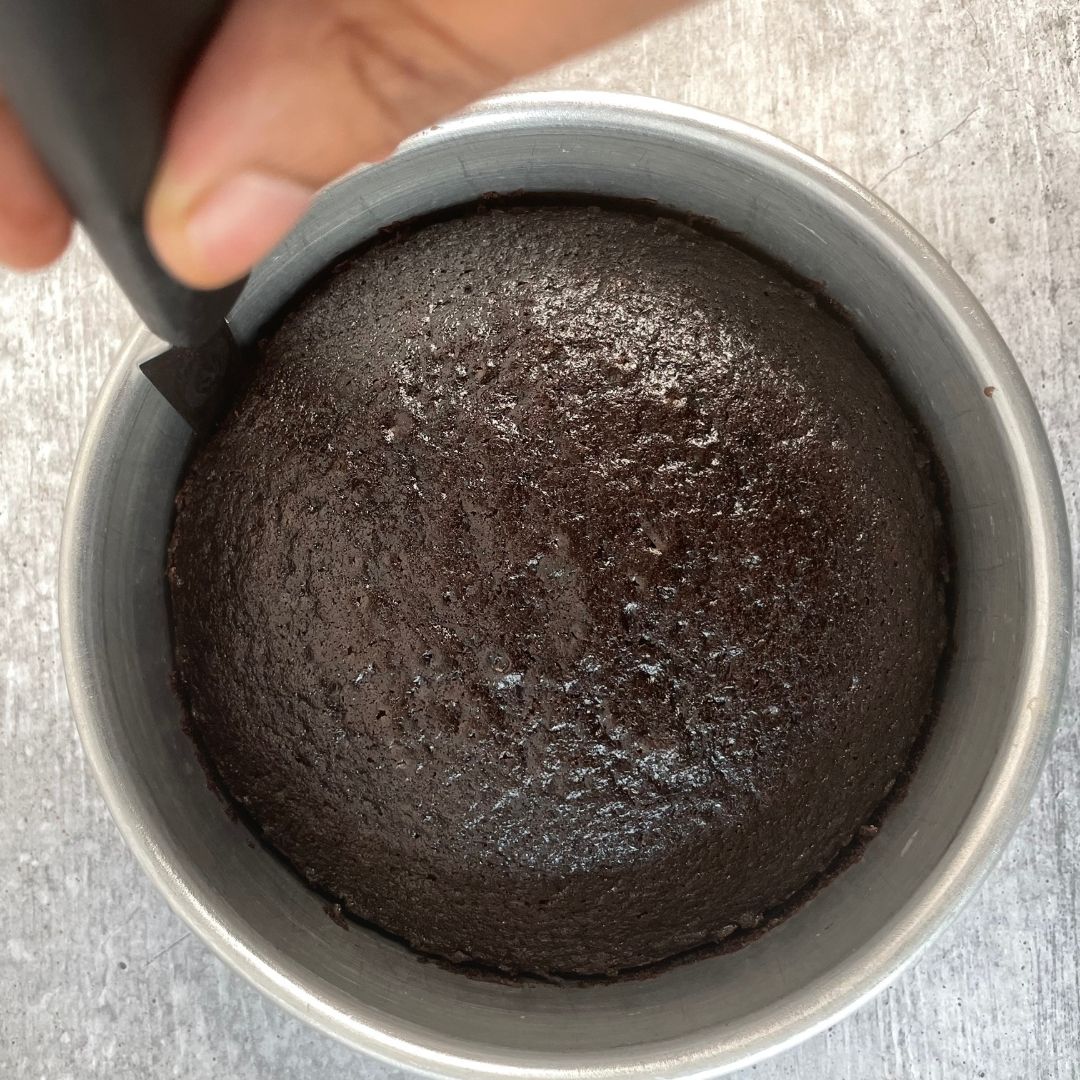
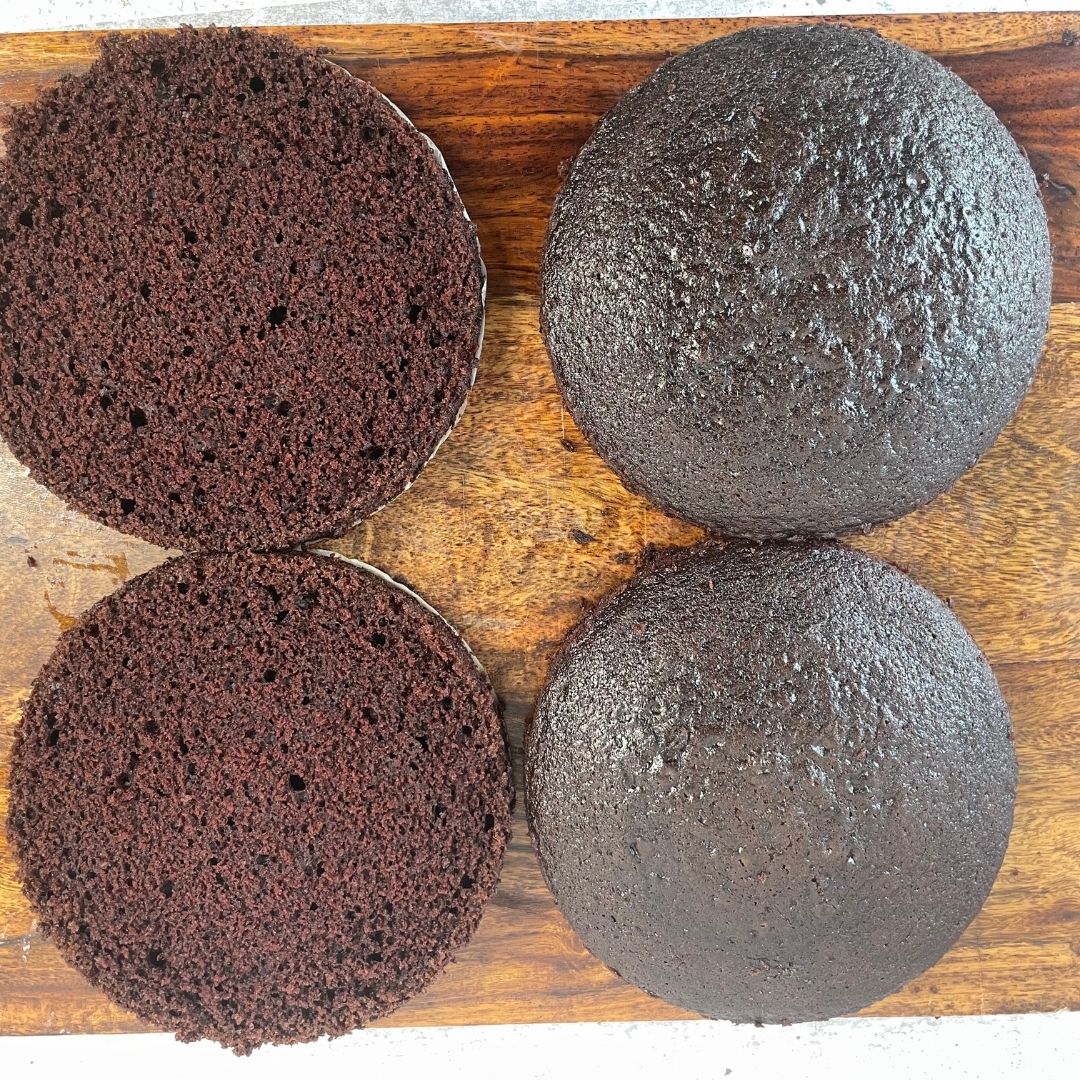
De-mould and divide: Let the cake cool down properly before de-moulding and dividing. Once they are cooled completely, de-mold them using a palette knife or an offset spatula. Make sure that the pressure is towards the tin and not the sponge, or the sponge may have a dent from one side. After de-moulding, divide the sponges into 2 using a serrated knife or cake leveller. I personally use a cake leveller as it cuts more precisely. And cut the domed part of the sponge as well if you have any.

Assembly
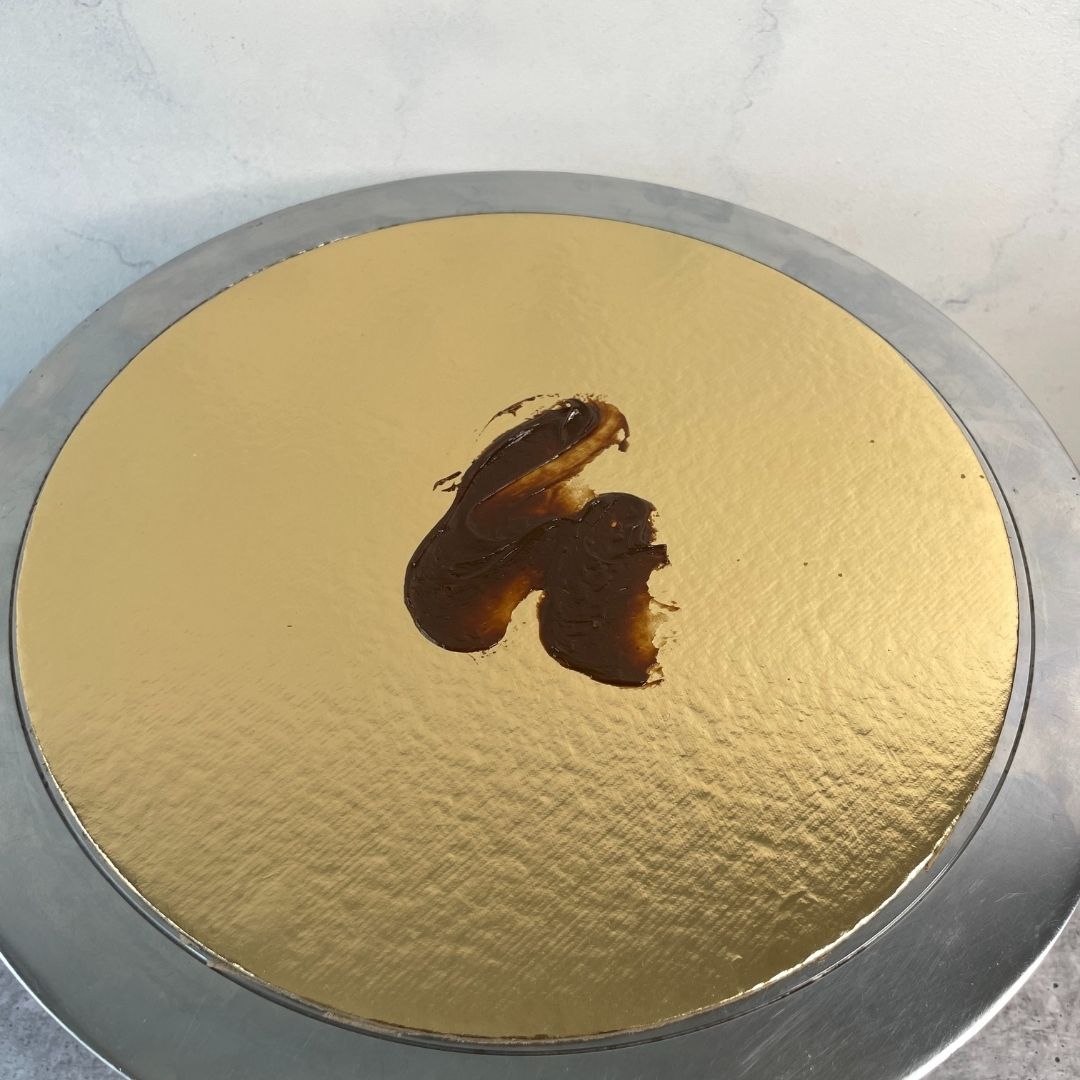
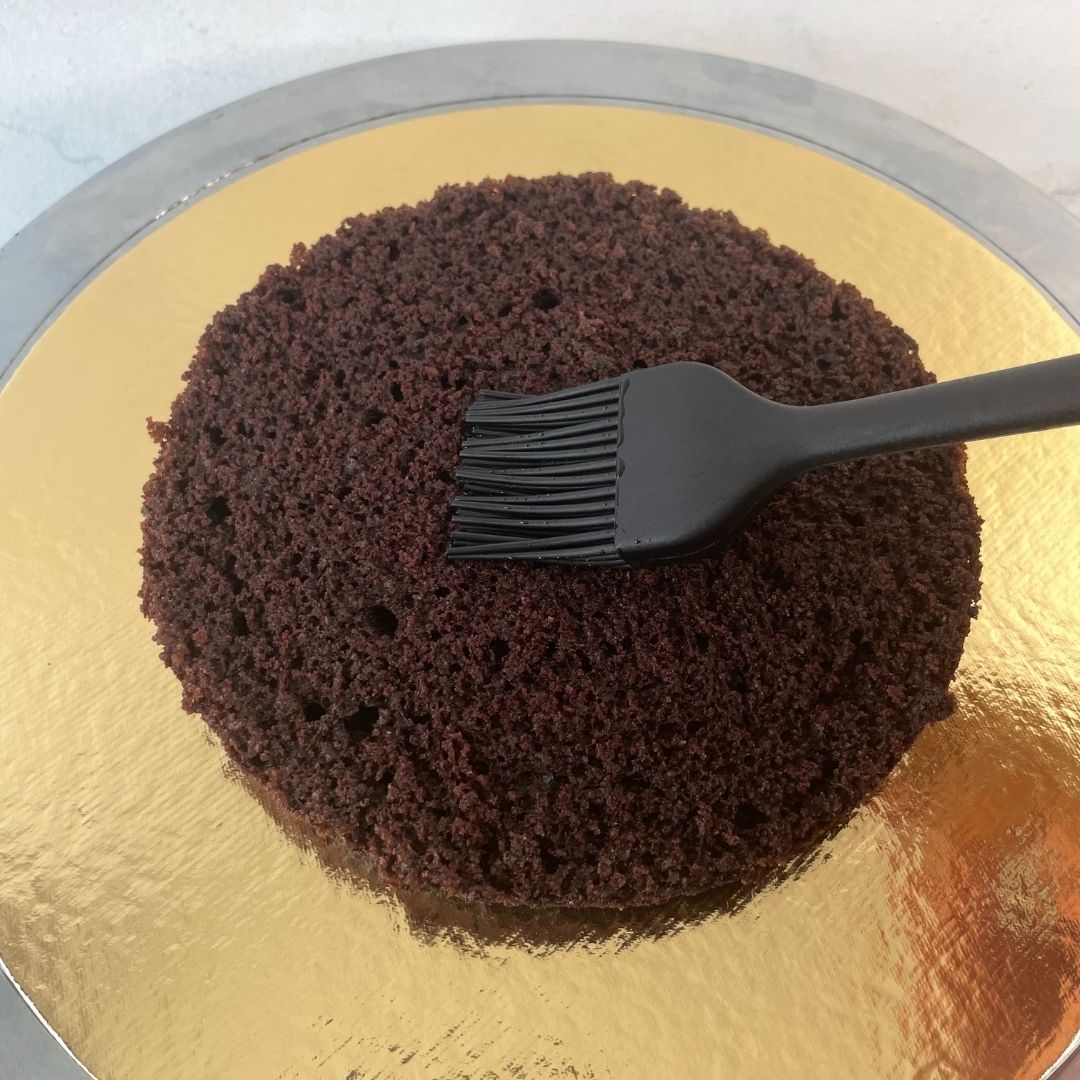
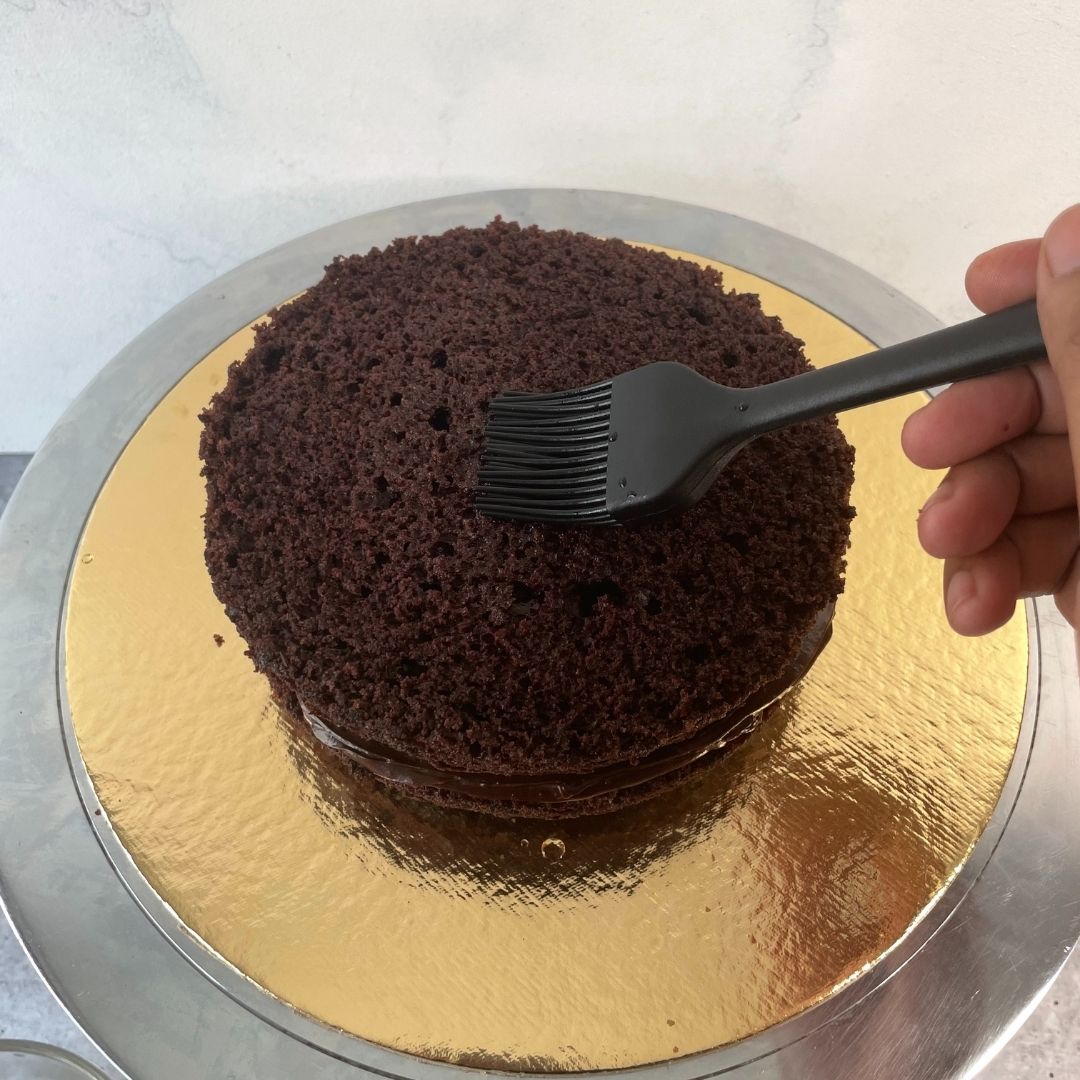
Layering: Now, on a cake base, spread a little bit of ganache so that the cake doesn’t budge from the centre while layering and frosting. Place one layer of sponge on top, then soak it with soaking syrup. For soaking the sponge, you can use a pastry brush, squeeze bottle or even a spoon. Now, pipe the ganache on top and smooth it out using an offset spatula or bent palette knife. Place another layer of sponge on top and repeat the same process as we did with the first layer until we get 4 layers of layered cake. Do not forget to soak the top layer as well.

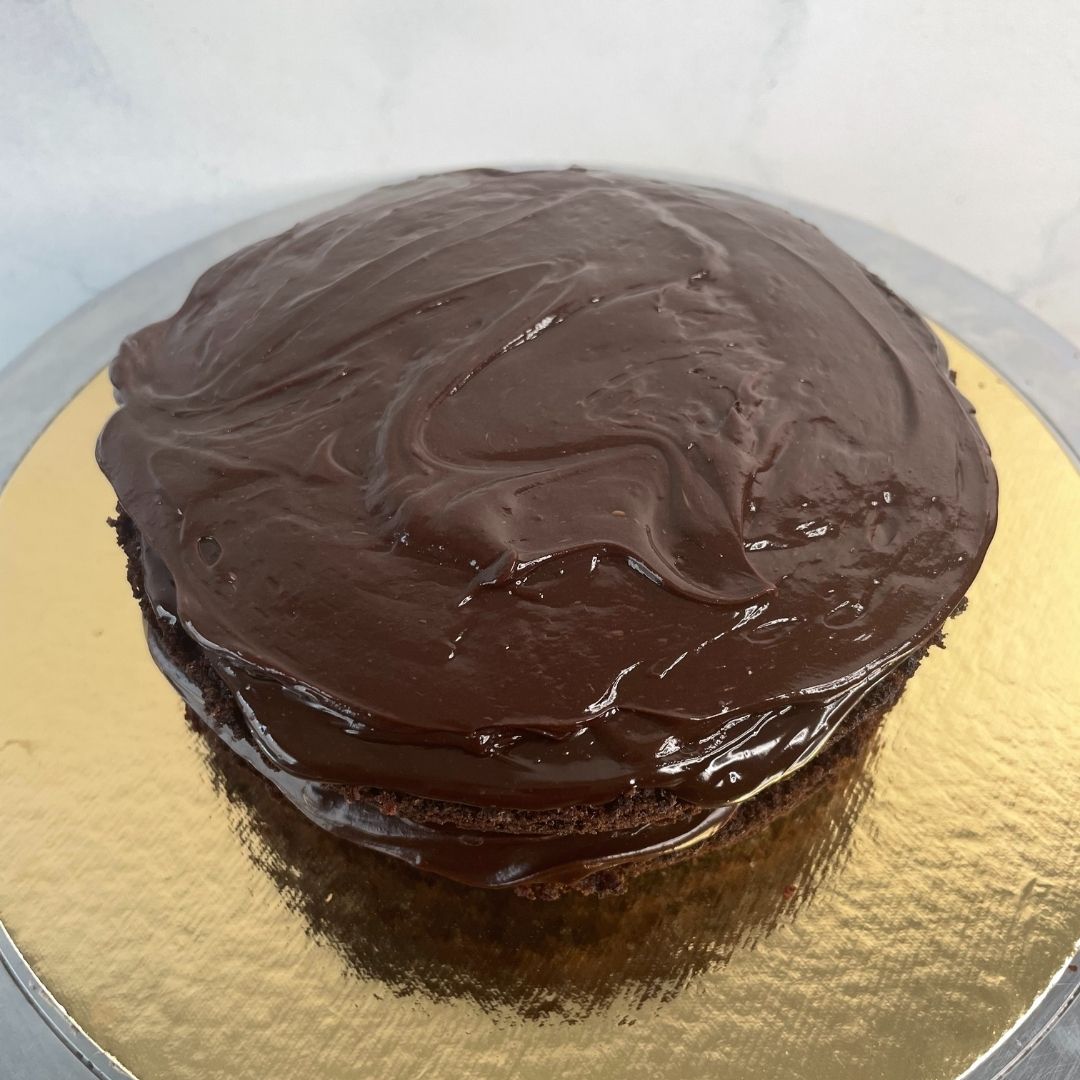
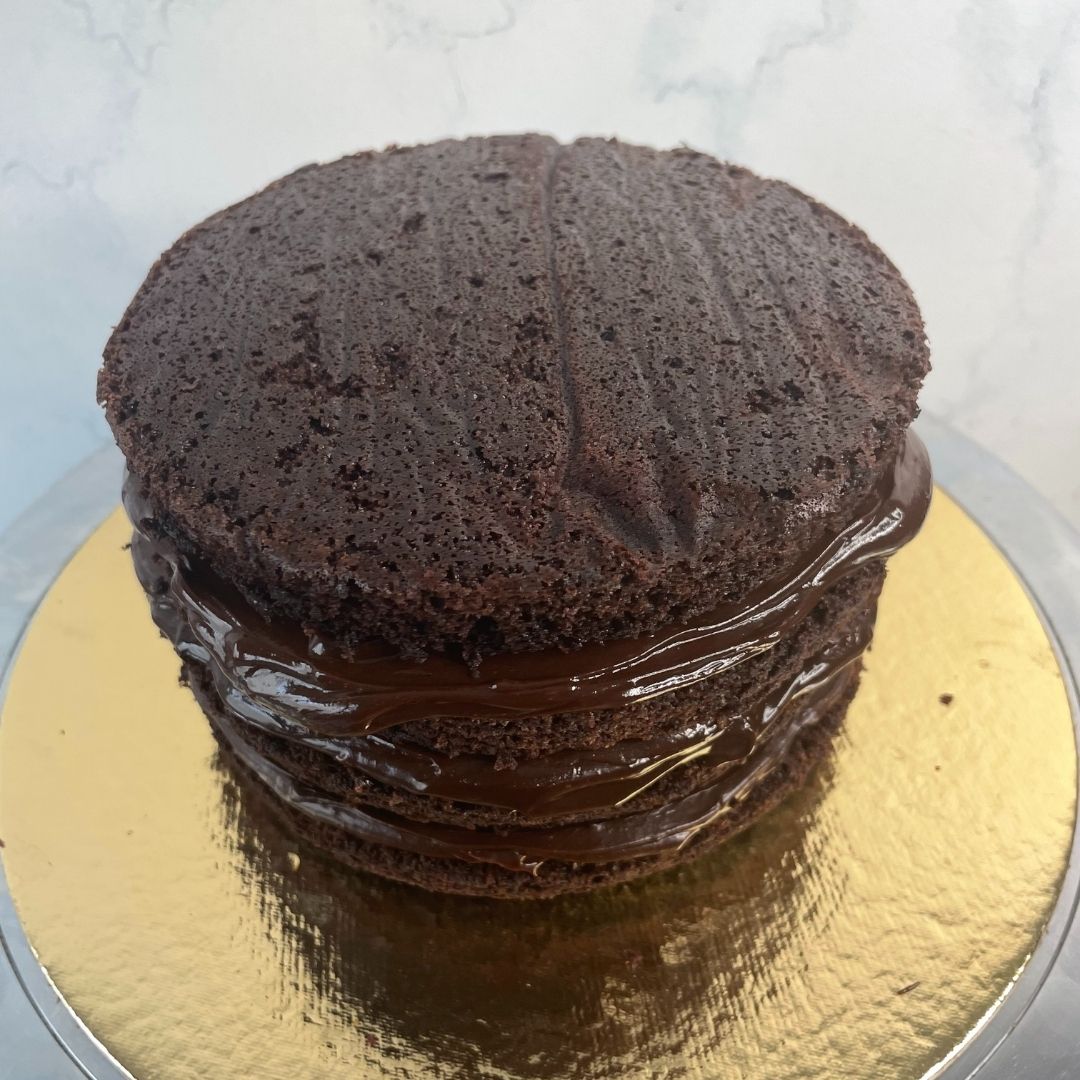
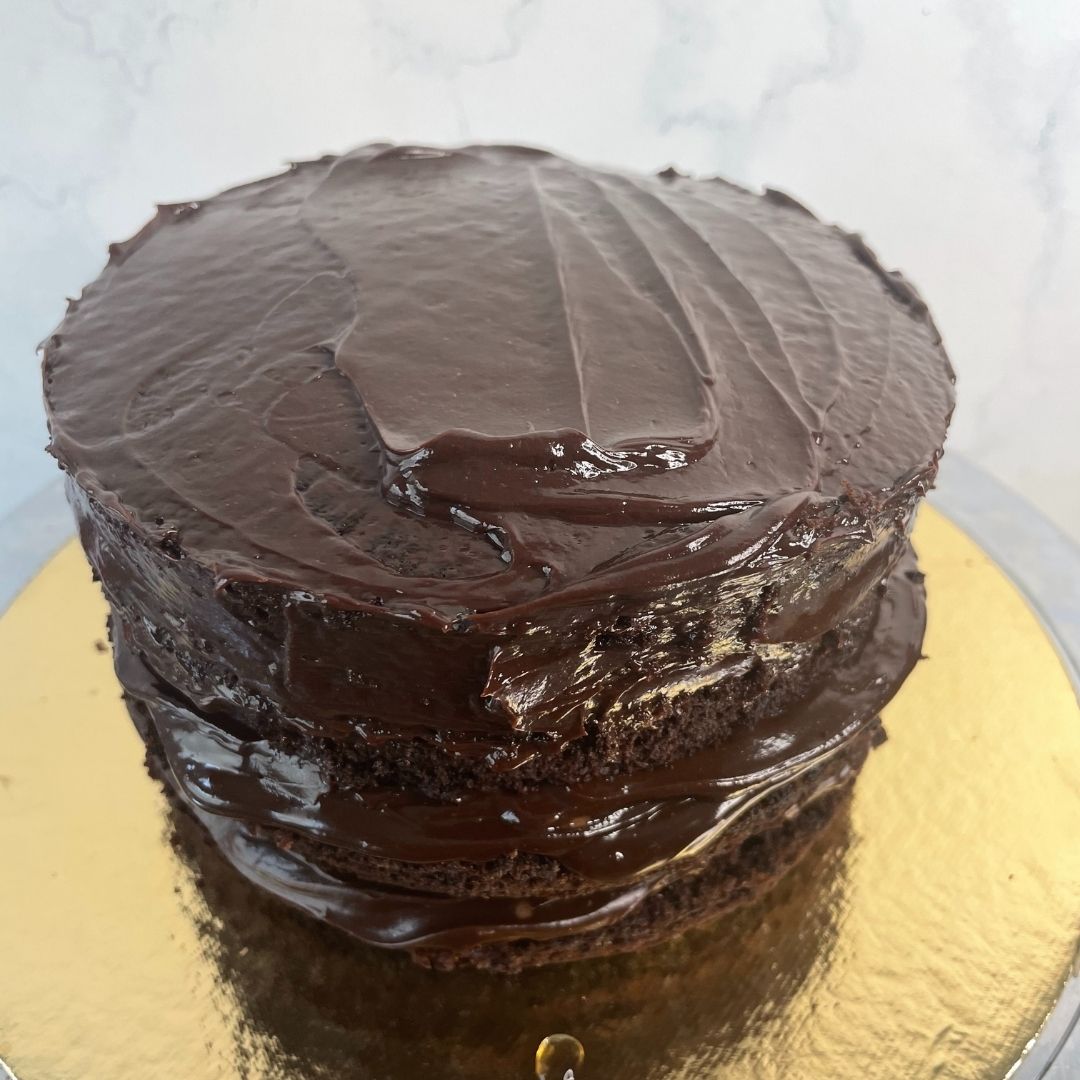
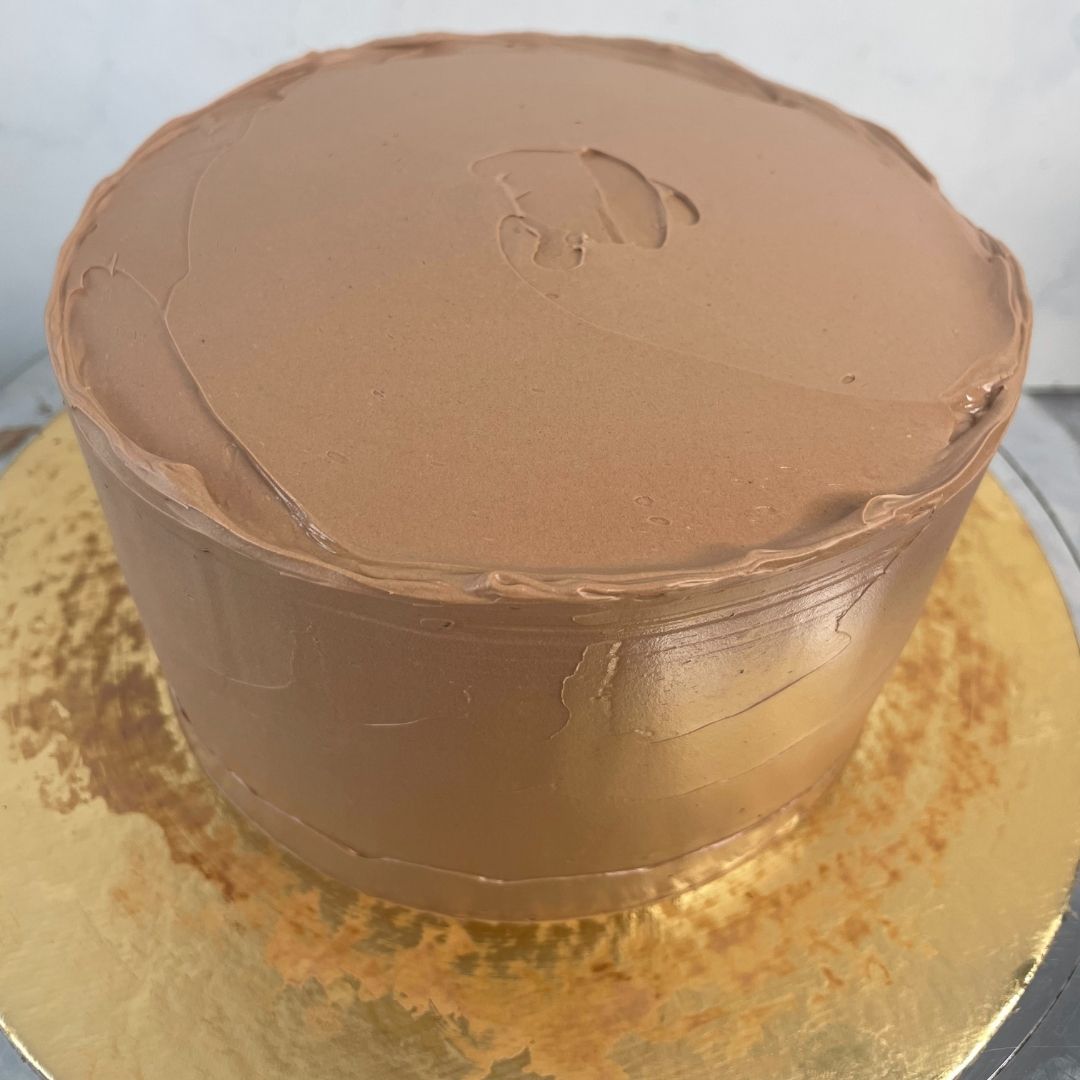
Crumb coating: For crumb coating the cake, pipe the ganache all over the cake and at the top as well, and then smooth out the ganache using a palette knife and remove the excess with a scrapper. Crumb coating helps the stray crumbs to stay in place and makes the final frosting glide smoothly. Keep it in the refrigerator for 15 – 20 minutes so that the crumb coat sets properly.
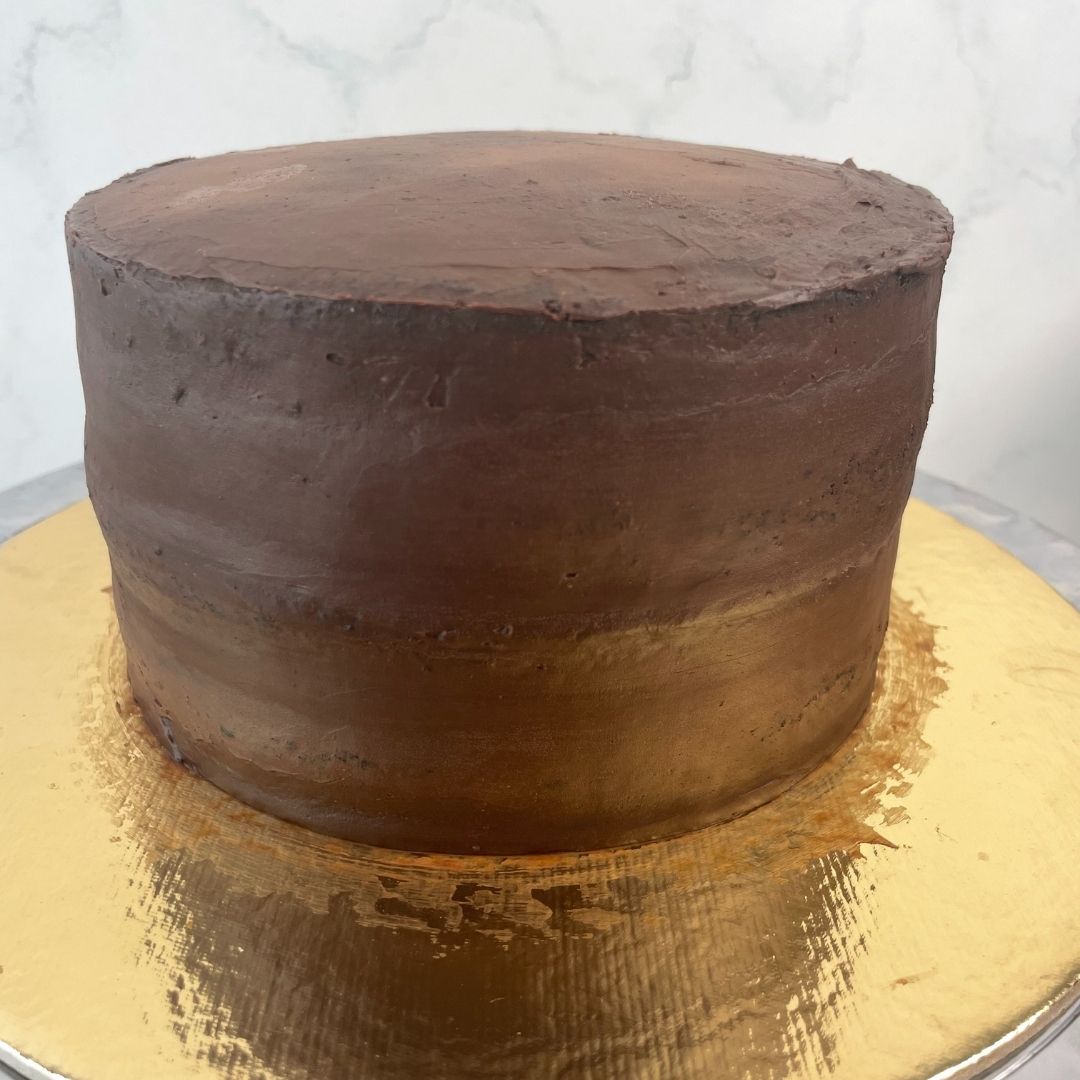
Final Coating: Now, for the final coating, pipe thick layers of chocolate buttercream all over the cake, then smooth out. Make sure that you have sharp edges at the top.
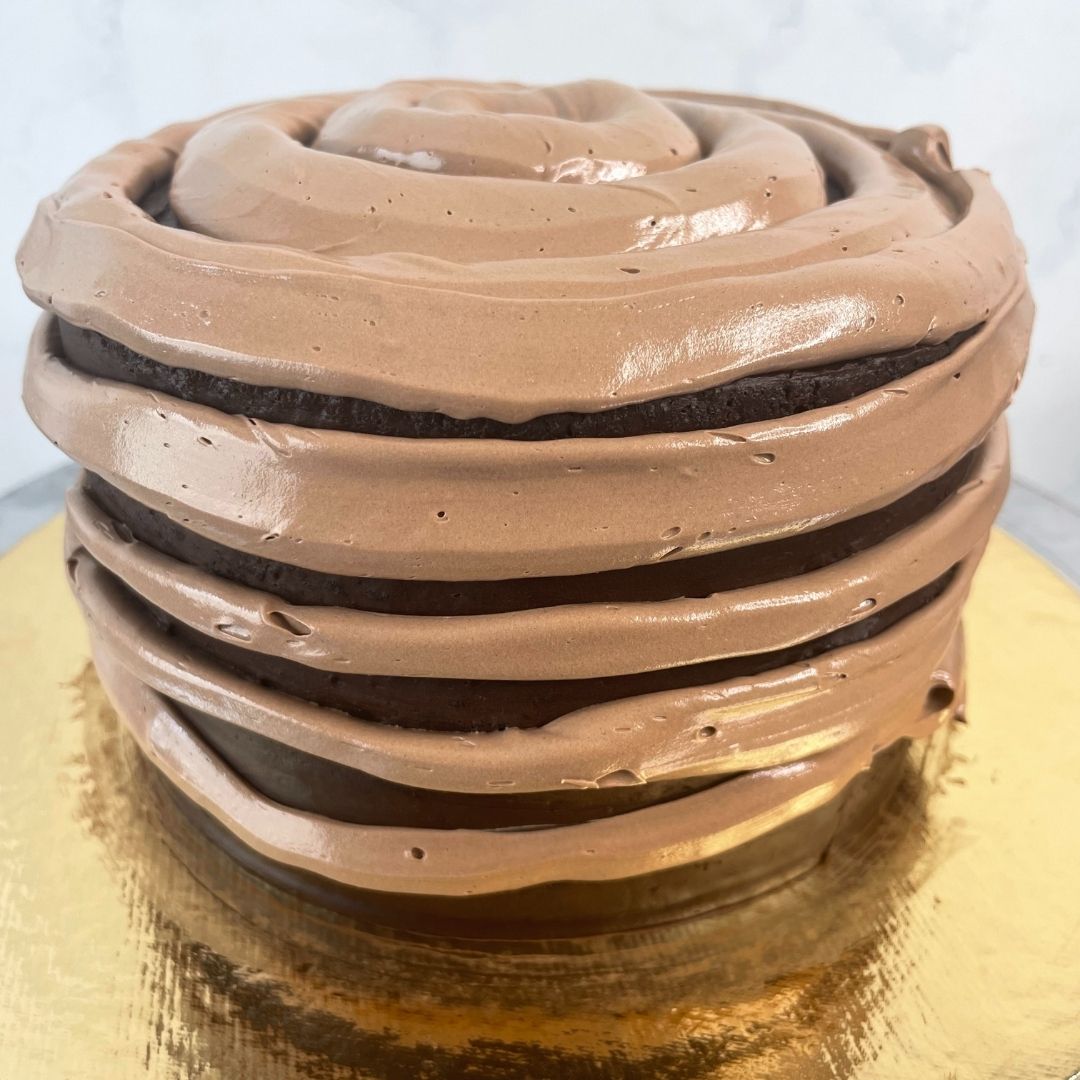
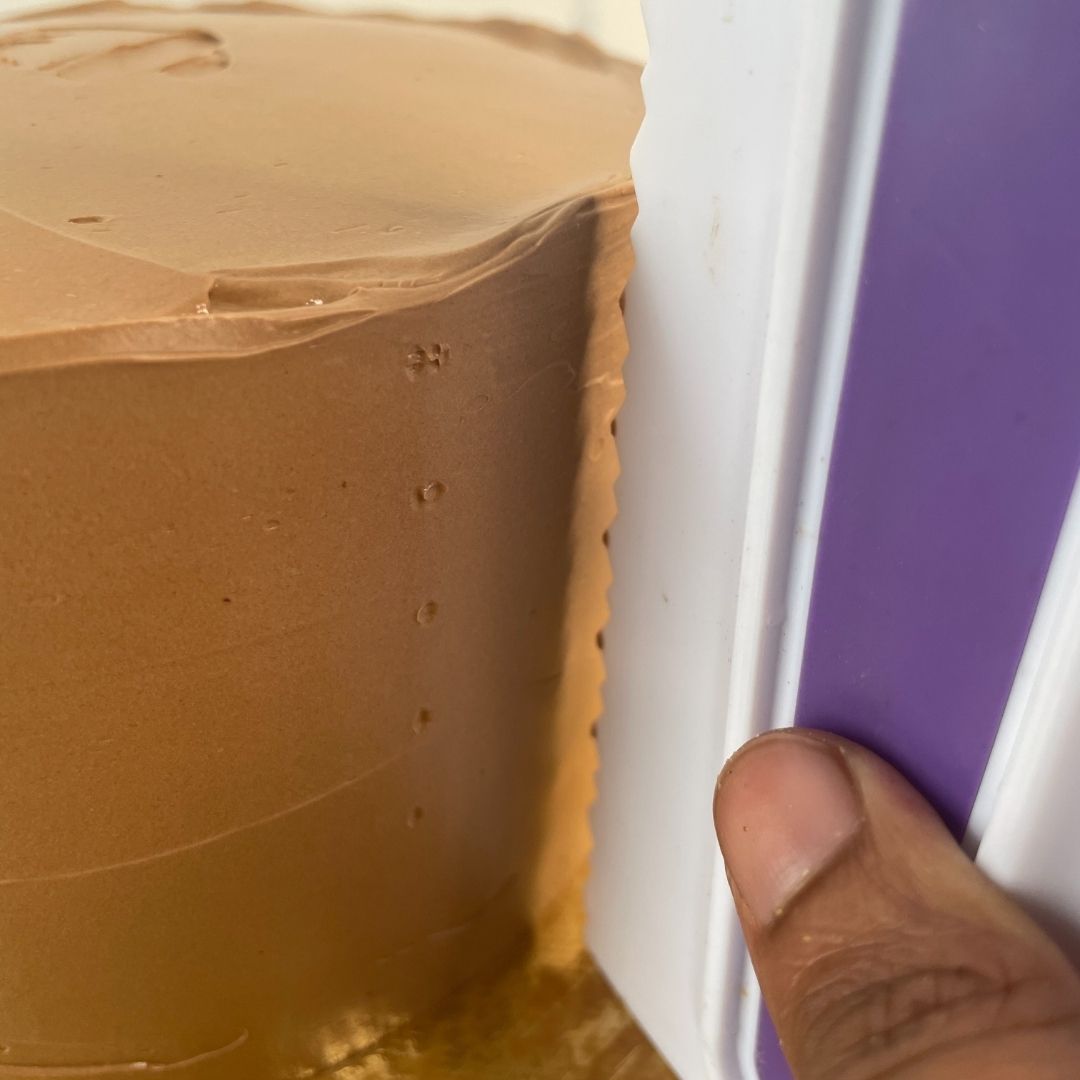
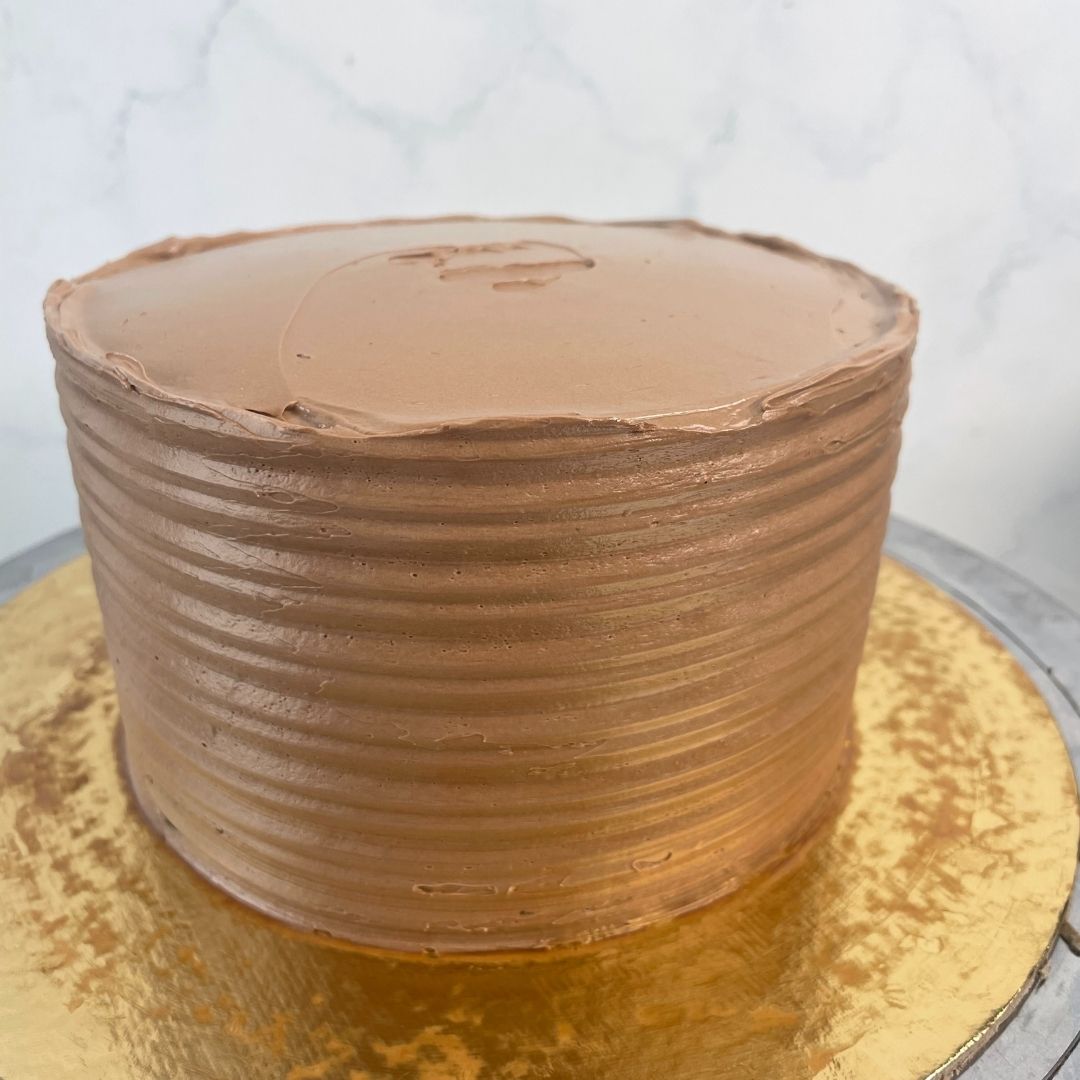
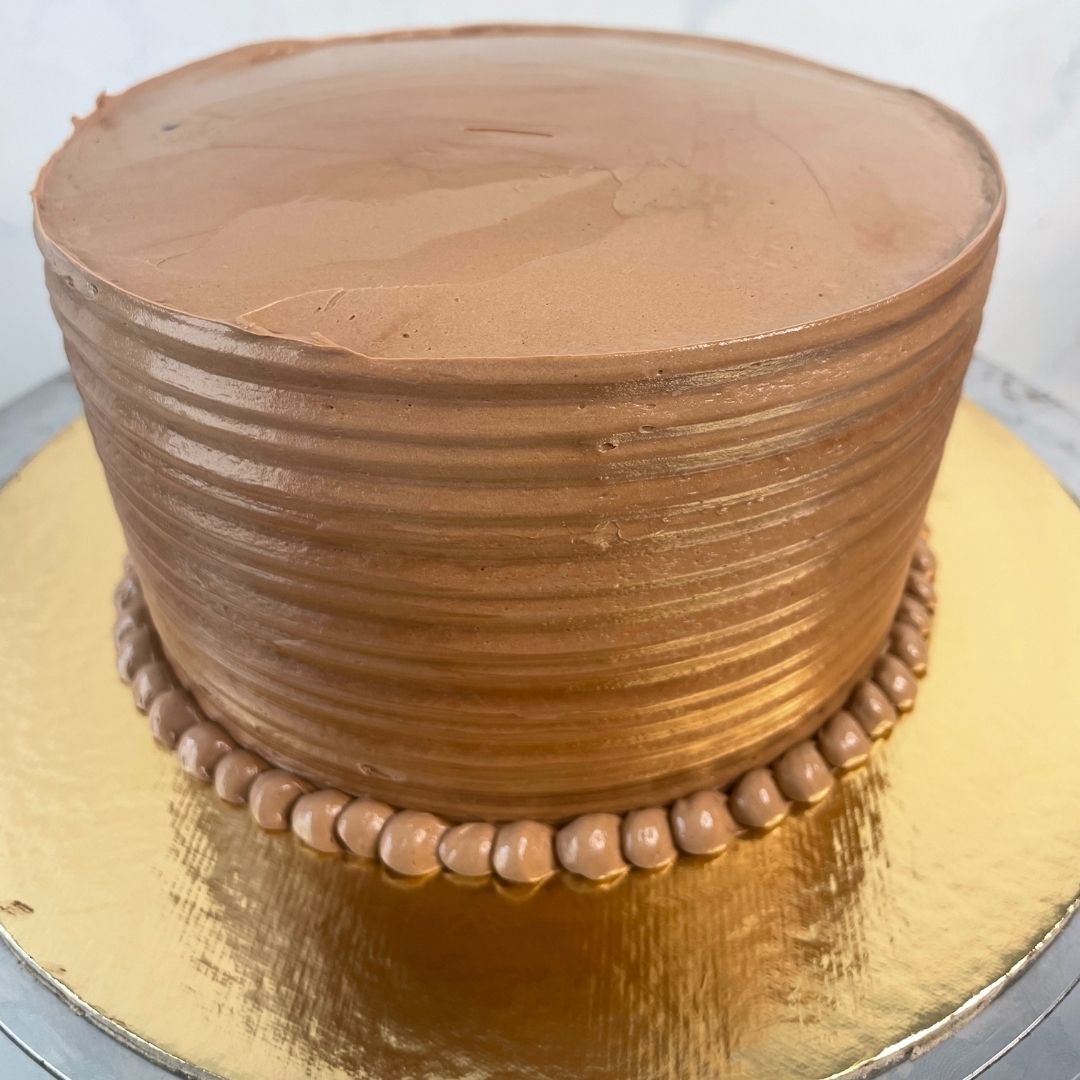
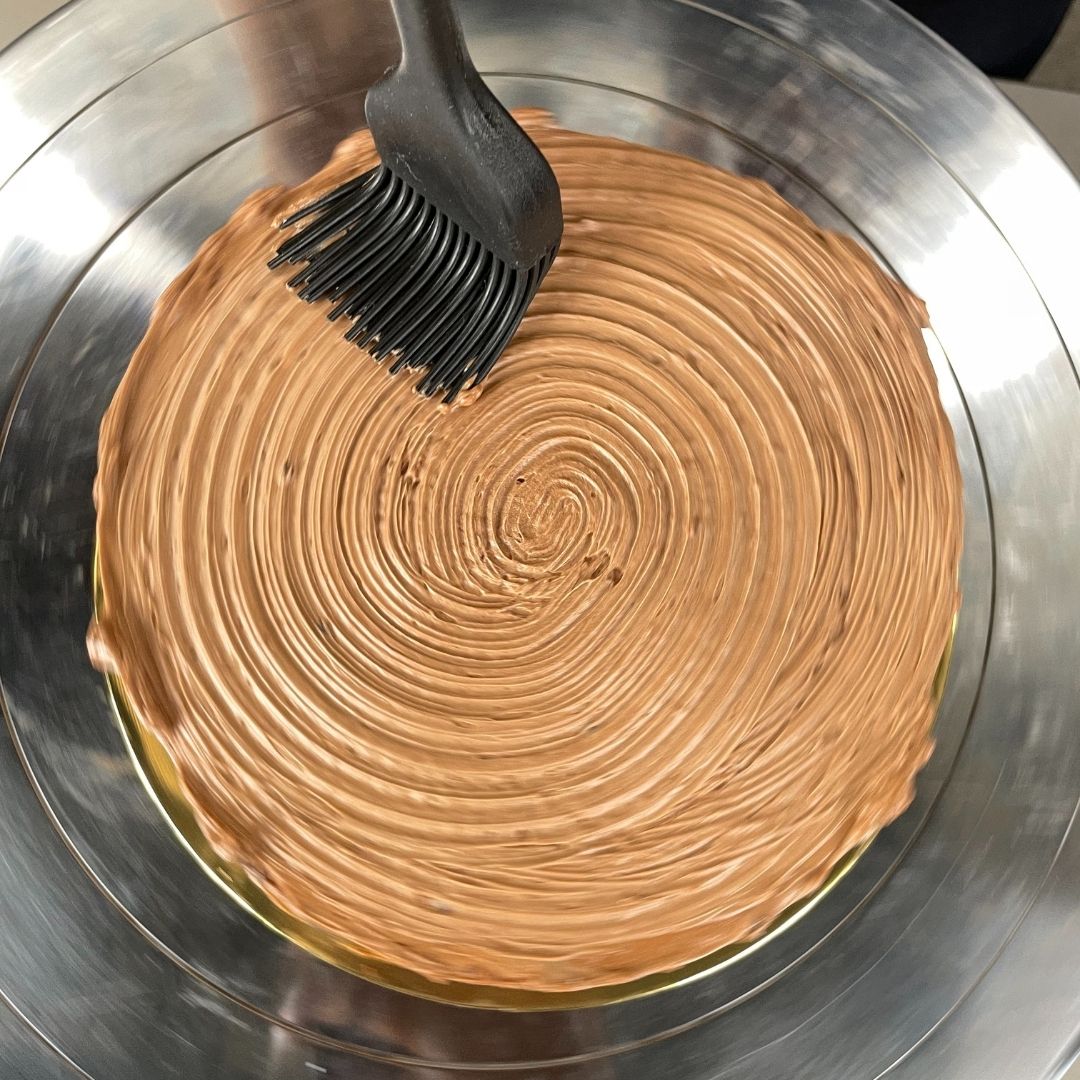
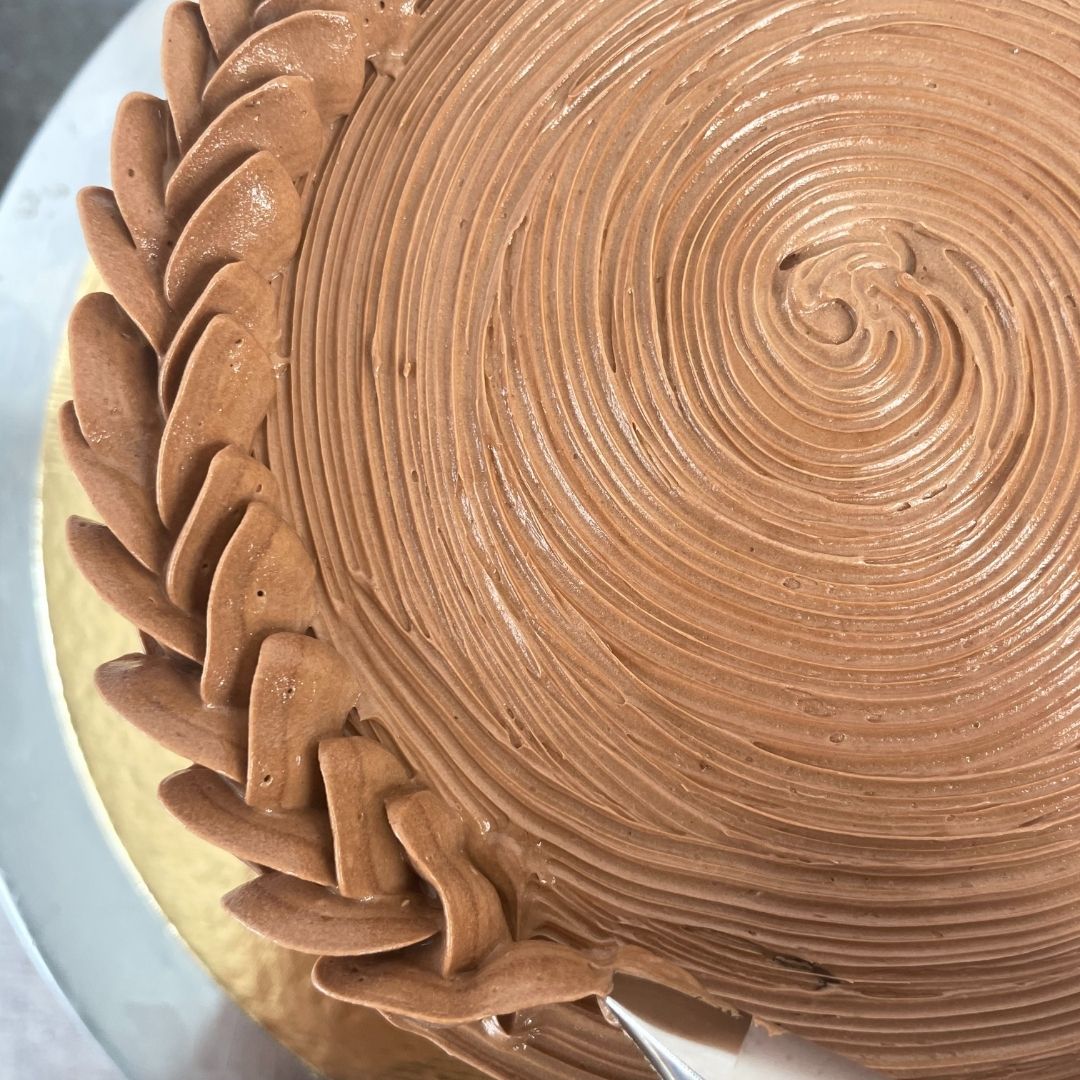
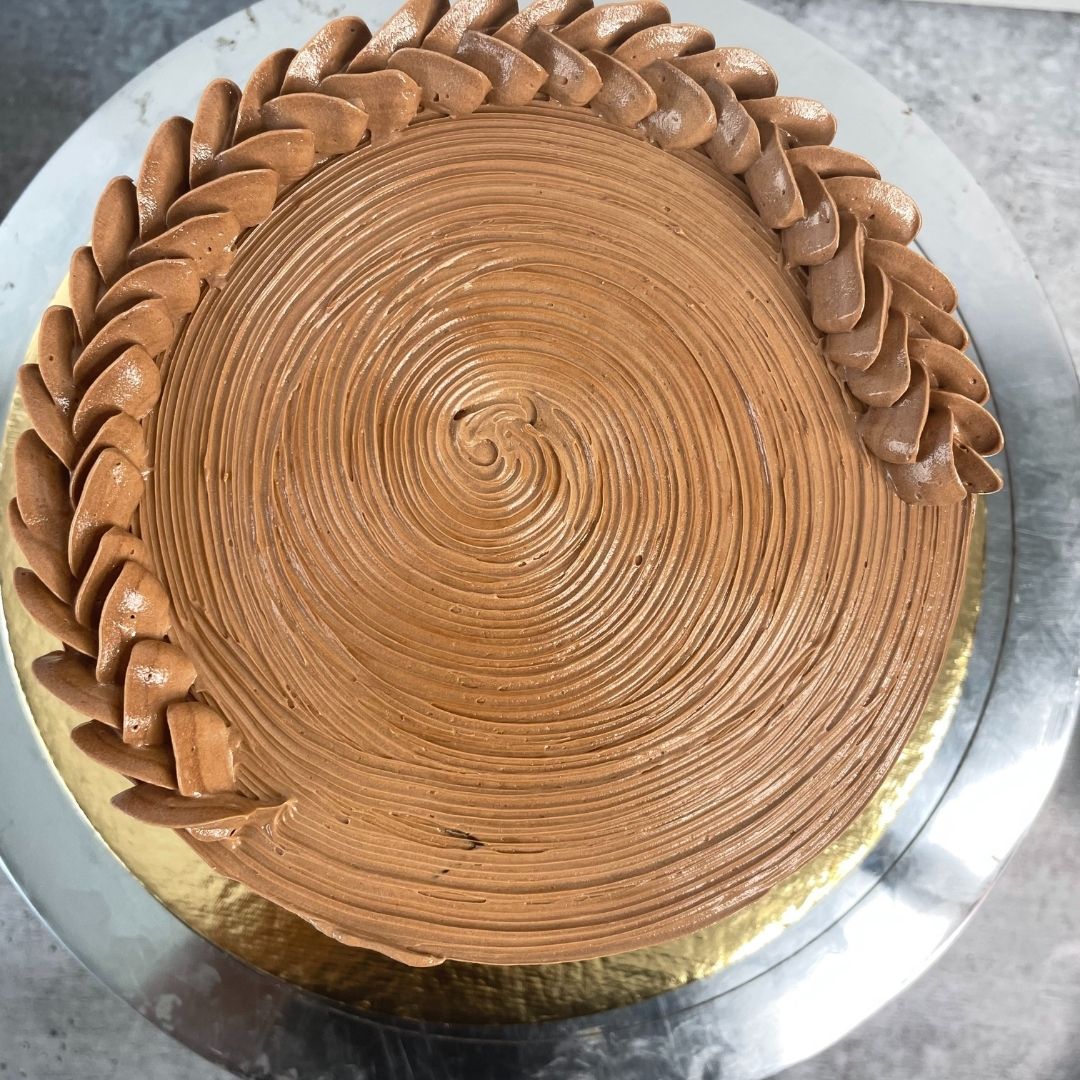
Decorating: Now, with a cake comb, scrape the excess around the side of the cake. Apply very little pressure while scrapping the excess, or all the buttercream may come off of the cake. And pipe shell pearl border around the base of the cake using a piping bag. For this part, you can also use a small round nozzle or simply use a piping bag and cut off the tip according to the size of the border that you want. Now, for the top, run a pastry brush from the centre to the edge while rotating the turning table. Lastly, the pipe braided border around the top edge of the cake using a leaf nozzle. And you are done with the most beautiful and delicious eggless chocolate cake.
Chef’s Tips For The Recipe
For The Batter
Sift the dry ingredients before mixing with the liquid ingredients to prevent lump formation.
Do not over-mix the batter, which may sink from the middle while baking.
For The Final Coat
While scrapping with the cake comb, ensure you do not apply too much pressure, or the frosting may come off.
How to Store Eggless Chocolate Cake
You can store the frosted cake in the refrigerator for 1 week if you keep it in an airtight container. You can also freeze the cake for 15 – 16 days.
The sponges can be frozen for 1 month, and the filling and buttercream can be frozen for 15 days. Make sure that you keep them tightly sealed.
As it has been frosted with buttercream, make sure you consume it the same way you bake it if kept at room temperature.
More Easy Recipes
Check out our other cake recipes that are as tasty as this one:
Frequently Asked Questions
You can substitute all-purpose flour with whole wheat flour to make the cake. But remember that using whole wheat flour will create a denser cake. So I recommend using 50 – 50 of both the flour.
Yes, definitely. You can use almond or soy milk instead of regular milk to make the cake dairy-free. The taste may differ a little bit due to the change of milk.
Yes absolutely! You can substitute the all-purpose flour with gluten-free flour to make the cake gluten-free.
To prevent the cake from sticking to the baking tin, make sure that you grease the tins with oil or butter and place butter paper at the bottom.
No, the sugar quantity given in the recipe is according to the needs of the cake. It not only adds sweetness but also helps achieve the texture and moisture of the cake.