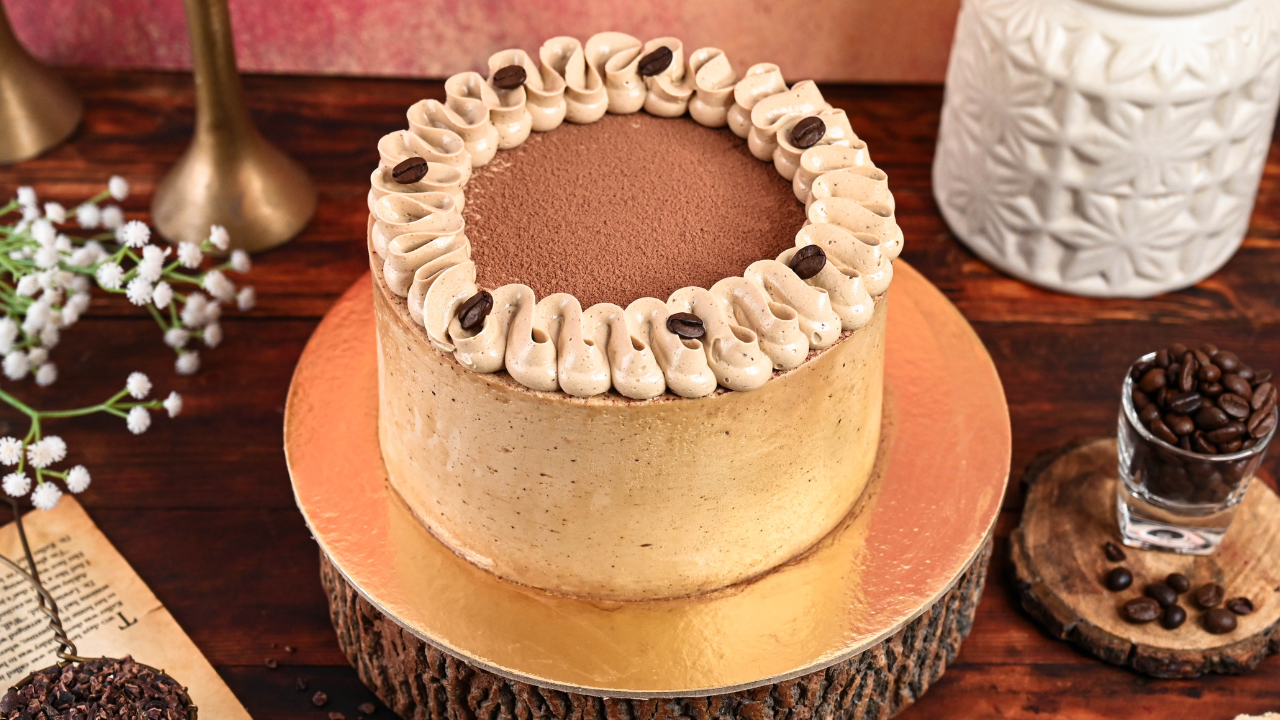
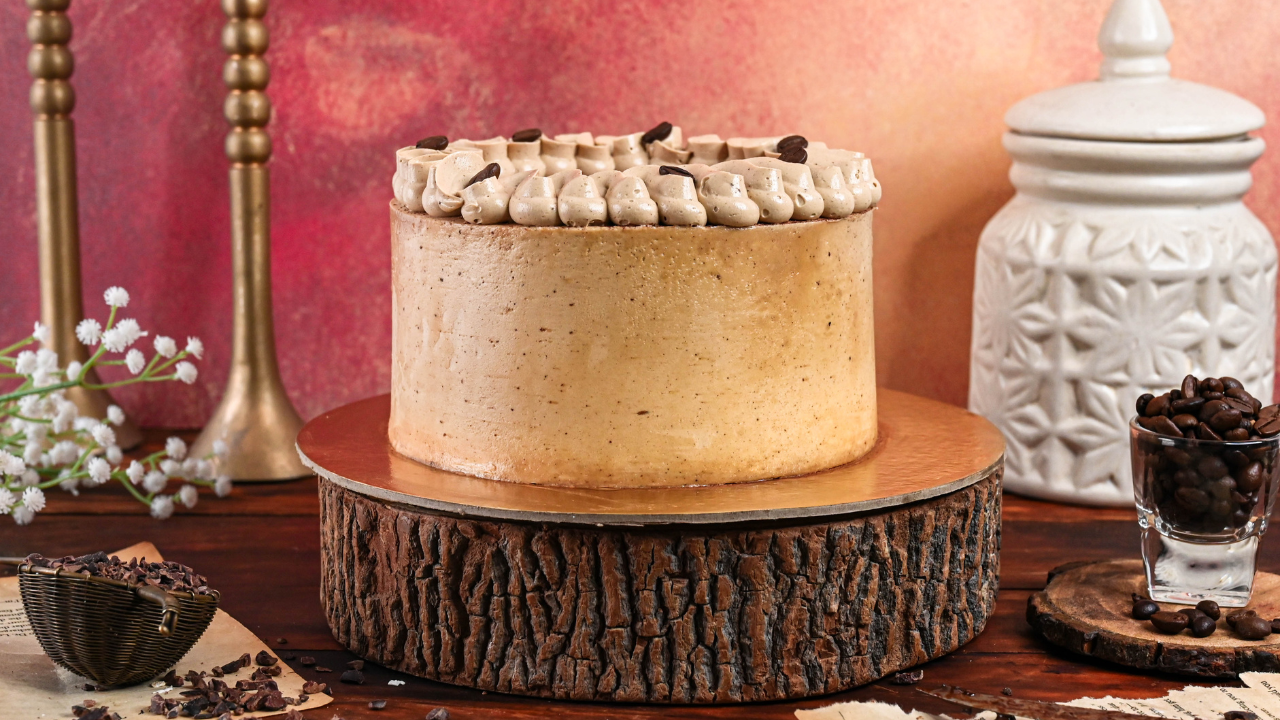
There’s something truly magical about the combination of rich chocolate and bold espresso. And when these two come together in a cake, it creates an experience of pure indulgence.
Whether you are a chocolate lover or a coffee lover, this Chocolate Espresso Cake will satisfy all your cravings and give you pure joy.
Chocolate, with its luscious, velvety texture, provides us with a luxurious chocolate-flavored cake, and the espresso adds a robust and slightly bitter taste that perfectly balances the sweetness of the chocolate.
This cake is a dream come true for both chocolate and coffee lovers alike.
So, the next time you want to treat yourself to an espresso and chocolate, consider baking this cake and experience a heavenly cake that melts in your mouth.
When it comes to chocolate cake, I am always in, no matter what. I have never baked a chocolate cake that I did not like. And once you try this recipe, you will never go back.
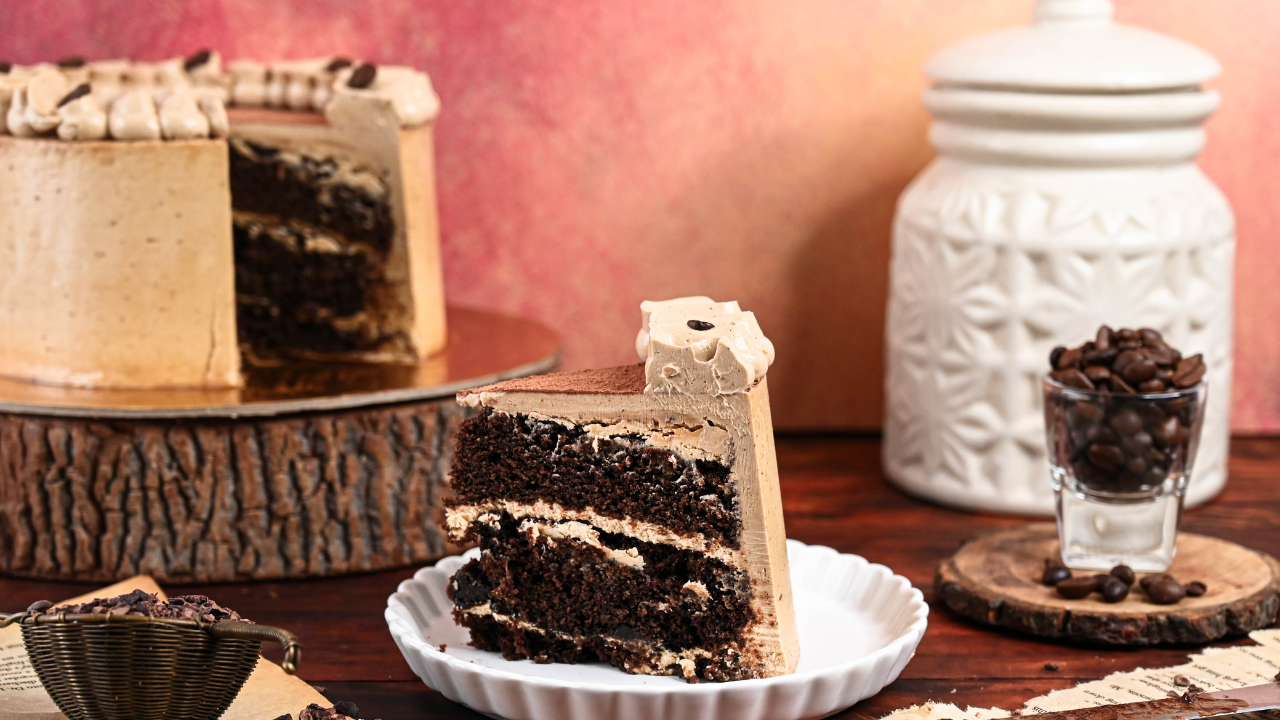
Layers of chocolate cake soaked with coffee-soaking syrup, filled and frosted with smooth and glossy espresso buttercream.
Its alluring aroma and delightful taste are sure to bring smiles to the faces of your loved ones!
Why You Will Love This Recipe?
- Flavor: The flavor of this cake can be described as rich, chocolaty, and velvety, combined with the bold flavor of espresso. It’s a decadent combination that creates a sweet and bitter taste that satisfies your cravings and leaves you asking for more.
- Texture: The moist and tender texture of the cake adds to the overall taste, making it a comforting treat that warms your heart and brings a smile to your face.
- Perfect for coffee and chocolate lovers: This cake is perfect for those who love chocolate and coffee, just like me. You won’t ever hear a No if you give me this cake.
- Easy: Making this cake is relatively easy and simple. You can make this cake pretty easily by following the steps in this recipe.
Important Ingredients Used in the Recipe
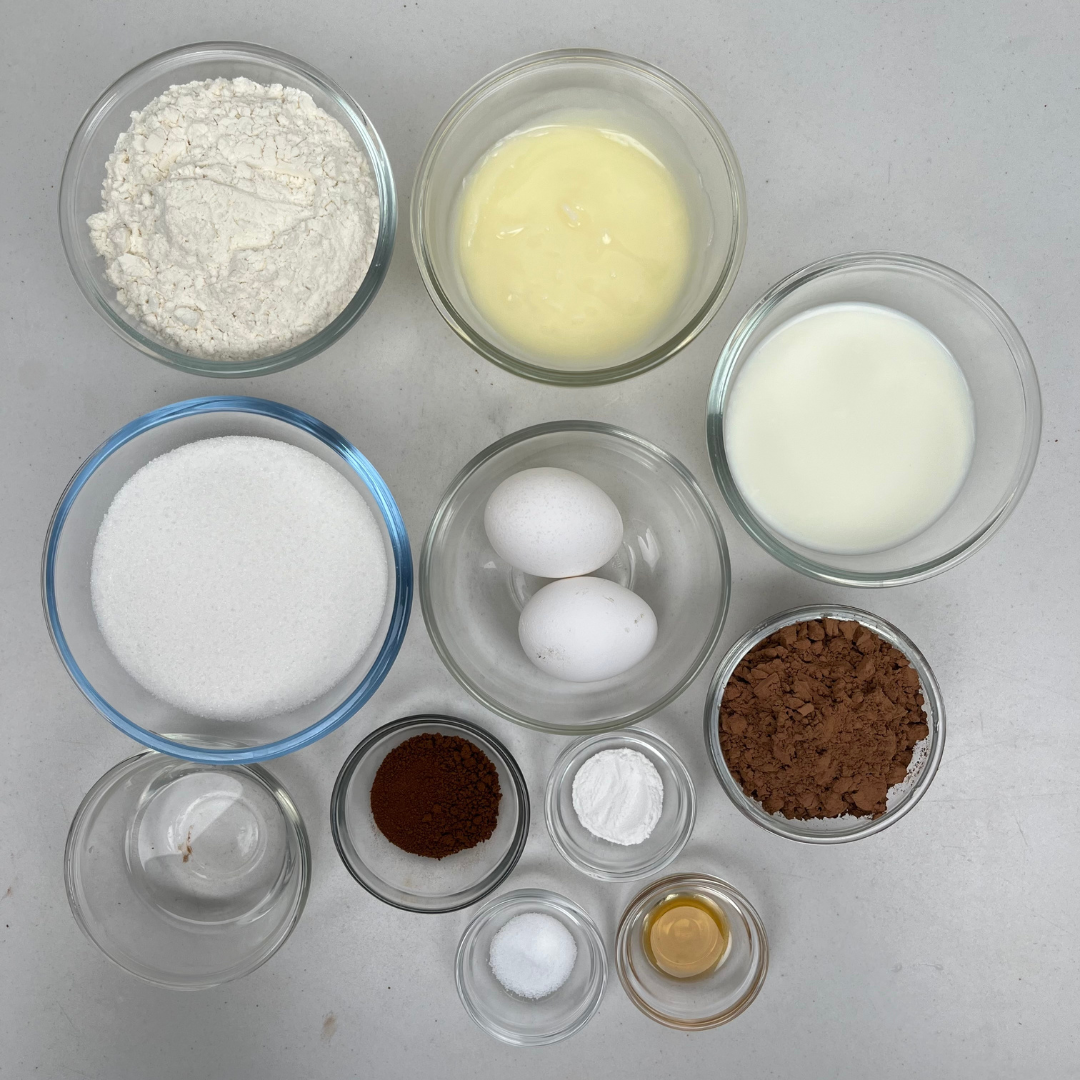
- Natural cocoa powder: I have used natural cocoa powder to make the chocolate sponge for this recipe. It gives a rich chocolate flavor. You can also use Dutch cocoa powder, but keep in mind that it can change the flavor’s texture and taste.
- Sugar: Besides adding sweetness, castor sugar provides moisture and tenderness to the cake. And icing sugar or confectioners’ sugar adds sweetness and stability to the buttercream.
- Coffee: Coffee enhances the flavor of the chocolate in the sponge. This is optional for making the sponge, and you can skip adding coffee if you want to. Coffee is also used in making the buttercream. It provides both color and flavor to the buttercream.
- Butter: In this recipe, salted butter is used in melted form; it gives the sponge its rich flavor. Unsalted is being used to make the buttercream.
- Eggs: Egg adds moistness and richness to the cake.
- Milk: Milk acts as a binder, helping the cake hold together and ensuring a tender and moist finished product.
How to Make Chocolate Espresso Cake
Preparations: Grease two 6-inch round baking tins with oil and place butter paper at the bottom. Also, preheat the oven to 180° C or 350°F (OTG mode: lower rod+ upper rod+ fan).
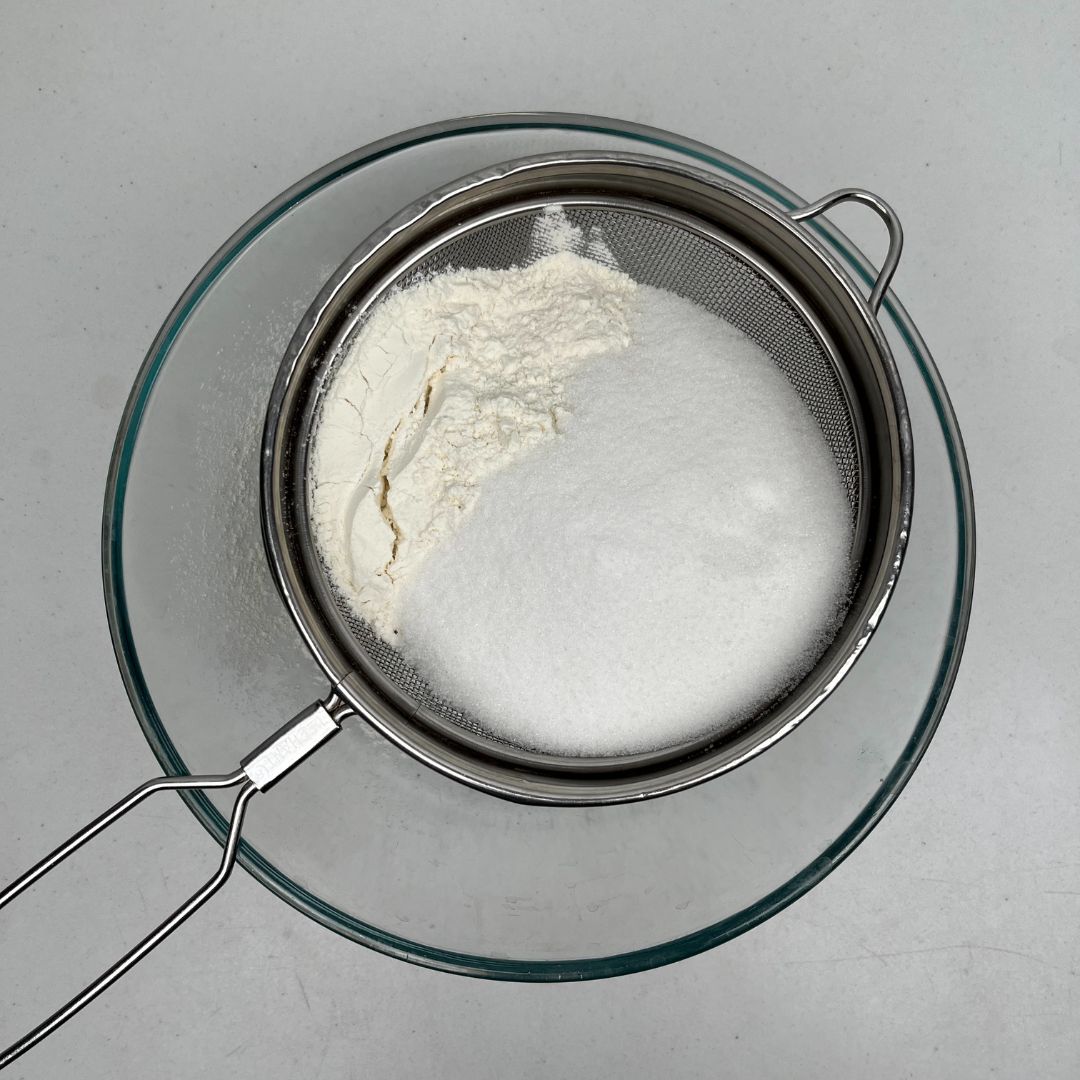
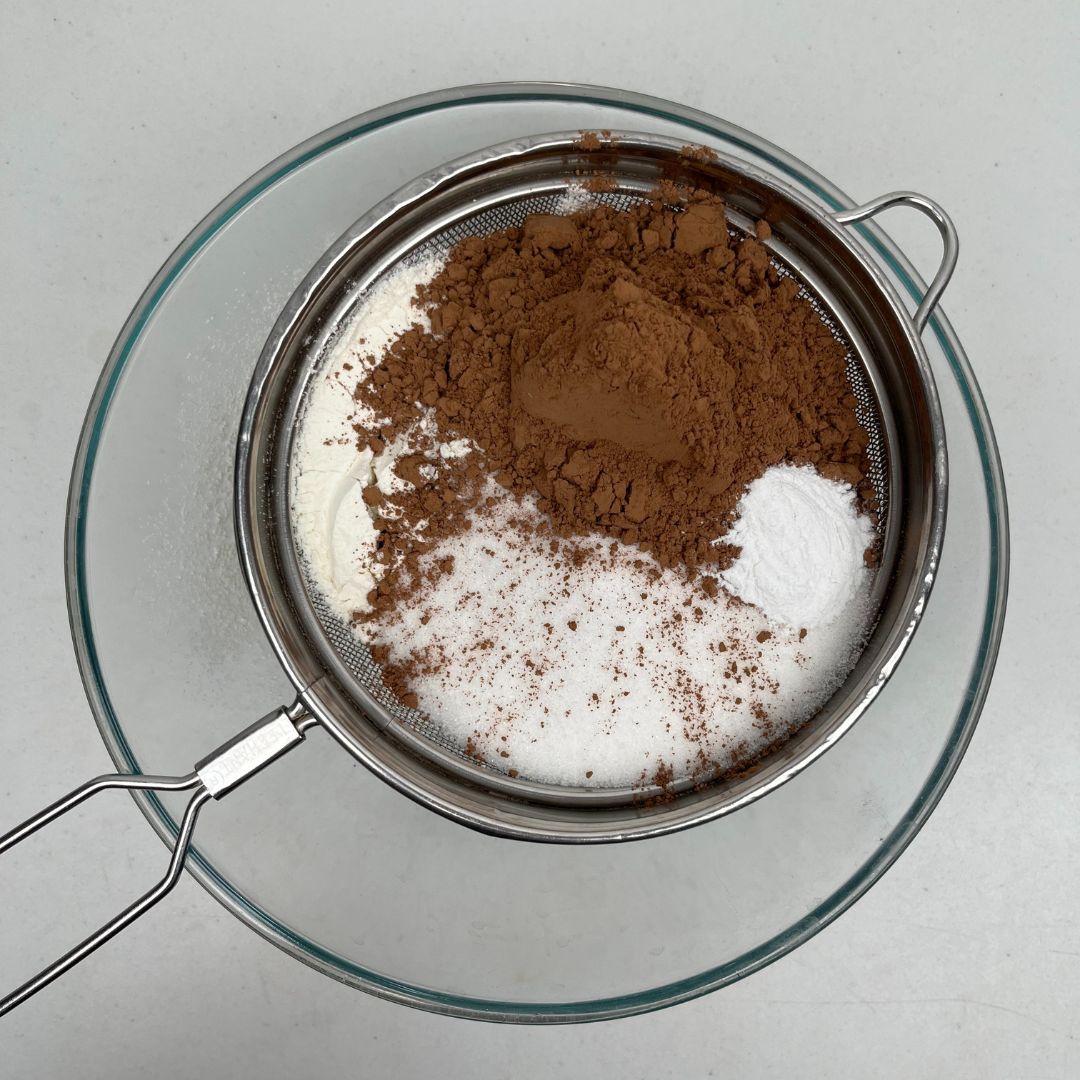
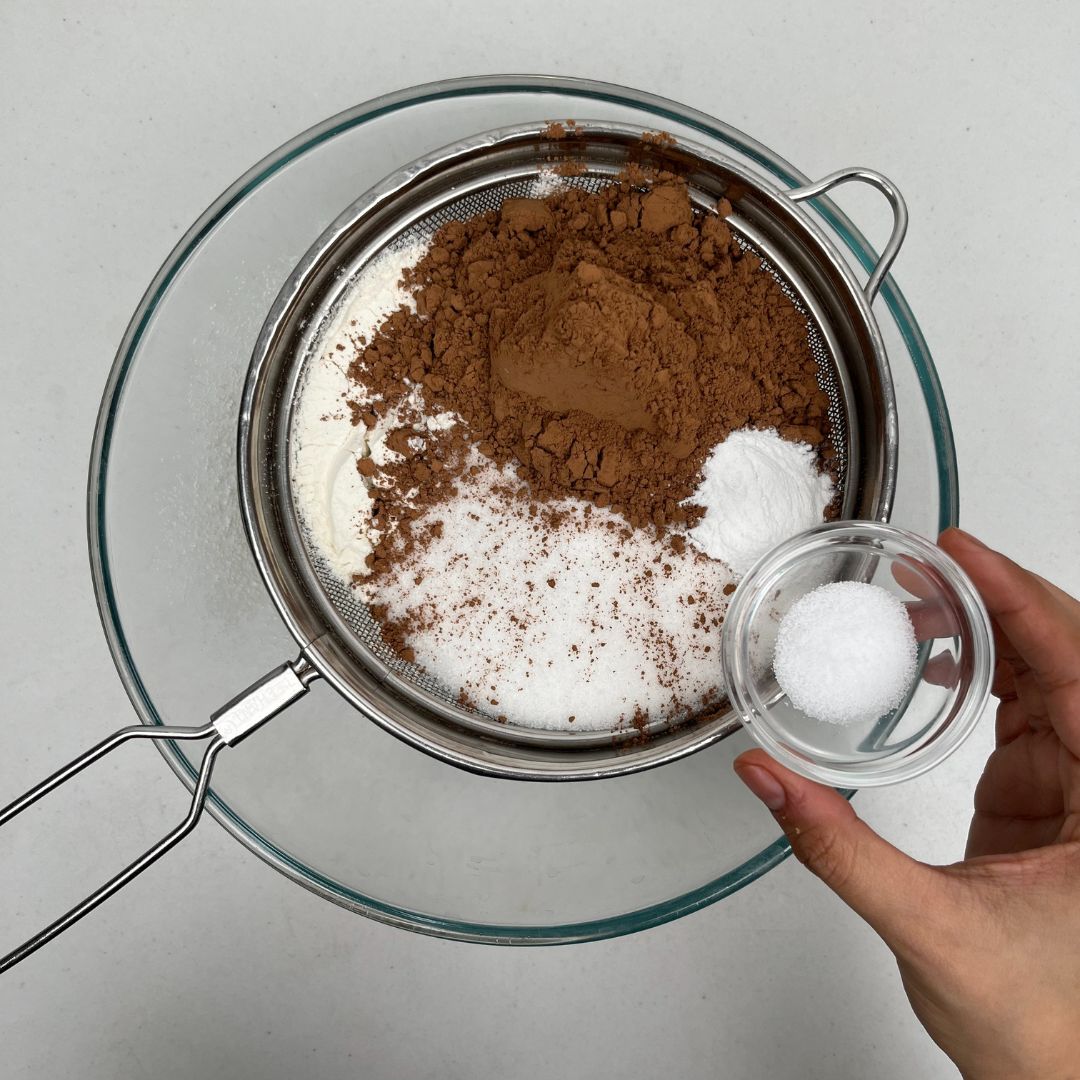
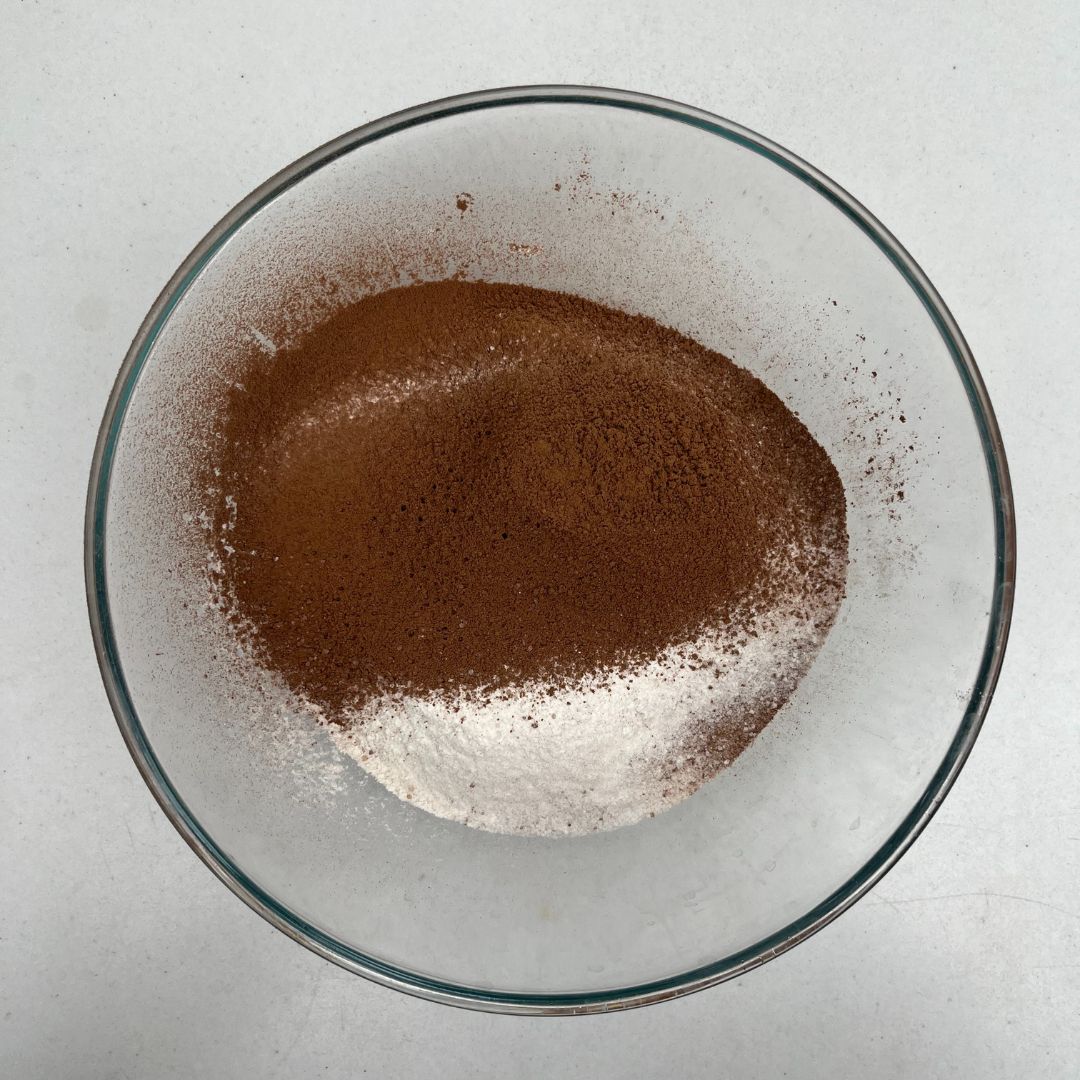
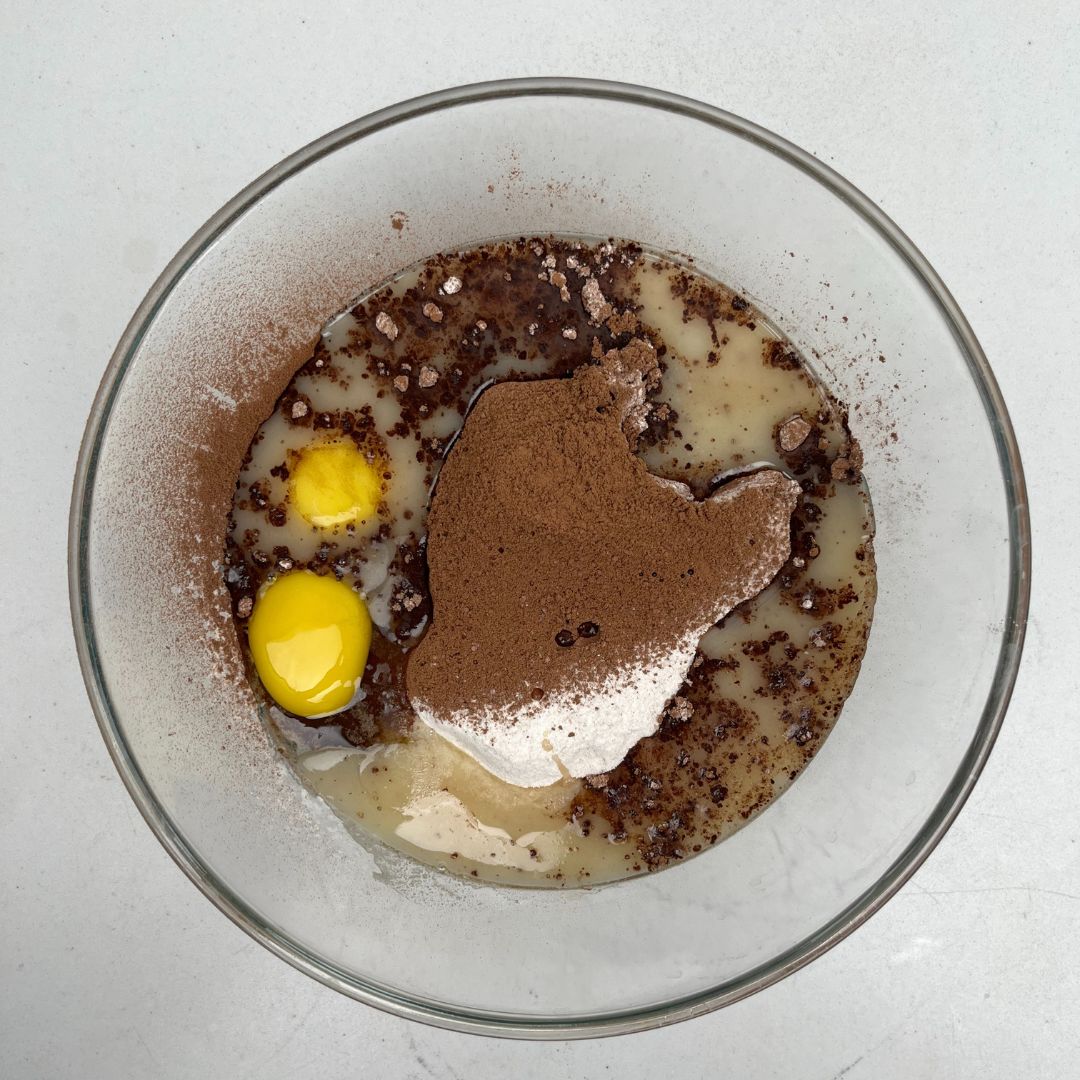
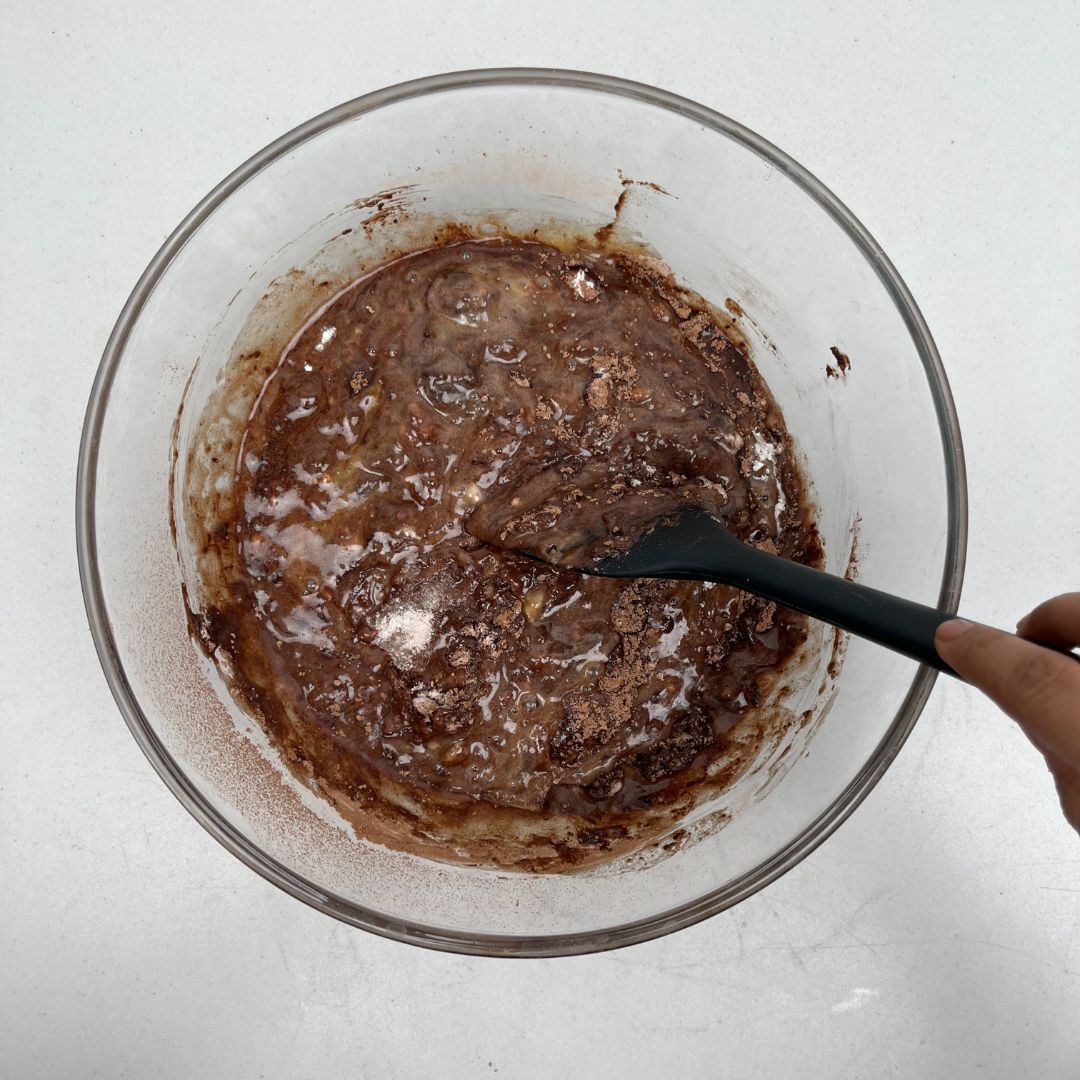
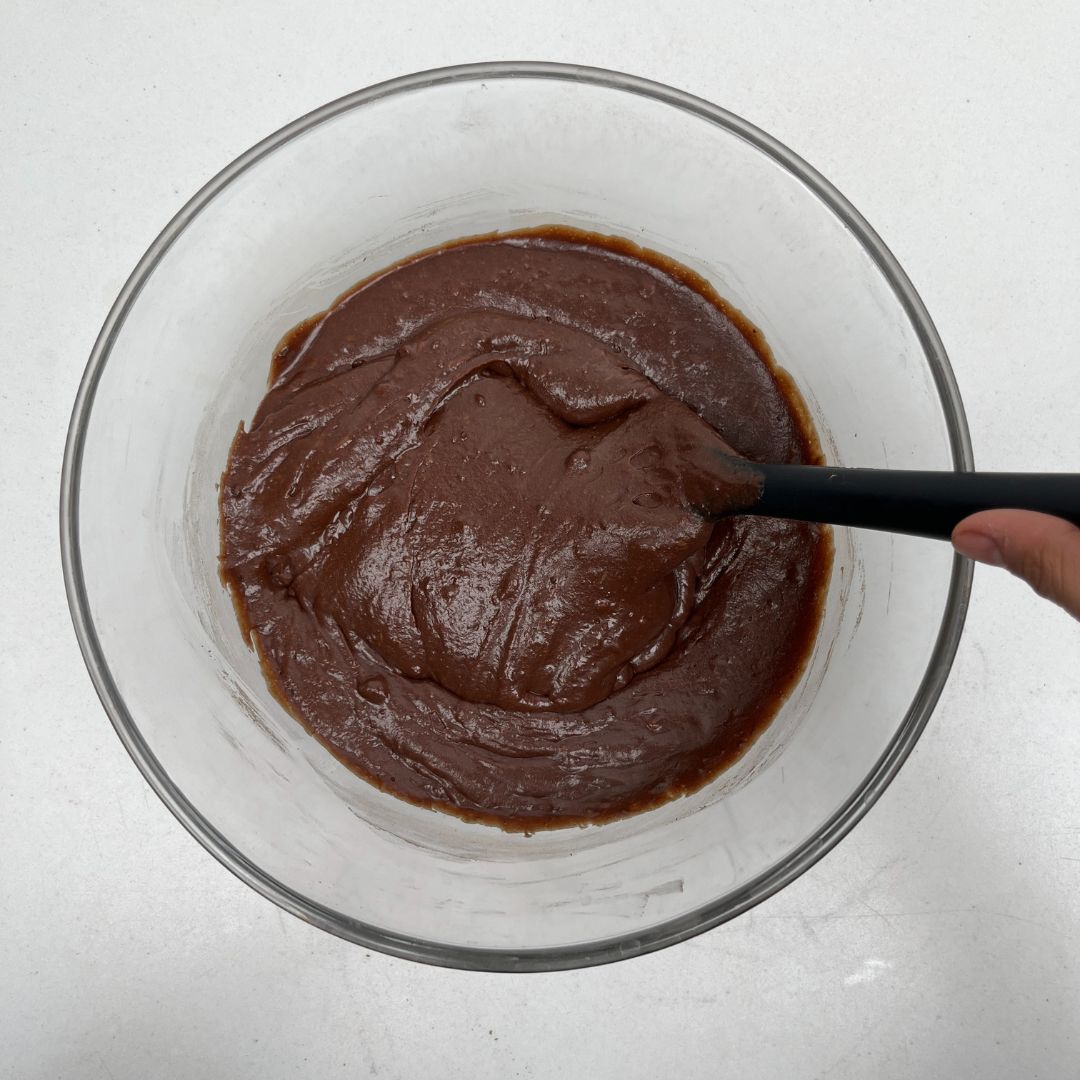
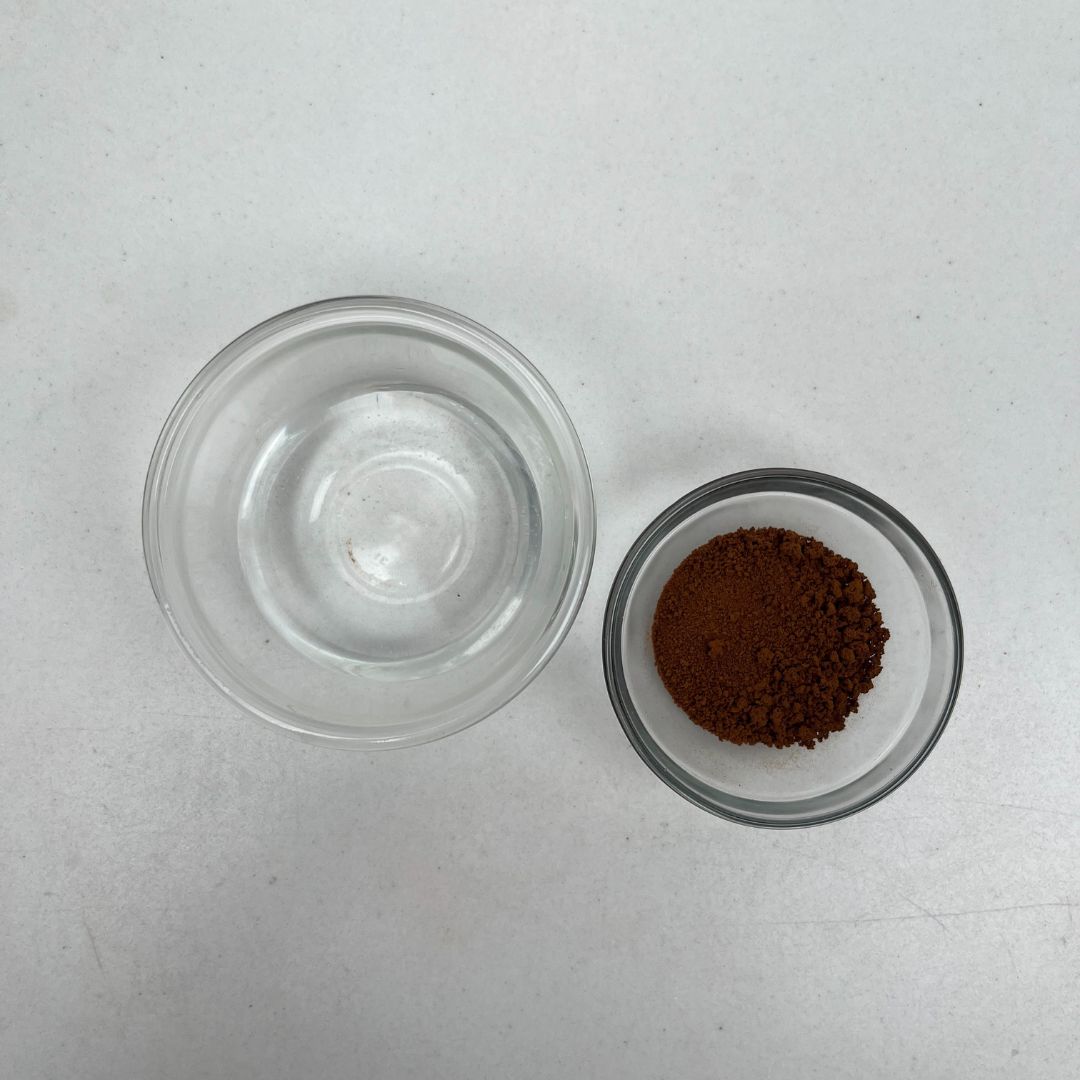
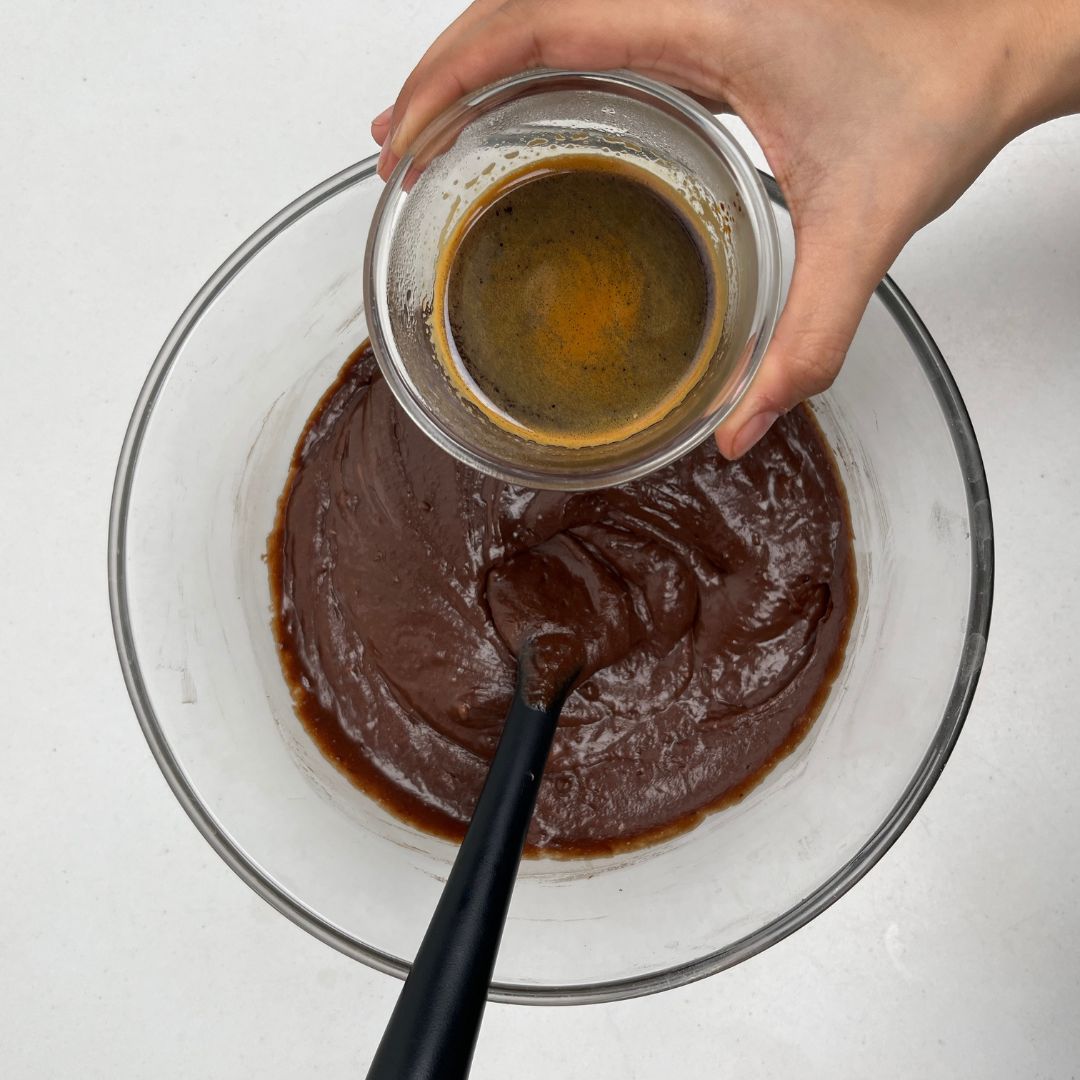
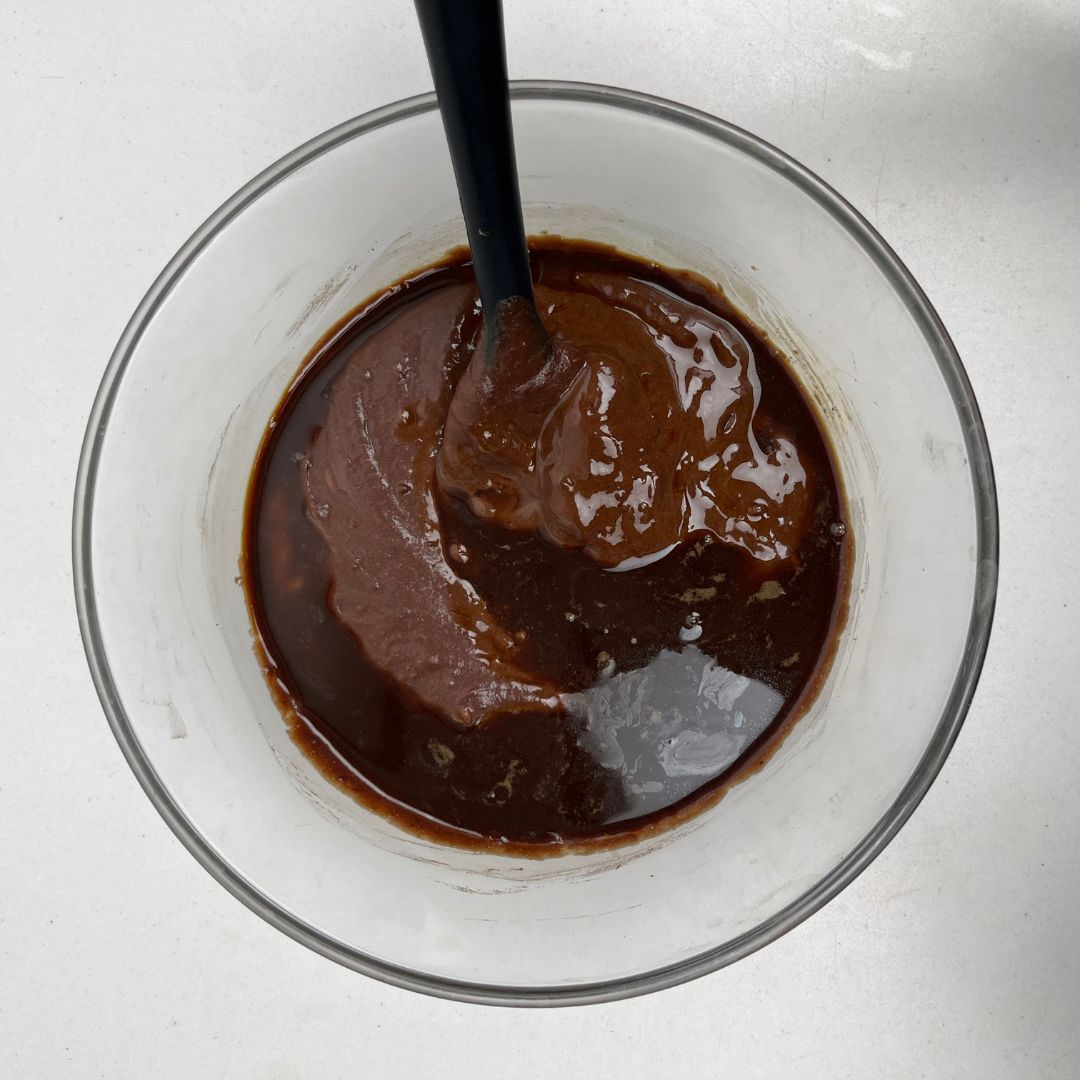
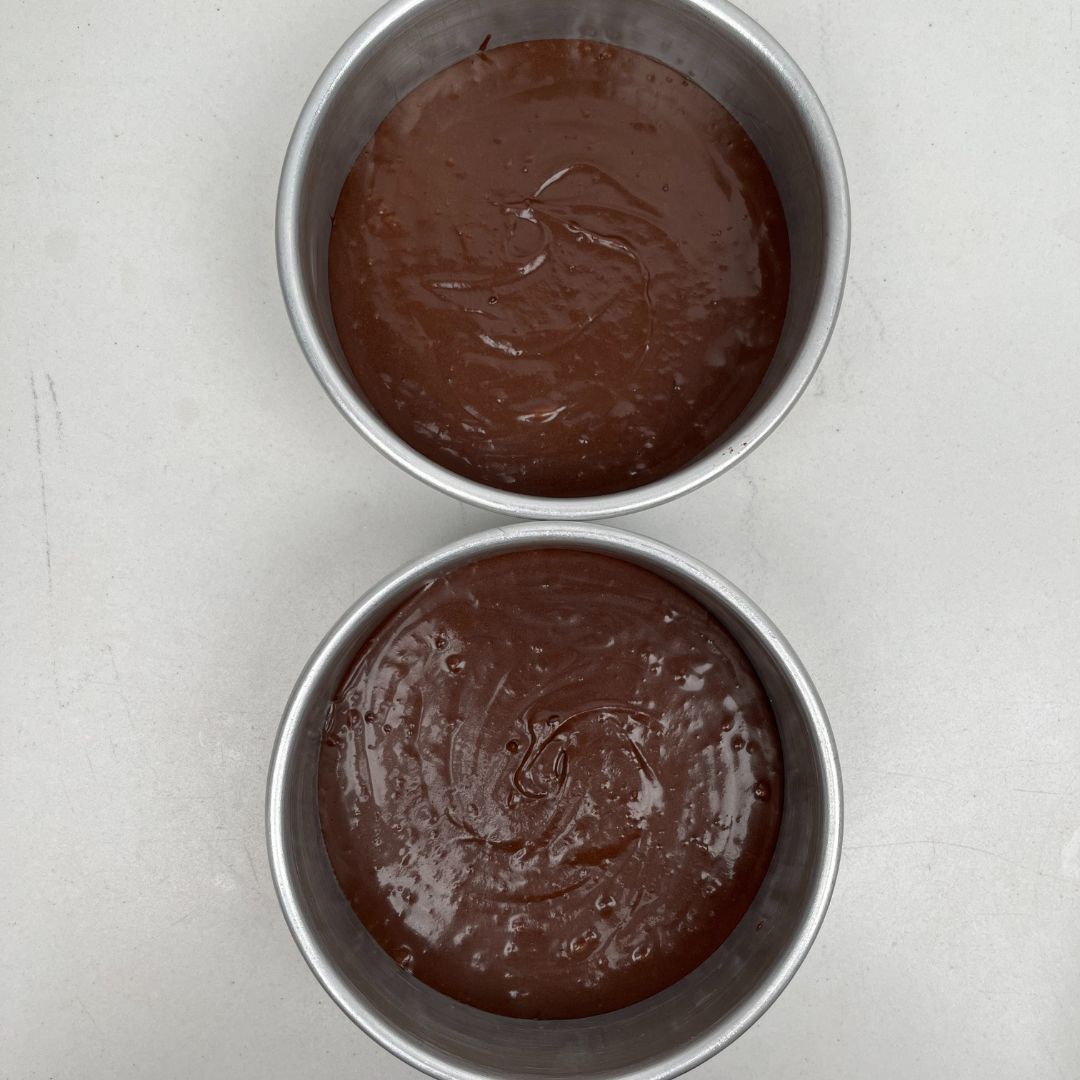
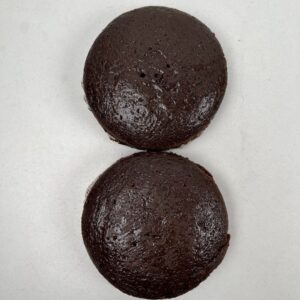
Making the sponge: In a bowl, sift all the dry ingredients, which are all-purpose flour, natural cocoa powder, castor sugar, baking powder, and salt. Make sure you do not skip sifting the dry ingredients, as it helps remove impurities and residues in all-purpose flour, sugar, or any of the dry ingredients. It also prevents lump formation in the batter. Add eggs, melted butter, milk, and vanilla essence to the sifted dry ingredients, and mix everything together to get a nice lump-free batter. In a different bowl, dissolve coffee powder in water and add it to the batter. Transfer the batter into the prepared baking tins equally and bake them at 180° C or 350°F (OTG mode: lower rod mode only) for 35 – 40 minutes or until when you insert a toothpick in the middle, it comes out clean, with few crumbs sticking to it.
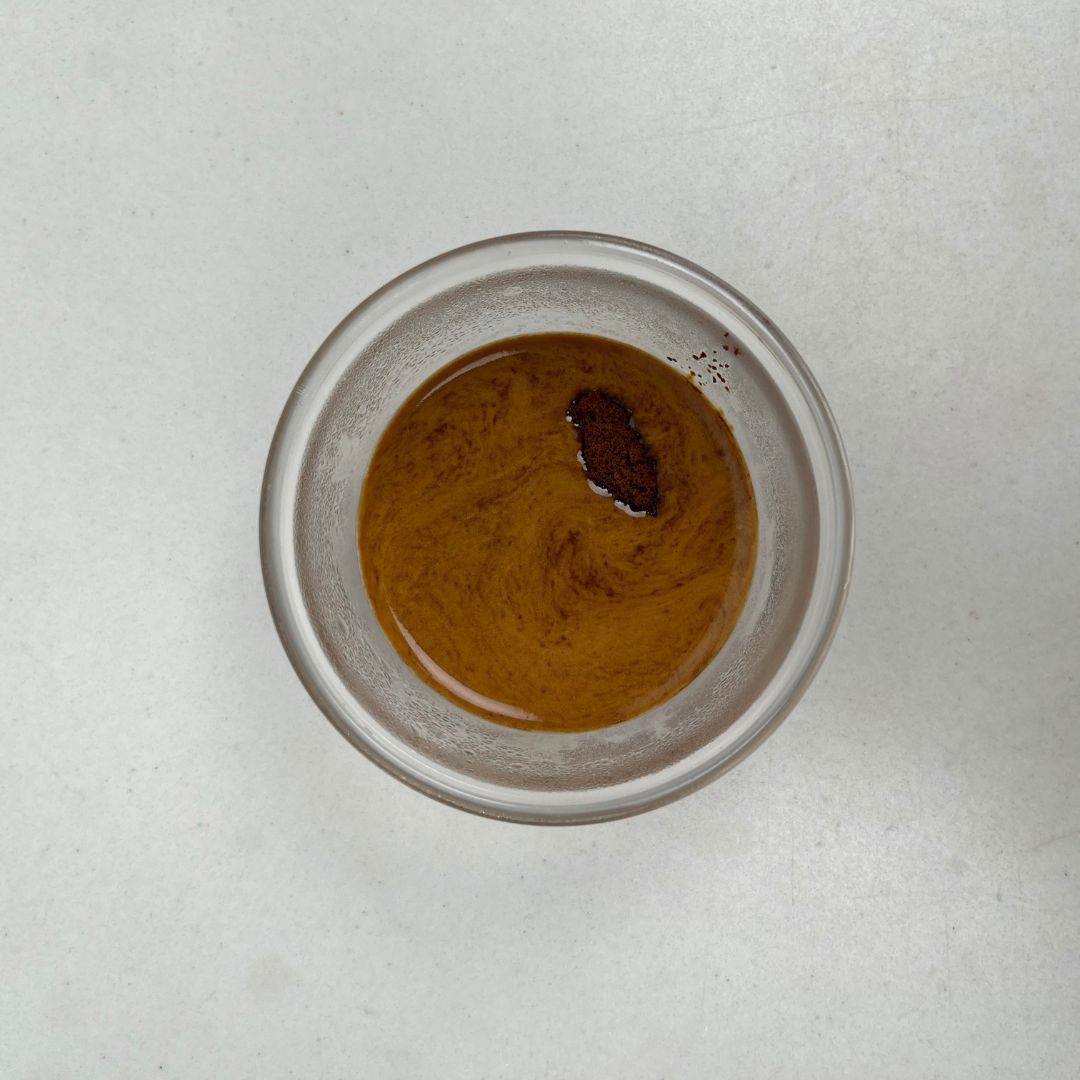
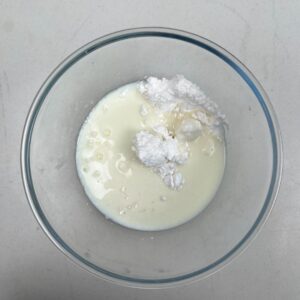
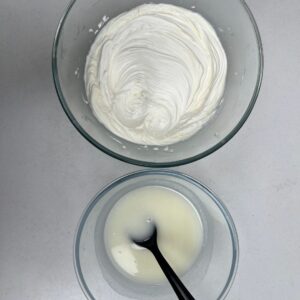
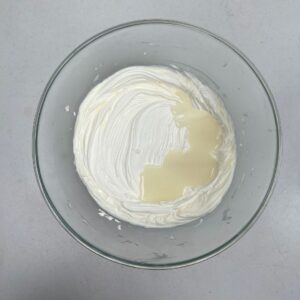
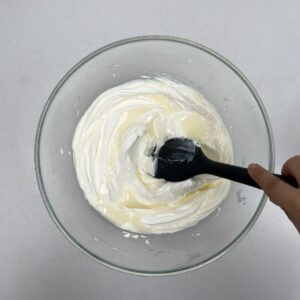
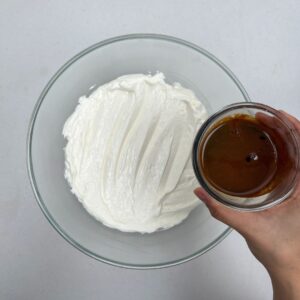
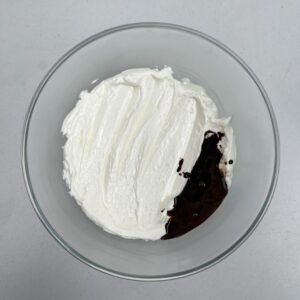
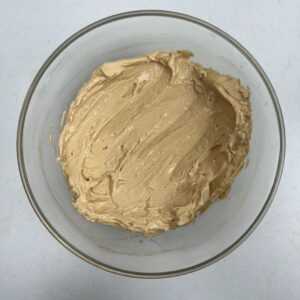
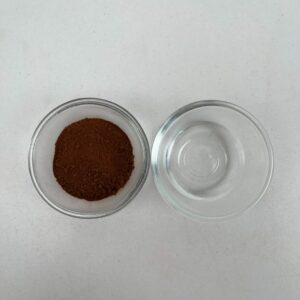
Making the buttercream: Meanwhile, make the buttercream by mixing milk and icing sugar first. You can also add milk later, but I find it very easy when I mix icing sugar and milk, giving me smooth buttercream. Then mix hot water and coffee powder and let it infuse a bit. Start beating butter with an electric hand beater in a different bowl until light and fluffy. Gradually add in milk and icing sugar mixture in parts and beat again. Lastly, add coffee-infused water to the buttercream and beat until you get a smooth, stiff, peaked buttercream. Transfer the buttercream into piping bags and keep it aside for assembling the cake.
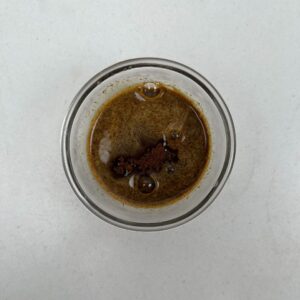
Soaking syrup: For soaking syrup, mix water and coffee, then keep it aside as well for the assembly of the cake. Soaking syrup is really essential for making a cake as it provides us with moister and tenderer cake.
Assembly
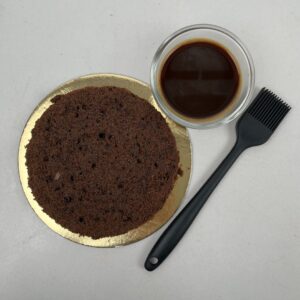
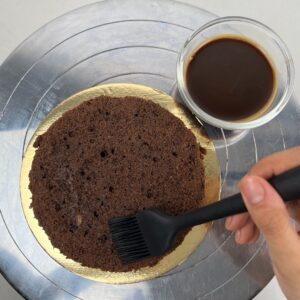
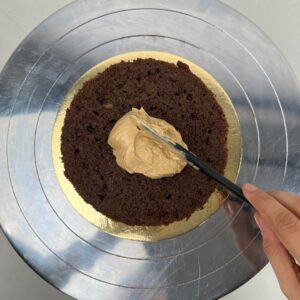
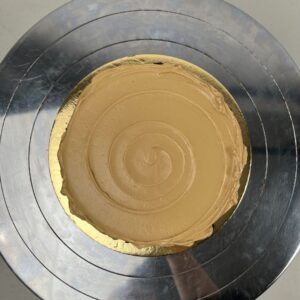
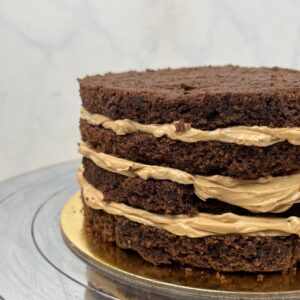
Layering: For layer and frosting, ensure your sponges have completely cooled down. So that there is no issue while frosting, as warm sponges may melt the frosting. Divide the sponges into two parts using a cake leveler or serrated knife. Now, on a cake base, apply some of the frosting and place a sponge layer, soak it with soaking syrup through a pastry brush or a squeeze bottle. Pipe the frosting on top and smooth it out. Place another piece of sponge on top, then repeat the same process as we did with the first layer. We should get four layered sponges. Do not forget to soak the top layer with the soaking syrup.
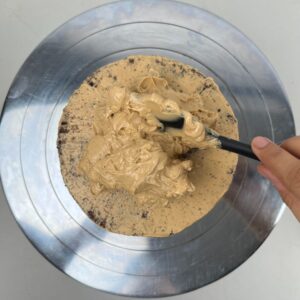
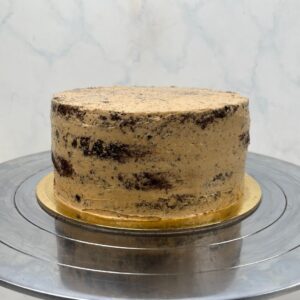
Crumb coating: Now for crumb coating, pipe the frosting over the cake, smooth it out using the bent palette knife, and remove the excess with a scrapper. Do not worry if the sponges are visible; it is only crumb coating, and we apply a thin layer of frosting to set the stray crumbs in place. Keep it in the fridge for 15 – 20 minutes so the frosting sets slightly.
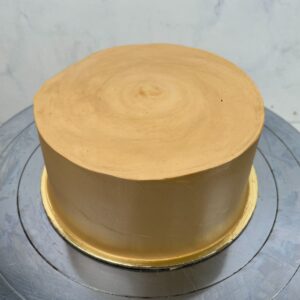
Final coating: After 15 or 20 minutes, remove the crumb-coated cake from the fridge and start the final coating. Apply a thick layer of frosting all over the cake and smooth it out using the same tools. Make sure you have a sharp edge at the top, as it looks satisfying. Place it in the fridge again to set the frostings.
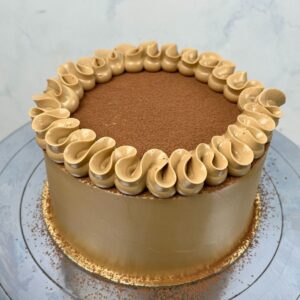
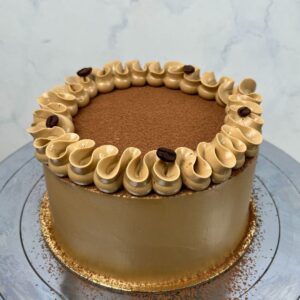
Decorating: To decorate the cake, dust cocoa powder on top of the cake and pipe borders using a ‘V’ nozzle. Lastly, place coffee beans on top of the border randomly.
Our Chocolate Esperesso Cake is now ready to be served!
Chef’s Tip For The Recipe
Tip To Restore Split Buttercream.
If the buttercream splits, take a little amount of the buttercream and microwave it for a few seconds. Add it back to the rest of the buttercream and beat again.
Quick Tip To Avoid A Lumpy Buttercream.
Sift icing sugar before mixing it into the milk.
How to store Chocolate Espresso Cake
You can store the cake in the fridge for 3 – 4 days and in the freezer for at least two weeks. But make sure to keep it in an air-tight container or cover it with food-grade plastic.
You can also store the sponges and the buttercream separately if you want to. For storing the sponges, cover them tightly with cling wrap, and you can keep them in the fridge for 3 to 4 weeks and in the freezer for two months. The buttercream can stay fresh in the fridge for 1 – 2 weeks and in the freezer for at least one month. Make sure to cover the frosting with plastic wrap.
More Rasy Recipes
Check out our other incredible chocolate recipes like:
Frequently Asked Questions
Yes, absolutely; add almonds or hazelnuts to the cake. I would recommend
You can check if the cake is fully baked or not by inserting a toothpick or a cake tester in the center of the cake. If it comes out clean with a few moist crumbs sticking to it, the cake is done. Avoid over-baking, as it may result in dry and hard cake.
Yes, you can make the cake gluten-free by substituting all-purpose flour by using good quality gluten-free flour.
Yes, you can remove the egg and add mashed banana, buttermilk, or any commercial egg replacer. But make sure to adjust the quantity of other ingredients accordingly.

