Indulge in the delightful fusion of sweet and tangy with our irresistible Cherry Cookie recipe.
Bursting with juicy cherries, these soft and chewy treats offer a perfect balance of flavors.
Elevate your baking game and satisfy your cravings with this delectable blend of fruitiness and decadence.
If you are looking for a delightful treat that combines the delicious taste of a cookie with the fruity goodness of cherries, look no further than these cookies.
These adorable and delectable thumbprint cookies are a feast for the eyes, with a burst of sweetness in every bite.
One of the best things about these cherry cookies is the making process. With very simple ingredients, these are so easy to make that you can prepare these in minutes.
Baking these cherry cookies can be fun for the whole family; get the kids involved in rolling the dough and making the thumbprints.
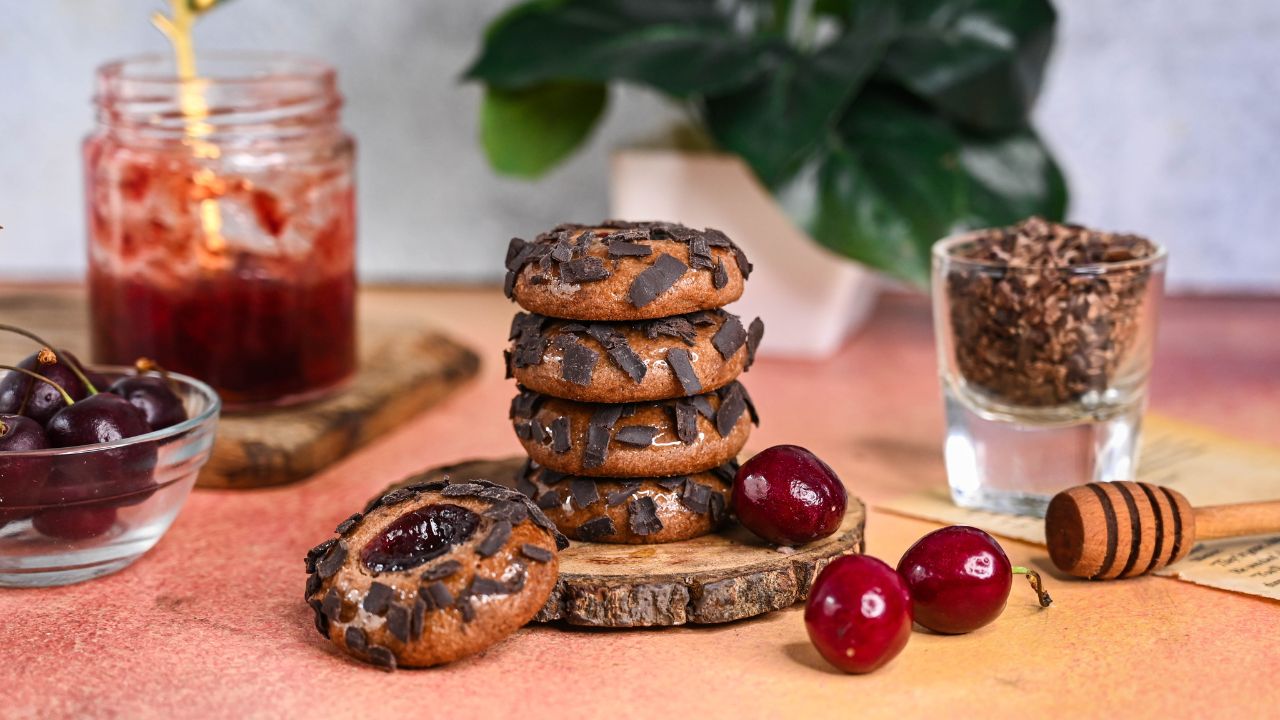
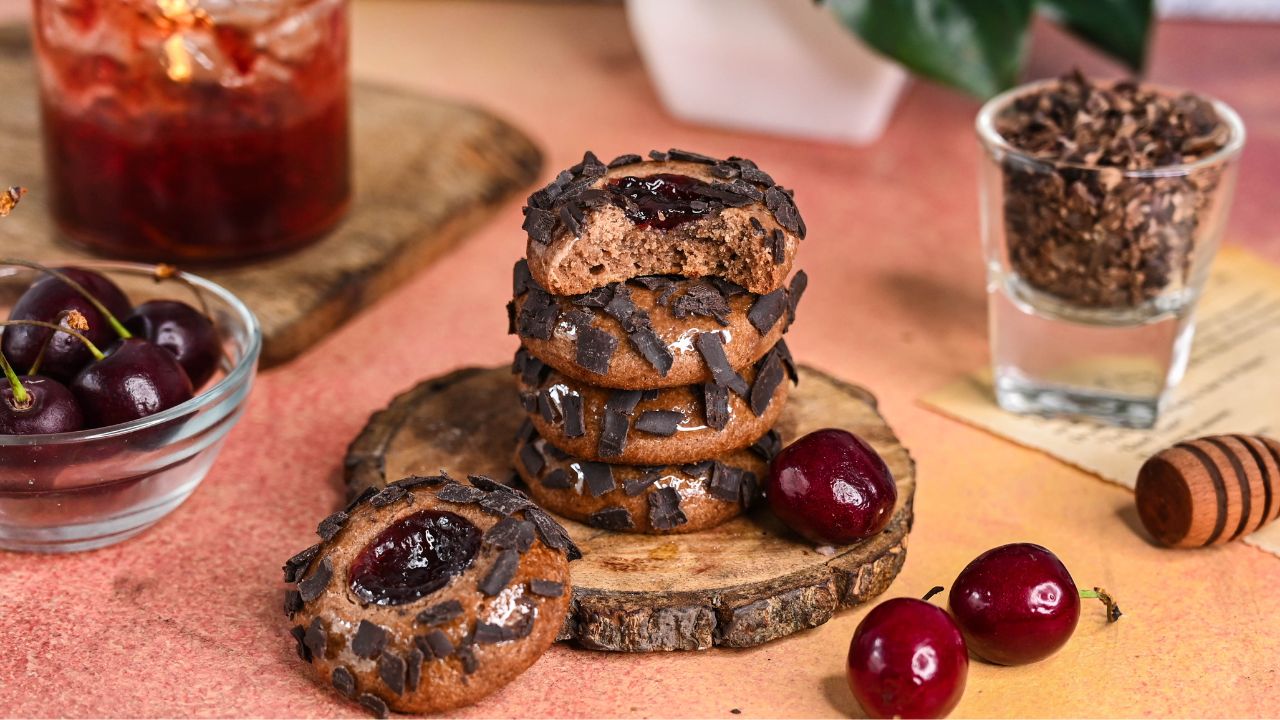
These cookies have a chocolate base; the cavities are filled with cherry fillings and decorated with chocolate shavings. With their adorable appearance and the burst of cherry sweetness, these cookies are a crowd-pleaser that will have everyone asking for more.
Whether you are an experienced baker or just starting your baking journey, try these thumbprint cherry cookies and be prepared for a delightful treat that will leave a lasting impression.
Why You’ll Love This Recipe?
- Flavor: The flavor of these cookies is just amazing. The combination of the sweet chocolate base cookie with slightly sour cherry compote creates a harmonious balance that will keep you asking for more.
- Texture: These cookies have a soft texture with a gooey center due to cherry fillings. These cookies are buttery, tender, and slightly crumbly, with a delightful contrast from the gooey and jammy cherry filling in the center.
- Easy-to-make: This recipe is easy to make, as they have very simple steps and few ingredients.
- Versatility: These cookies are versatile and adaptable; you can add nuts and fruits of your choice.
- Fun to make: Baking these cookies can be a fun experience. Shaping the cookies and creating the thumbprint is enjoyable, making them a great activity for kids and adults.
Important Ingredients Used In The Recipe
- Butter: It is the foundation of making the cookie dough, providing both richness and flavor. I have used salted butter for the recipe for a heightened taste.
- Cocoa powder: As the cookies have a chocolate flavor, I have used natural cocoa powder to make the cookies.
- Sugar: I have used castor sugar to make these cookies; it adds sweetness and helps create a tender texture.
- Cherry filling: Cherry filling is the star ingredient that fills the thumbprint cavities in the cookies. It provides a burst of sweet and slightly tangy cherry flavor. You can either use homemade or store-bought filling for the same.
How To Make Cherry Cookies
Preparation: Weigh all the ingredients using a kitchen scale before making the dough. Line your baking trays with a silicon mat or butter paper. Preheat the oven to 180°C or 350°F.
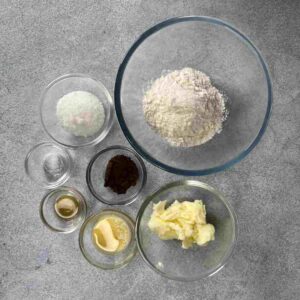
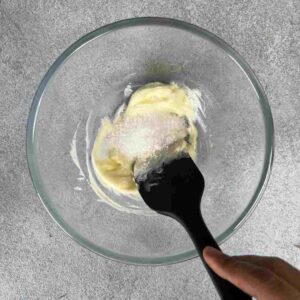
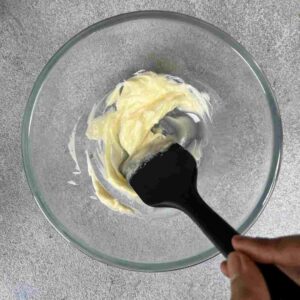
Creaming: With a spatula, cream butter and sugar until it’s pale and fluffy. Add in milk and vanilla essence and mix again.
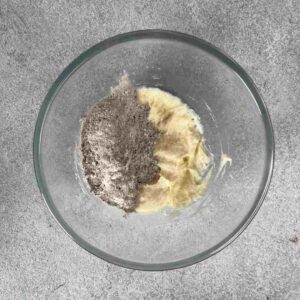
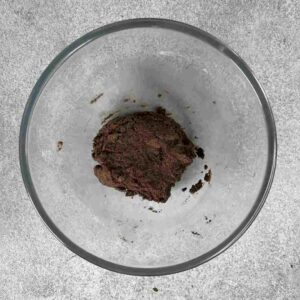
Make a dough: Now sift in the dry ingredients, i.e., all-purpose flour, natural cocoa powder, and salt. Mix them to get a smooth dough.
Chill the dough: Freeze the dough for at least one hour before shaping and baking. Chilling is important in this recipe as the dough is quite sticky to give it a shape.
Divide: After chilling the dough, divide the dough into eight parts weighing 20 grams each.
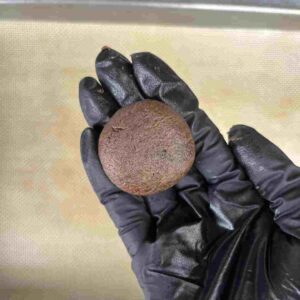
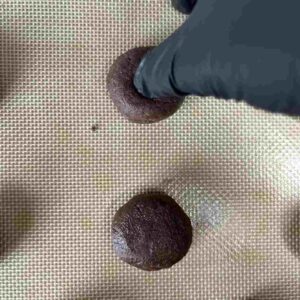
Shape: Place them on the lined baking tray and press in the center of the cookie dough balls with your fingertips to give it a thumbprint impression.
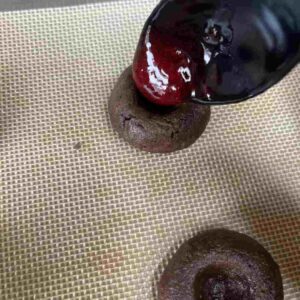
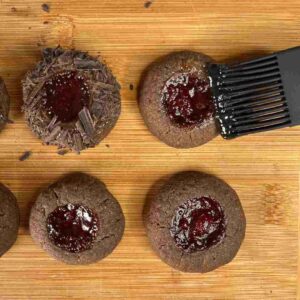
Fill the thumbprint cavities with cherry filling.
Baking: Bake the cookies at 180°C or 350°F (OTG mode: upper rod + lower rod + fan) for 10 – 12 minutes. After baking the cookies, let them cool down completely.
Garnish: Brush cold glaze or nappage on the side of the cookies and stick chocolate shavings. Brush nappage; without it, the chocolate shavings won’t stick to the cookies.
Our Cherry Cookies are now ready!
Chef’s Tips For The Recipe
Quick Tip On Creaming.
Cream butter and sugar properly. Over-creaming may spread the cookies too much, and under-creaming may produce hard cookies.
Use soft butter for creaming it with sugar, making creaming much easier.
Importance Of Chilling The Cookie Dough.
Chill the cookie dough before shaping and baking. Chilling the cookie dough is helpful as it is quite sticky to handle and will also help maintain the shape while baking.
Tip For Mess-Free Baking.
Use butter paper or a silicon baking mat to prevent the cookies from sticking to the tray and make cleanup easier.
Do not overfill the cavities with cherry filling, as it may overflow during baking.
How To Store Cherry Cookies
You can store the cookies at room temperature for 3 – 4 days; if it is not decorated, they can stay fresh for 5 – 6 days.
If you need to store the cookies longer, keep them in the fridge for two weeks and in the freezer for at least one month.
Cover the cookies with food-grade plastic wrap or place them in an air-tight container.
More Easy Recipes
Check out our other incredible cookie recipes that are as tasty as these cherry cookies:
Eggless Cream Cheese Pecan Cookies
Frequently Asked Questions
Yes, you can freeze the cookie dough for 2-3 months. Make sure to thaw it in the fridge overnight, shape them, and bake.
While cherry filling is typically used to make these cookies, you can use fresh cherries. Make sure to place only deseeded cherries in the center.
You can make these gluten-free by substituting the dry ingredients with gluten-free ones.

