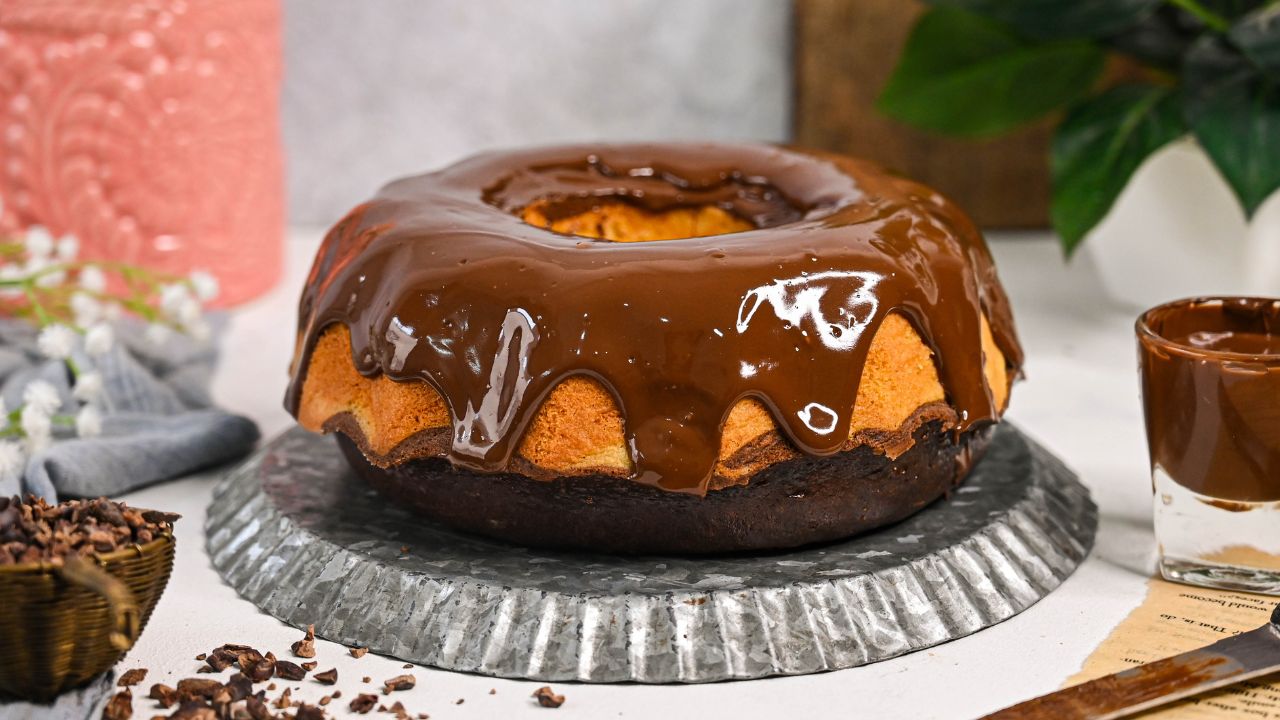
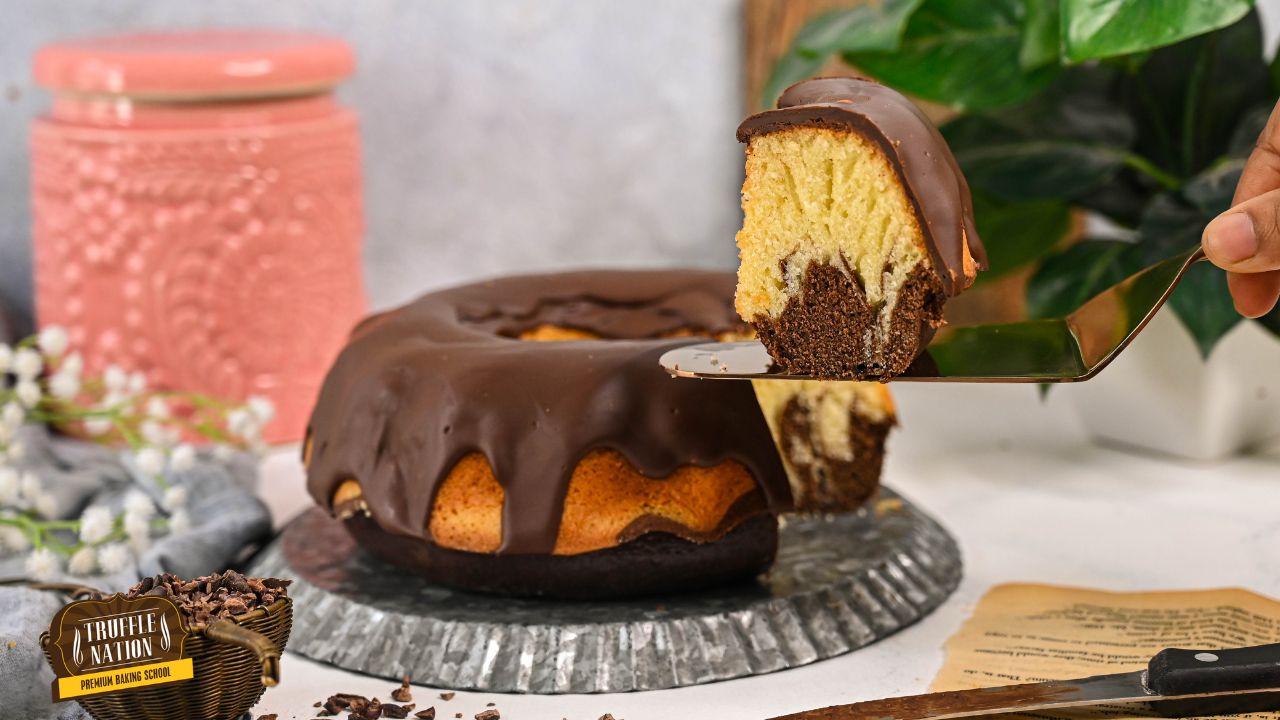
Marble cake is a classic dessert that combines the best of both worlds – the rich, chocolaty goodness of cocoa and the subtle sweetness of vanilla.
With its mesmerizing swirls and delectable taste, this delightful treat will surely be a hit at any gathering or as an indulgent afternoon snack!

Baking a marble cake is like creating a work of art! The perfect swirls of vanilla and chocolate in one can never fail to amaze people.
Some people like vanilla cake, some people like chocolate cake. But everyone loves a marble cake. Whether for a birthday celebration, a tea time indulgence, or sweet cravings, this marble cake will satisfy all your cravings.
Unlike traditional cakes with only one flavor, marble cake combines vanilla and chocolate flavor in one cake. How fascinating is that?
And the best part of making this cake is you do not have to make two separate batters. To make a marble cake, we just need to make one batter.
I have always wanted to try creating a marble cake and share it with you guys, and it’s finally here.
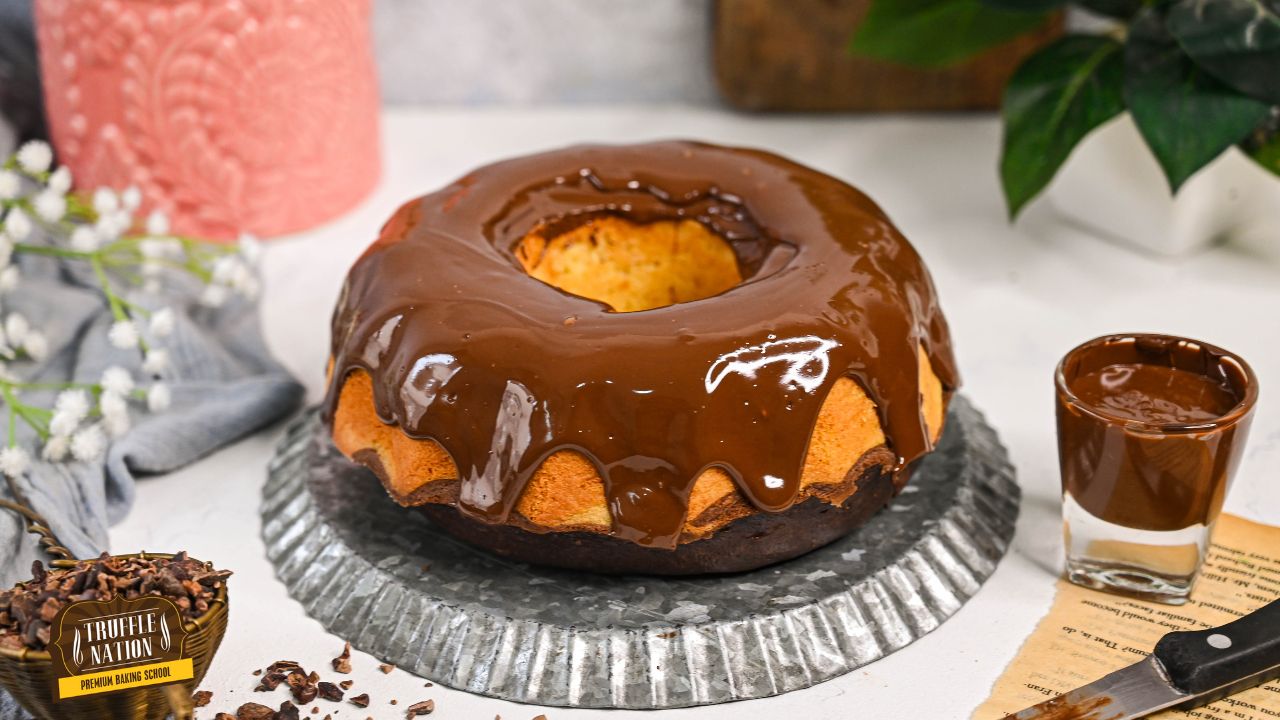
To make it even more pleasing, I have baked the cake in a Bundt tin which takes it to another level. And the melted chocolate on top makes it even prettier.
Why You’ll Love This Recipe
- Easy-to-make: This recipe makes it easy and simple to make a marble cake. It comes together quickly, and the ingredients are easily accessible to all.
- Visually Appealing: The chocolate swirl in the vanilla batter makes the cake visually appealing and exciting to look at, which will excite your guest and your family.
- It blends two classic flavors: This cake is the best of both worlds. It is the combination of two decadent flavors that are vanilla and chocolate. It is the ultimate indulgence for those who cannot choose which flavor to choose from, just like me.
- Texture: This recipe makes the best marble cake ever with its tender texture. And the combination of vanilla and chocolate creates a soft and fluffy cake with a light crumb pleasing the taste buds every time you take a bite.
Important Ingredients In Marble Cake
- Eggs: Egg acts as a leavening agent and helps the cake to rise and achieve a light and fluffy texture. It also adds flavor by adding a slightly savory taste that complements the sweetness of marble cake.
- Milk: It adds moisture to the cake resulting in a tender and soft texture. Also helps in preventing the cake from drying and becoming crumbly.
- Natural cocoa powder: It gives a rich chocolate flavor to the cake. Also adds depth and intensity to the overall taste complimenting the vanilla flavor of the cake. The dark color of natural cocoa powder creates a beautiful contrast with the light color of vanilla flavor.
- Oil: It helps create a light and fluffy texture in the cake. It prevents the cake from becoming dense and heavy.

How To Make Marble Cake
Preheat & Prepare the tin: Preheat the oven to 180°C or 350° (OTG mode: upper rod + lower rod + fan) and prepare the Bundt tin by greasing it with soft butter and dusting flour. Make sure that you brush the butter evenly. Remove the excess by tapping it upside down.
Combine the ingredients: Add oil, eggs, milk (a), and sugar in a bowl and give it a nice mix.
Add dry ingredients: In this sieve, the dry ingredients, i.e., all-purpose flour, baking powder, and salt. Mix everything until all the ingredients are mixed properly, and the batter is lump free.
Make the chocolate batter: Take out 1/3 of the batter into a different bowl and mix in natural cocoa powder and milk (b). Adding milk (b) will help the chocolate batter to be a little thinner.
Transfer batter to different piping bags & pipe: Transfer the chocolate batter to a piping bag. Transfer the vanilla batter to the prepared Bundt tin, then pipe the chocolate batter on top. With the help of a toothpick, give swirls.
Bake: Bake it at 180°C or 350°F (OTG mode: lower rod only) for 35-40 minutes or until a toothpick inserted comes out clean.
After baking, keep the Bundt tin upside down. It is the ultimate trick to unmold any Bundt cake. The cake will come out of the tin very smoothly without sticking.
Pour melted chocolate: After unmolding and cooling, pour melted dark chocolate all over the cake.

Chef Tips For The Recipe
Quick Tip for Easy Removal of The Cake.
Grease the Bundt tin with butter and dust flour for easy cake removal. After baking, keep the Bundt tin upside down; this ensures easy unmolding.
Avoid Overmixing of Batter.
Do not over-mix the batter, as it will lead the sponge to sink into the tin.
How To Store Marble Cake
Marble cake can be stored at room temperature in an air-tight container for 4-5 days.
It can be stored in the freezer for up to 2 months. Make sure to wrap the cooled cake tightly with food-grade plastic wrap.
It can also be stored in a refrigerator for up to 15 days. Wrap it in plastic wrap; otherwise, your marble cake will smell like other food that is in your fridge.
More Easy Recipes
Check out my other tasty and easy cake recipes, such as: Eggless mango cake, Strawberry crunch cake, Black tie mousse cake
Frequently Asked Questions
Can I use melted chocolate instead of cocoa powder to make chocolate batter for marble cake?
Yes definitely! You can use melted chocolate batter to make chocolate batter for marble cake. Mix melted chocolate into 1/3 of the batter and skip the milk (b). However, the cake may be sweeter than the normal cake. So, it is recommended to use unsweetened cocoa powder.
Can I use any kind of cocoa powder for the chocolate batter to make marble cake?
Yes, you can use any cocoa powder for the chocolate batter to make a marble cake. However, ensure you do not use any sweetened version of cocoa powder.
Can I customize a marble cake?
You can customize marble according to your taste and use any flavor. Some popular options for customizing marble cake are orange and chocolate, vanilla, and strawberry, coffee and chocolate, etc.
Can I make a marble cake, both vegan and gluten-free?
Yes, you can make vegan and gluten-free marble cake by replacing the non-vegan ingredients with vegan substitutes and adding gluten-free products instead of all-purpose flour.
